2. Open your Xcode project and import into it the framework downloaded in step 1.
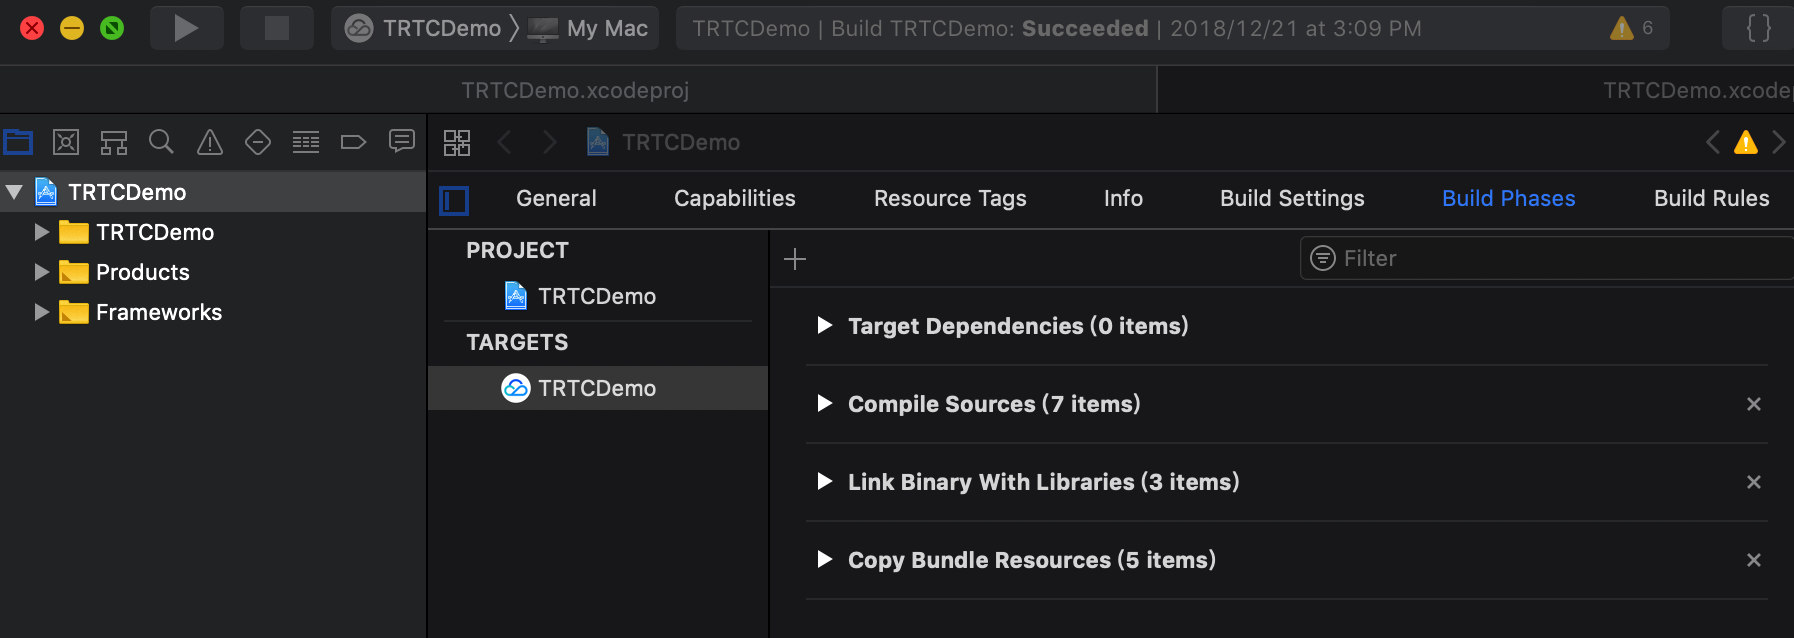
3. Select the target you want to run and click Build Phases.
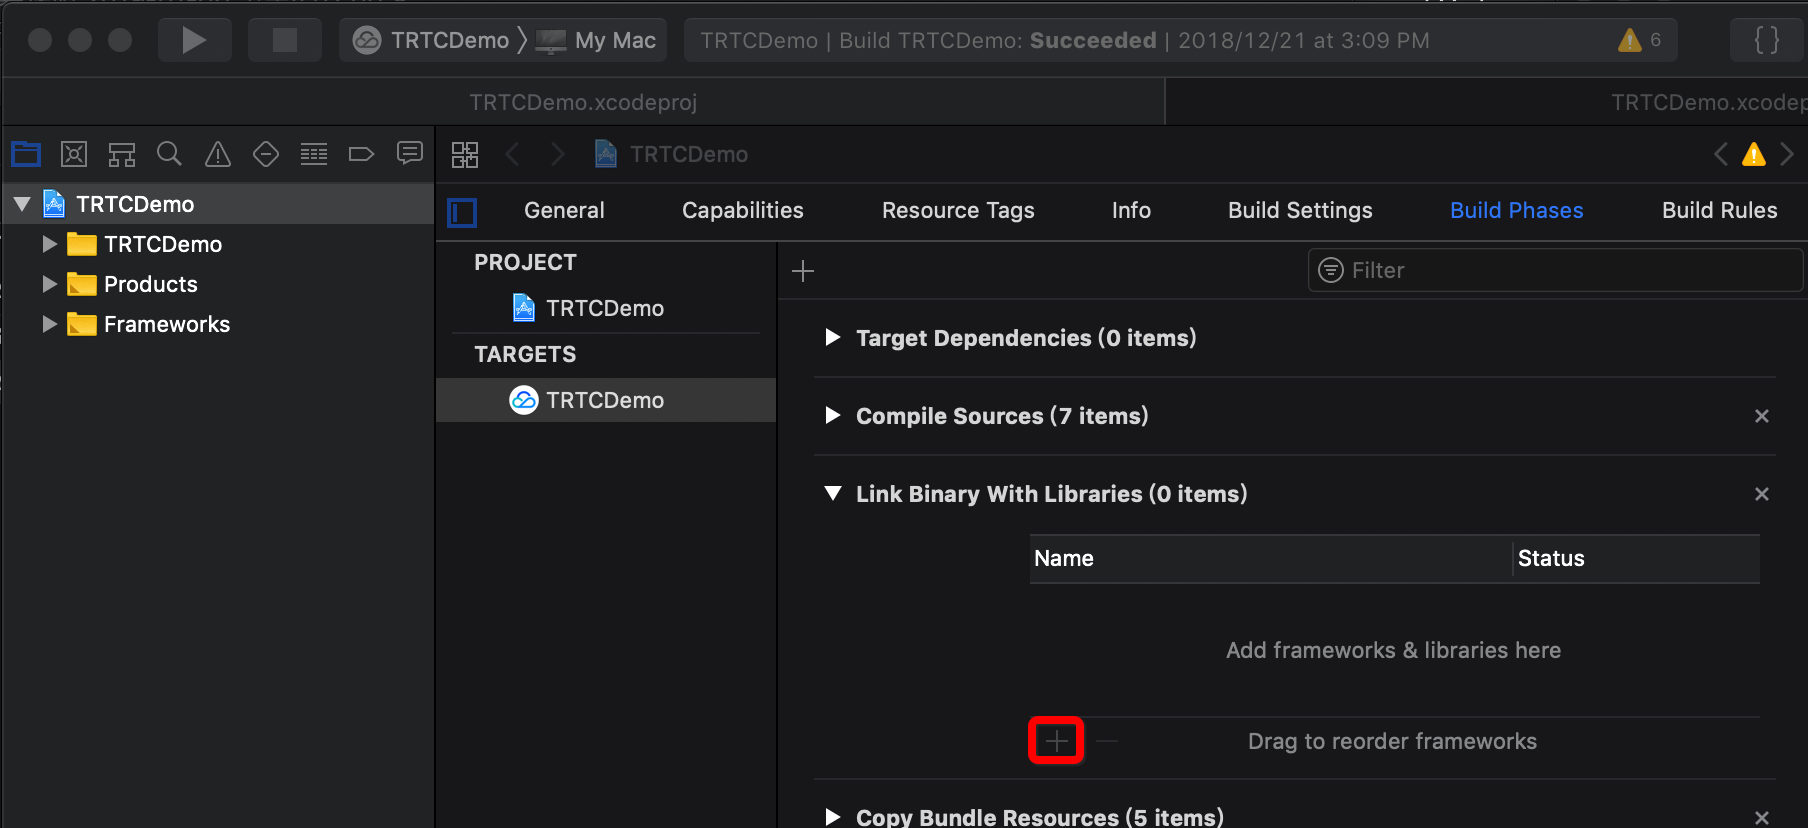
4. Expand Link Binary With Libraries and click the + icon at the bottom to add dependent libraries.
5. Add the downloaded SDK framework and its required dependencies in sequence: TXFFmpeg.xcframework, TXSoundTouch.xcframework, libc++.tbd, Accelerate.framework, SystemConfiguration.framework, MetalKit.framework.If it is successful, you will see the following:
Step 2. Configure app permissions
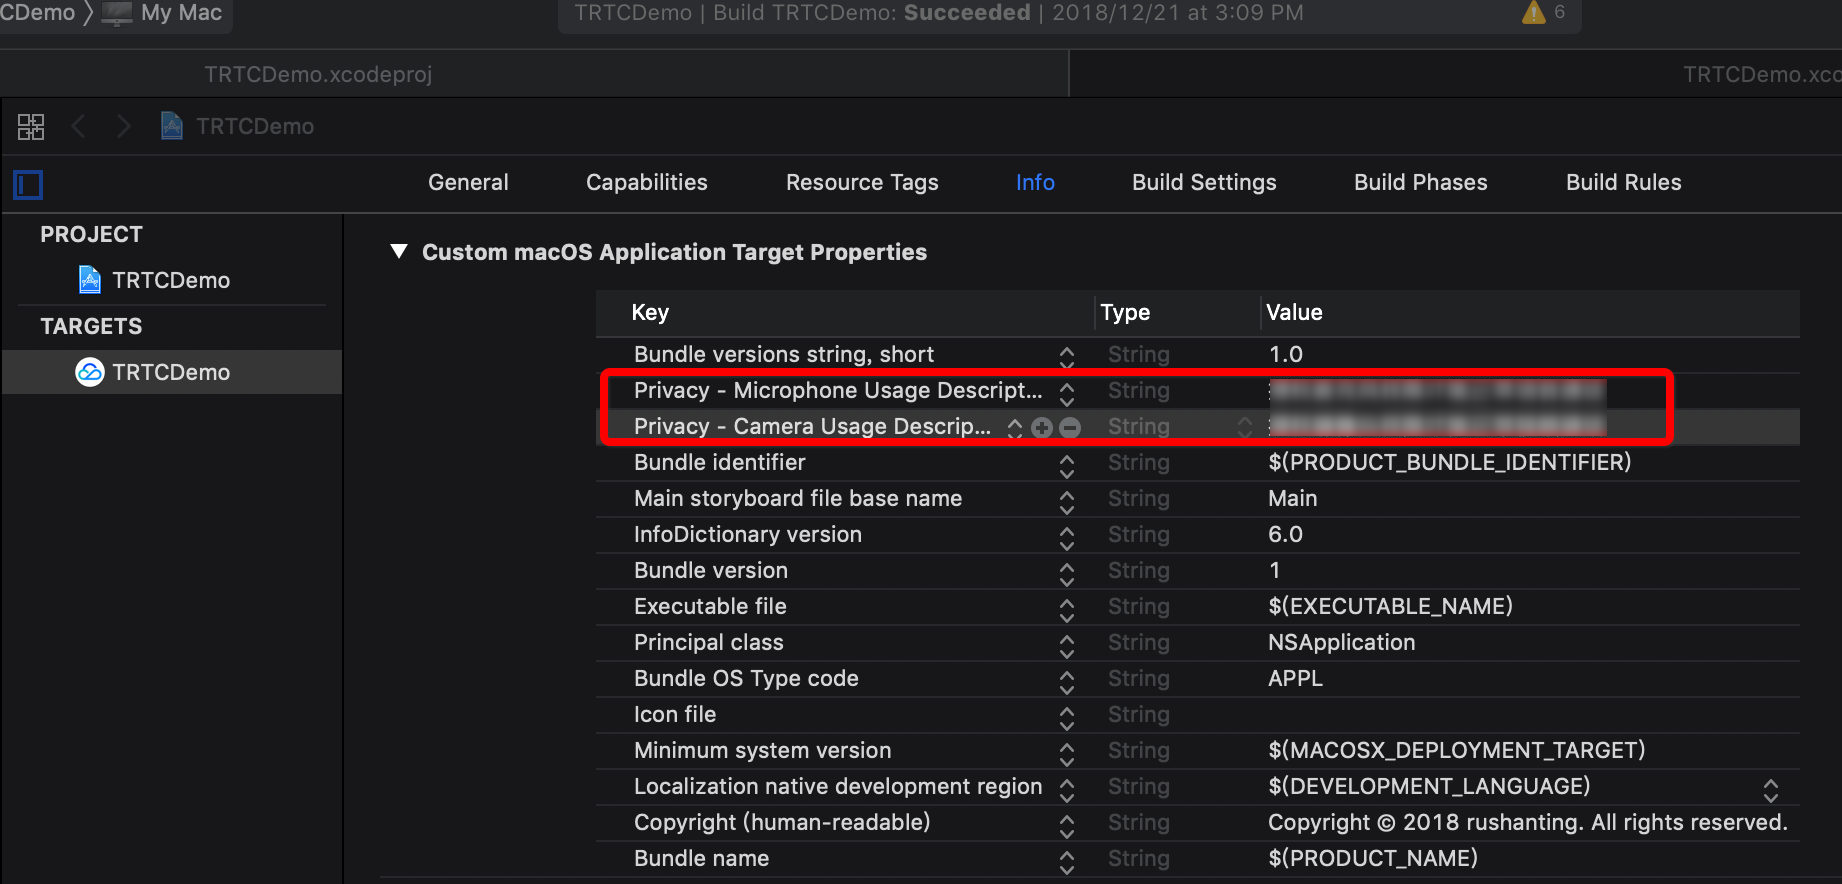
To use the audio/video features of the SDK, you need to grant it mic and camera permissions. Add the two items below to Info.plist of your application. Their content is what users see in the mic and camera access pop-up windows.
Privacy - Microphone Usage Description. Include a statement specifying why mic access is needed
Privacy - Camera Usage Description. Include a statement specifying why camera access is needed
As shown below:
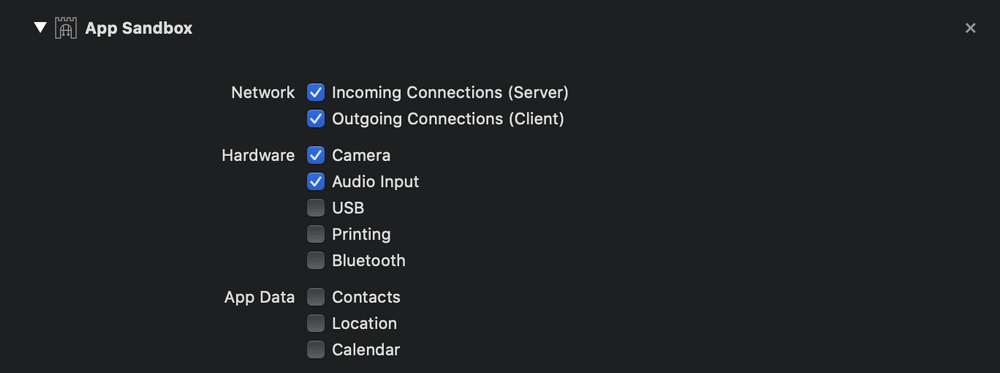
If App Sandbox or Hardened Runtime is enabled for your application, select Network, Camera, and Audio Input.
For App Sandbox:
For Hardened Runtime:
Step 3. Using the SDK in your project
After completing the first step of importing and the second step of granting device permissions, you can use the APIs provided by the SDK in your project.
Using Objective-C or Swift APIs
There are two ways to use the SDK in Objective-C or Swift:
Import the module: Import the SDK module in the files that will use the SDK APIs.
@import TXLiteAVSDK_TRTC_Mac;
Import the header file: Import the header file in the files that will use the SDK APIs.
#import TXLiteAVSDK_TRTC_Mac/TRTCCloud.h
Using C++ APIs (optional)
1. Import the header file: If you want to use C++ APIs to develop your macOS application, import the header file in the TXLiteAVSDK_TRTC_Mac.framework/Headers/cpp_interface directory.
2. Use the namespace: The cross-platform C++ APIs and types are all defined in the TRTC namespace, which you can use directly. This method can simplify your code and is recommended.
using namespace trtc;
Note:
For more information on how to use C++ APIs, see Overview.