Quick Demo show the basic audio and video communication capabilities with sample code:
Set user to login TRTC platform service
Turn on/off your camera and microphone, and send them to others
Share your screen with others
How to use
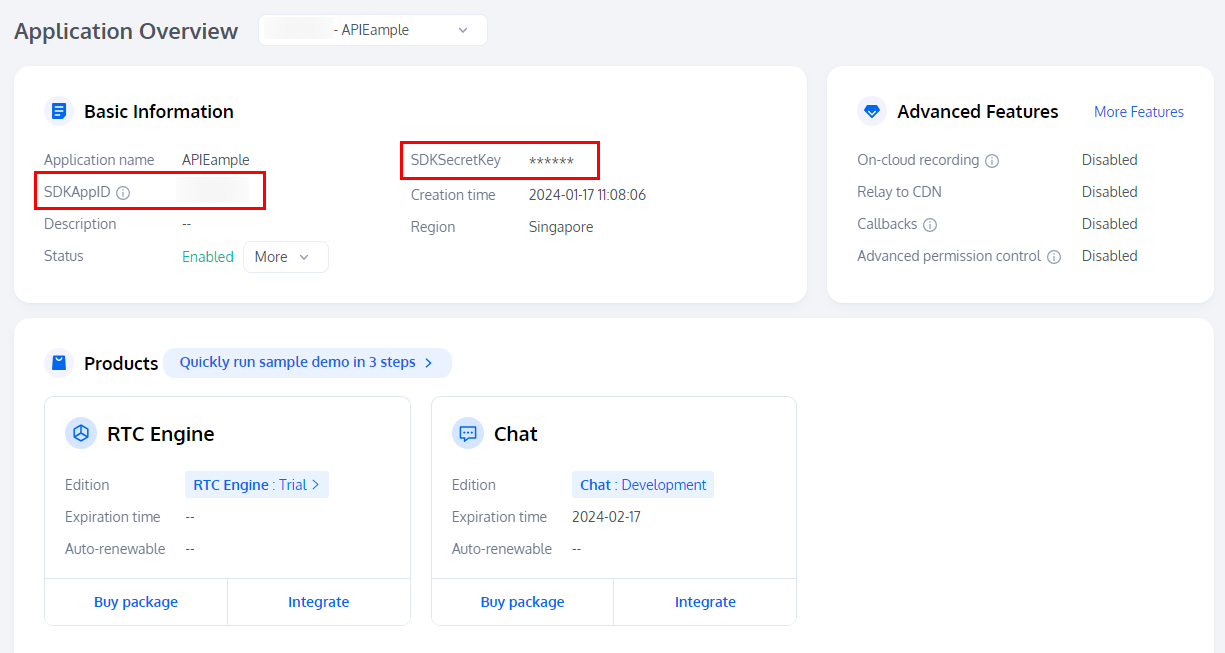
1. Create an Application
Users within an application are allowed to enter the same room for audio and video calls. SDKAppID and SDKSecretKey are the unique verification credentials for the application.
You can create it in the Console, and get it's SDKAppID and SDKSecretKey. We will use those to login quick demo.
2. Online Demo
You can fill in the SDKAppID and SDKSecretKey obtained from the first part into the following demo, and click "Enter Room" button.
After success, an invitation link will be generated, so you can invite another person to join the call together!
More Demo
The above Demo is written in native JavaScript. You can access its source code here, you can also click on this link to access it in a separate window.
We also provide demos for vue2 and vue3. Here's the links: