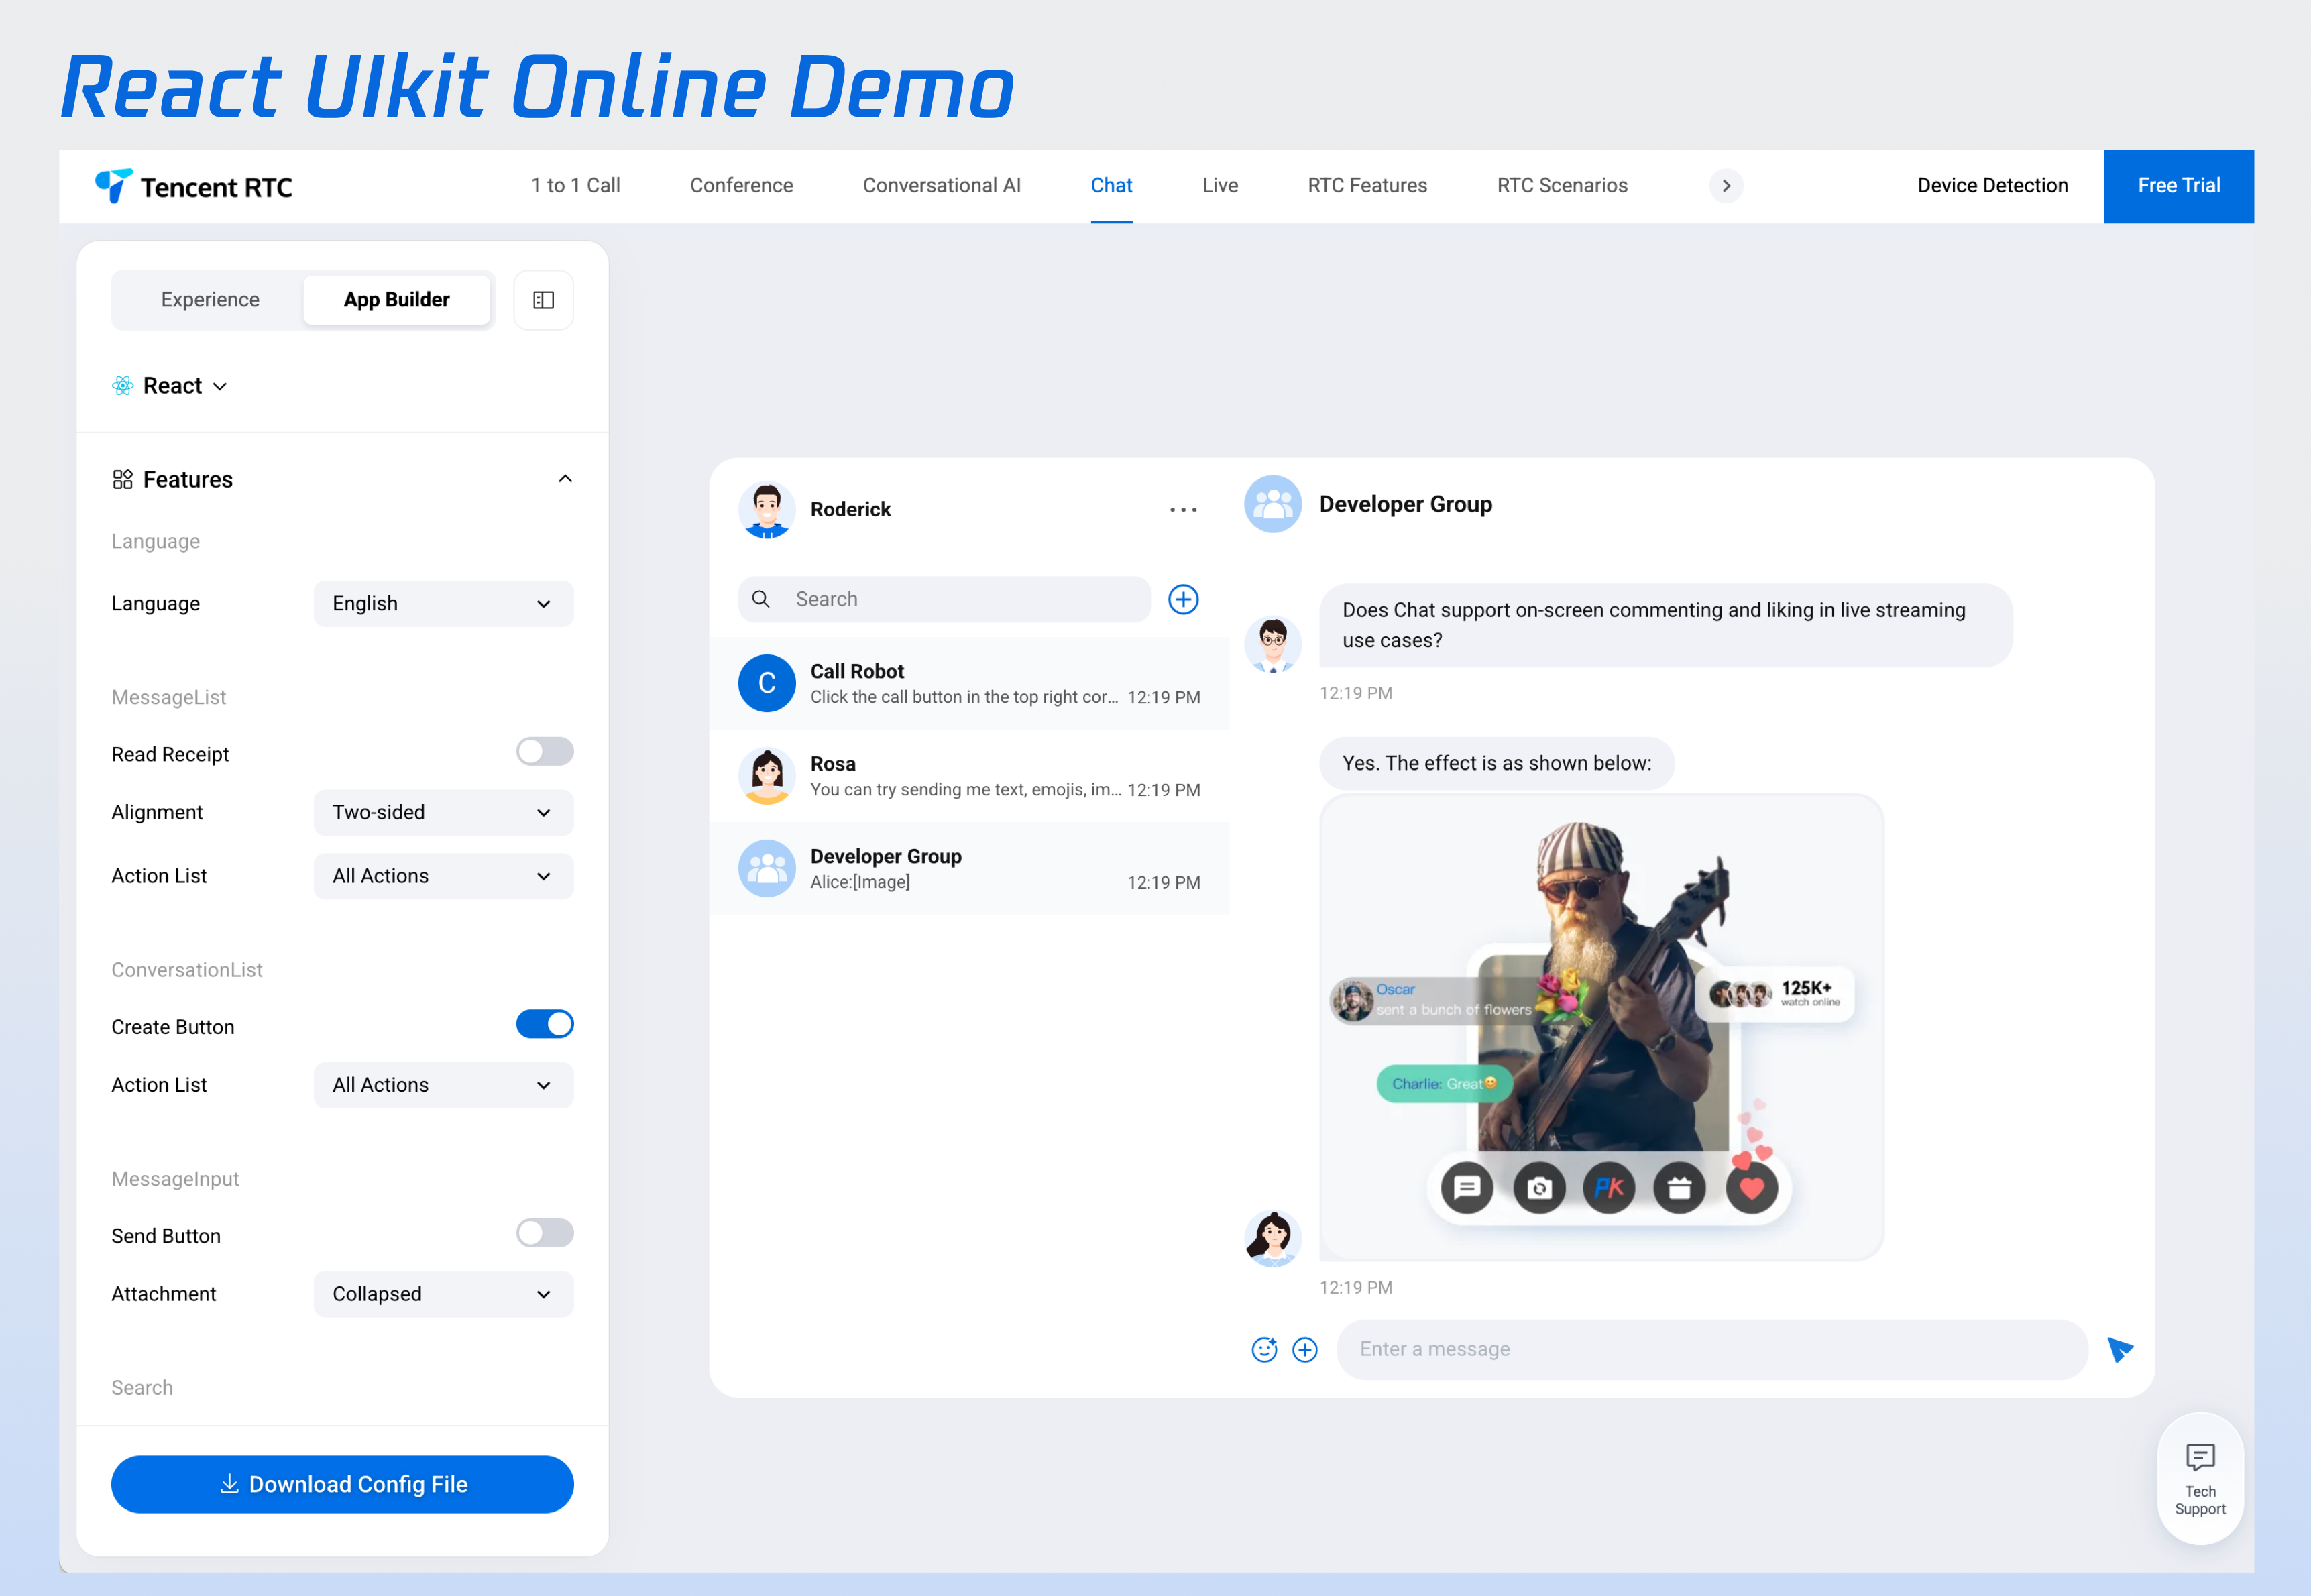
This document introduces how to quickly run through the Chat Demo to experience sending text, voice, and video messages.
Quick Experience
Before local integration, we built a Demo you can try online.
Prerequisites
Enabling a Service
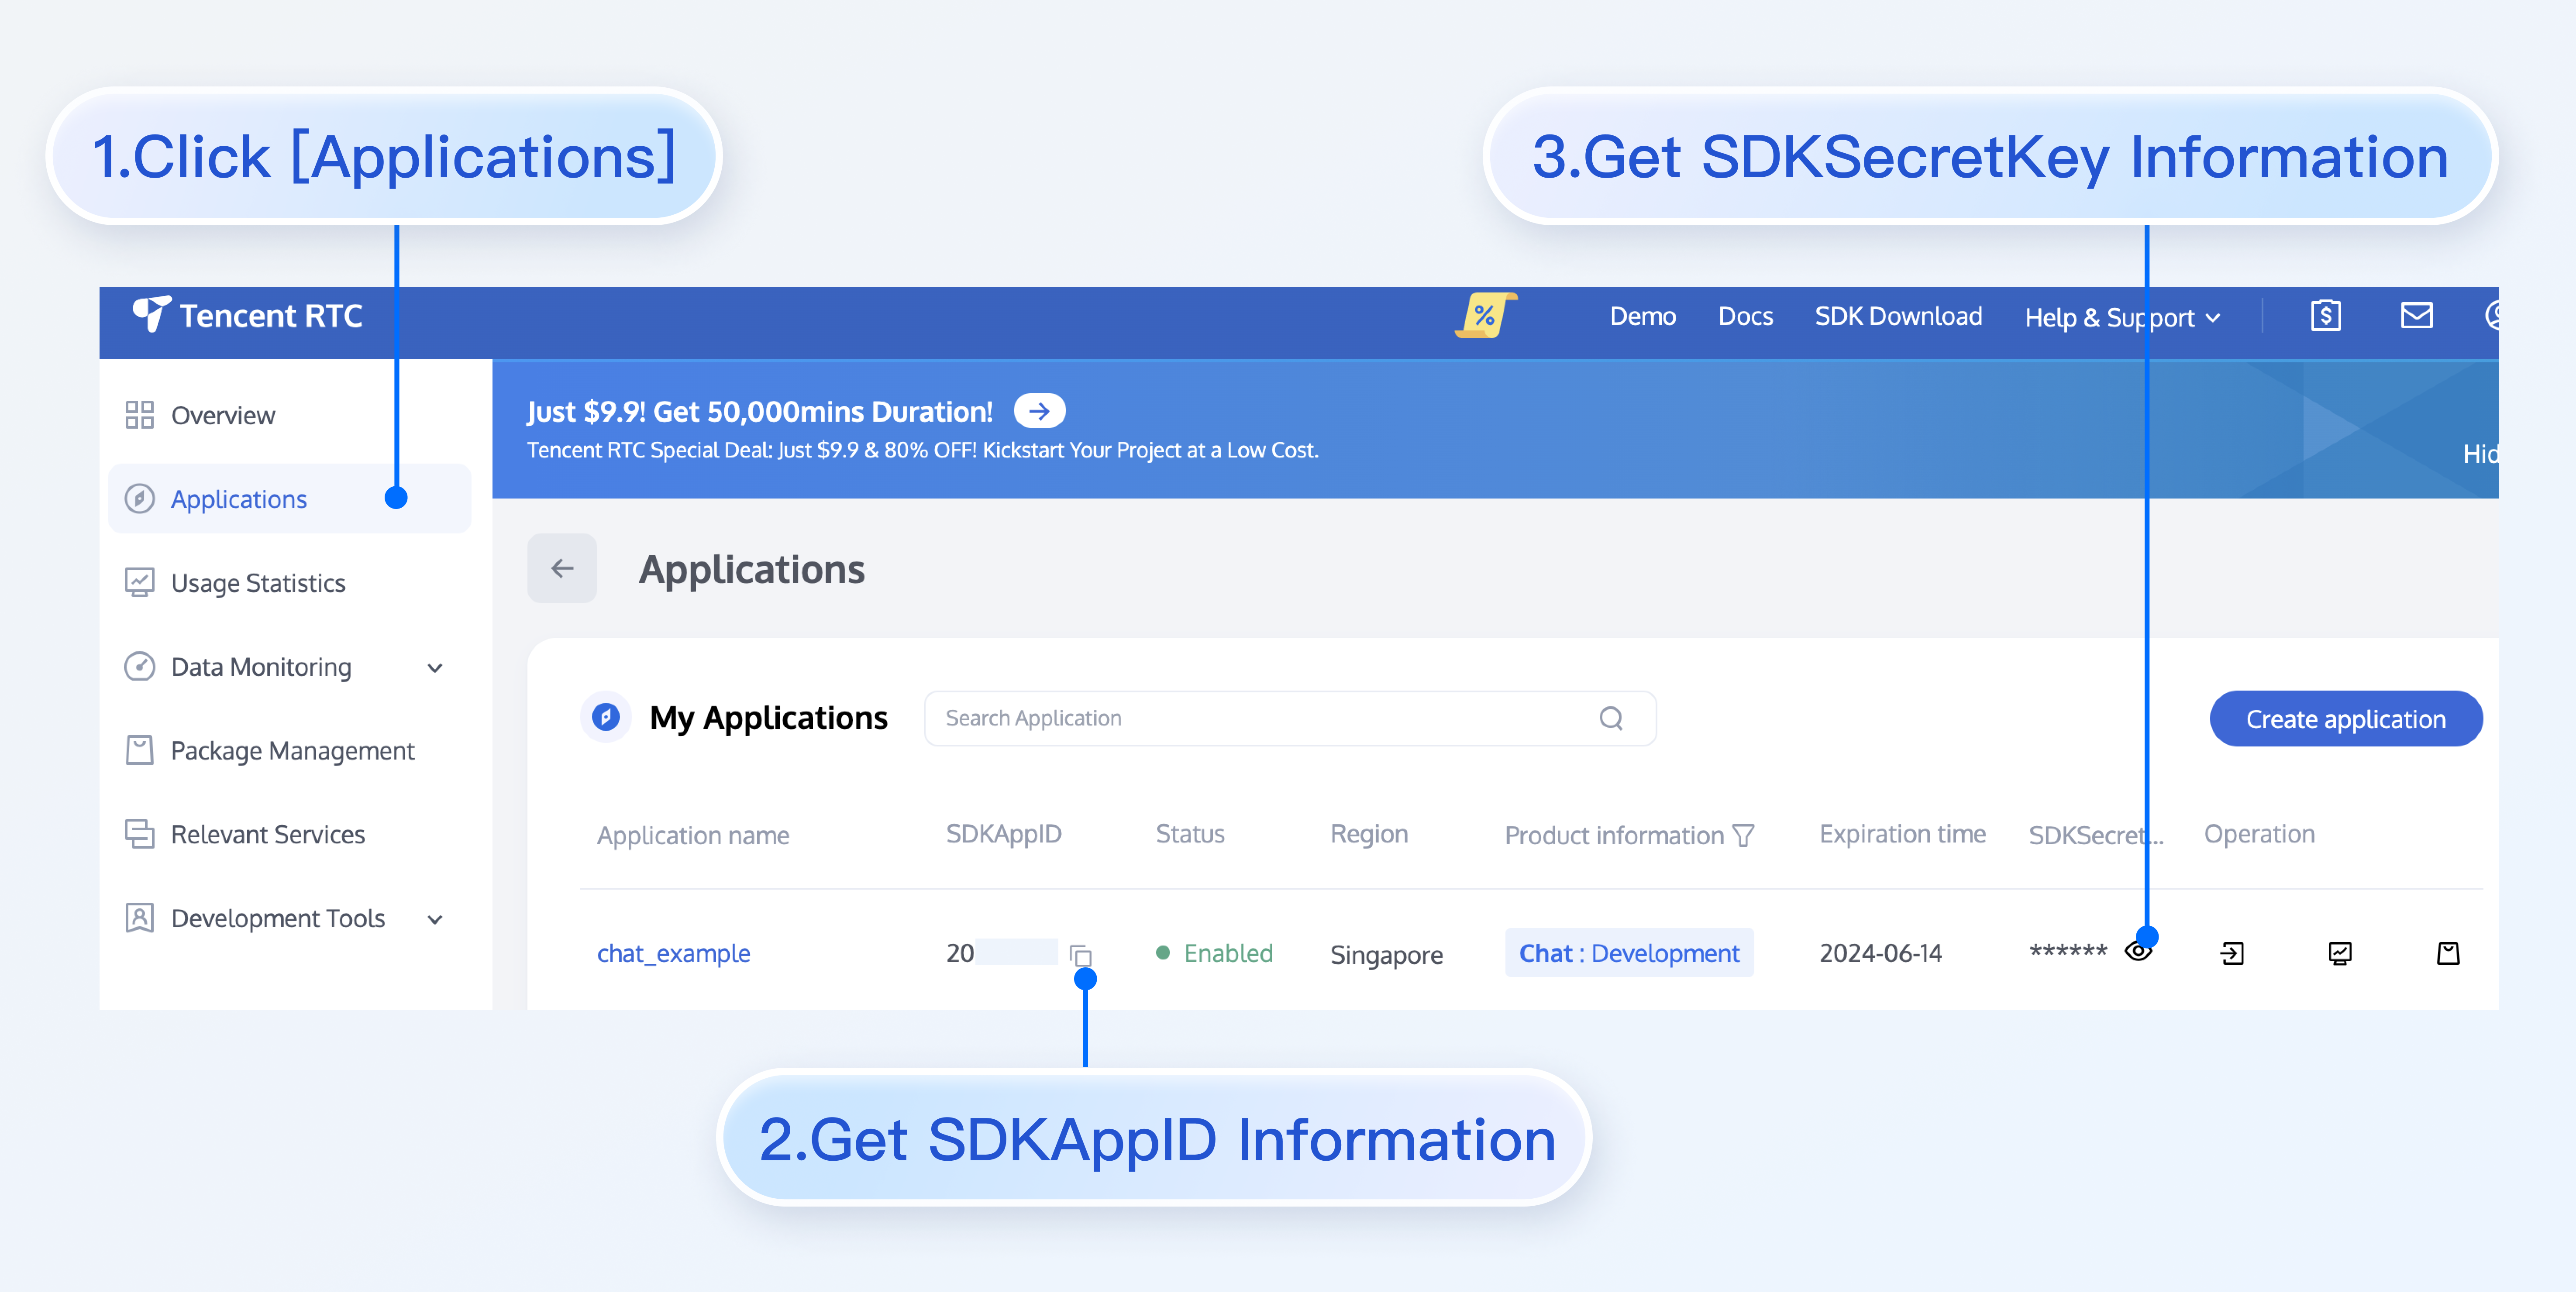
1. Log in to the Chat console, go to the application management page, and click Create New Application. If you have an existing application, you can omit the application creation process.
2. On the application management page, obtain the SDKAppID and key information from the SDKAppID column.
Note:
View key info requires identity verification.
Key information is sensitive information. To prevent misappropriation, keep it safe and guard against leakage.
# Install dependencies of the demo and build chat-uikit-react
$ npminstall
Run Demo
Note:
The correct UserSig issuance method is to integrate the UserSig calculation code into your server and provide an App-oriented API. When UserSig is required, your App can initiate request to the business server to obtain dynamic UserSig. For more details, see UserSig generation by the server.
# Launch the project
npm run dev
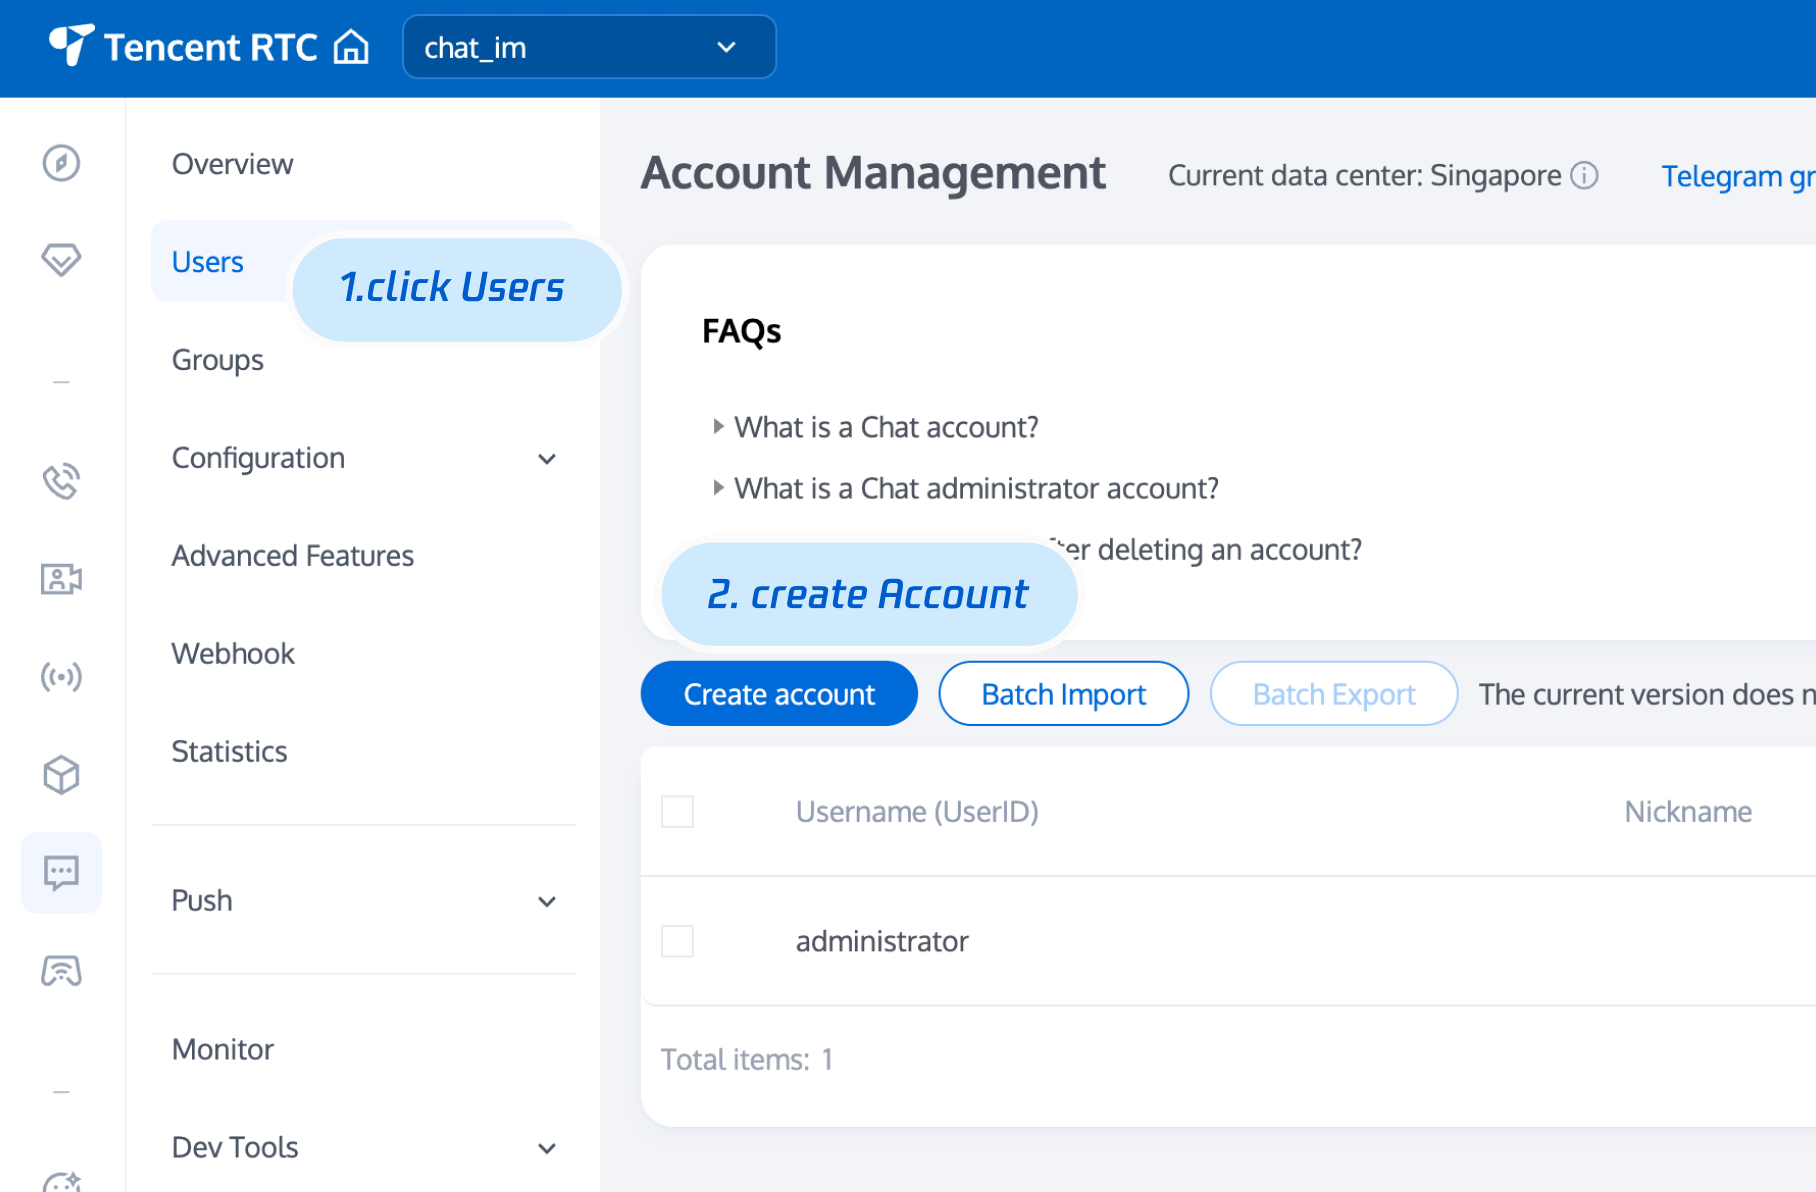
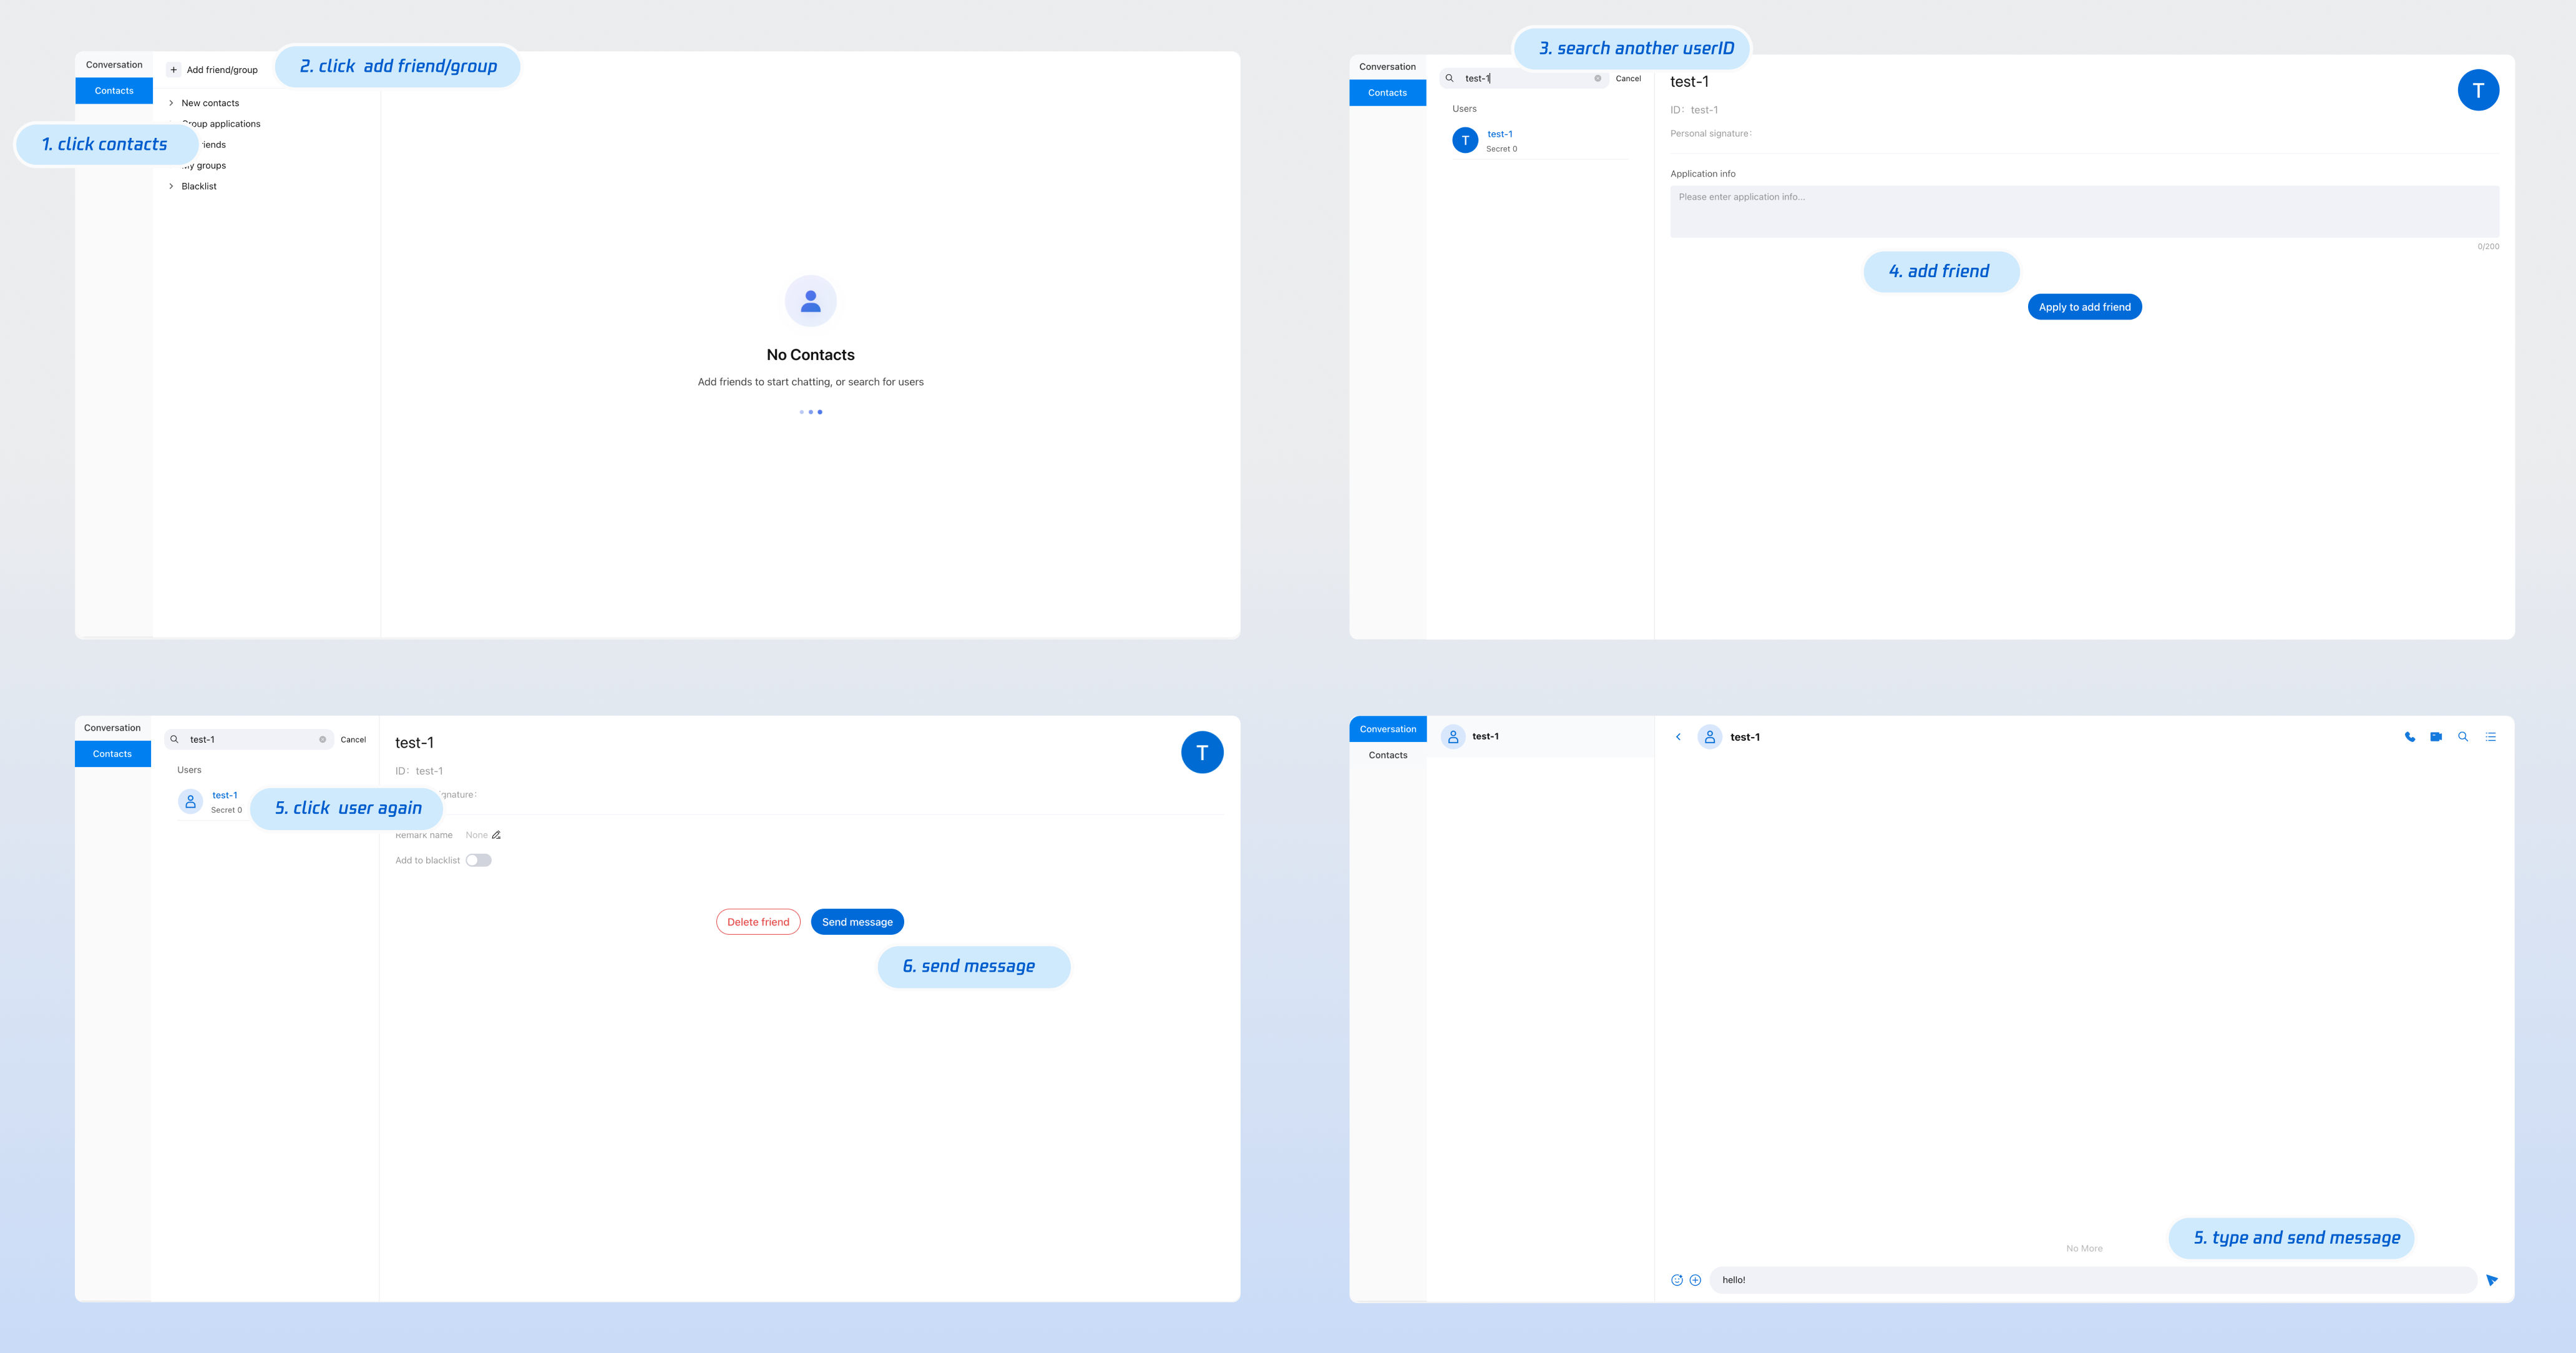
After running the program, click the "Experience Chat" card to enter the login page. Enter the obtained SDKAppID, userID, and secretKey to experience the chat function.
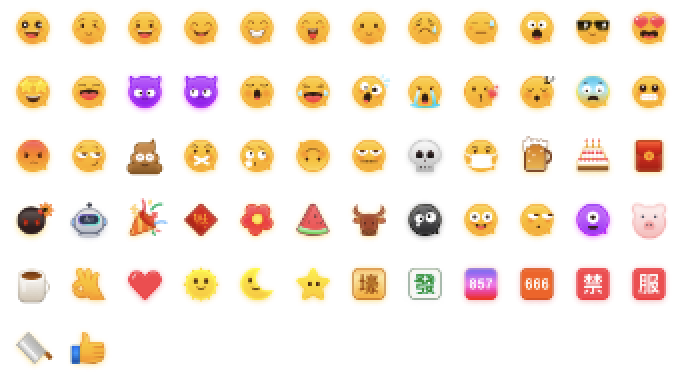
To respect the copyright of emoji designs, the Chat Demo/TUIKit project does not include cutouts of large emoji elements. Please replace them with your own designs or other emoji packs for which you hold the copyright before officially launching for commercial use. The default smiley face emoji pack shown below is copyrighted by Tencent RTC, you can upgrade to Chat Pro Plus Edition and Enterprise Edition to use it for free.