
Customize Messages
TUIKit implements the sending and display for basic message types such as text, image, audio, video, and file messages by default. If these message types do not meet your requirements, you can add custom message types.
Basic Message Types
Message Type | Renderings |
Text message | 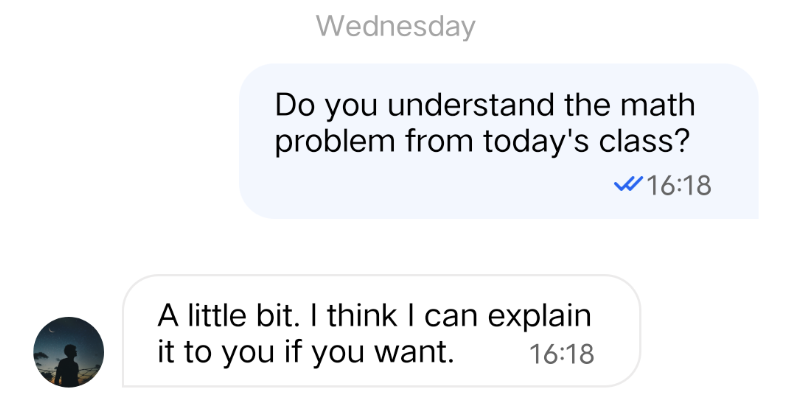 |
Image message | 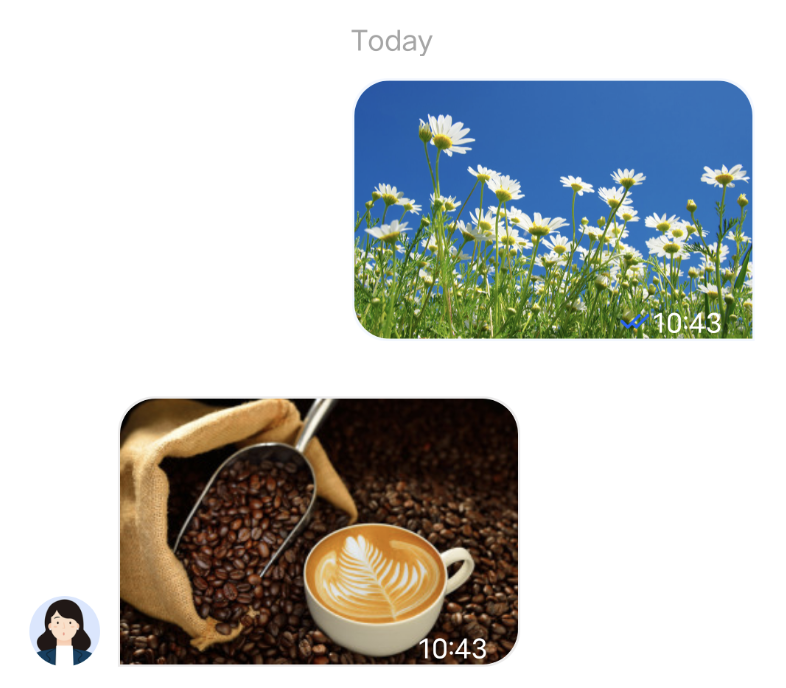 |
Audio message | 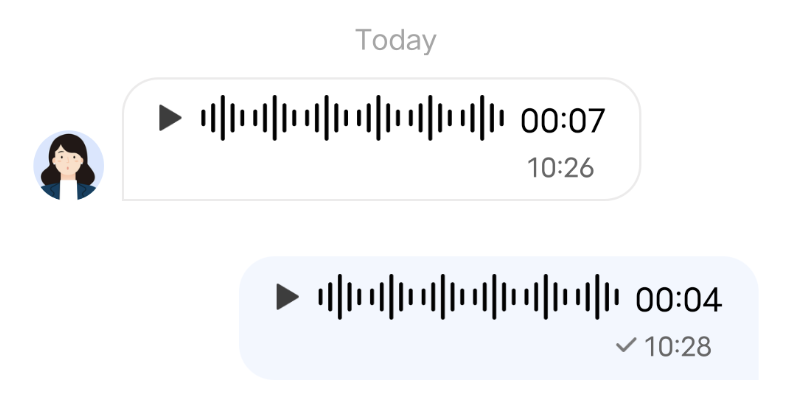 |
Video message | 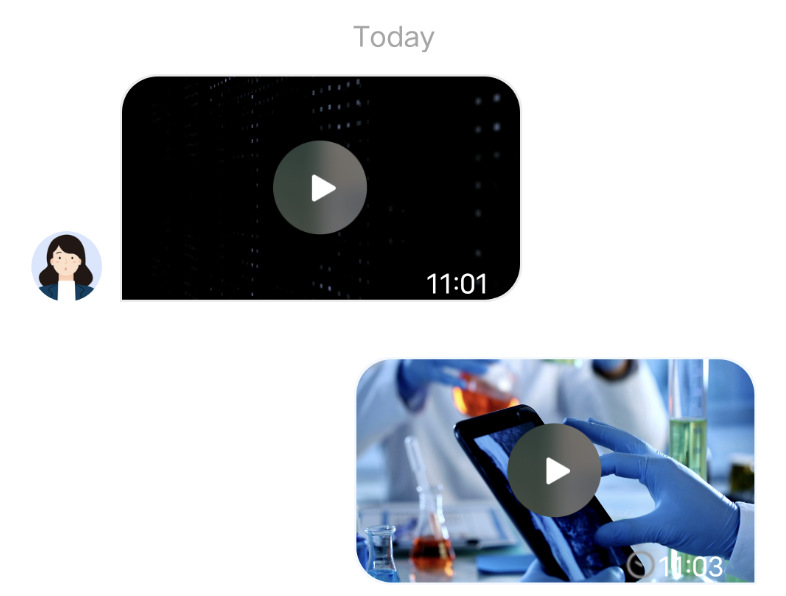 |
File message | 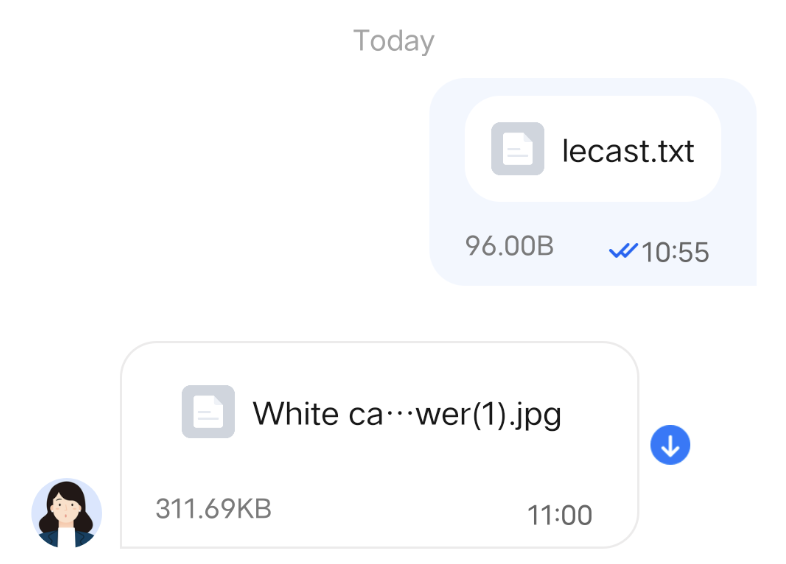 |
Custom Message
If the basic message types do not meet your requirements, you can customize messages as needed. The following uses sending a custom hypertext message that can redirect to the browser as an example to help you quickly understand the implementation process.
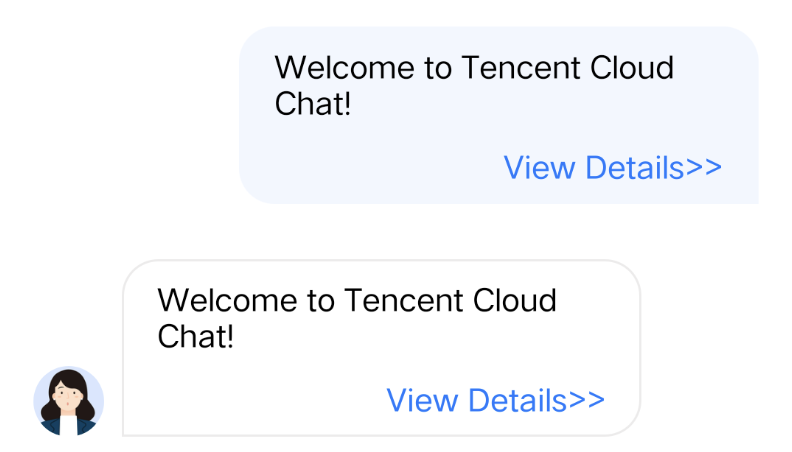
The built-in custom message style of TUIKit is shown in the figure below:
Note
In TUIKit 5.8.1668, a new custom message scheme was designed, which introduces many changes compared with the original scheme and is easier to implement. APIs of the original scheme are retained but are no longer maintained.
We strongly recommend you to upgrade to version 5.8.1668 or later to use the new scheme to implement custom messages.
Displaying a Custom Message
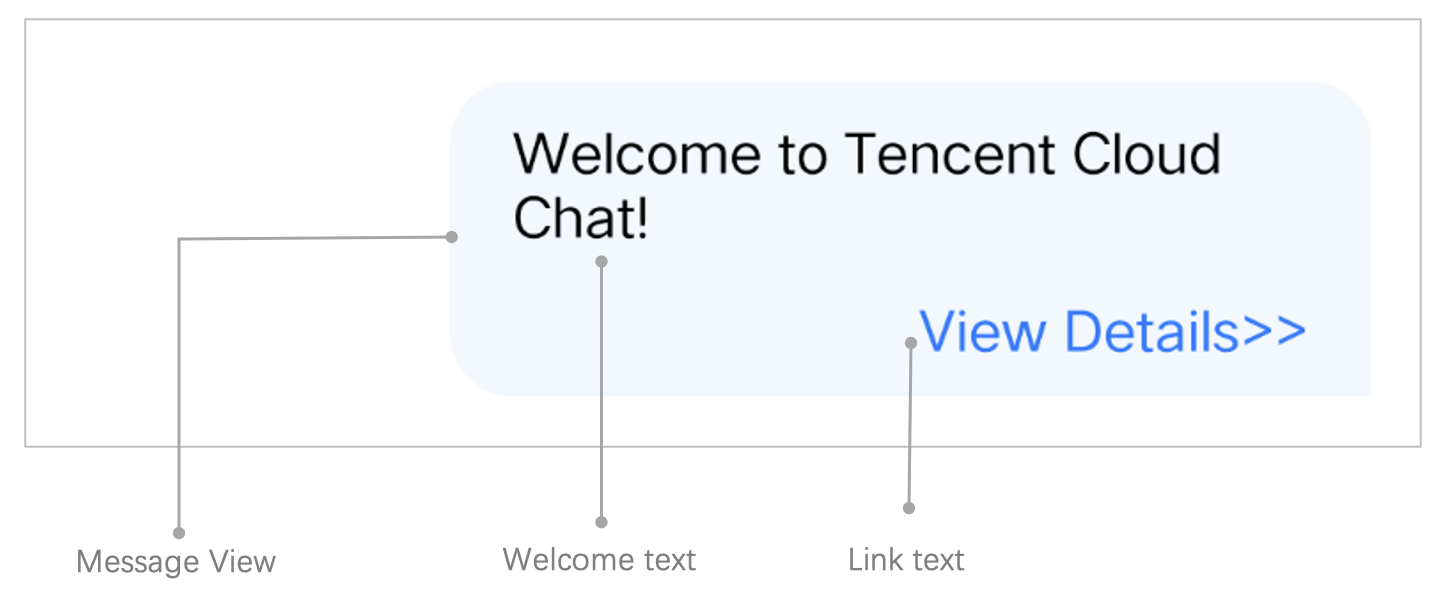
The View element of the built-in custom message of TUIKit is shown in the figure below:
You can receive a custom message via the
onRecvNewMessage method in ChatPresenter.java, and the received custom message will be displayed in MessageViewHolder mode in the message list. The data required for MessageViewHolder drawing is called MessageBean.The following introduces how to display a custom message.
Implement the MessageBean class for the custom message
1. Create the
CustomLinkMessageBean.java file in TUIChat/tuichat/src/main/java/com/tencent/qcloud/tuikit/tuichat/bean/message/. Inherit data from TUIMessageBean to the CustomLinkMessageBean class to store the text to display and the link to redirect.
Sample code:public class CustomLinkMessageBean extends TUIMessageBean {private String text;private String link;public String getText() {return text;}public String getLink() {return link;}}
2. Rewrite the
onProcessMessage(message) method of CustomLinkMessageBean to implement custom message parsing.
Sample code:@Overridepublic void onProcessMessage(V2TIMMessage v2TIMMessage) {// Custom message view implementation. Here we configure to display only the text information and implement link redirection.text = "";link = "";String data = new String(v2TIMMessage.getCustomElem().getData());try {HashMap map = new Gson().fromJson(data, HashMap.class);if (map != null) {text = (String) map.get("text");link = (String) map.get("link");}} catch (JsonSyntaxException e) {}setExtra(text);}
3. Rewrite the
onGetDisplayString() method of CustomLinkMessageBean to generate the text summary in the conversation list.
The implementation effect is as follows: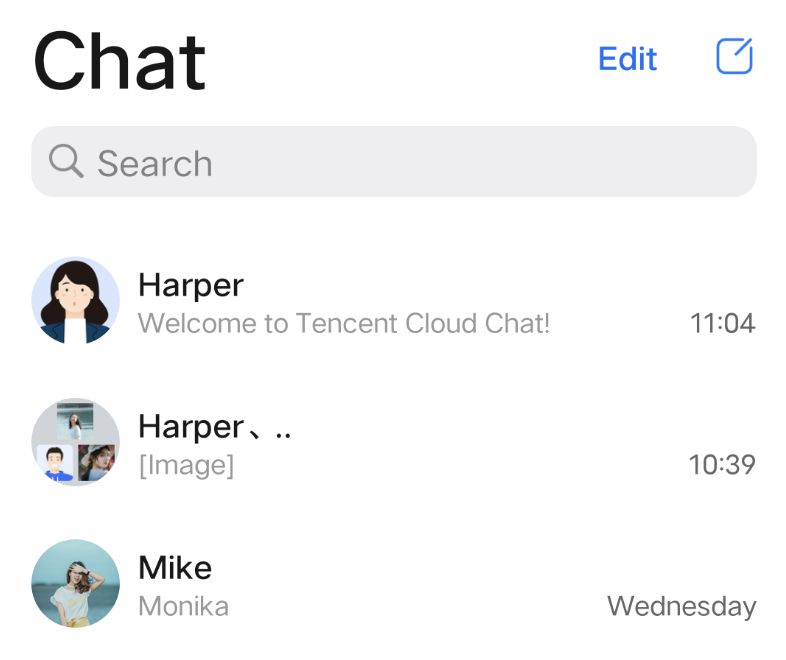
Sample code:
@Overridepublic String onGetDisplayString() {return text;}
Implement the MessageViewHolder class
1. Create the
CustomLinkMessageHolder.java file in Android/TUIChat/tuichat/src/main/java/com/tencent/qcloud/tuikit/tuichat/minimalistui/widget/message/viewholder/. Inherit data from MessageContentHolder to CustomLinkMessageHolder to implement the bubble style layout and click event of the custom message.Note:
If you are using the Classic UI, CustomLinkMessageHolder needs to inherit com.tencent.qcloud.tuikit.timcommon.classicui.widget.message.MessageContentHolder, if using Minimalist UI, you need to inherit com.tencent.qcloud.tuikit.timcommon.minimalistui.widget.message.MessageContentHolder
Sample code:
public class CustomLinkMessageHolder extends MessageContentHolder {public CustomLinkMessageHolder(View itemView) {super(itemView);}}
2. Rewrite the
getVariableLayout method of CustomLinkMessageHolder and go back to the layout of the custom message.
Sample code:@Overridepublic int getVariableLayout() {return R.layout.test_custom_message_layout;}
Layout file
test_custom_message_layout:<?xml version="1.0" encoding="utf-8"?> <LinearLayout xmlns:android="http://schemas.android.com/apk/res/android" android:layout_width="match_parent" android:layout_height="wrap_content" android:orientation="vertical"> <TextView android:id="@+id/test_custom_message_tv" android:layout_width="wrap_content" android:layout_height="wrap_content" android:textColor="?attr/chat_self_custom_msg_text_color" /> <LinearLayout android:layout_width="match_parent" android:layout_height="wrap_content" android:layout_marginTop="10dp" android:orientation="horizontal"> <TextView android:id="@+id/link_tv" android:layout_width="0dp" android:layout_height="wrap_content" android:layout_weight="1" android:textAlignment="viewEnd" android:text="@string/test_custom_message" android:textColor="?attr/chat_self_custom_msg_link_color" /> </LinearLayout> </LinearLayout>
3. Rewrite the
layoutVariableViews method of CustomLinkMessageHolder to render the custom message to the layout and add the custom message click event.
Sample code:@Overridepublic void layoutVariableViews(TUIMessageBean msg, int position) {// Custom message view implementation. Here we configure to display only the text information and implement link redirection.TextView textView = itemView.findViewById(R.id.test_custom_message_tv);String text = "";String link = "";if (msg instanceof CustomLinkMessageBean) {text = ((CustomLinkMessageBean) msg).getText();link = ((CustomLinkMessageBean) msg).getLink();}textView.setText(text);msgContentFrame.setClickable(true);String finalLink = link;msgContentFrame.setOnClickListener(new View.OnClickListener() {@Overridepublic void onClick(View v) {Intent intent = new Intent();intent.setAction("android.intent.action.VIEW");Uri content_url = Uri.parse(finalLink);intent.setData(content_url);intent.addFlags(Intent.FLAG_ACTIVITY_NEW_TASK);TUIChatService.getAppContext().startActivity(intent);}});}
Register the custom message Definition
Note:
Each custom message Definition must have a unique businessID, which is case sensitive and cannot be duplicated with other custom message Definitions' businessID. TUIChat needs to find the corresponding custom message Definition based on this businessID.
The newly added businessID for the custom message Definition cannot be duplicated with the businessID of the built-in custom message Definitions in TUIKit.
During App initialization, call the TUIChatConfigs.registerCustomMessage API to register the custom message Definition with TUIChat.
The sample code is as follows:
// Self Definition message businessID (Note: Duplicates not allowed)public static final String CUSTOM_LINK_MESSAGE_BUSINESS_ID = "text_link";/** Register the self Definition message with TUIChat. The three parameters are* @param businessID Self Definition message businessID * @param messageBeanClass Self Definition message MessageBean type * @param messageViewHolderClass Self Definition message MessageViewHolder type*/ TUIChatConfigs.registerCustomMessage(CUSTOM_LINK_MESSAGE_BUSINESS_ID,CustomLinkMessageBean.class,CustomLinkMessageHolder.class);
In addition, TUIChatConfigs also provides another overload of the registerCustomMessage method, which supports registering custom messages in the simplified UI version and supports null message layouts. For details, please refer to the TUIChatConfigs.java file.
Sending Custom Messages
Note:
The content of a custom message must be in the JSON format. The businessID field is mandatory. Other fields can be added as needed, and the maximum size for a single message is 12KB. For example:
{"businessID":"text_link","link":"https://trtc.io/products/chat","text":"Welcome to Tencent Cloud Chat!"}
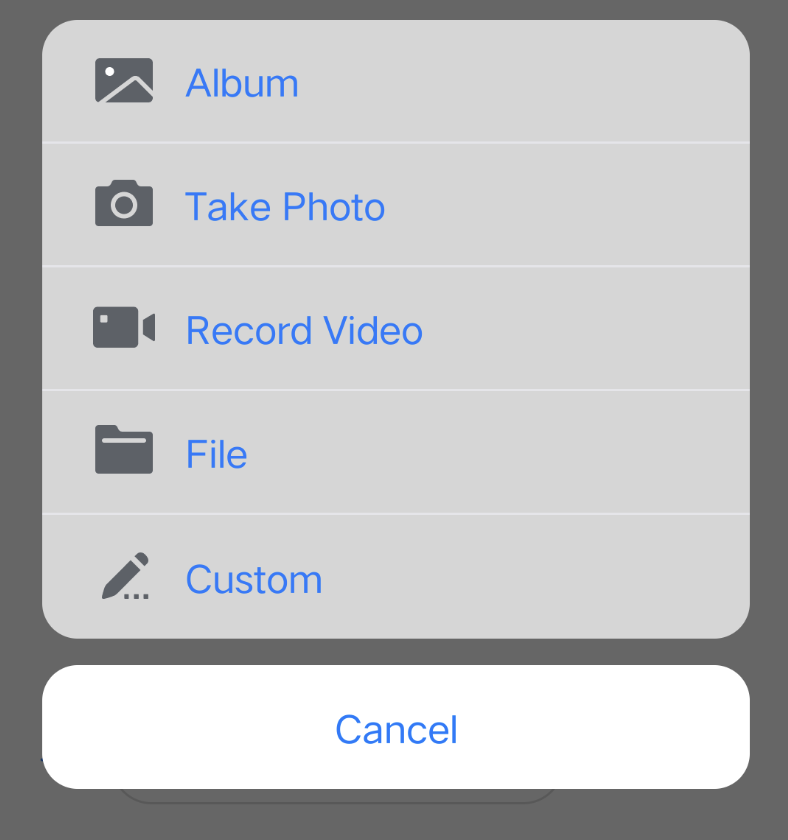
As the figure below shows, the custom message sending button consists of a text title and an image icon.
1. Add code to the
customizeChatLayout method in ChatLayoutSetting.java to add the custom message sending button.1. Sample code:
InputMoreActionUnit unit = new InputMoreActionUnit() {};unit.setIconResId(R.drawable.custom);unit.setName("Custom");unit.setActionId(CustomHelloMessage.CUSTOM_HELLO_ACTION_ID);unit.setPriority(10);inputView.addAction(unit);
2. Configure click listening for the custom message sending button. Then, when the message sending button is clicked, a custom message is created and sent.
A custom message is a piece of JSON data. You need to define the
businessID field in JSON to uniquely identify the message type.
Sample code:unit.setOnClickListener(unit.new OnActionClickListener() {@Overridepublic void onClick() {Gson gson = new Gson();CustomHelloMessage customHelloMessage = new CustomHelloMessage();customHelloMessage.businessID = "text_link";customHelloMessage.text = "Welcome to Tencent Cloud Chat!";customHelloMessage.link = "https://trtc.io/products/chat";String data = gson.toJson(customHelloMessage);TUIMessageBean info = ChatMessageBuilder.buildCustomMessage(data, customHelloMessage.text, customHelloMessage.text.getBytes());layout.sendMessage(info, false);}});

