please select
  • UIKit
  • SDK
  • Server APIs
Chat/
UIKit/
Android/
Customization/
UIKit
  • Overview
  • Run Demo
  • Getting Started
  • Installation
    • TUIKit
    • TUIChat Only
  • Build Basic Interfaces
    • Chat
    • Conversation List
    • Contact List
    • Add Contact
    • Create Group Chat
    • Video and Audio Call
  • Features
    • Reactions
    • Quote
    • Read Receipt
    • User Online Status
    • Translation
    • Voice to Text
    • Search Messages
  • Customization
    • Customize Messages
    • Customize Emojis and Stickers
  • Localization
  • Changelog
  • Guideline for Beginners
  • Console Guide
    • Creating and Upgrading an Application
    • Basic Configuration
    • Feature Configuration
    • Account Management
    • Group Management
    • Webhook Configuration
  • Product Introduction
    • Message Management
      • One-to-One Message
      • Message Storage
      • Offline Push
      • Group Message
      • Message Formats
    • Account System
      • Login Authentication
      • Online Status Management
    • Group Related
      • Group System
      • Group Management
    • User Profile and Relationship Chain
      • Profile Management
      • Relationship Chain Management
  • Purchase Guide
    • Billing Overview
    • Pricing
  • Error Codes

Customize Emojis and Stickers

TUIChat allows for adding custom emojis.
Note:
TUIChat accommodates the inclusion of images in these formats as custom emoticons: JPEG, JPG, PNG, BMP. GIF format is also supported, which starts from version 7.8.

Adding a Custom Emoji

TUIChat allows for adding custom emojis from the sandbox, assets directory, and network paths. 
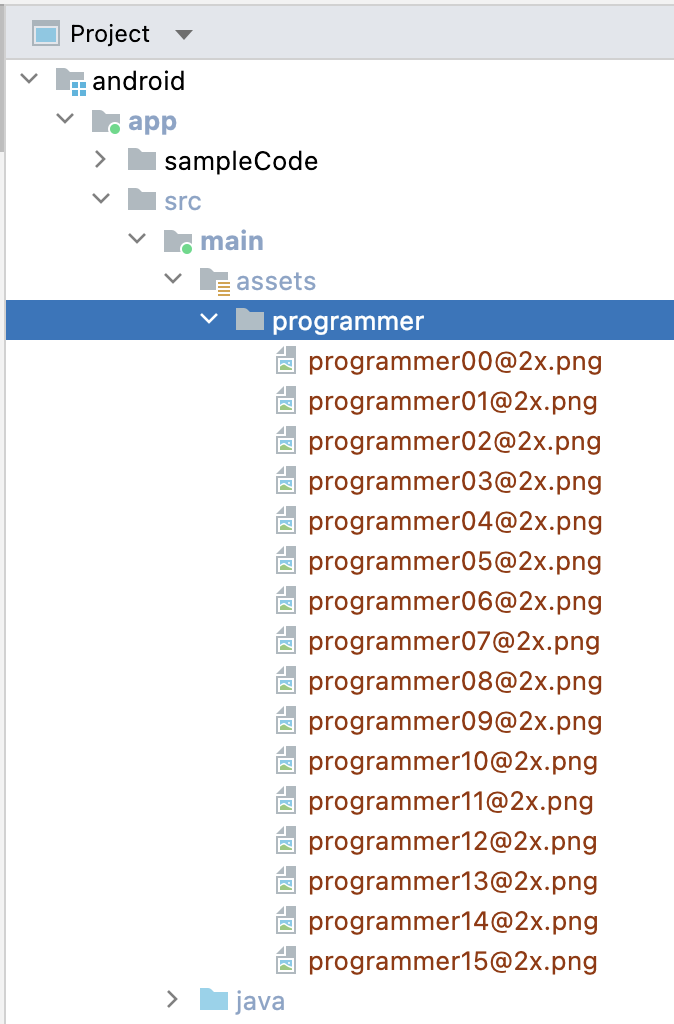
The following takes adding the programmer emoji from the assets directory as an example.

Preparing sticker resources

Create the assets folder in the src/main folder of the app and put the emoji folder in the assets directory:


Adding a sticker

When the application starts, call the API to add a custom emoji to FaceManager: 
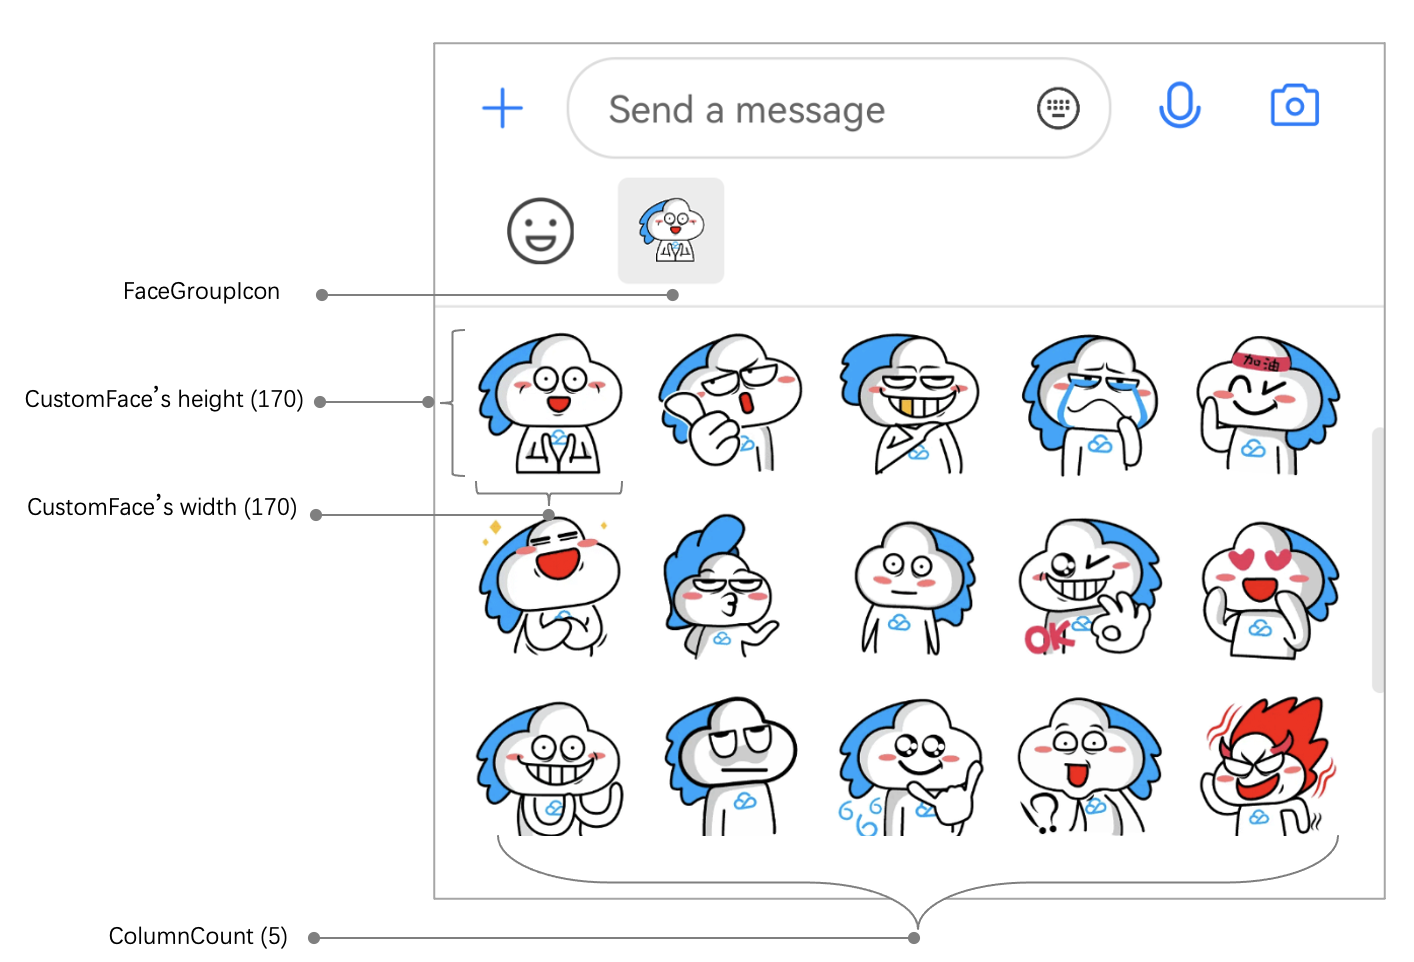
Each sticker has a unique faceGroupID, and each emoji in the sticker has a faceKey. After the sticker is added to FaceManager, stickers will be sorted by faceGroupID on the More emojis input UI.
public class DemoApplication extends Application {
@Override
public void onCreate() {
FaceGroup programmerGroup = new FaceGroup();
// The number of emojis displayed per row on the **More emojis** input UI
programmerGroup.setPageColumnCount(5);
// The thumbnail of the sticker
programmerGroup.setFaceGroupIconUrl("file:///android_asset/programmer/programmer00@2x.png");
// The name of the sticker
programmerGroup.setGroupName("programmer");
for (int i = 0; i < 16; i++) {
CustomFace customFace = new CustomFace();
String index = "" + i;
if (i < 10) {
index = "0" + i;
}
// Put emojis in the `assets` directory. If the sandbox path or network path is used, the `setFaceUrl` method can be used.
customFace.setAssetPath("programmer/programmer" + index + "@2x.png");
// The `key` of the emoji
String faceKey = "programmer" + index;
customFace.setFaceKey(faceKey);
// The width of the emoji on the **More emojis** input UI
customFace.setWidth(170);
// The height of the emoji on the **More emojis** input UI
customFace.setHeight(170);
programmerGroup.addFace(faceKey, customFace);
}
// Register the sticker in `FaceManager`. `FaceGroupID` is `1`.
FaceManager.addFaceGroup(1, programmerGroup);
}
}

Effect after successful addition

The sticker added successfully is displayed on the More emojis input UI on the chat UI.


Caution
faceGroupID is an integer greater than 0 and must be unique.

Sending a Custom Emoji

After a custom emoji is added, it will be displayed on the More emojis input UI and can be sent with a click.
An emoji message can also be generated by using the code and then sent, for example:
V2TIMMessage v2TIMMessage = V2TIMManager.getMessageManager()
.createFaceMessage(faceGroupID, faceKey.getBytes());
V2TIMManager.getMessageManager().sendMessage(v2TIMMessage,
userID,
null,
V2TIMMessage.V2TIM_PRIORITY_DEFAULT,
false,
null,
new V2TIMSendCallback<V2TIMMessage>() {...}

Parsing a Custom Emoji

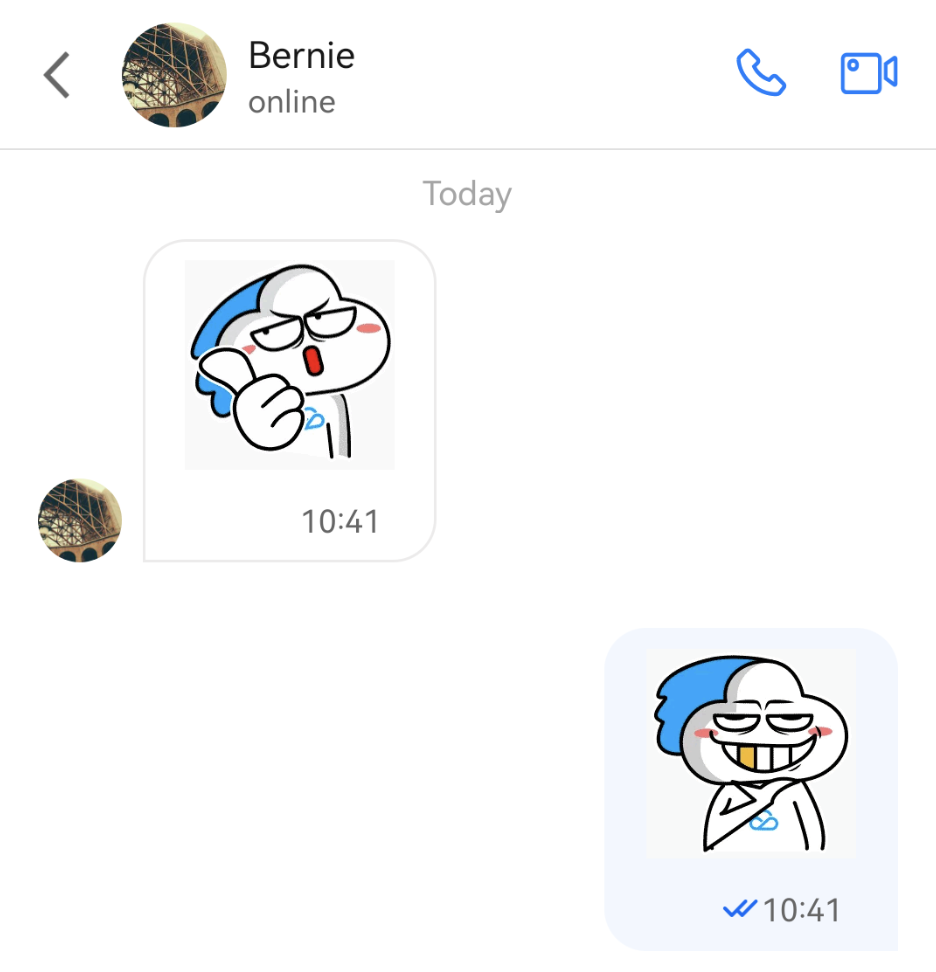
After a custom emoji message is received, TUIKit will parse the V2TIMMessage of the IM SDK as the FaceMessageBean type. FaceMessageBean can be used to get the faceGroupID and faceKey of the custom emoji.
TUIMessageBean messageBean = ChatMessageParser.parseMessage(v2TIMMessage);
FaceMessageBean faceMessageBean = null;
if (messageBean instanceof FaceMessageBean) {
faceMessageBean = (FaceMessageBean) messageBean;
}
if (faceMessageBean != null) {
int faceGroupID = faceMessageBean.getIndex();
String faceKey = null;
if (faceMessageBean.getData() != null) {
faceKey = new String(faceMessageBean.getData());
}
}

Rendering a Custom Emoji

Calling an existing API for rendering

After the faceGroupID and faceKey of a custom emoji are obtained, the loadFace method of FaceManager can be called to load them to the imageView passed in:
FaceManager.loadFace(faceGroupID, faceKey, imageView);

Custom rendering

Also, the faceGroupID and faceKey of an emoji can be used to get the real URL of the emoji from FaceManager for custom rendering, for example:
String faceUrl = "";
List<FaceGroup> faceGroupList = FaceManager.getFaceGroupList();
for(FaceGroup faceGroup : faceGroupList) {
if (faceGroup.getGroupID() == faceGroupID) {
ChatFace face = faceGroup.getFace(faceKey);
if (face != null) {
faceUrl = face.getFaceUrl();
}
}
}

// load faceUrl into view

Rendering effect

The rendering effect is as shown below: