please select
  • UIKit
  • SDK
  • Server APIs
Chat/
UIKit/
Web/
Installation/
TUIChat Only/
UIKit
  • Overview
  • Installation
    • TUIKit
      • React
      • Vue
    • TUIChat Only
      • React
      • Vue
  • Features
    • Reactions
    • Read Receipt
    • Typing Status
    • User Online Status
    • Message Search
    • Quote Reply
    • Voice Message To Text
    • Translate Message
  • Themes
    • Setting UI Styles
      • Web
      • Mobile
  • Customization
    • Customize Messages
    • Customize Emoji and Stickers
  • Localization
  • Guideline for Beginners
  • Console Guide
    • Creating and Upgrading an Application
    • Basic Configuration
    • Feature Configuration
    • Account Management
    • Group Management
    • Webhook Configuration
  • Product Introduction
    • Message Management
      • One-to-One Message
      • Message Storage
      • Offline Push
      • Group Message
      • Message Formats
    • Account System
      • Login Authentication
      • Online Status Management
    • Group Related
      • Group System
      • Group Management
    • User Profile and Relationship Chain
      • Profile Management
      • Relationship Chain Management
  • Purchase Guide
    • Billing Overview
    • Pricing
  • Error Codes

Vue

Applicable Scenario

Web & H5 platform, enabling independent integration of private messaging (1V1) or group chat (Group), such as real estate consultations, e-commerce customer service, and remote insurance claims assessment.


Environment Requirements

Vue (Comprehensively supports both Vue2 & Vue3. Please select the Vue version guide that matches your needs for integration below)
TypeScript (If you have a JS project, please refer to How to Integrate TUIKit Components in a JS Project for progressive support for TS)
Sass (sass-loader version ≤ 10.1.1)
node(node.js ≥ 16.0.0)
npm (use a version that matches the Node version in use)

Integration Guide

Follow the steps in Integrating TUIKit. After completing these steps, you need to configure TUIChat as follows.

Integrate <TUIChat>

Import the TUIChat component on the page where it is needed.
For example, implement the following code in App.vue to quickly set up the chat interface and initiate a specified session:
Note:
conversationID:Session ID. The composition of the Session ID is as follows:
C2C${userID} (for one-on-one chats), for example C2C123456
GROUP${groupID} (for group chats), for example GROUP123456
<template>
<div id="app">
<TUIKit
:SDKAppID="0"
userID="YOUR_USERID"
userSig="YOUR_USERSIG"
conversationID="YOUR_CONVERSATIONID"
:style="{ width: '500px', height: '800px', margin: '0 auto', boxShadow: '0 11px 20px #ccc' }"
>
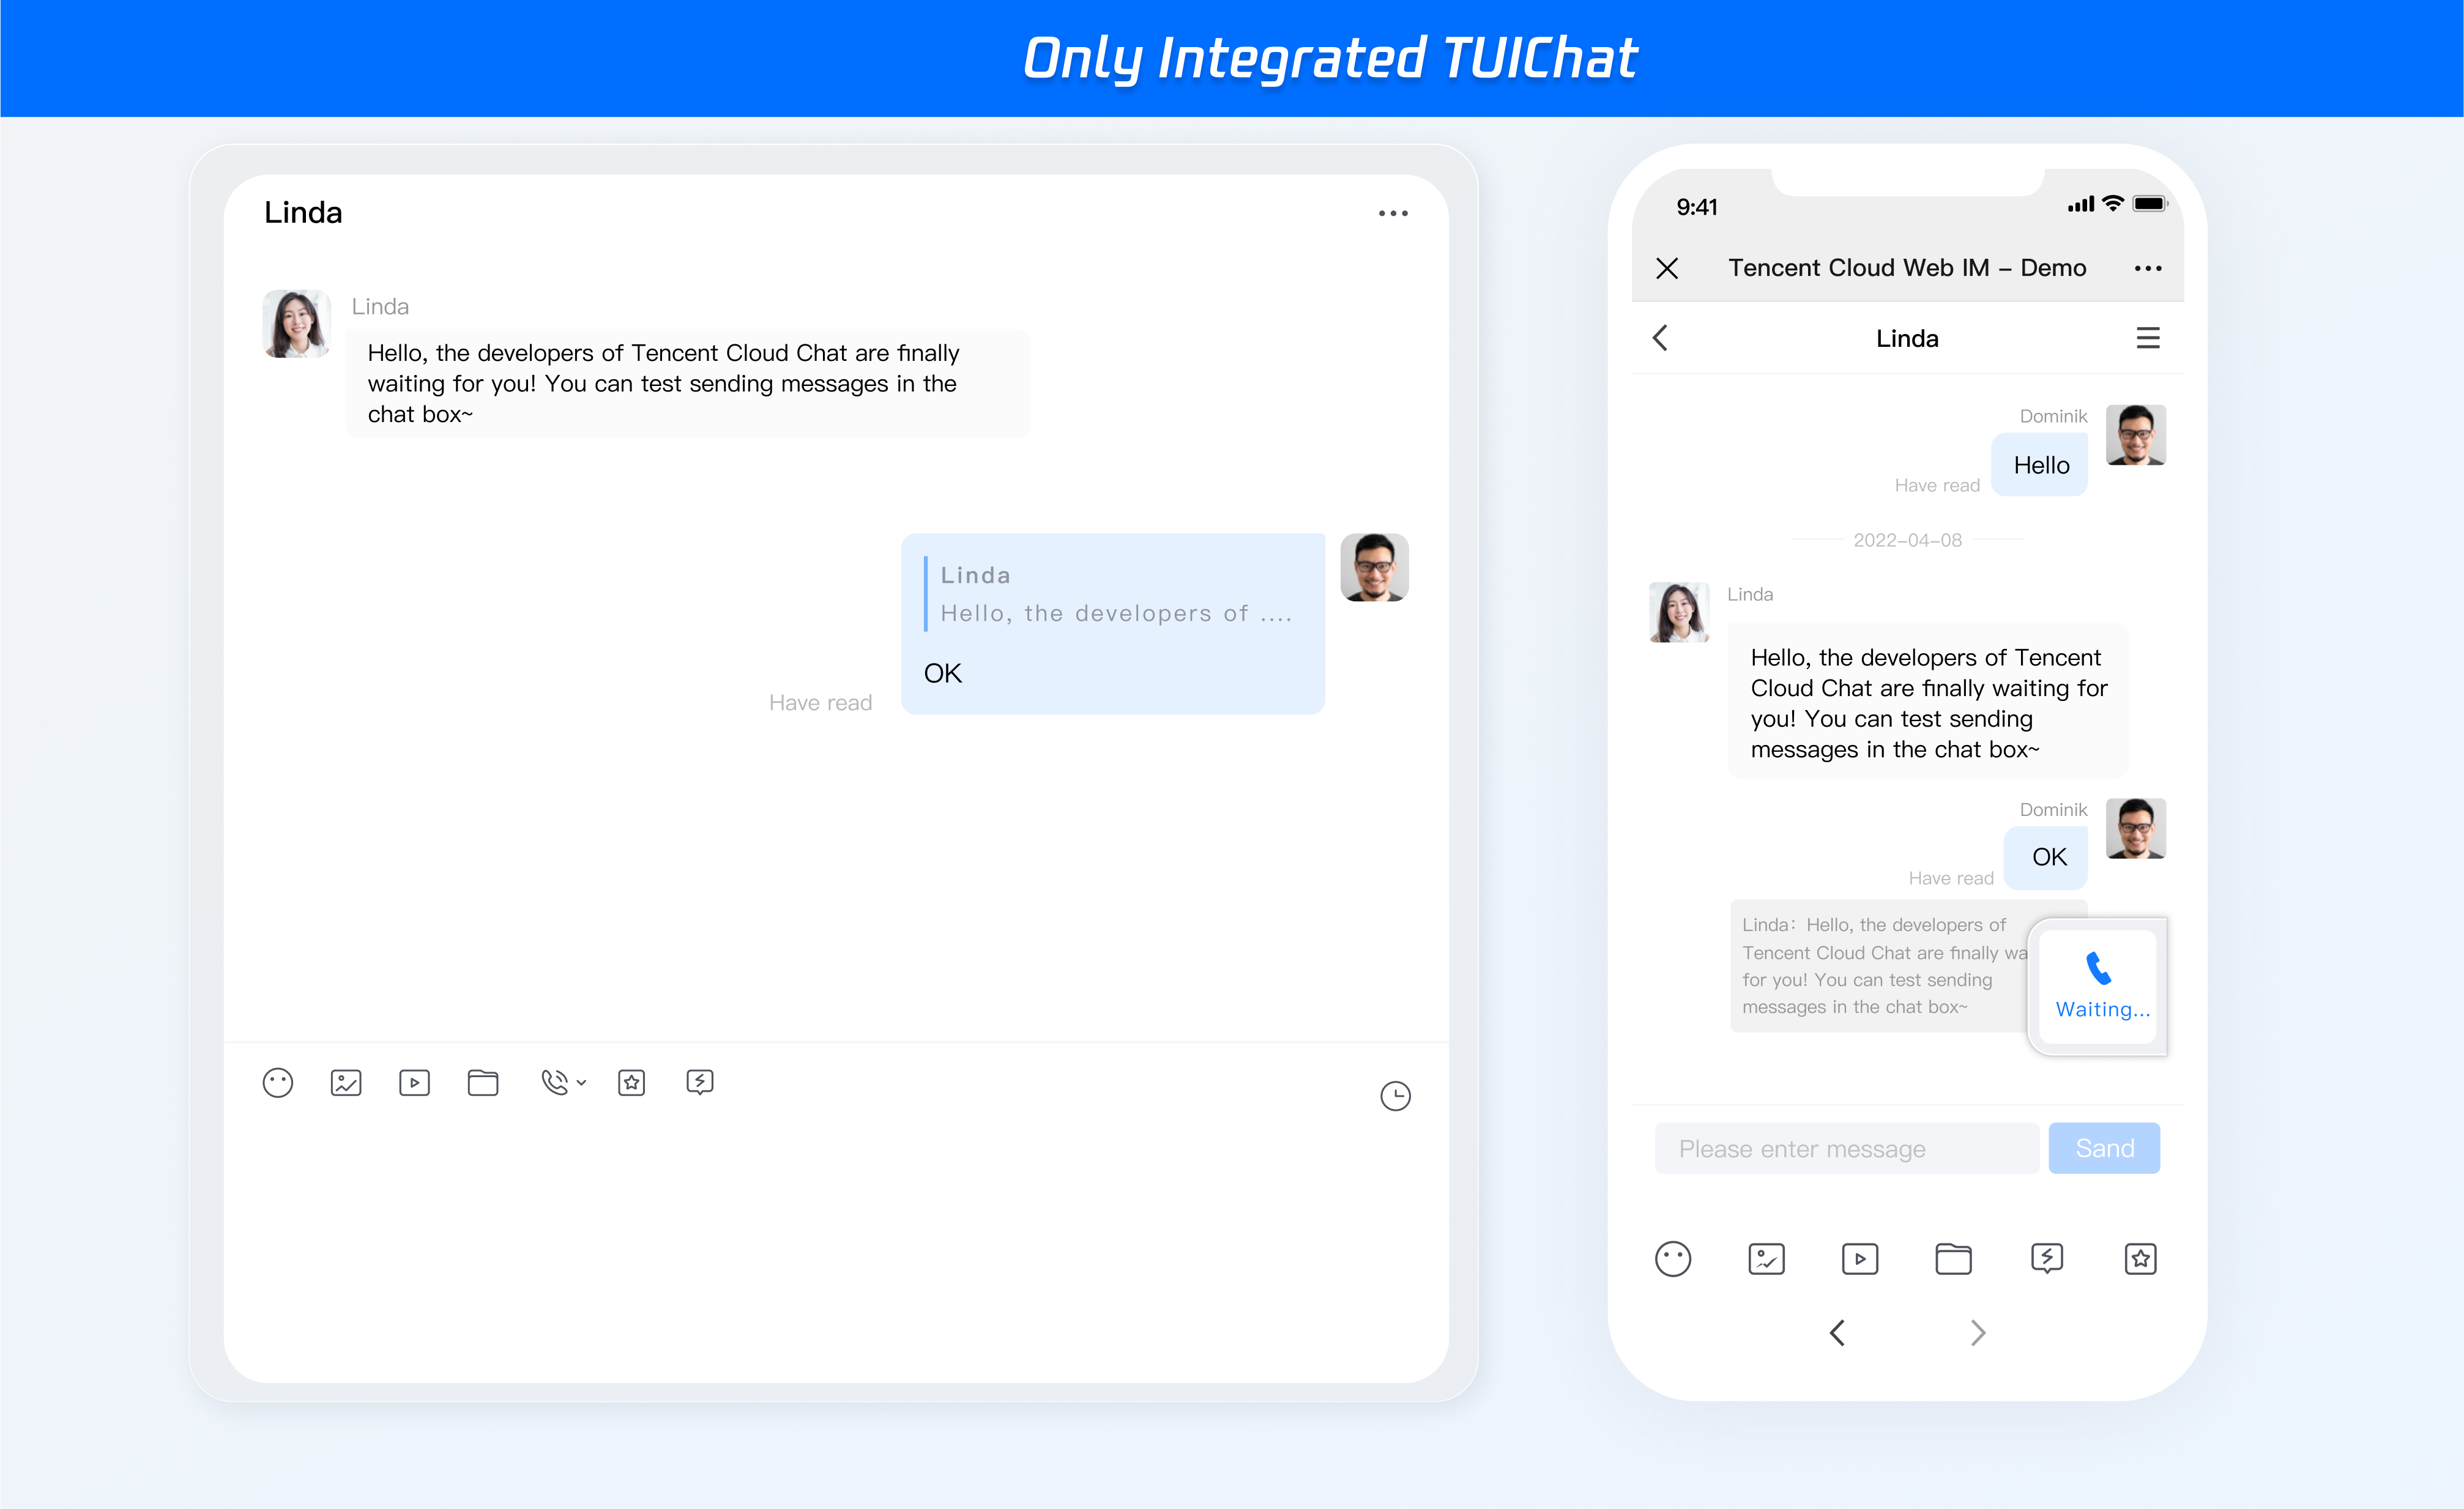
<TUIChat><h1>Welcome to Tencent Cloud Chat</h1></TUIChat>
</TUIKit>
</div>
</template>
<script lang="ts" setup>
import { TUIKit, TUIChat } from "./TUIKit";
</script>
<style lang="scss"></style>

Initiate the project

Execute the following command to initiate the project:
vue-cli
vite
Note:
Since vue-cli enables Webpack Global Overlay Error Message Prompt by default, for a better experience, it is recommended to disable the global overlay error prompt.
webpack4
webpack3
module.exports = defineConfig({
devServer: {
client: {
overlay: false,
},
},
});
module.exports = {
devServer: {
overlay: false,
},
};
npm run serve
npm run dev

FAQs

Please click FAQs to view the solution.

Documentation

Related to Vue2 & Vue3 UIKit:

Vue2 & Vue3 UIKit Logic Layer: Engine Related

Exchange and Feedback

Join the Telegram technical exchange group or WhatsApp discussion group, benefit from the support of professional engineers, and solve your toughest challenges.