
Run the Demo
This guide walks you through setting up the TUILiveKit Android Demo in just 10 minutes. You’ll experience a fully featured video live streaming and voice chat room with a complete UI interface.
Quick Experience
You can directly experience all Live features using the following methods.
Prerequisites
Enable the Service
Refer to Enable the Service to obtain a TUILiveKit trial version. Then, go to the Console for application management, and get the following:
SDKAppID: Application identifier (required). Tencent Cloud uses SDKAppId for billing and details.SDKSecretKey: Application secret key, used to initialize the configuration file with secret information.Environment Preparation
Android 5.0 (API level 21) or above
Gradle 8.0 or above
Two Android devices running 5.0 or above
Instructions
Get the Demo
1. Download the source code: Download the TUIKit_Android source code from GitHub, or run the following command in your terminal:
2. Open the project: Open the TUILiveKit Android project in
Android Studio: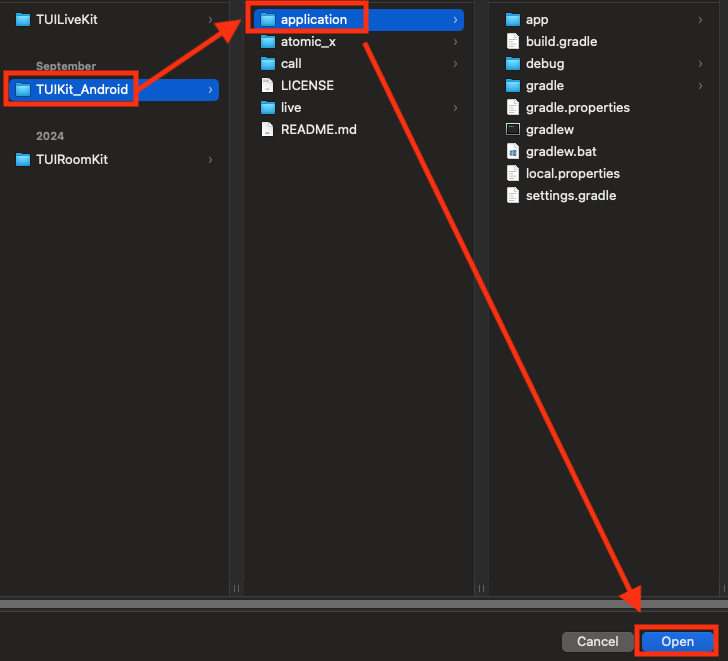
Setup
1. Configure
SDKAppID and SDKSecretKey: Open the TUIKit_Android/application/debug/src/main/java/com/tencent/qcloud/tuikit/debug/GenerateTestUserSig.java file and enter your SDKAppID and SDKSecretKey: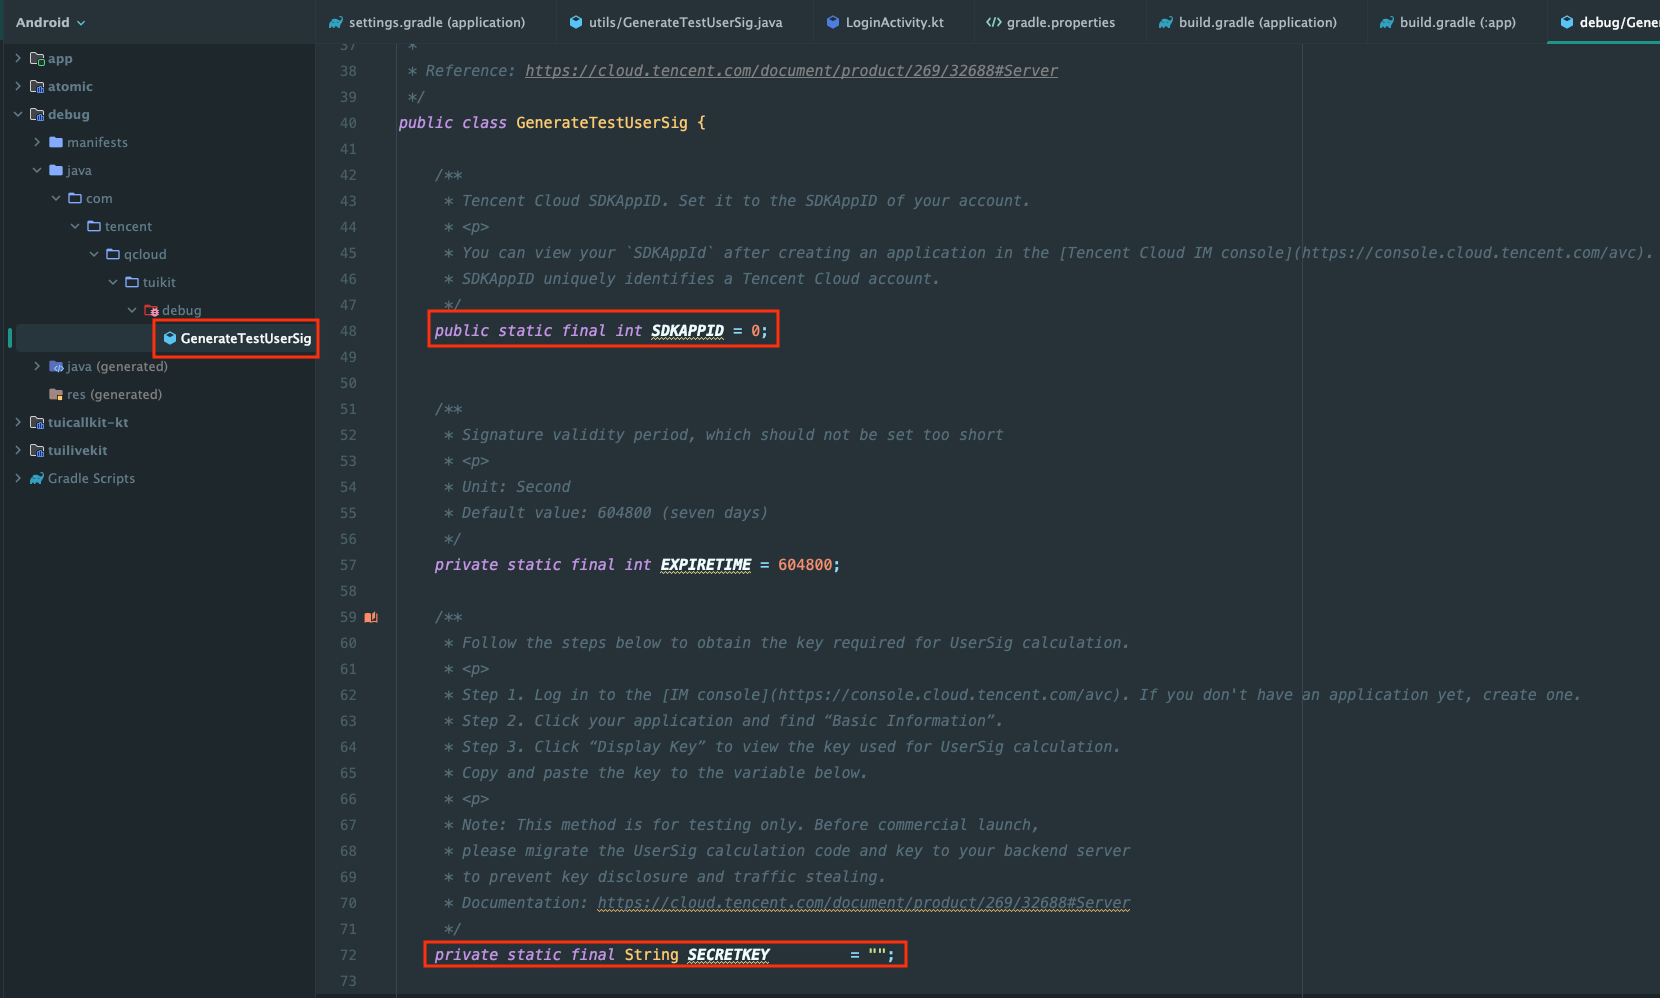
Build and Run the Demo
1. In the upper right corner of
Android Studio, select the device where you want to run the Demo: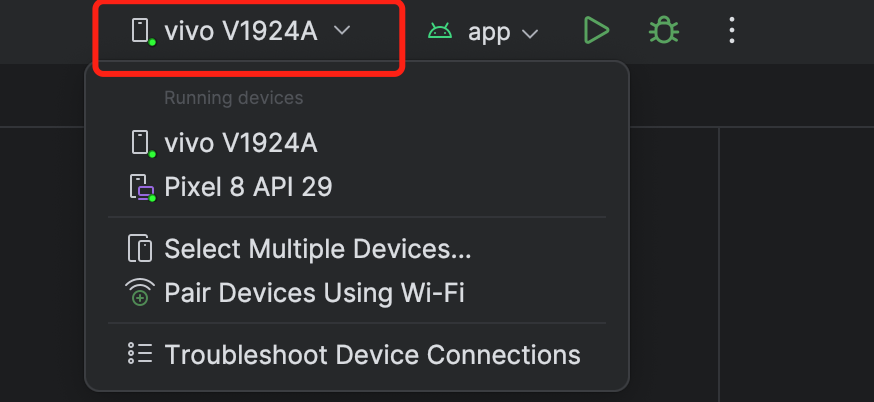
2. Click Run to
deploy TUIKit_Android to the selected device.
Note:
For a complete live streaming experience, log in to the Demo on two devices with different users—one as the host, the other as the audience.
Experience the Basic Features
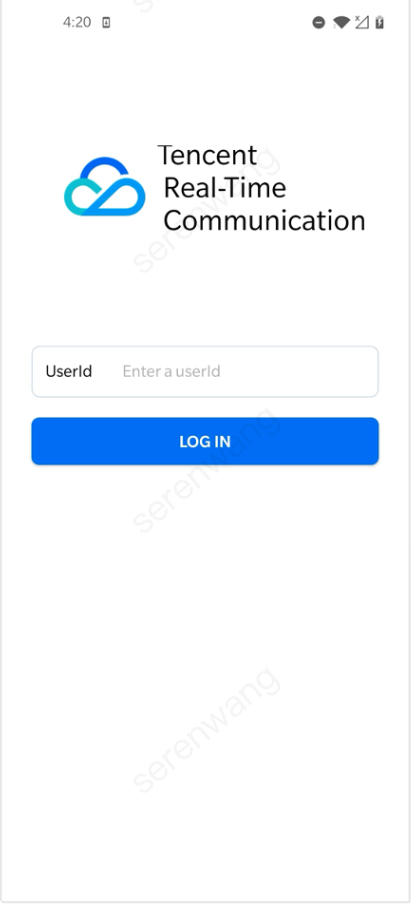
1. Login & Registration
Enter your
ID in the UserID field. If the UserID has not been used before, you’ll be redirected to the registration page to set your avatar and nickname.Anchor(mike) | | Audiece(vince) | |
 | 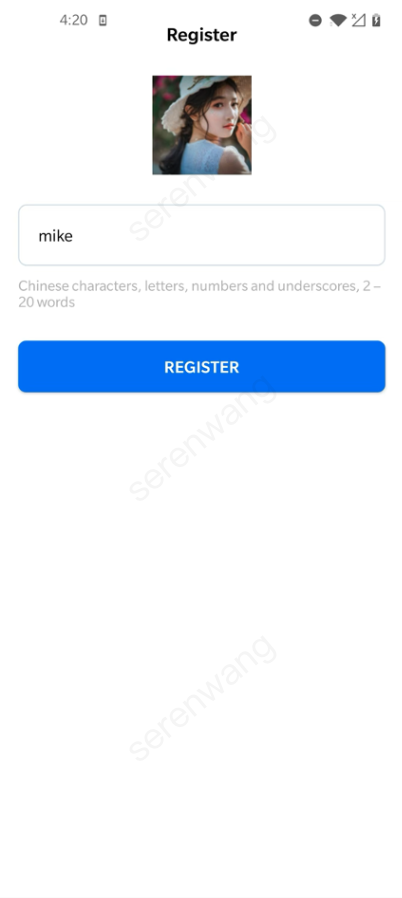 |  | 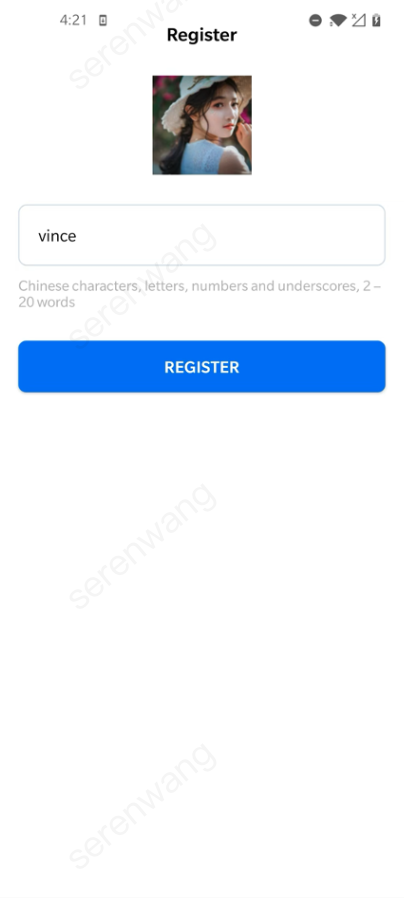 |
Note:
Do not use simple UserIDs such as "1", "123", or "111".
TRTC does not support multi-end login for the same UserID, and these simple UserIDs are likely to be used by others during collaborative development, which can cause login failures. Use distinctive UserIDs during debugging.
2. Video Live Streaming
Click
Live > Video Live to start a video live streaming session.Live Streaming List | Host Preview Before Going Live | Host Starts Video Live Streaming | Audience Watches Live Stream |
 | 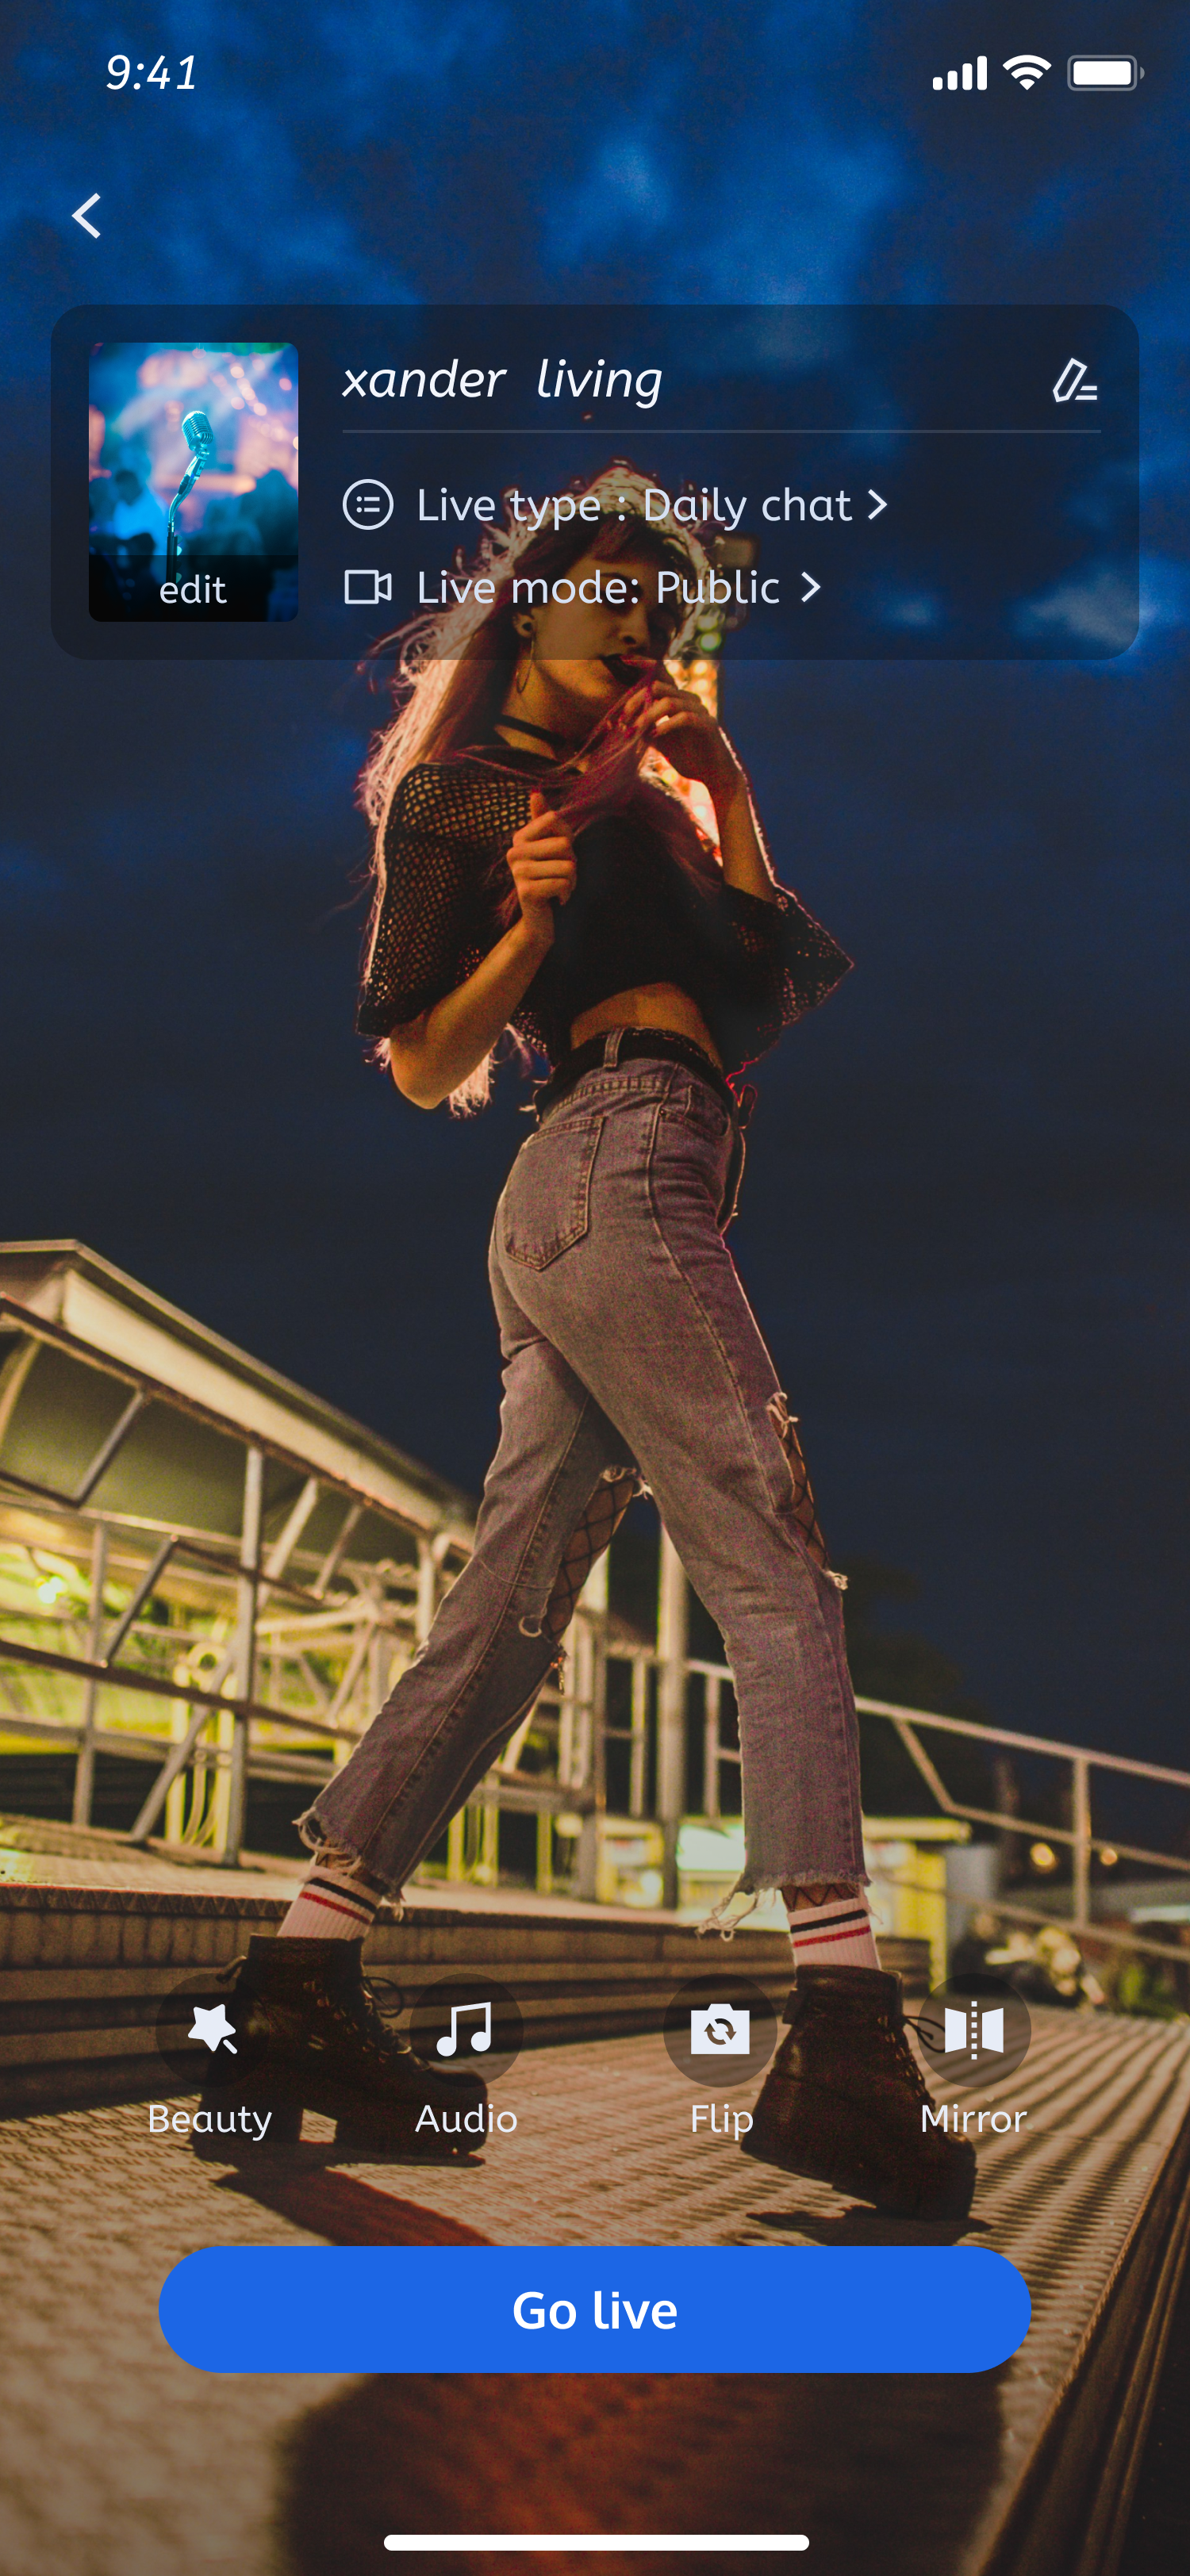 | 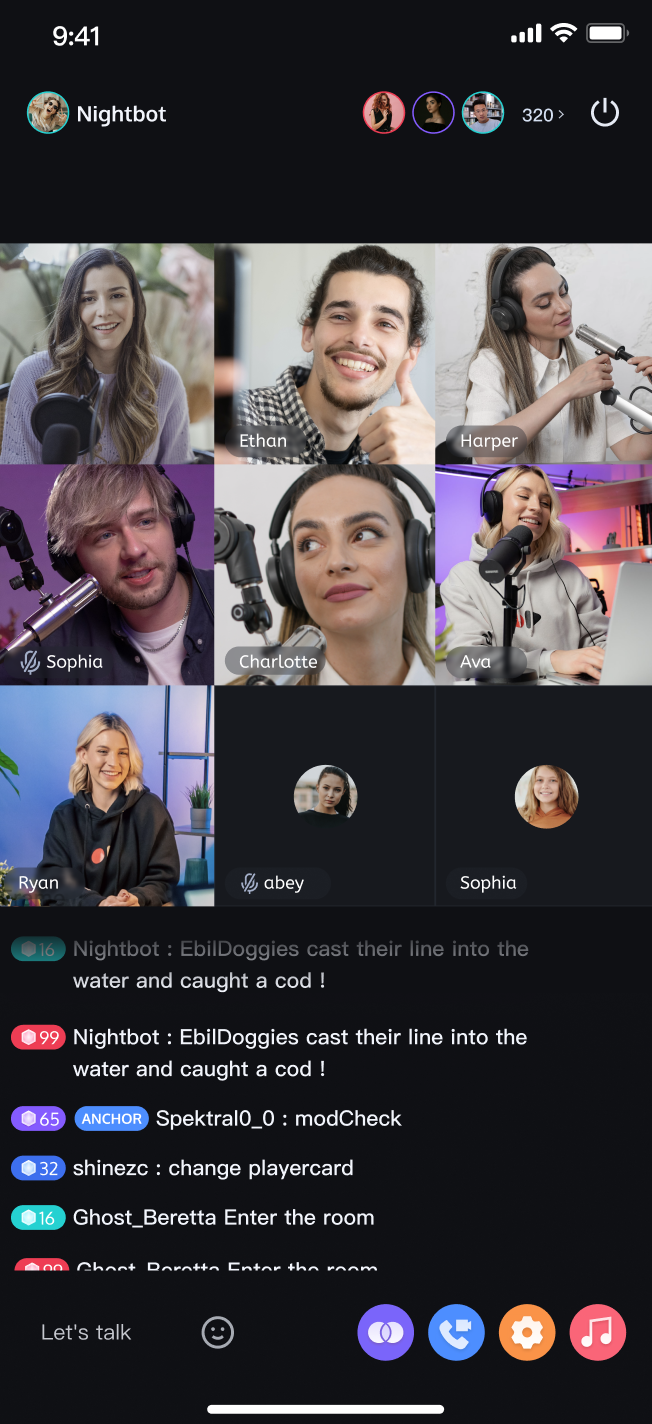 | 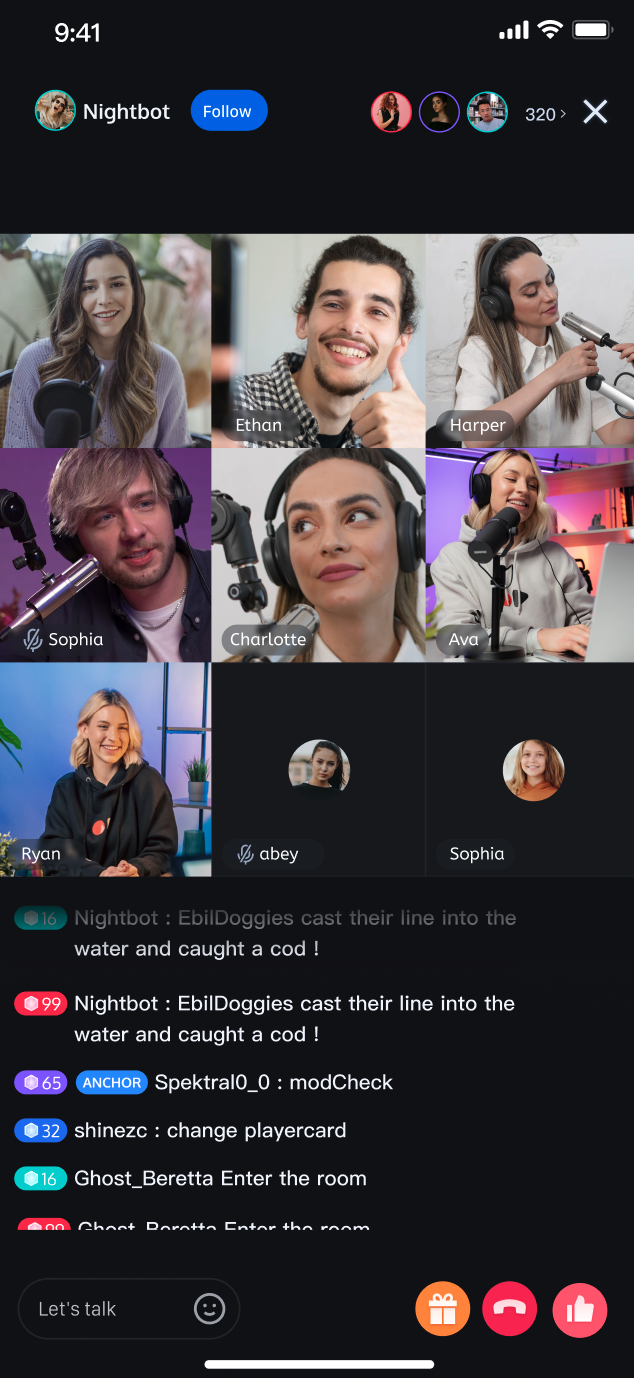 |
3. Voice Chat Room
Click
Live > Voice Room to start a voice chat session.Live Streaming List | Host Preview Before Going Live | Host Starts Voice Chat Live | Audience Joins Voice Chat Room |
 | 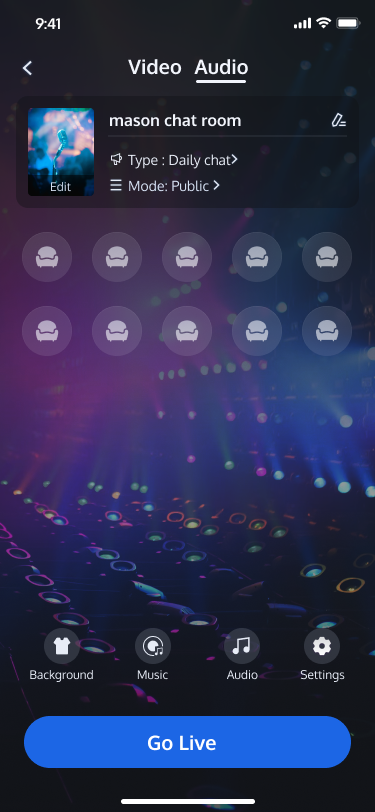 | 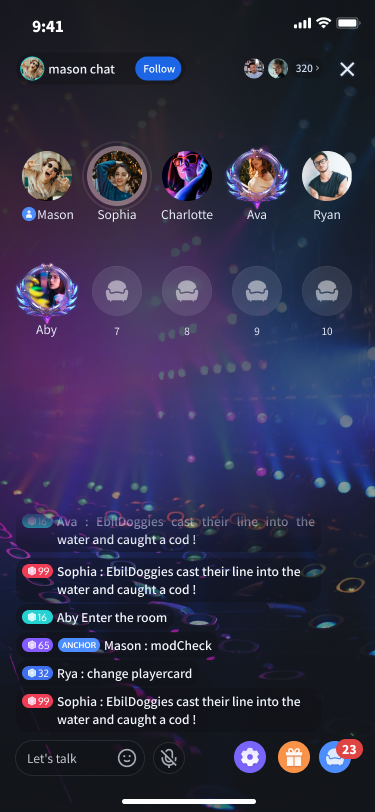 | 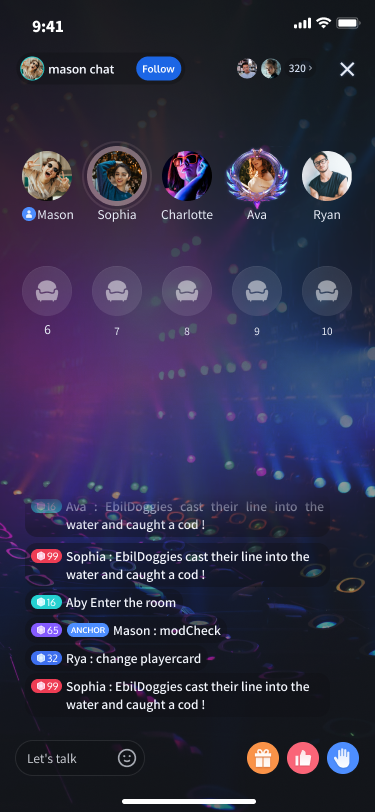 |
Next Steps
After running the Demo, refer to the following integration guides to add these features to your own project:
Name | Description | Integration Guide |
Video Live Streaming | Supports ultra-low latency HD streaming, multi-user co-hosting/PK, real-time beauty filters, bullet comments, and gift interactions—enabling you to build interactive video live streaming scenarios. | |
Voice Chat Room | Delivers ultra-clear audio quality, supports multi-user co-hosting, seat management, and real-time text chat—ideal for KTV, social, or gaming-themed rooms. |
FAQs
Demo reports signature error or login failure?
Verify that the SDKAppID and SDKSecretKey in
TUIKit_Android/application/debug/src/main/java/com/tencent/qcloud/tuikit/debug/GenerateTestUserSig.java are correct. Ensure they match the values from the Tencent Cloud Console Application Management page.Will running the Demo be affected if Gradle version is below 8.0?
Yes. If your
Gradle version is below 8.0, you may encounter dependency download failures or build errors. Upgrade your Gradle version in Android Studio to meet the requirements.After entering the room, you may encounter error code "-3301" with the message "Services are not available in your region."
Contact Us
If you have any questions or suggestions during running the demo or usage, join our Telegram technical group or contact us for support.

