
Notification
To help developers easily implement the offline push feature in Flutter projects, we recommend using the TIMPush plugin (paid). Compared to integrating separately on Android and iOS, using the TIMPush plugin offers the following advantages:
Short integration period, it is estimated that integration with all vendors only takes 30 minutes.
Supports data statistics and link tracking, making it easy for you to view various metrics such as reach rate, click-through rate, and conversion rate.
Supports All-staff/Tag Push, making it convenient to push marketing ads, notifications, news information, etc., to all users or specific groups.
Supports cross-platform frameworks like uni-app and Flutter.
This document will detail how to integrate the TIMPush plugin in the TUICallKit component to achieve offline push capability for audio and video calls.
Android | iOS |
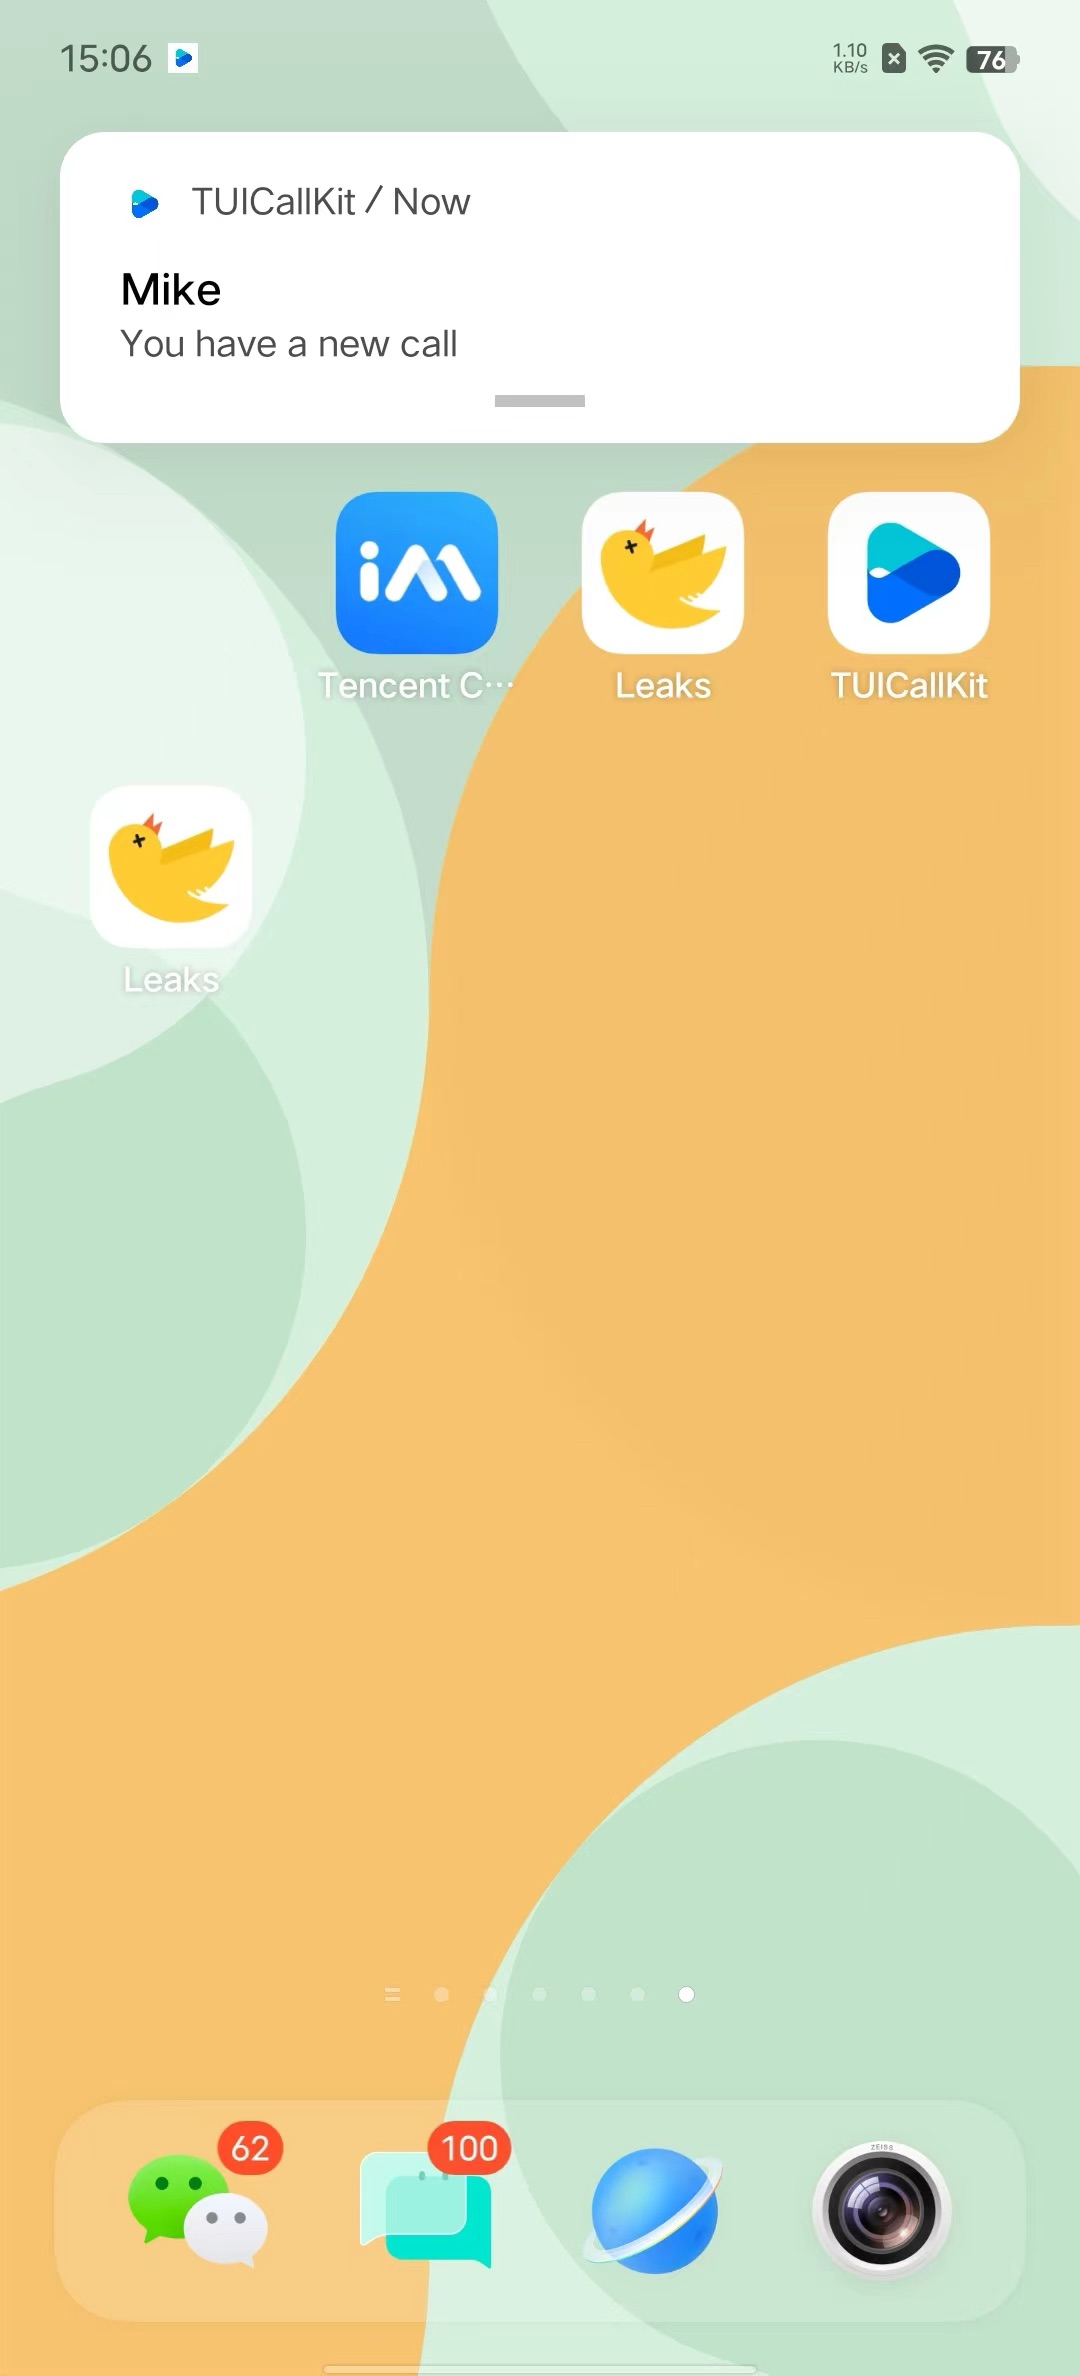 | 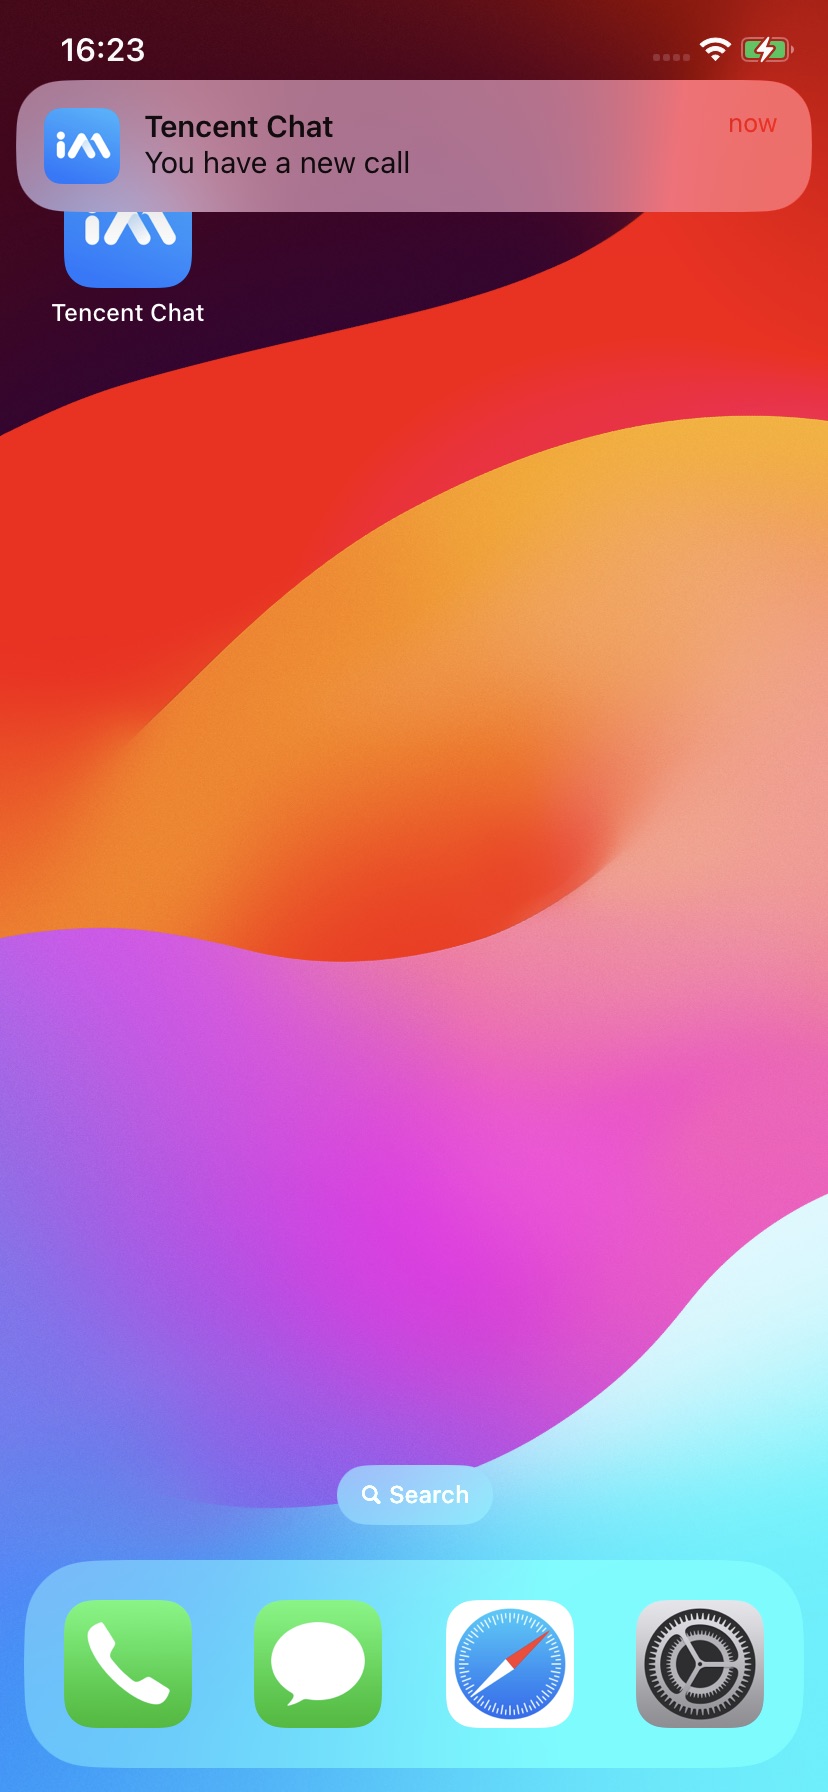 |
Integration Guide
Making an Offline Push Call
TUIOfflinePushInfo offlinePushInfo = TUIOfflinePushInfo();offlinePushInfo.title = "Flutter TUICallKit";offlinePushInfo.desc = "This is an incoming call from Flutter TUICallkit";offlinePushInfo.ignoreIOSBadge = false;offlinePushInfo.iOSSound = "phone_ringing.mp3";offlinePushInfo.androidSound = "phone_ringing";offlinePushInfo.androidOPPOChannelID = "Flutter TUICallKit";offlinePushInfo.androidVIVOClassification = 1;offlinePushInfo.androidFCMChannelID = "fcm_push_channel";offlinePushInfo.androidHuaWeiCategory = "Flutter TUICallKit";offlinePushInfo.iOSPushType = TUICallIOSOfflinePushType.APNs;TUICallParams params = TUICallParams(offlinePushInfo: offlinePushInfo);TUICallKit.instance.calls(callUserIdList, TUICallMediaType.audio, params);
Note:
If your Android application encounters issues when receiving push notifications or pulling up pages, you can refer to the Called party's call display policy for troubleshooting.

