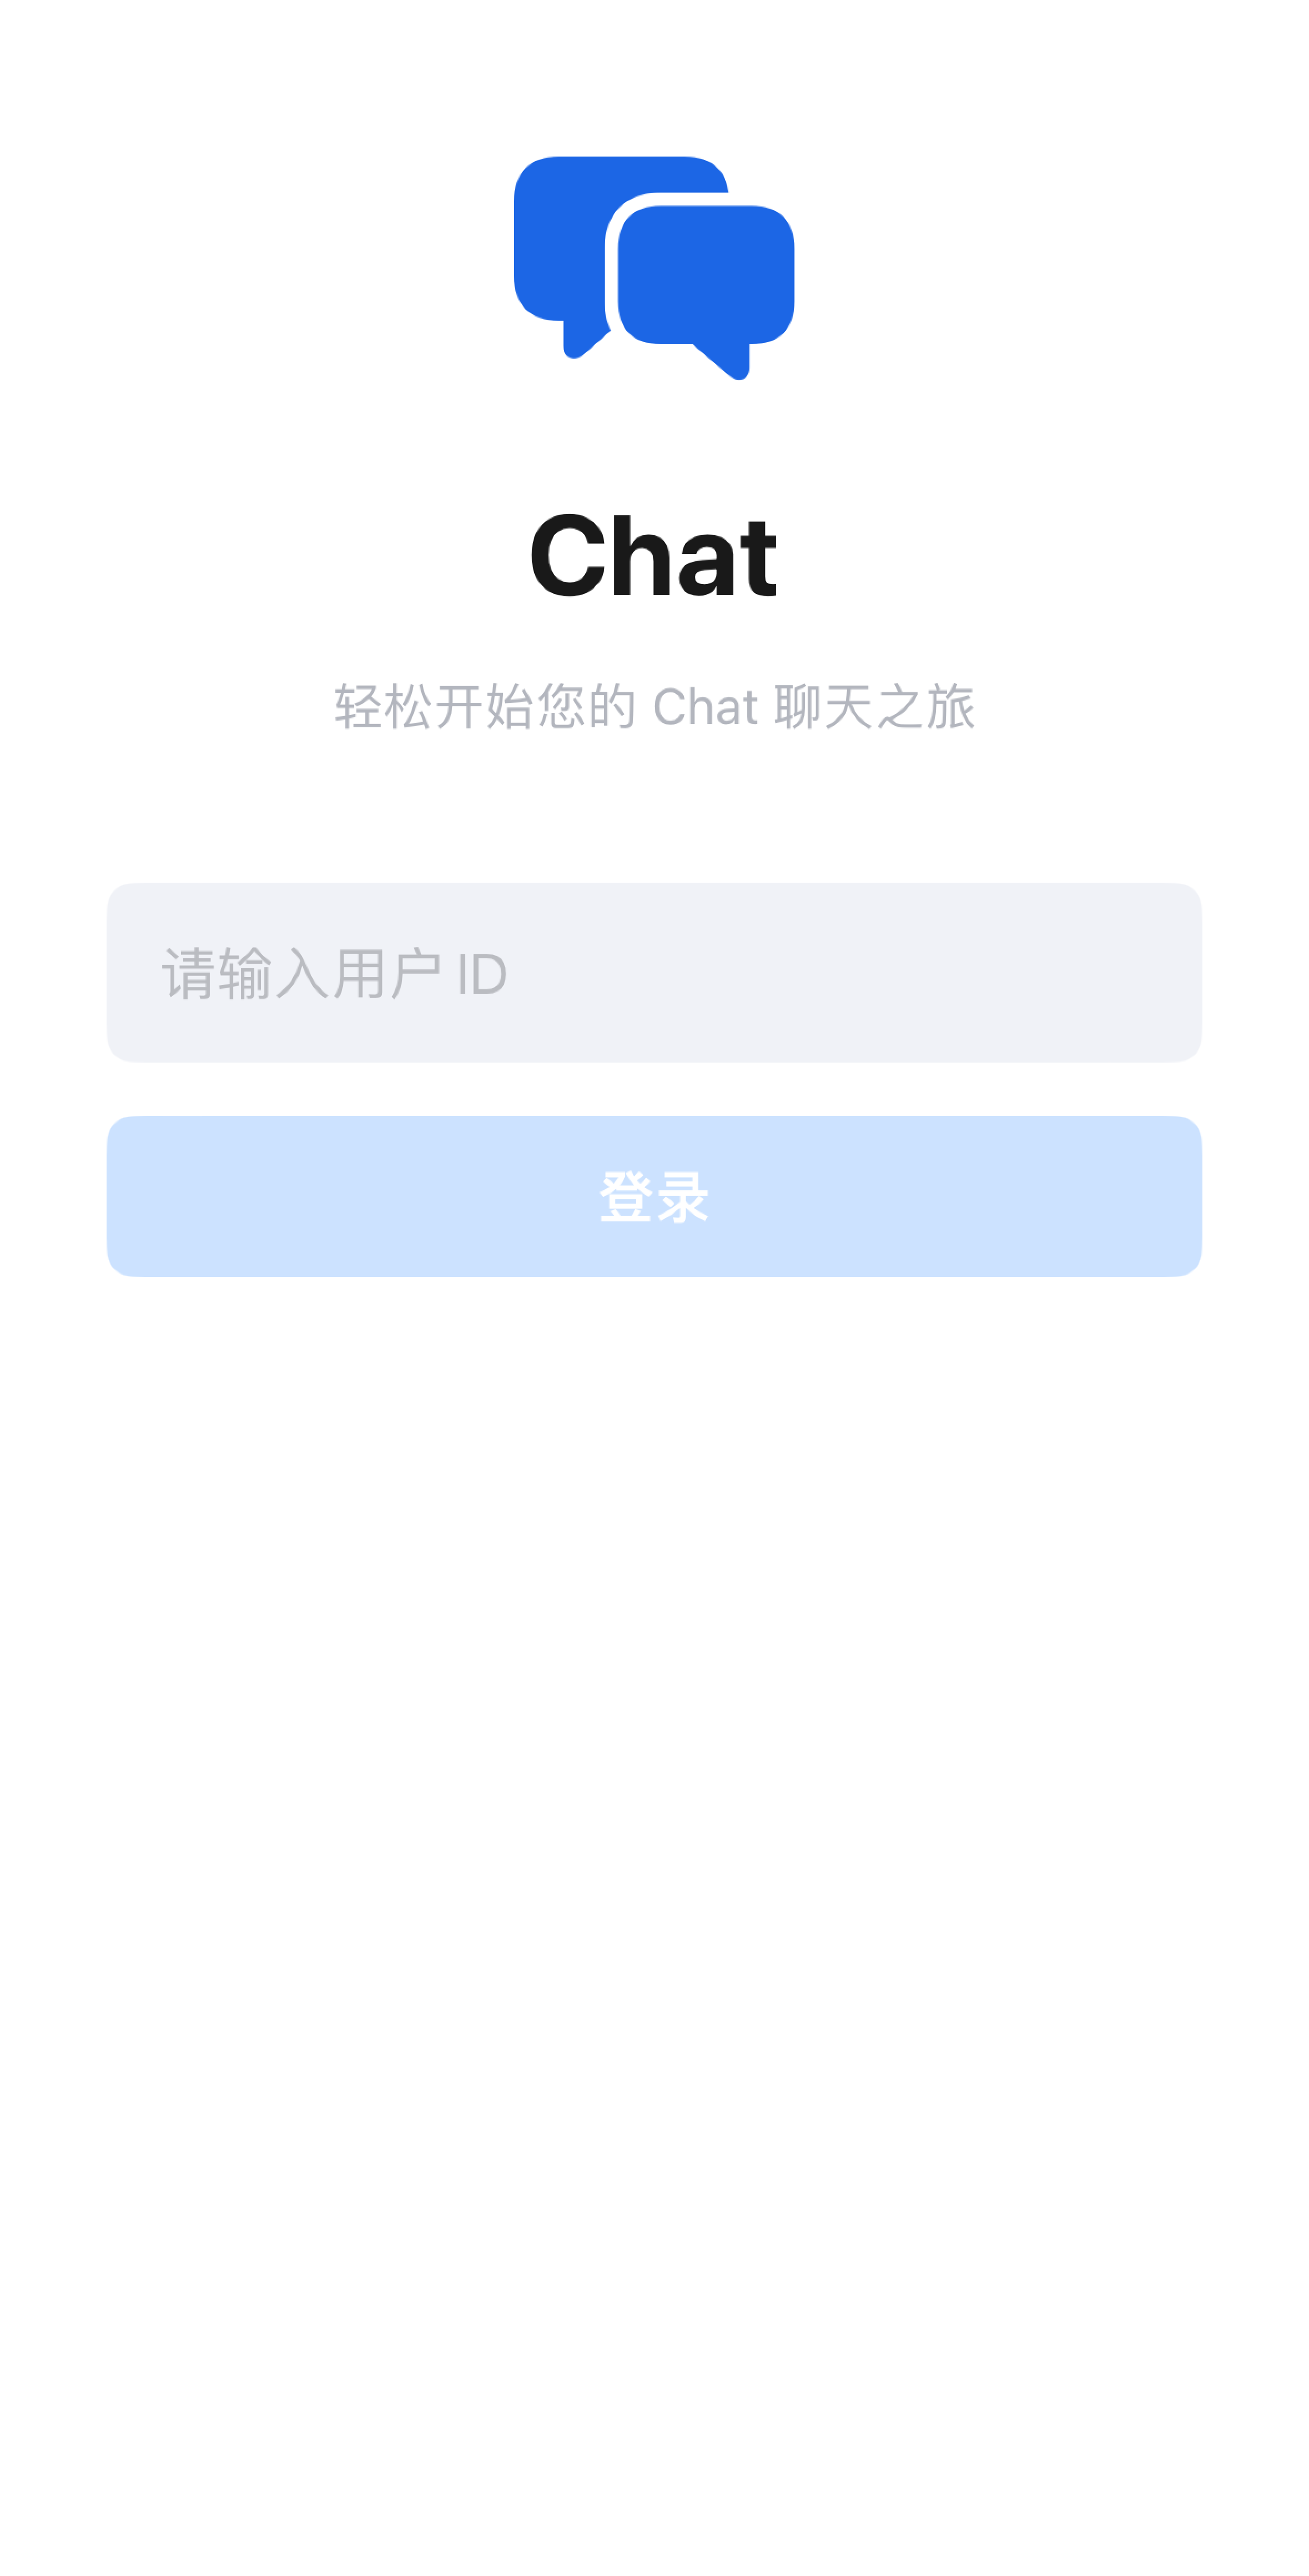
This guide walks you through setting up and running the Chat Demo with SwiftUI so you can try sending text, voice, and video messages. Once the setup is complete, your demo will look like the following screens:
Login Page
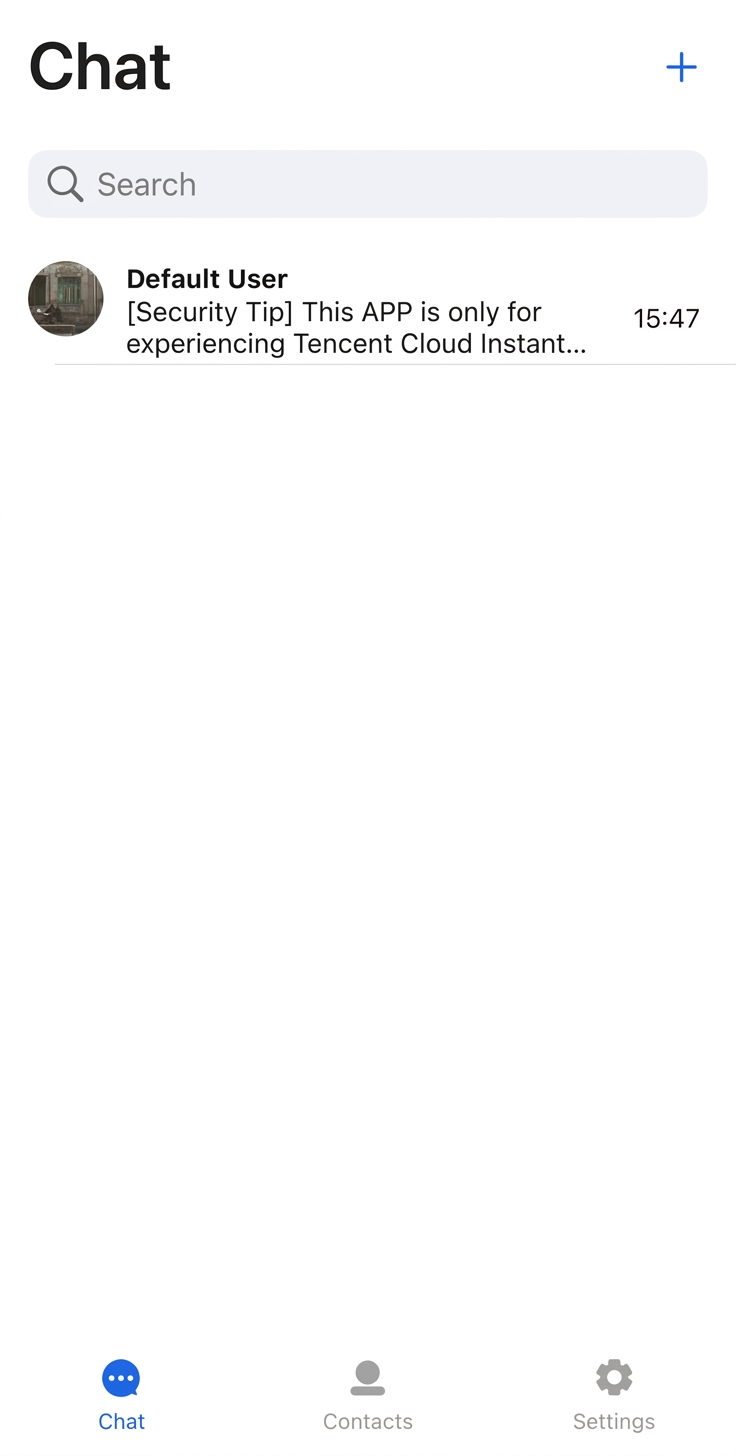
Conversation List Page
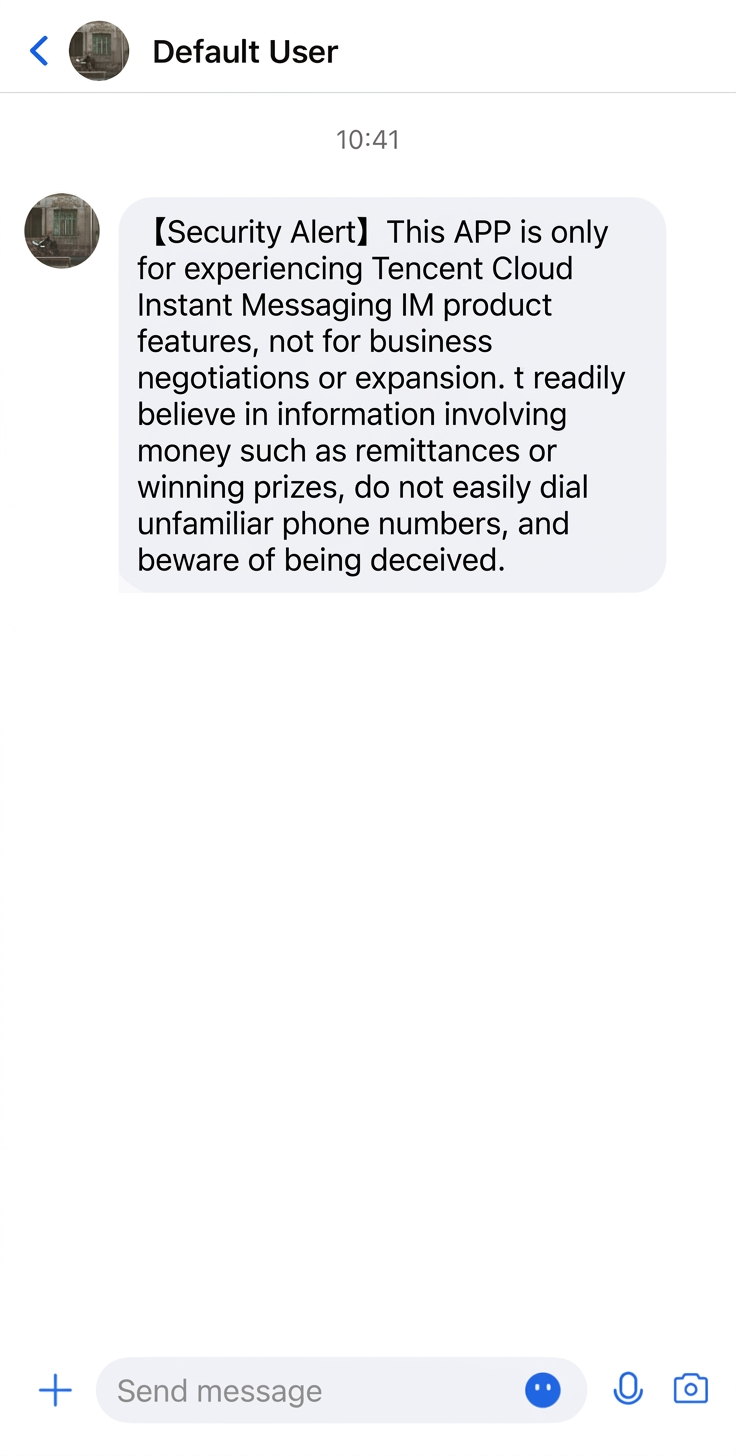
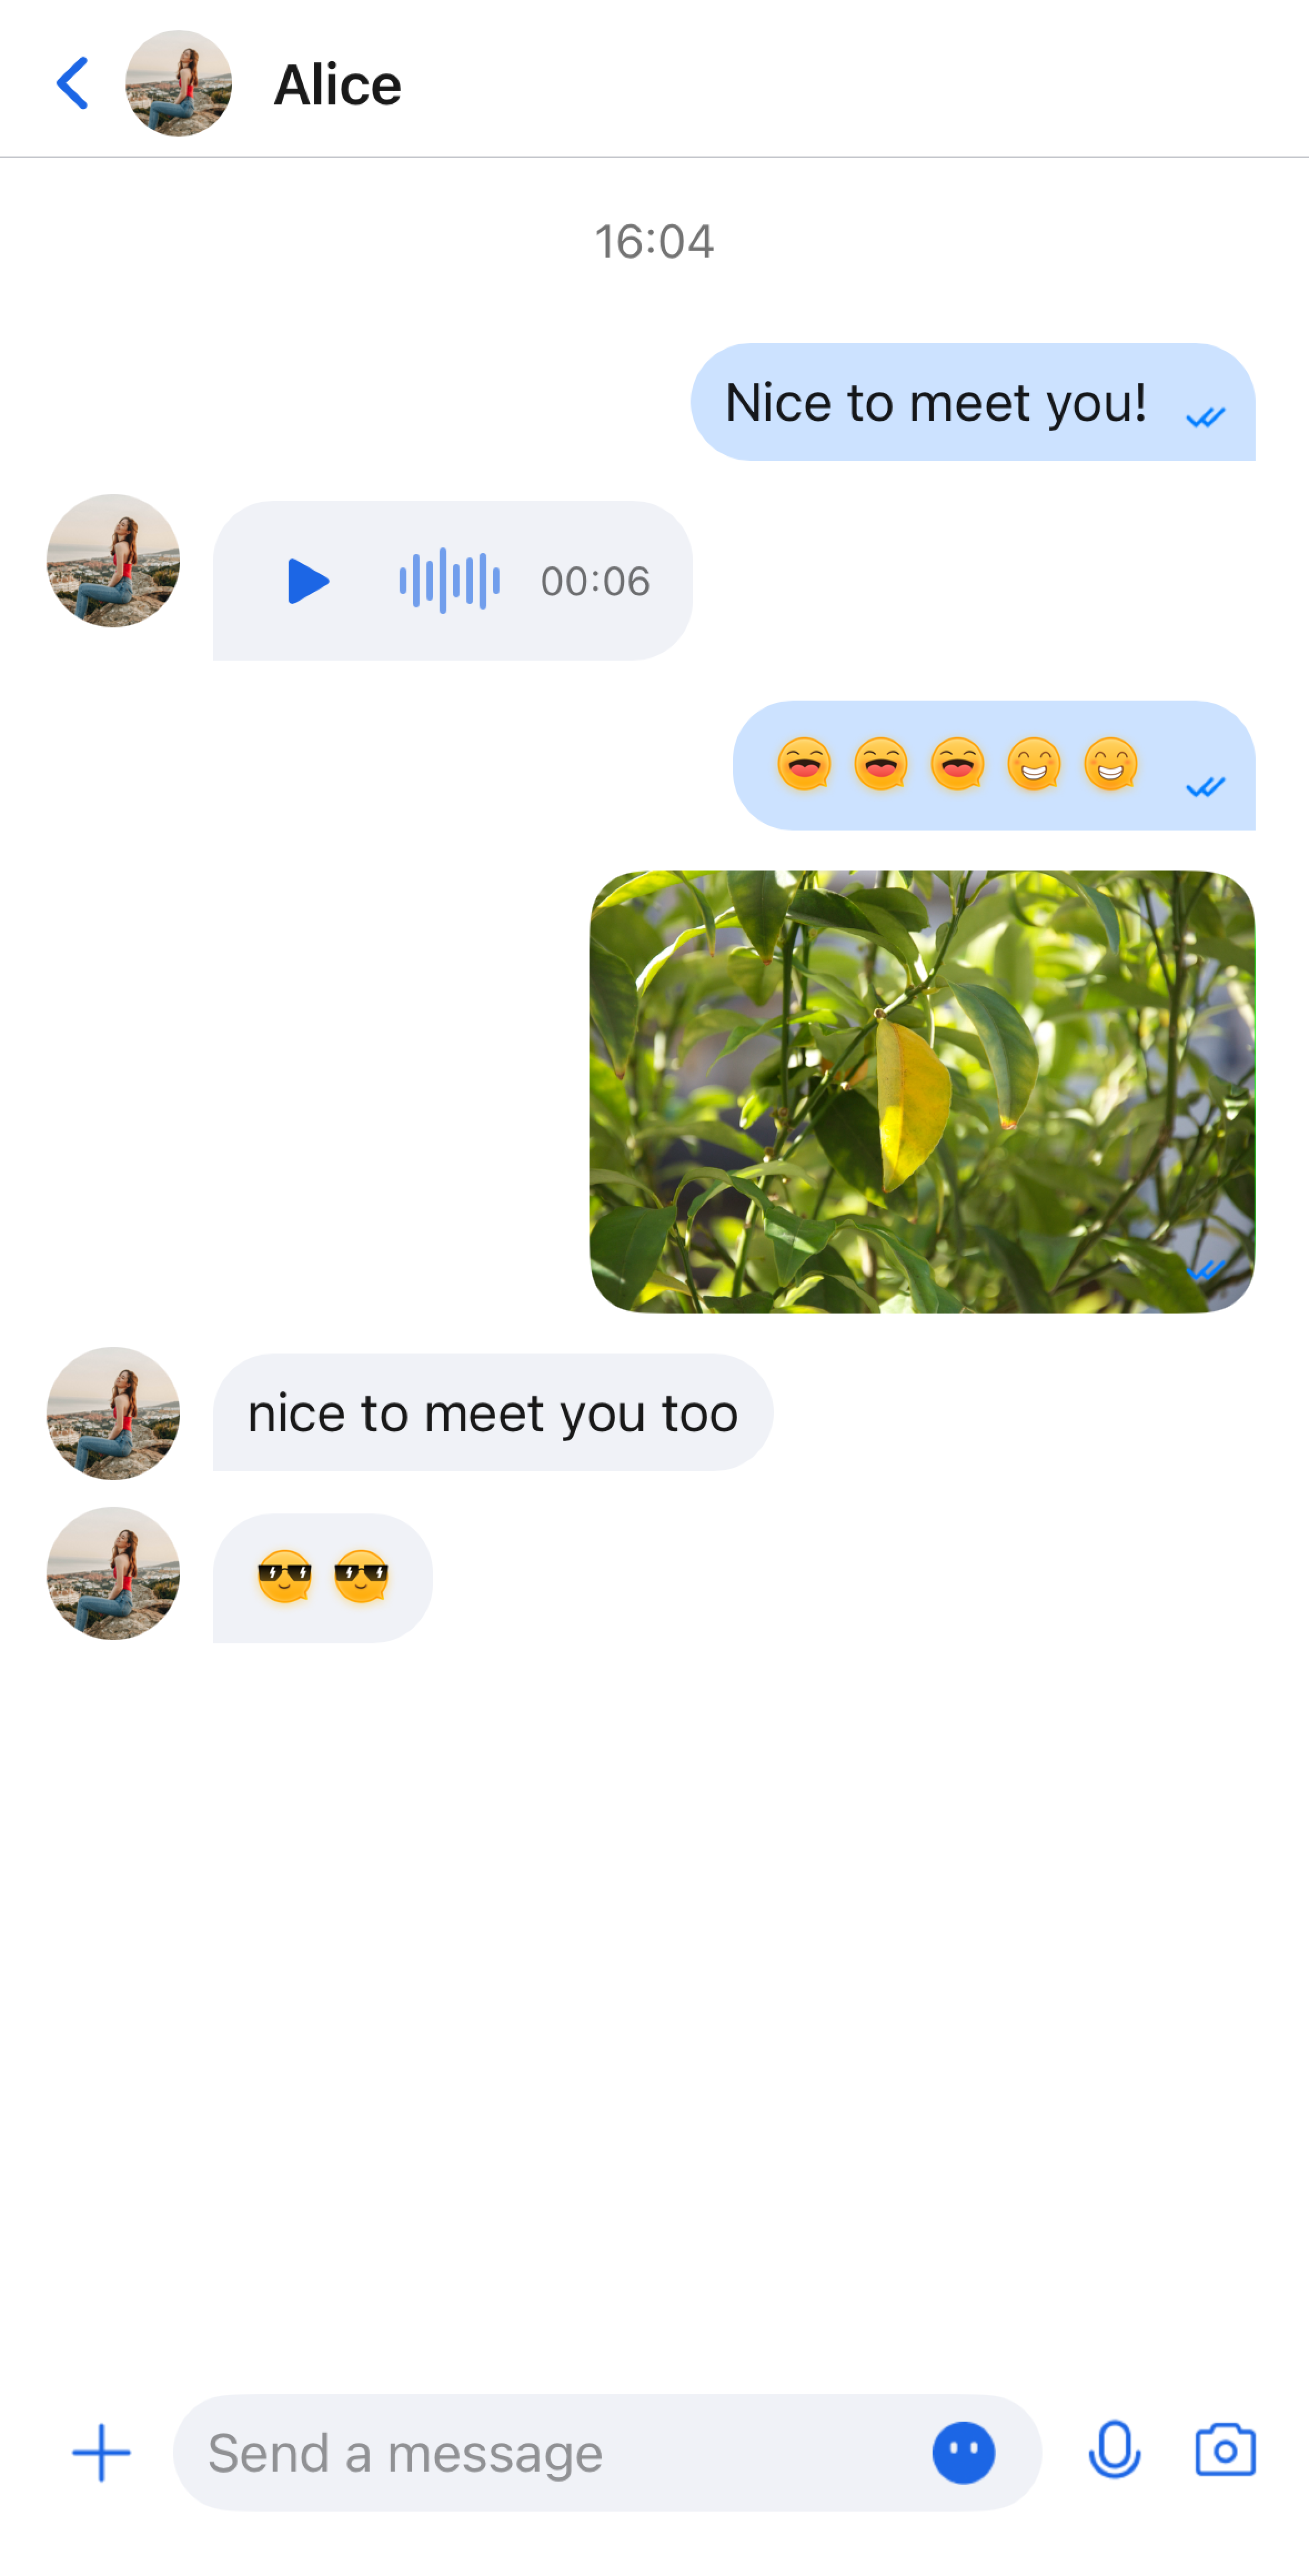
Chat Page
Prerequisites
Enabling the Service
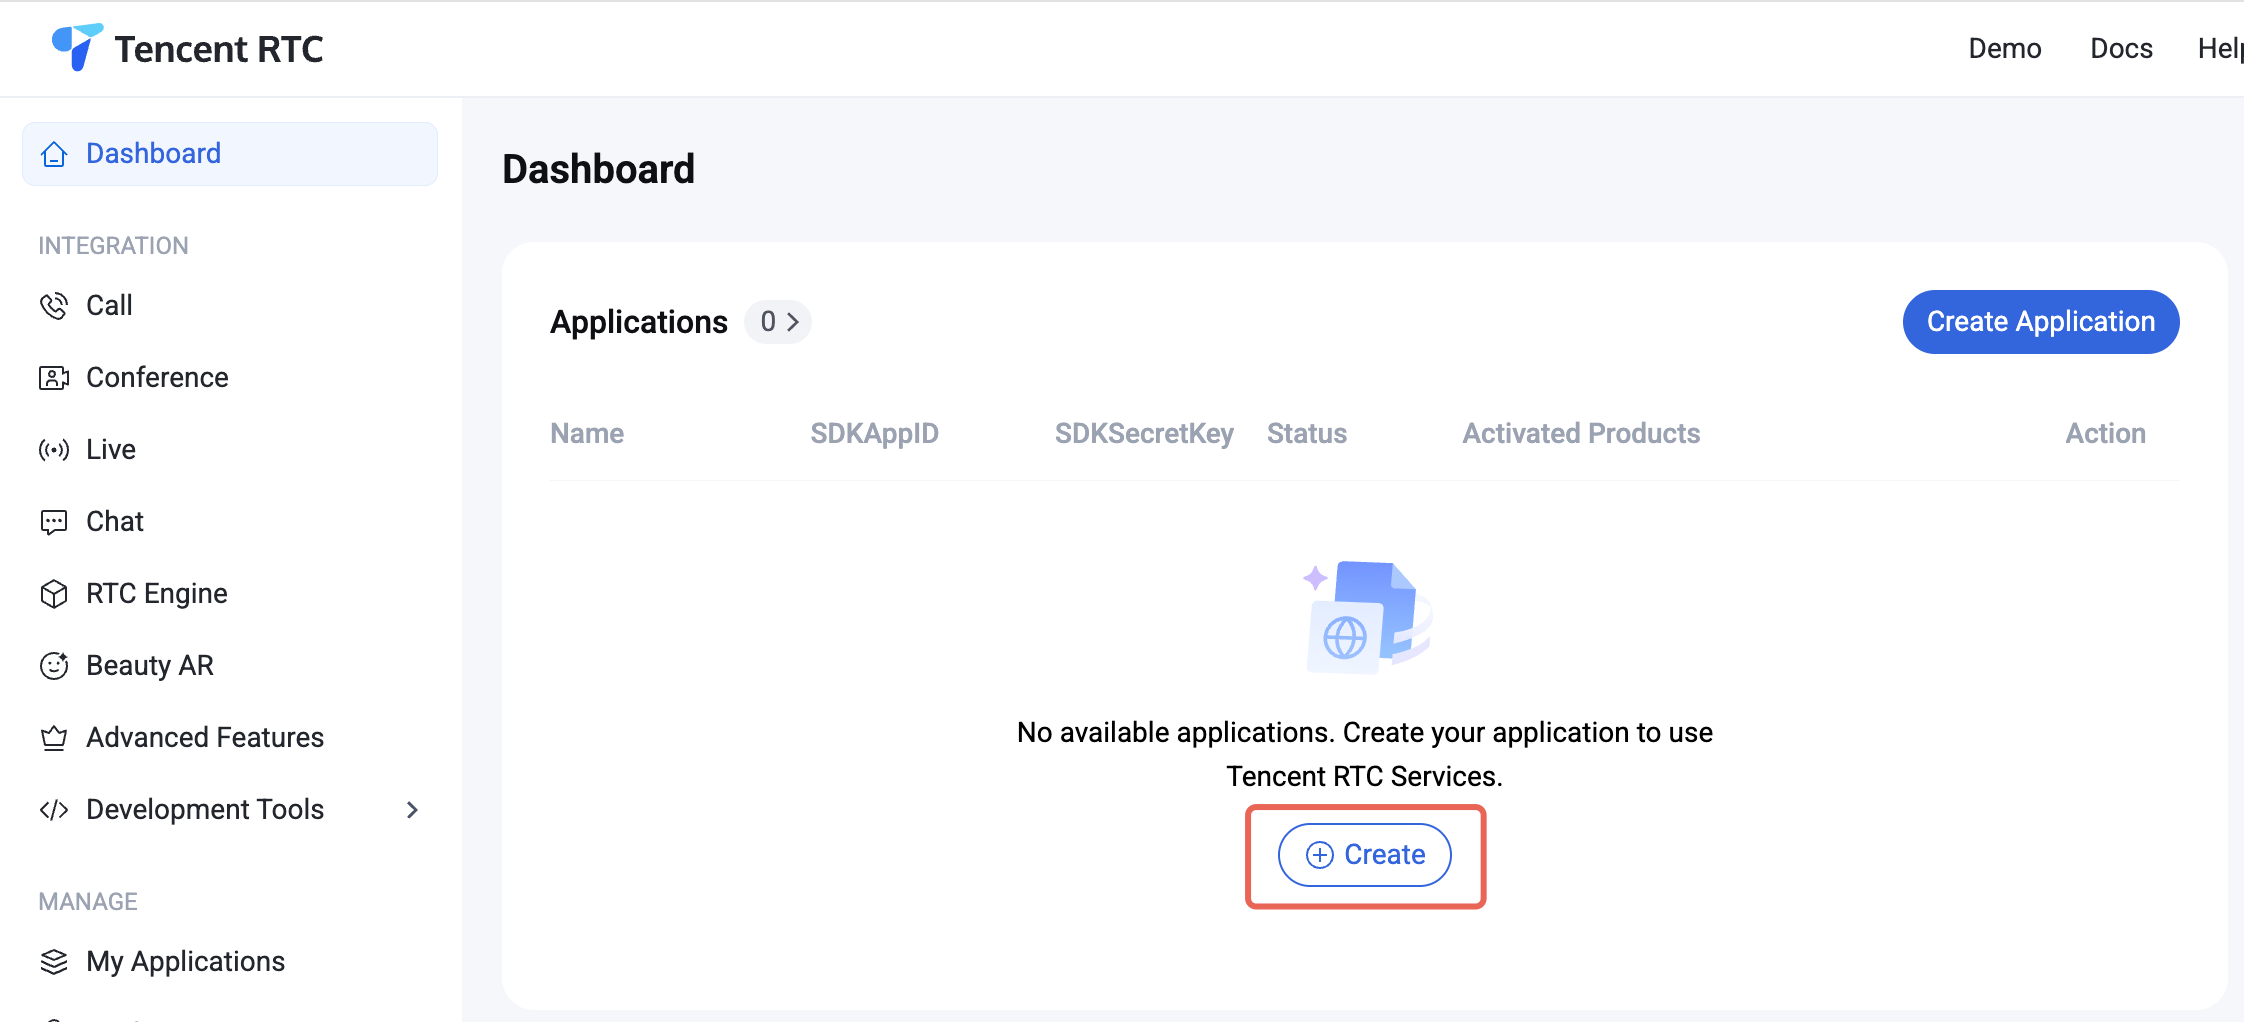
1. Log in to the Console. If you already have an application, note down its SDKAppID and SDKSecretKey, then proceed to the next section.
2. Click Create in the overview panel to start a new application.
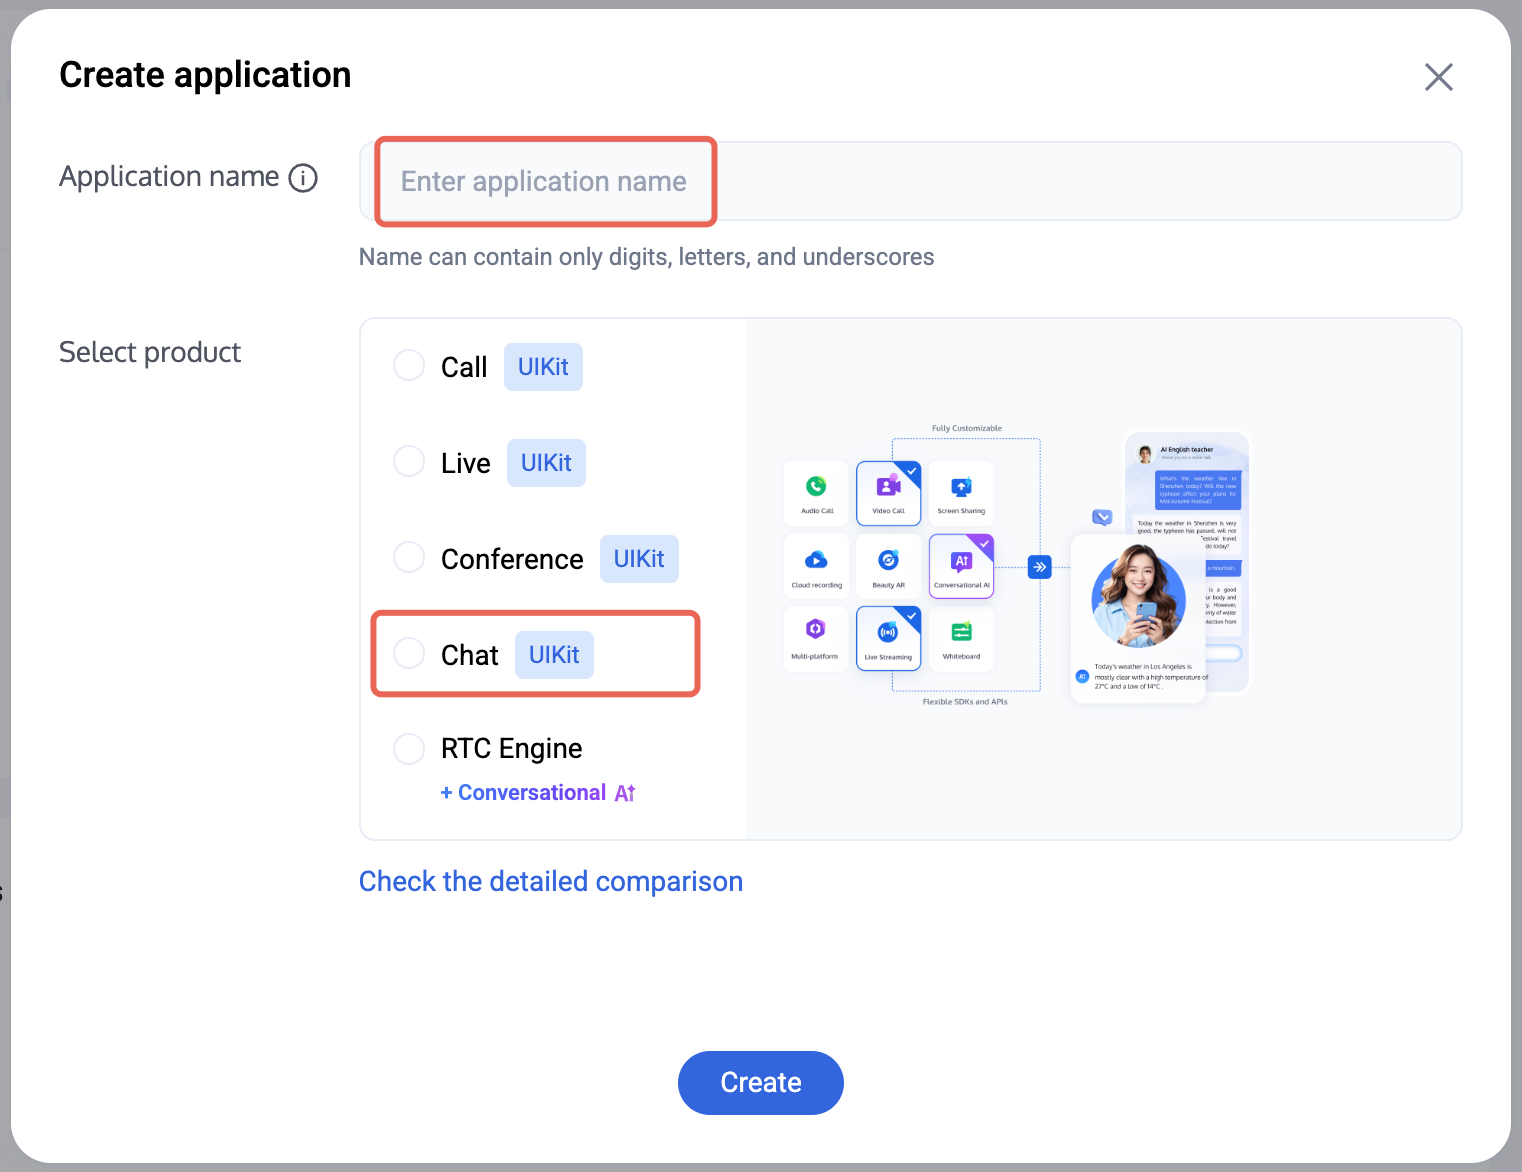
3. In the application creation dialog, enter the Application Name and select Chat as the product.
4. After choosing the product, select the Deployment Region as needed.
5. After the application is created, locate the SDKAppID and SDKSecretKey in the console overview panel. You will need both to run the Demo.
Prohibited:
Secure your SDKSecretKey to protect your Application from unauthorized access.
Setting Up Your Environment
Make sure your environment meets the following requirements:
Xcode 15 or later.
iOS device or simulator running iOS 15.0 or above.
CocoaPods 1.7.5 or later. If you don't have CocoaPods, follow the CocoaPods Getting Started Guide for installation instructions.
2. Open the project directory in your terminal and locate the GenerateTestUserSig.swift file at: TUIKit_iOS_SwiftUI-main/chat/demo/ChatDemo/GenerateTestUserSig.swift
3. Update the parameters in GenerateTestUserSig.swift:
sdkAppID: Use the SDKAppID you obtained above.
SDKSecretKey: Use the SecretKey you obtained above.
Prohibited:
1. In this Demo, authentication uses the SDKSecretKey configured in the client code. The SECRETKEY can be reverse-engineered and compromised. If leaked, attackers can steal your TRTC traffic. This method is for local Demo testing and feature debugging only.
2. In production, generate a UserSig on the server side. When your App needs a UserSig, request a dynamic UserSig from your server for authentication. See Generate UserSig on the Server for details.
Configuring the Demo
Install dependencies by running the following commands in your terminal:
Swift
# First cd into your downloaded project directory, then cd into the demo directory
cd TUIKit_iOS_SwiftUI-main/chat/demo
pod install
Note:
If the installation fails, update your local CocoaPods repository list using pod repo update.
Building and Running the Demo
Navigate to the TUIKit_iOS_SwiftUI-main/chat/demo folder and open ChatDemo.xcworkspace to build and run the demo. To run on an iOS device:
1. Connect your iOS device to your computer. On the device, go to Settings > Privacy & Security > Developer Mode and turn on Developer Mode.
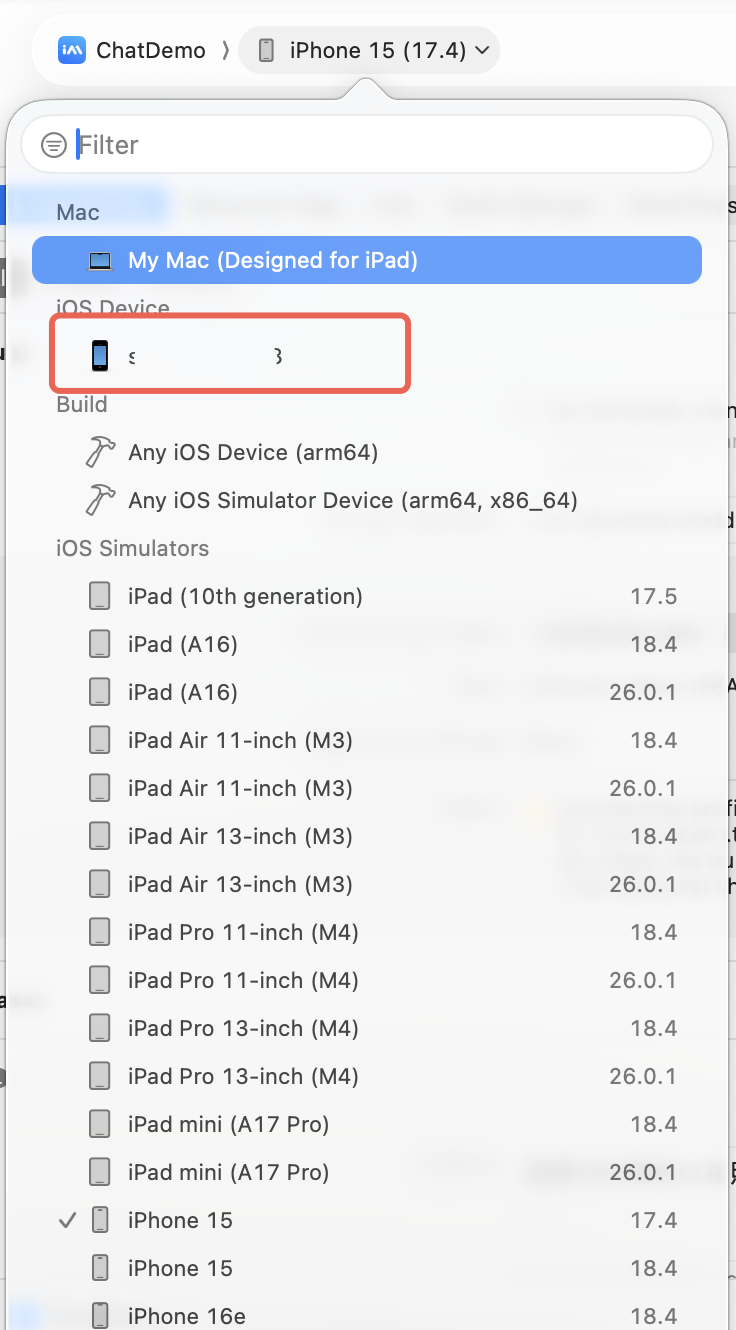
2. In Xcode, select your test device or simulator from the iOS Device or iOS Simulators dropdown.
3. Under TARGETS > Signing & Capabilities, check Automatically manage signing. For the ChatDemo target, set your Apple developer account and Bundle Identifier. If your Apple ID is not logged in, go to Xcode > Preferences > Accounts to add your developer account or Apple ID.
4. Click the Run button to compile. After a successful build, the ChatDemo app will install automatically on your device.
5. Open the app and enter any user ID to create and log in to a user account.
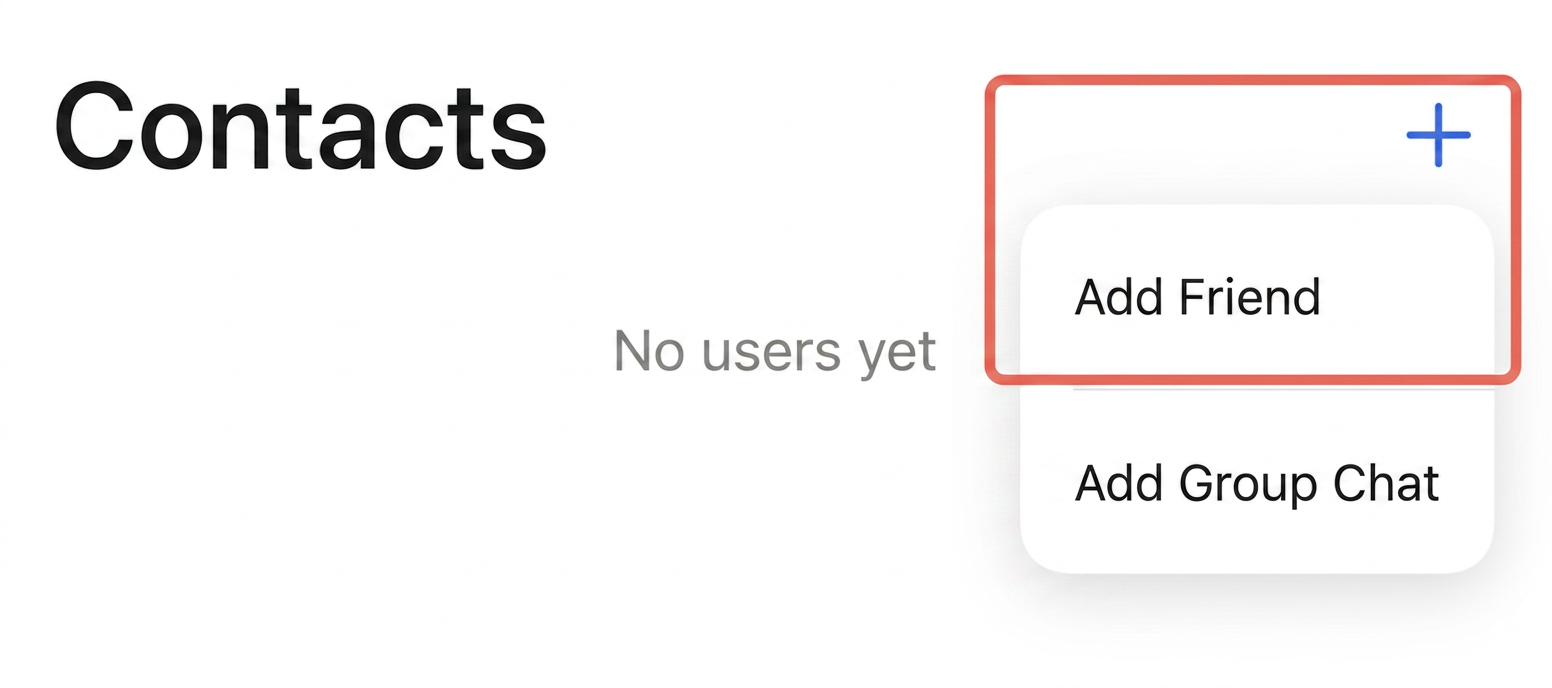
Trying Out Core Features
Once the Demo is running, follow these steps to explore the basic features.
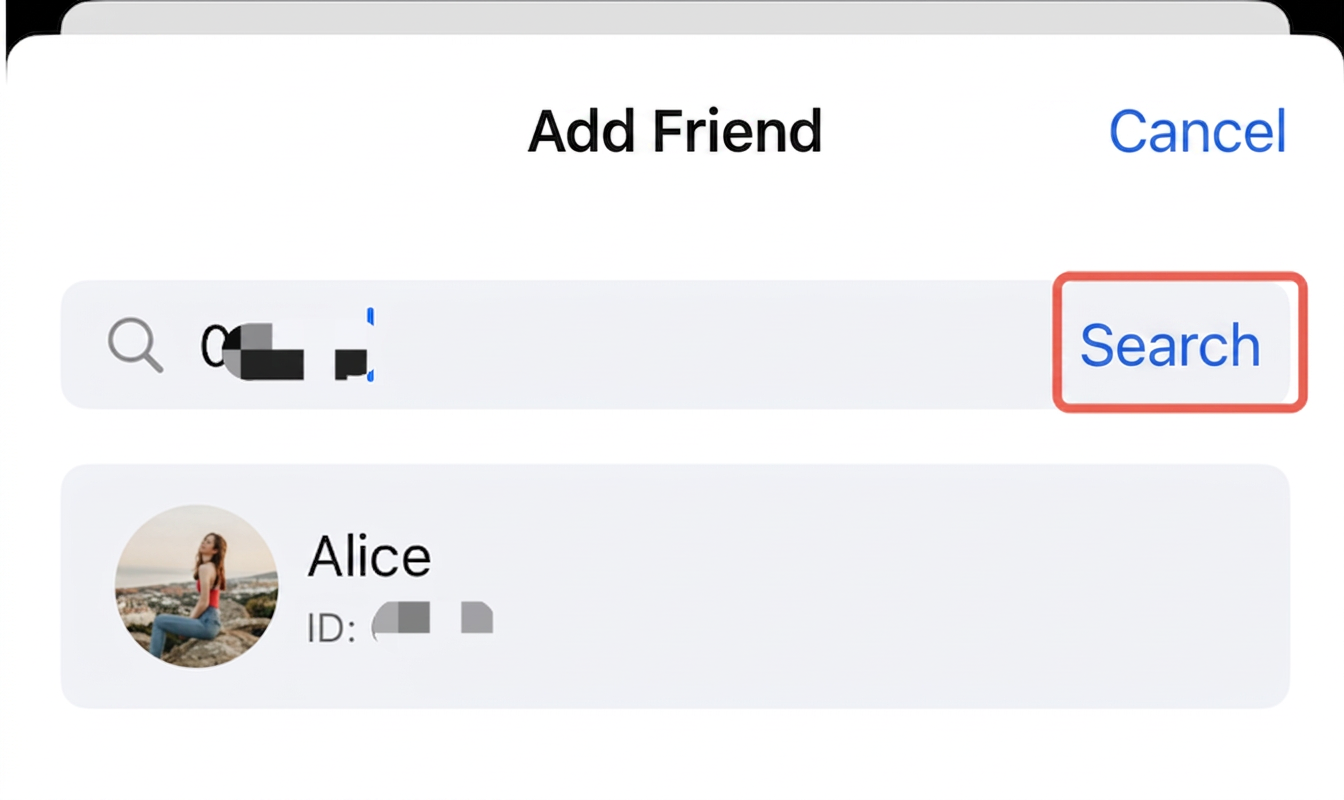
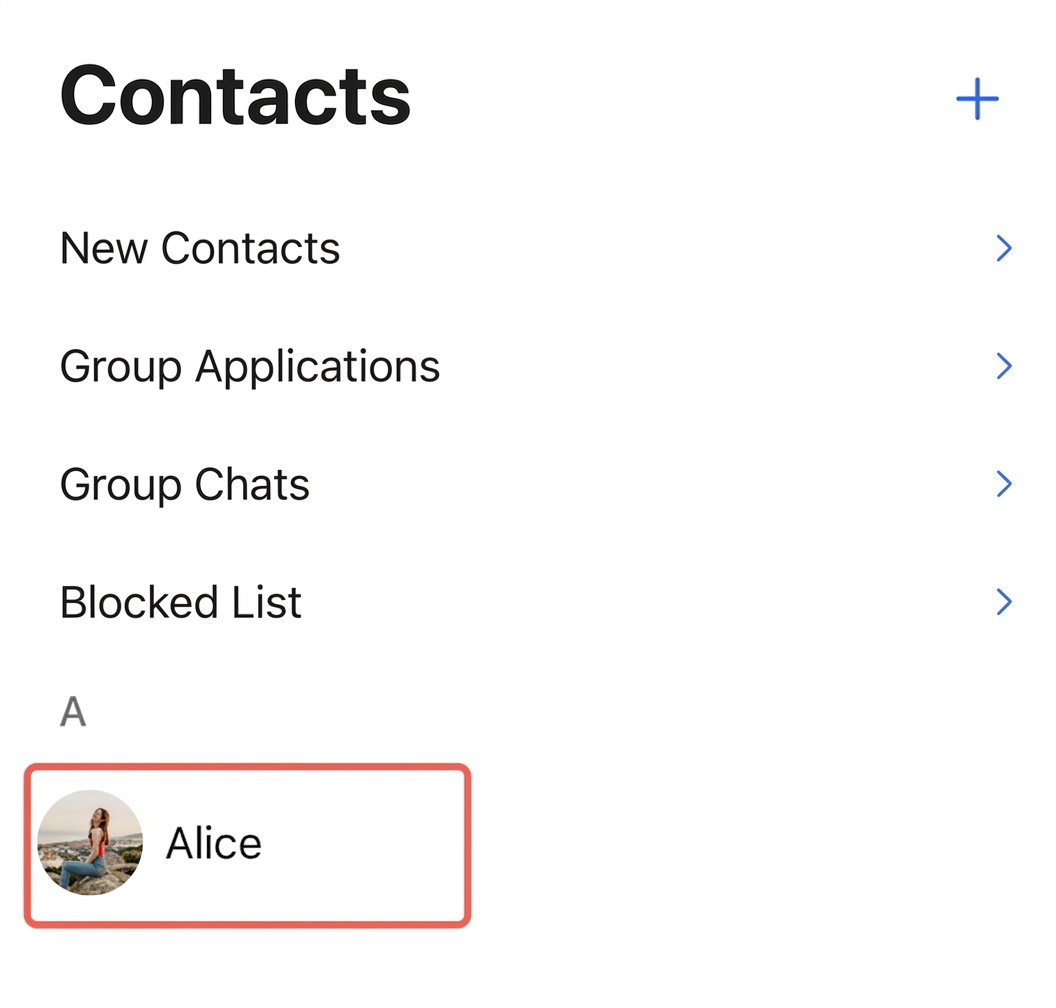
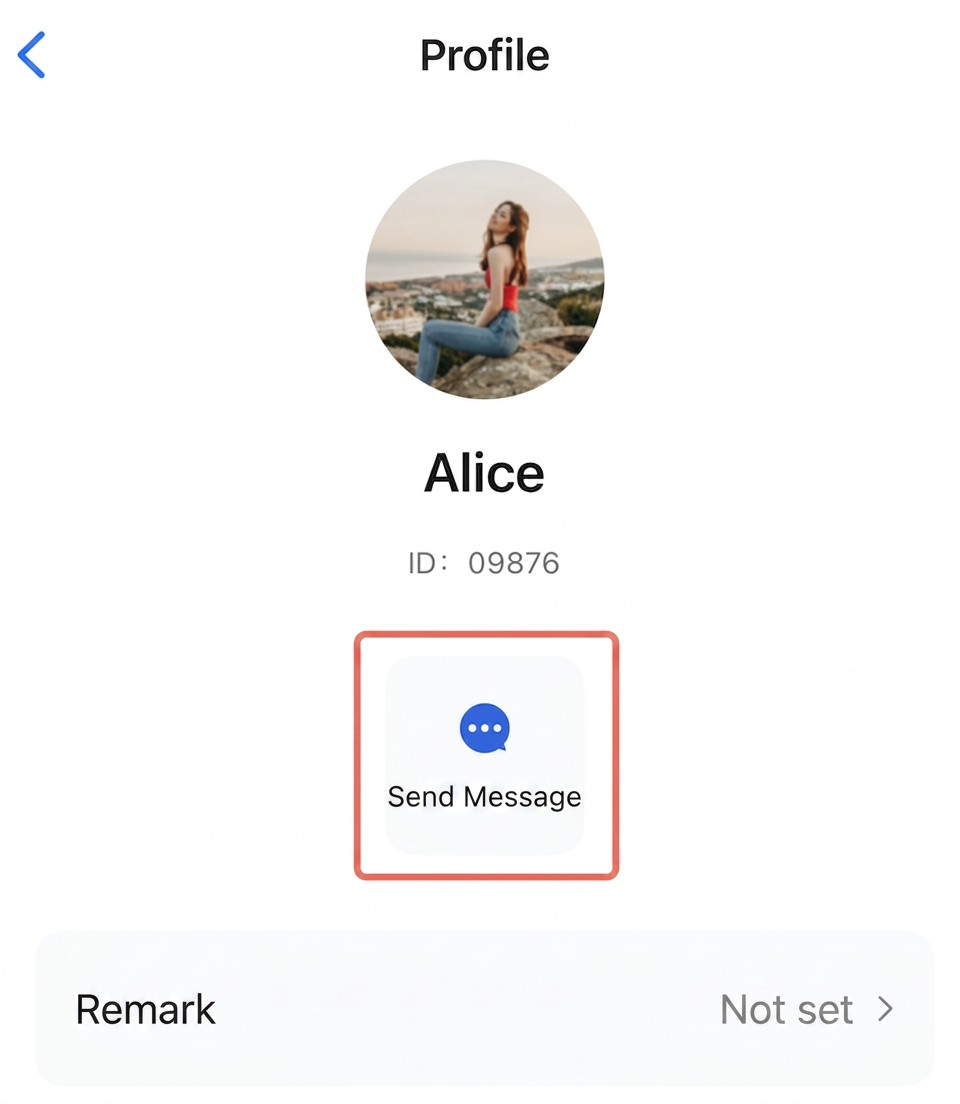
Creating a User Account
You must create a user account before you can start chatting. You can register from the Demo client or create accounts in the console.
Client Registration
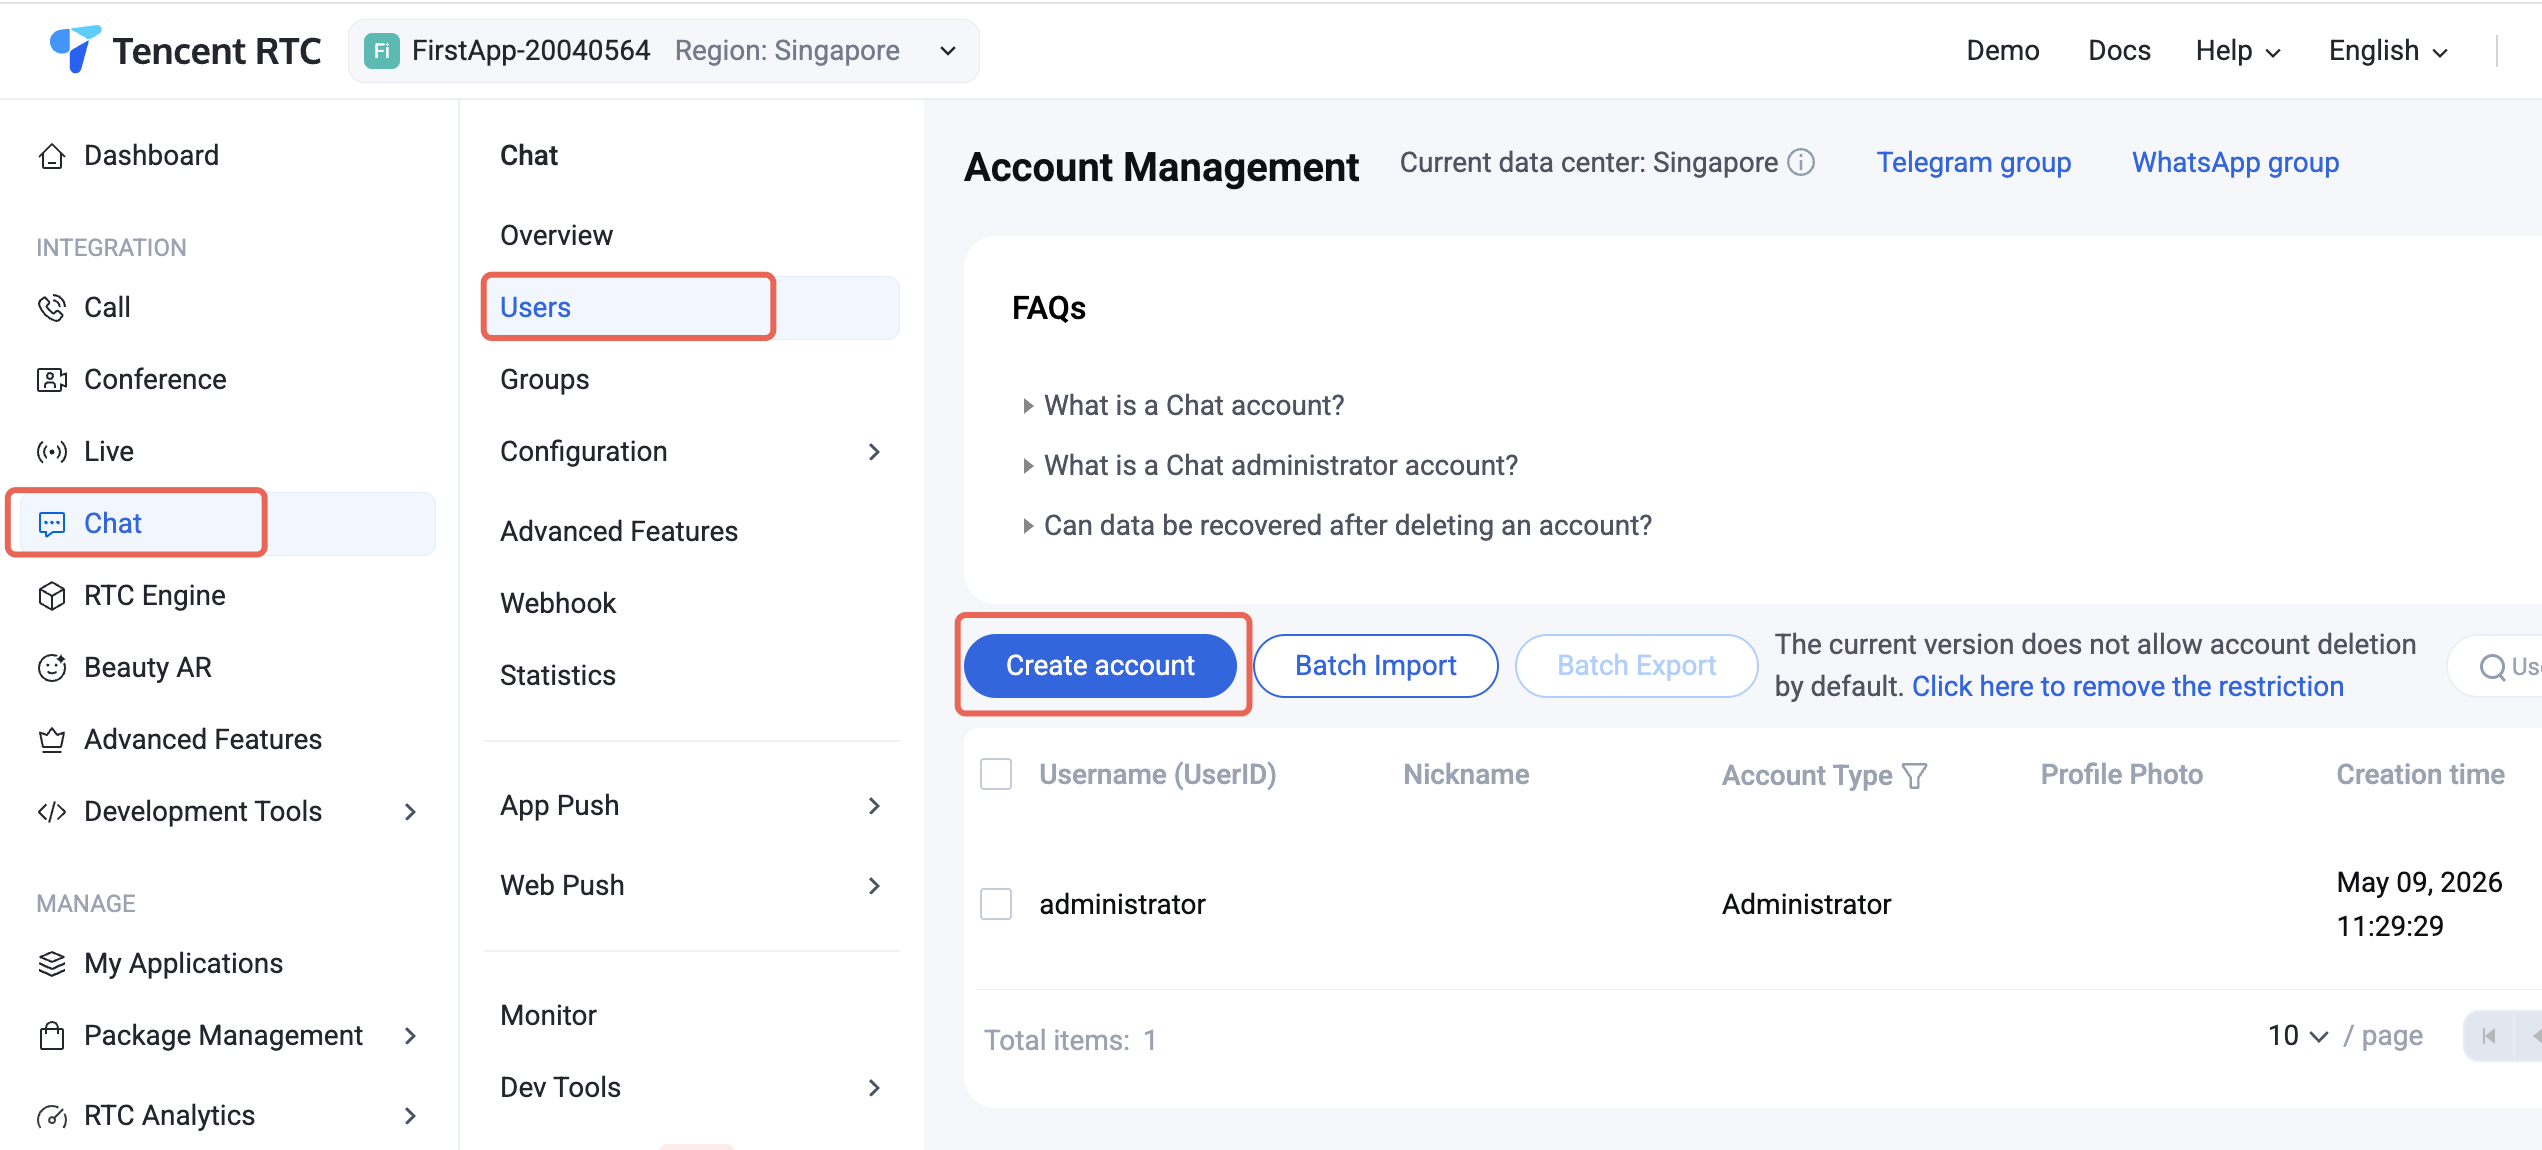
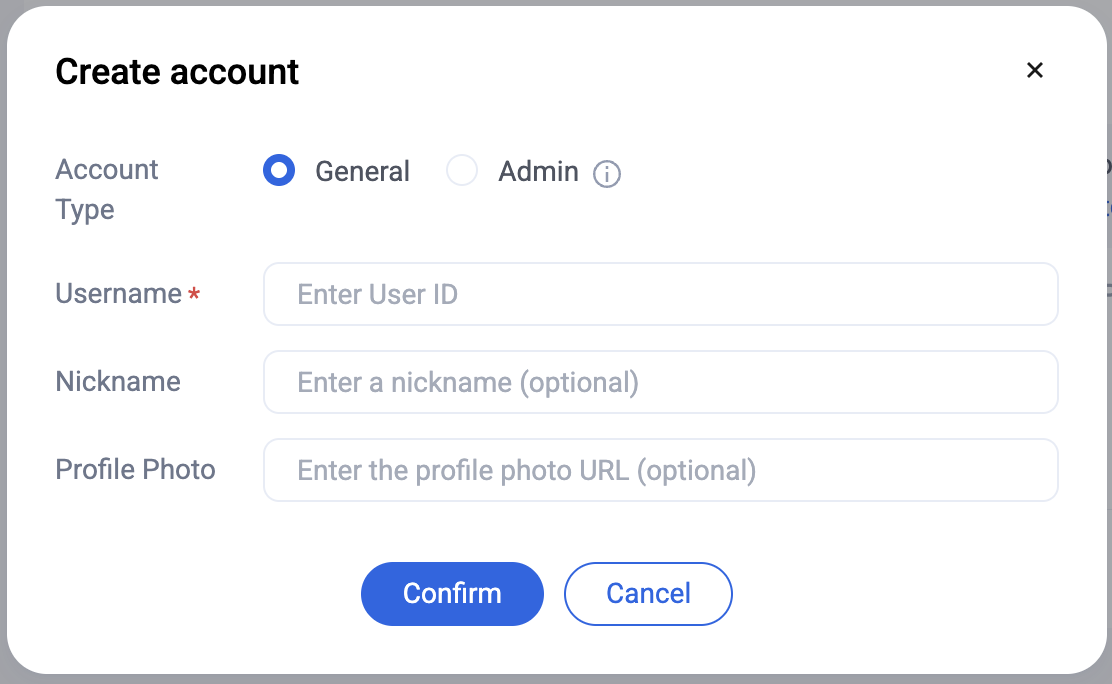
Console Registration
When logging in to TUIKit, provide a new UserID. TUIKit automatically registers the UserID for you.
If you are debugging on a physical device and see an "Untrusted Developer" alert after a successful build, first tap Cancel to dismiss it. Then, on your device, navigate to Settings > General > VPN & Device Management, select the developer app, and mark the developer as trusted. Afterwards, you can open and use the Demo app.
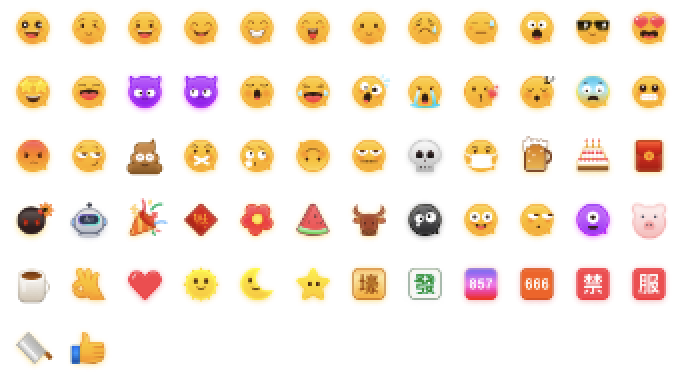
Emoji Pack Usage
To comply with emoji design copyrights, the Chat Demo/TUIKit project does not include large emoji images. Before launching commercially, replace them with emoji packs you own or have licensed. The default "Little Yellow Face" emoji pack shown below is copyrighted by TRTC. You can use this pack for free by upgrading to Chat Pro edition Plus or Enterprise edition.
Contact Us
If you have questions or feedback during integration or usage, please contact us.