Post-processing
Introduction
By applying post-processing effects, you can add blur, hazy, colorful filters, noise reduction, and kira effects to your videos.
Basic Usage: Global Blur
1. Add a post-processing object
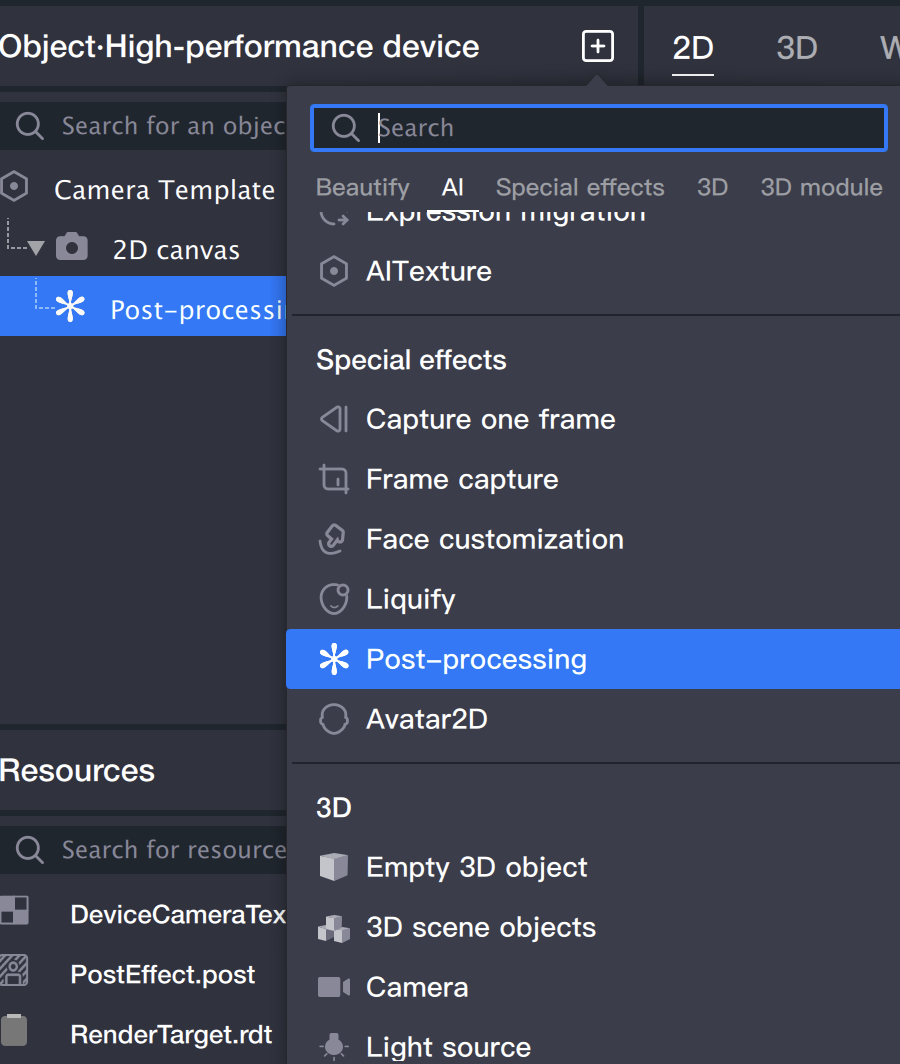
1.1 Add a Post-processing object in the object panel.

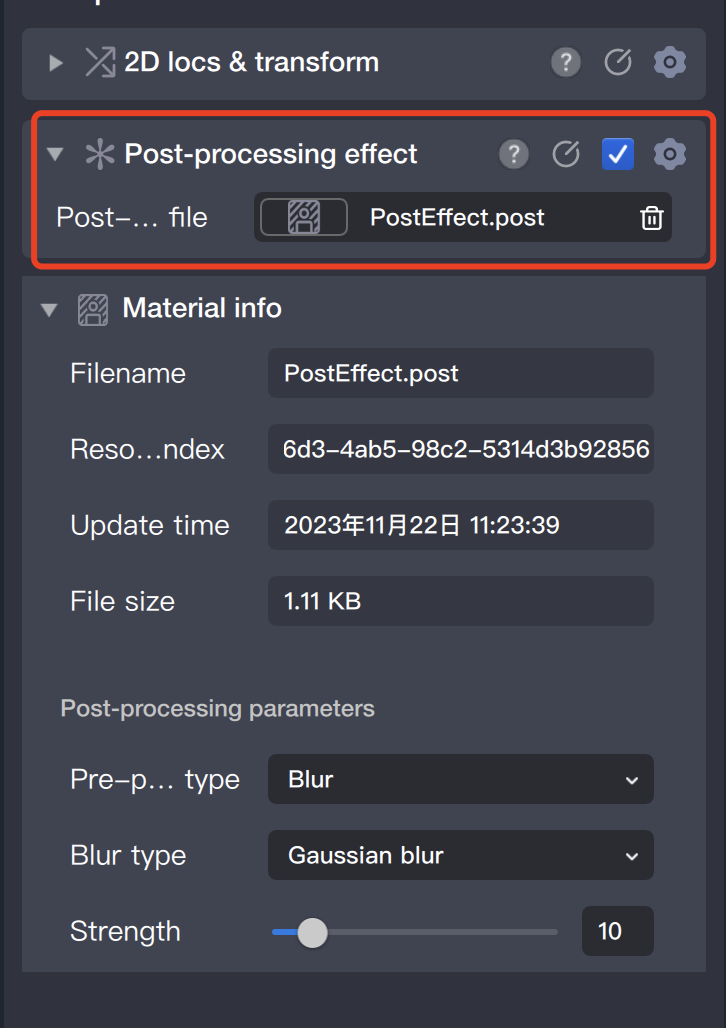
1.2 This object will automatically add a post-processing effect component, and the post-processing file property in the component will point to a
file in the resource panel: PostEffect.post. All subsequent post-processing effect modifications and parameter adjustments are based on this file.

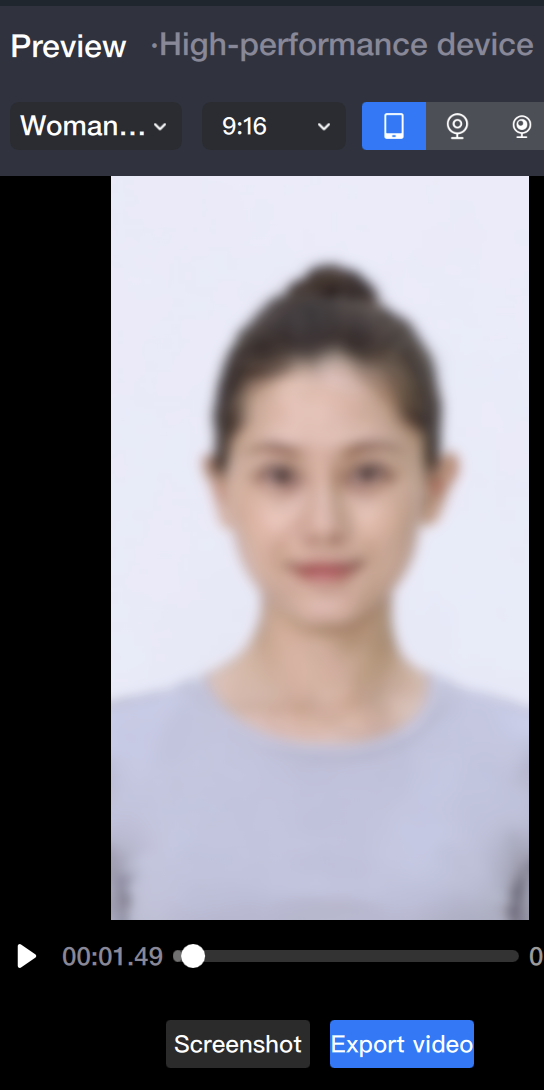
1.3 After adding the post-processing object, you can see the default post-processing effect: blur in the preview panel.

2. Modify post-processing effects
2.1 Select the post-processing file mentioned above in the resource panel: PostEffect.post
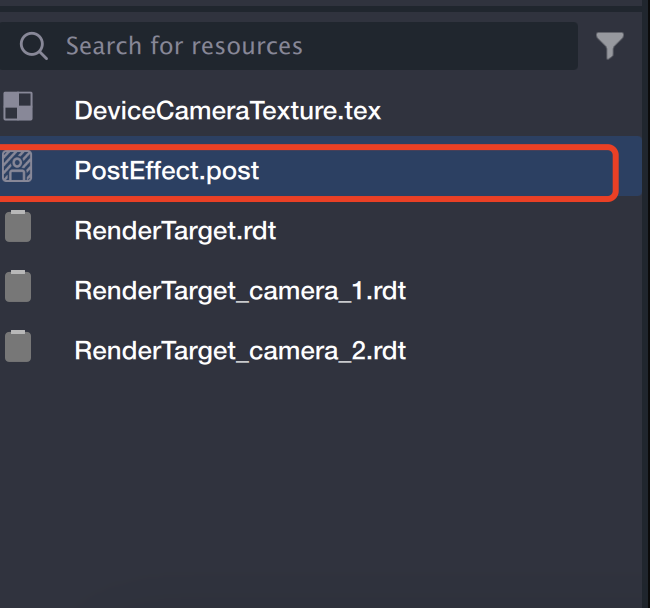

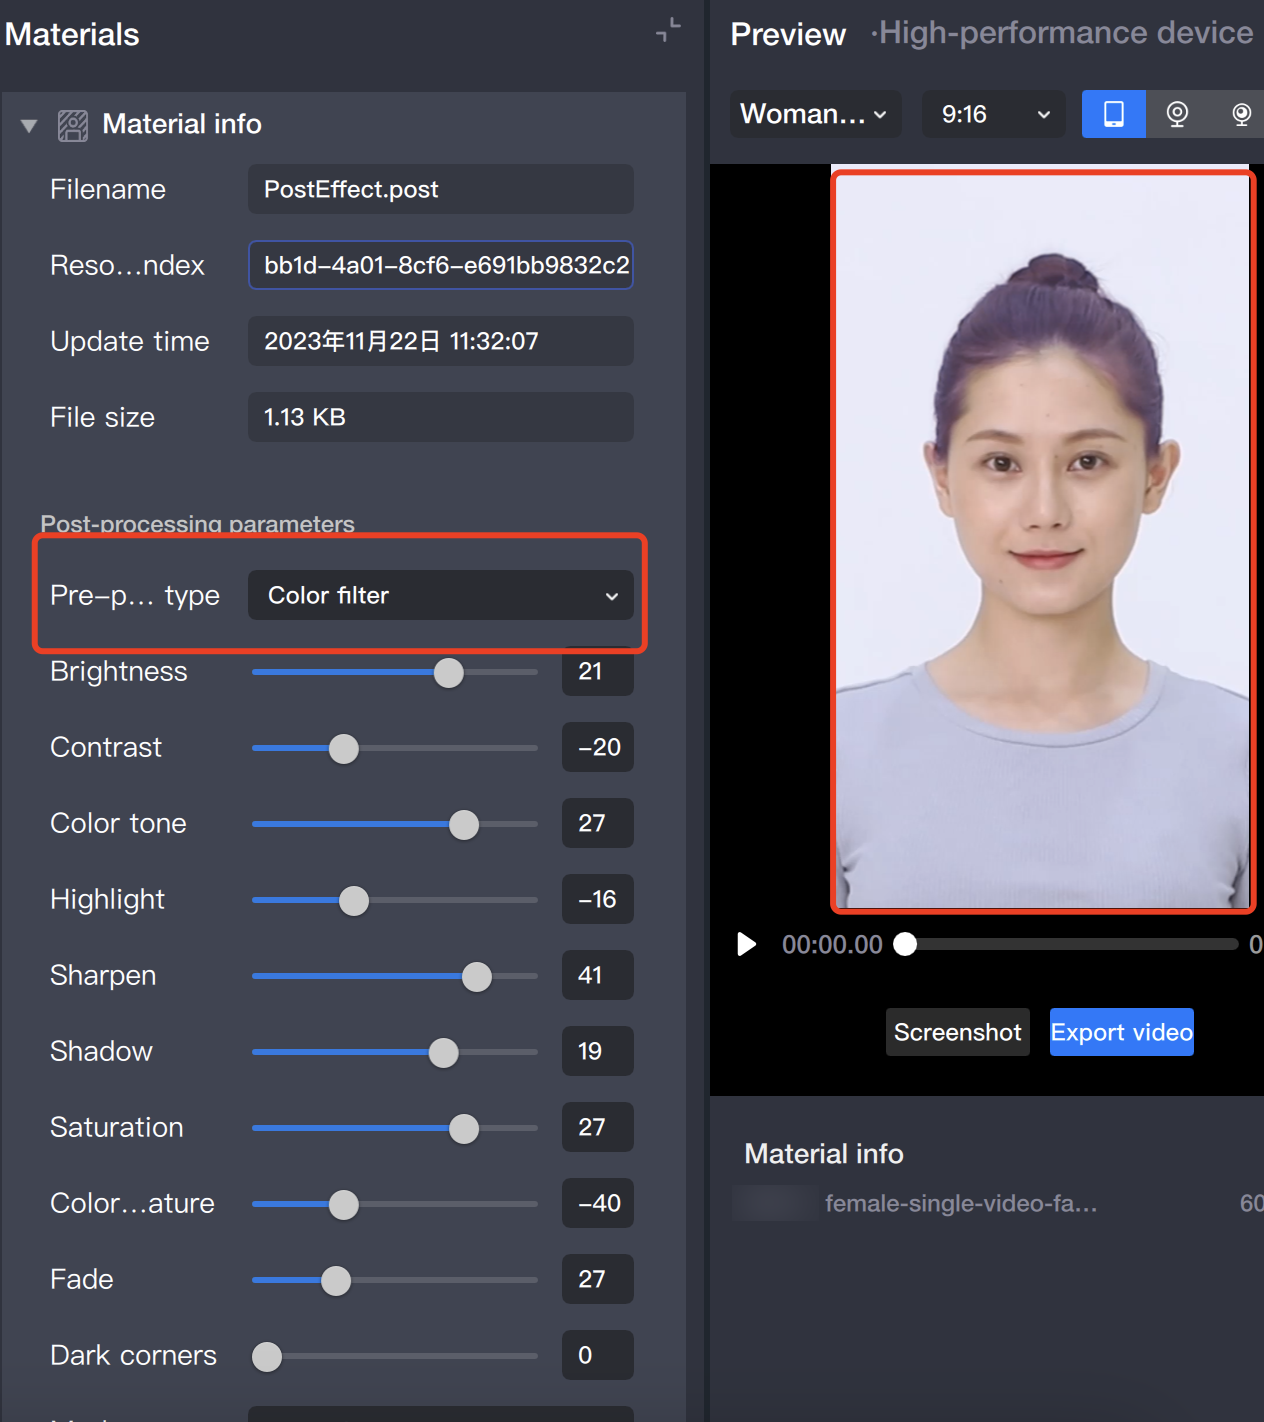
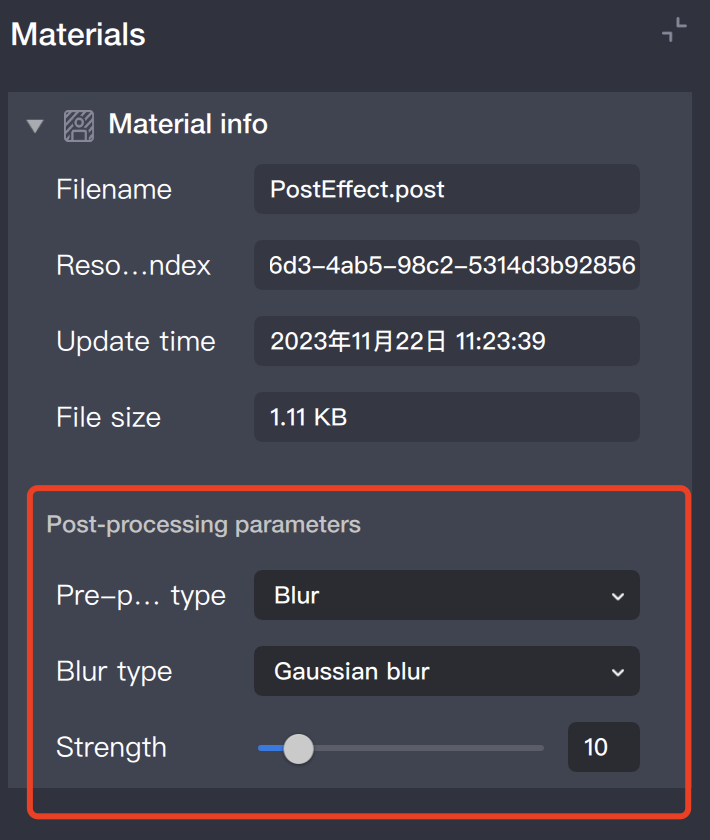
2.2 Modify the post-processing parameters in the component panel.

Local Blur
1. First, add a global blur effect.
2. Locally add a mask image for local blur
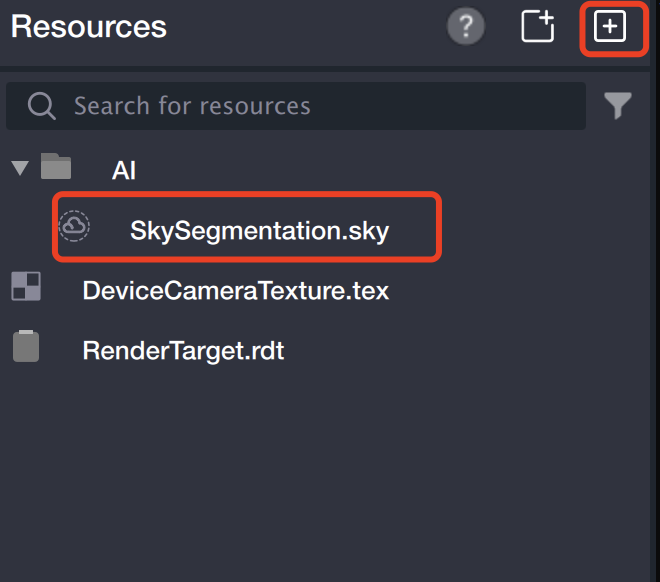

3. Add a [Segmentation] object.
3.1 Add a Segmentation object in the object panel.
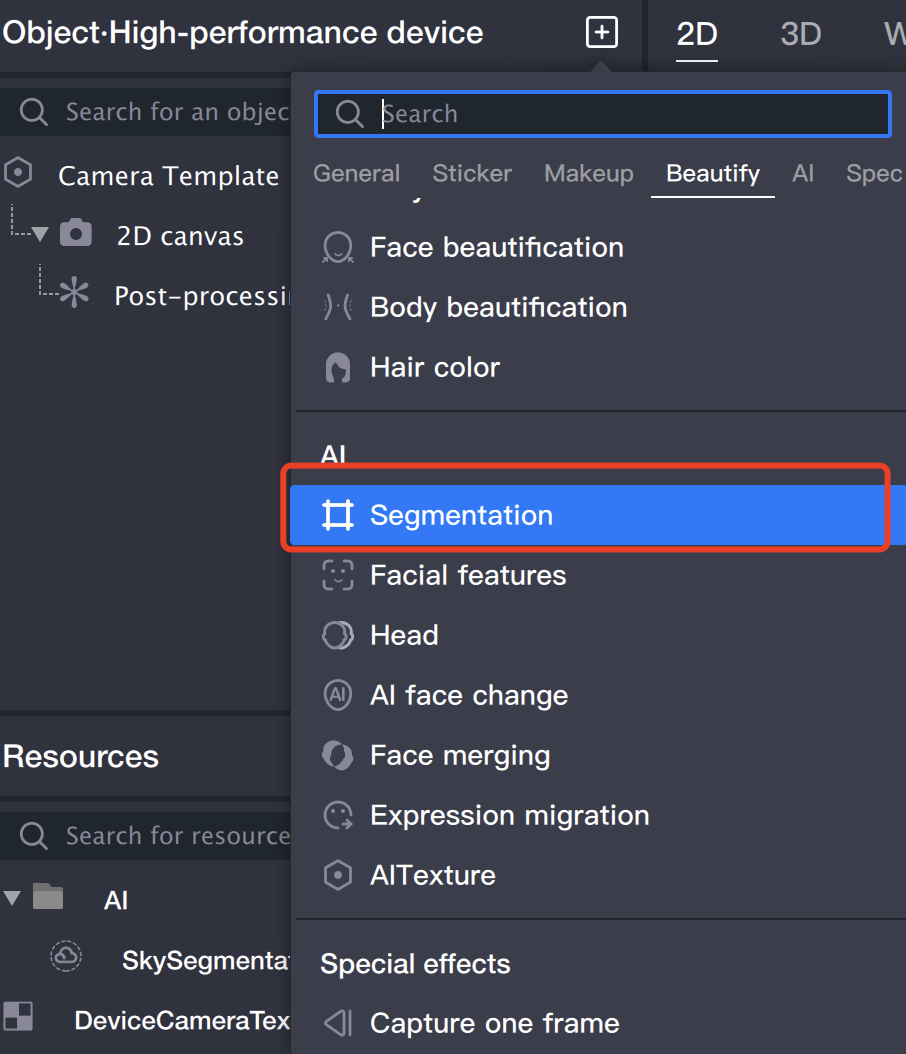

3.2 After adding the Segmentation object, the mask image in the component panel will automatically be filled with the imported mask image.
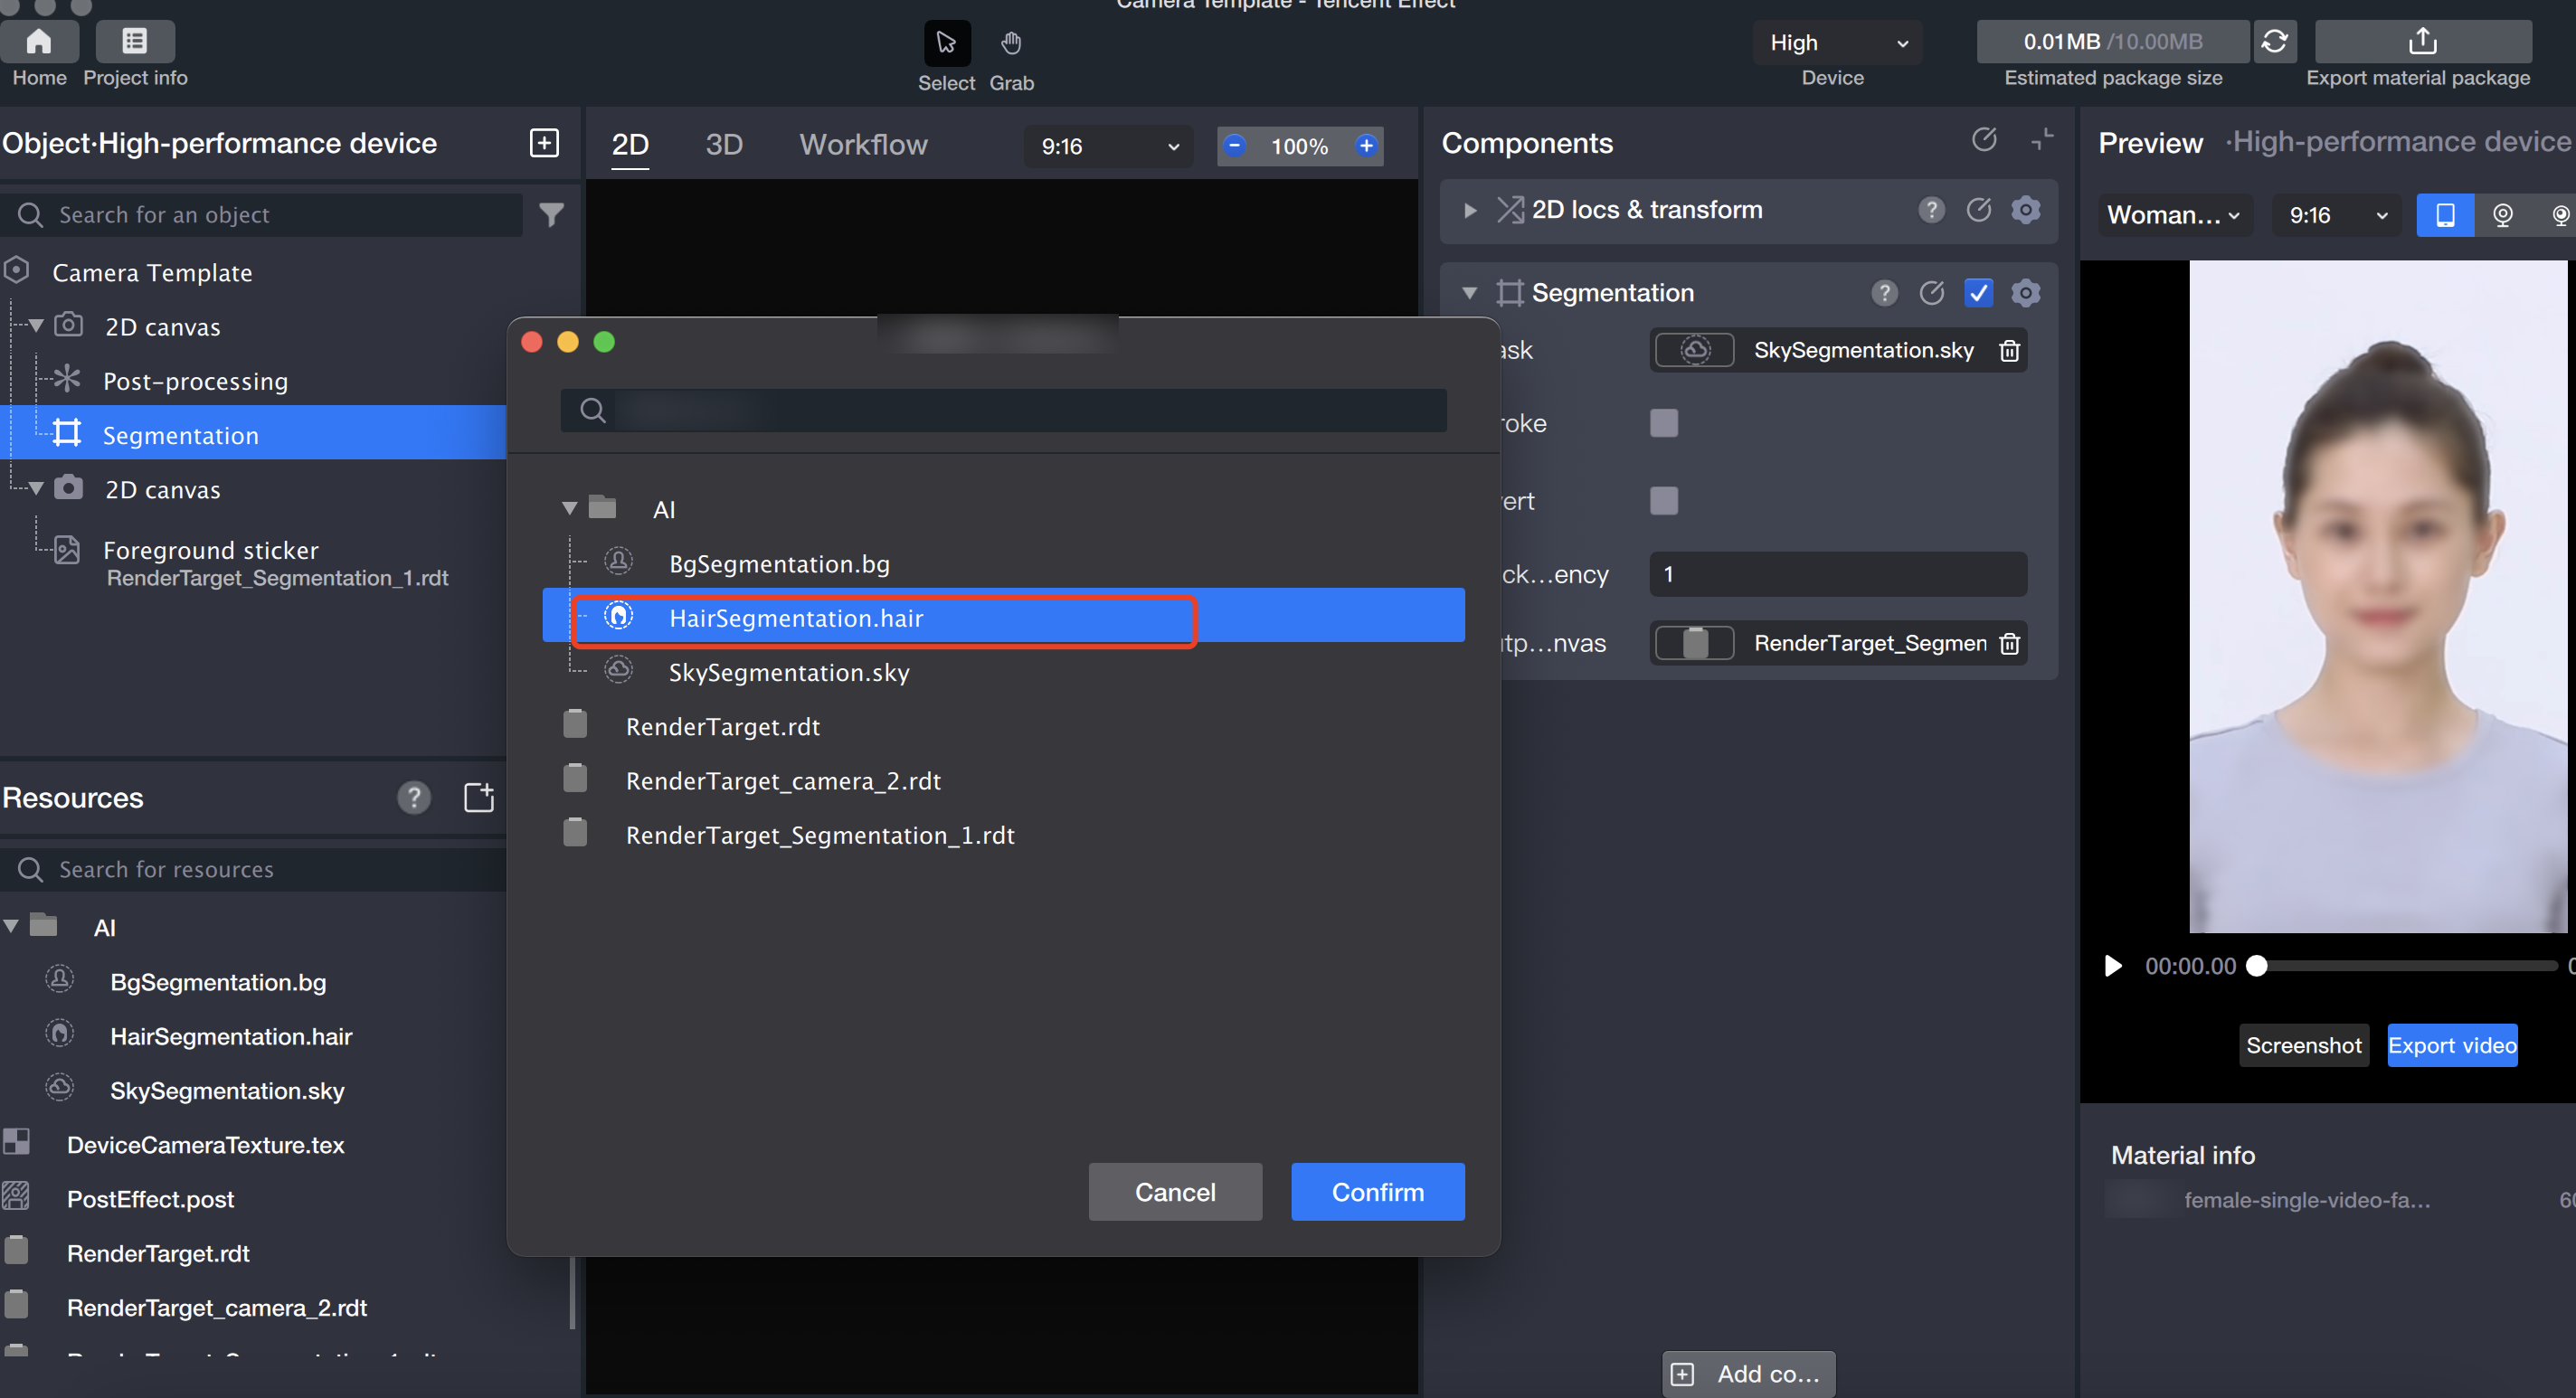

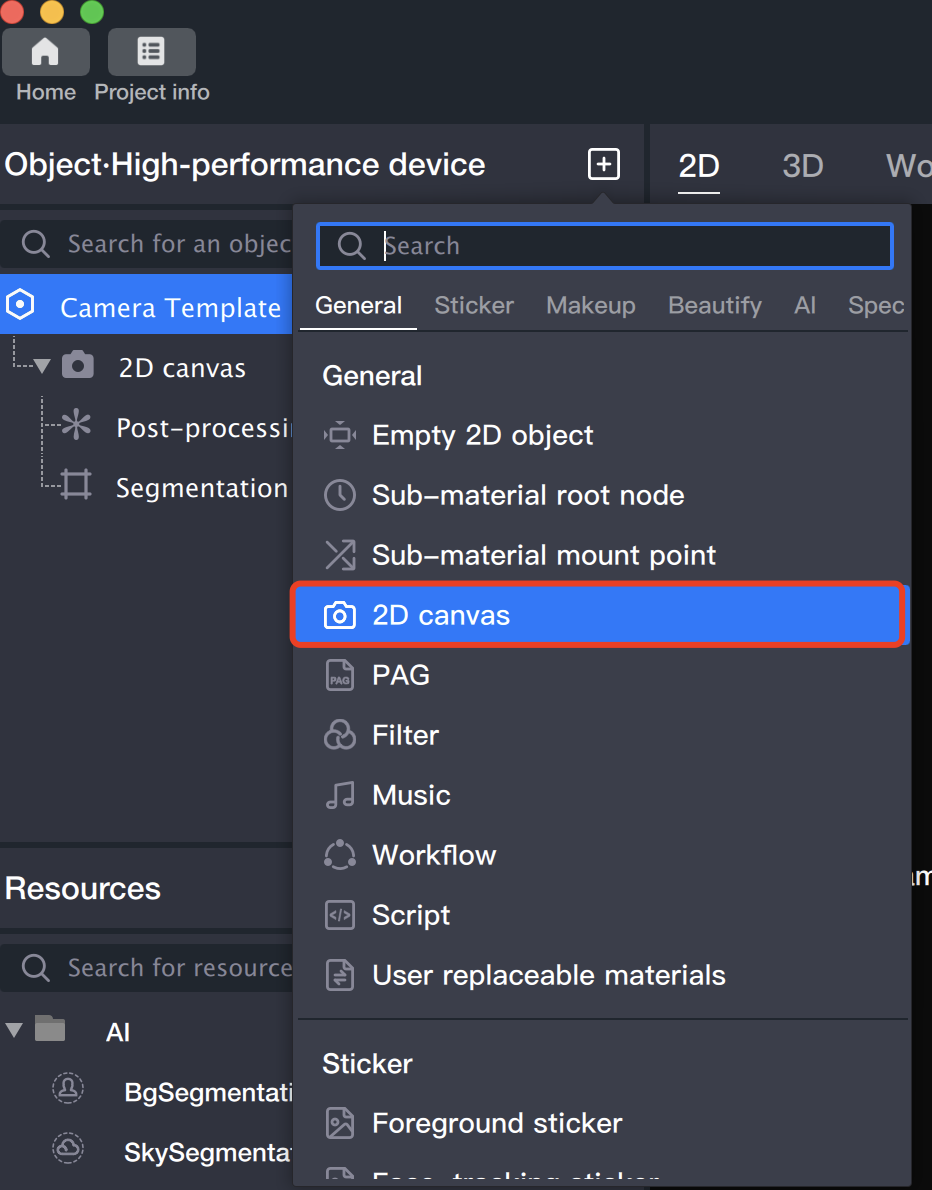
4. Use the mask image to achieve local blur.
4.1 Create a new 2D canvas in the object panel.

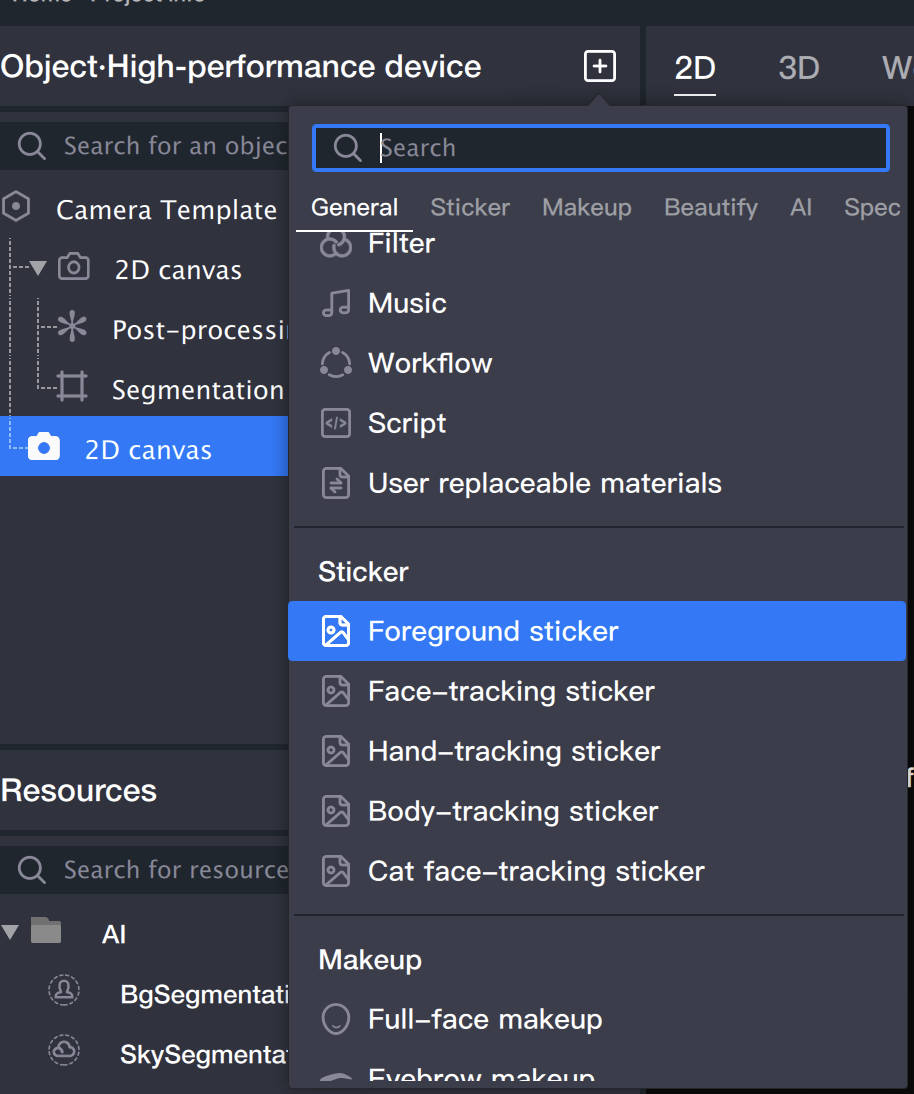
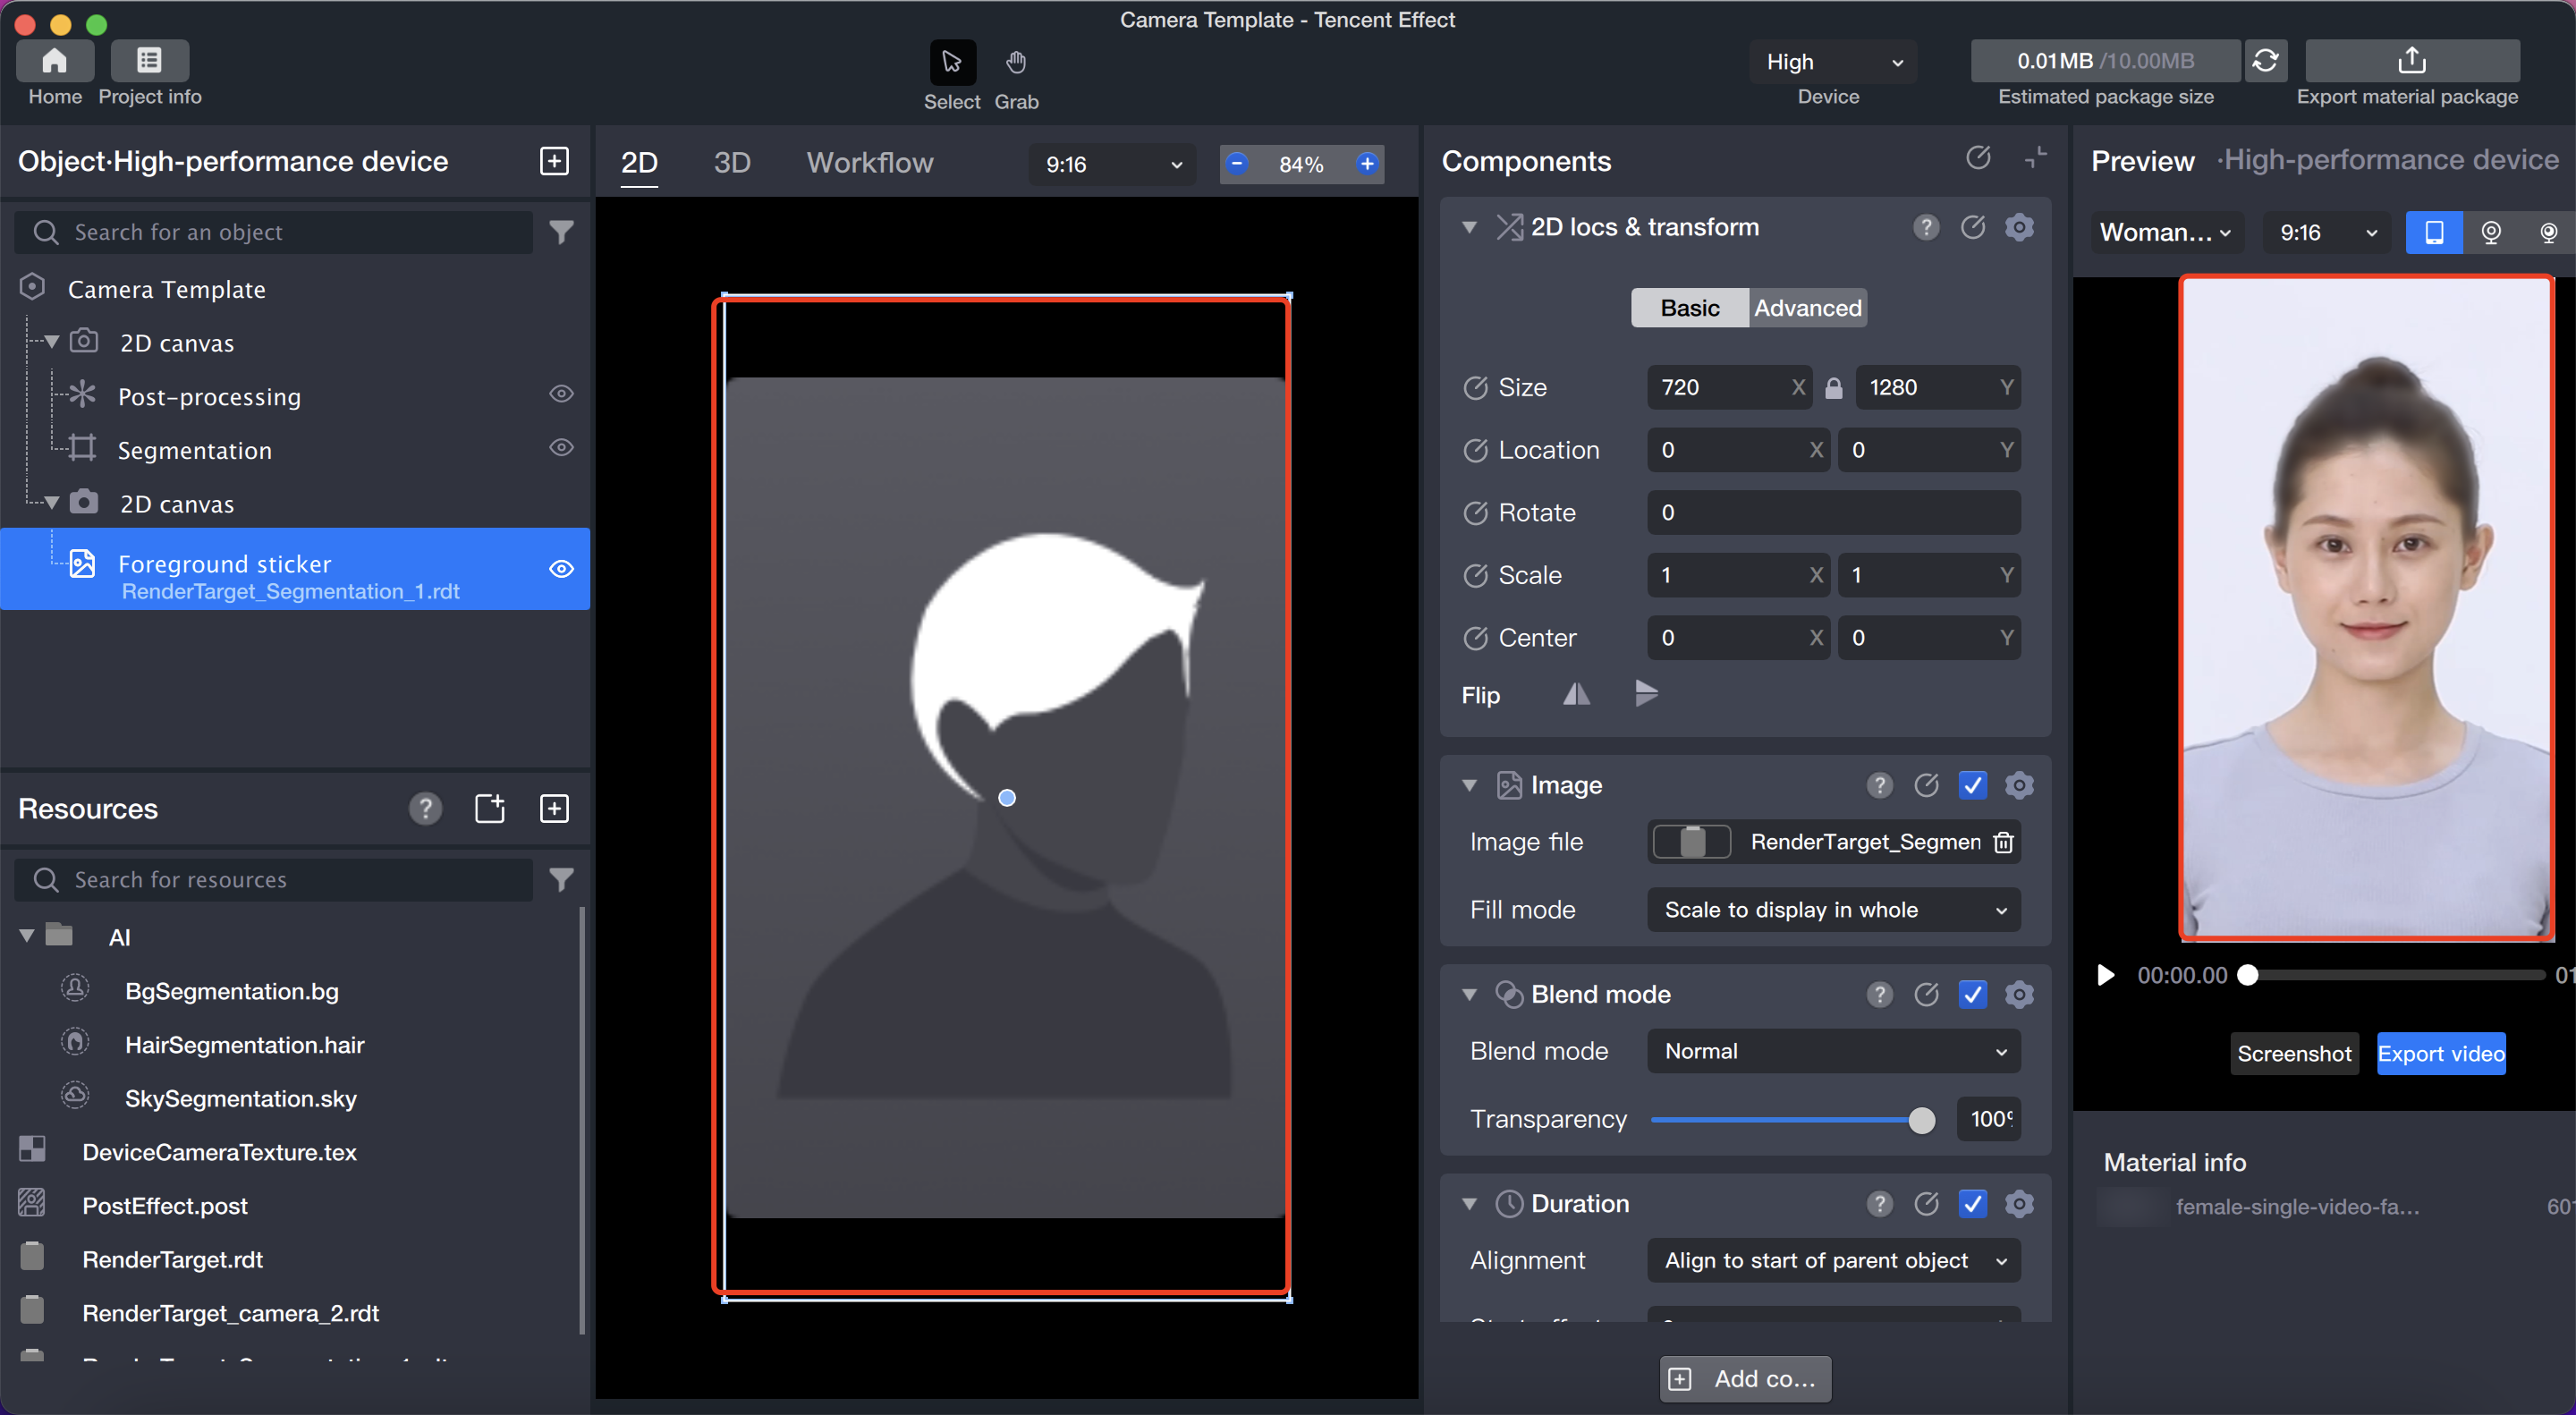
4.2 Add a Foreground Sticker object on the newly created canvas.

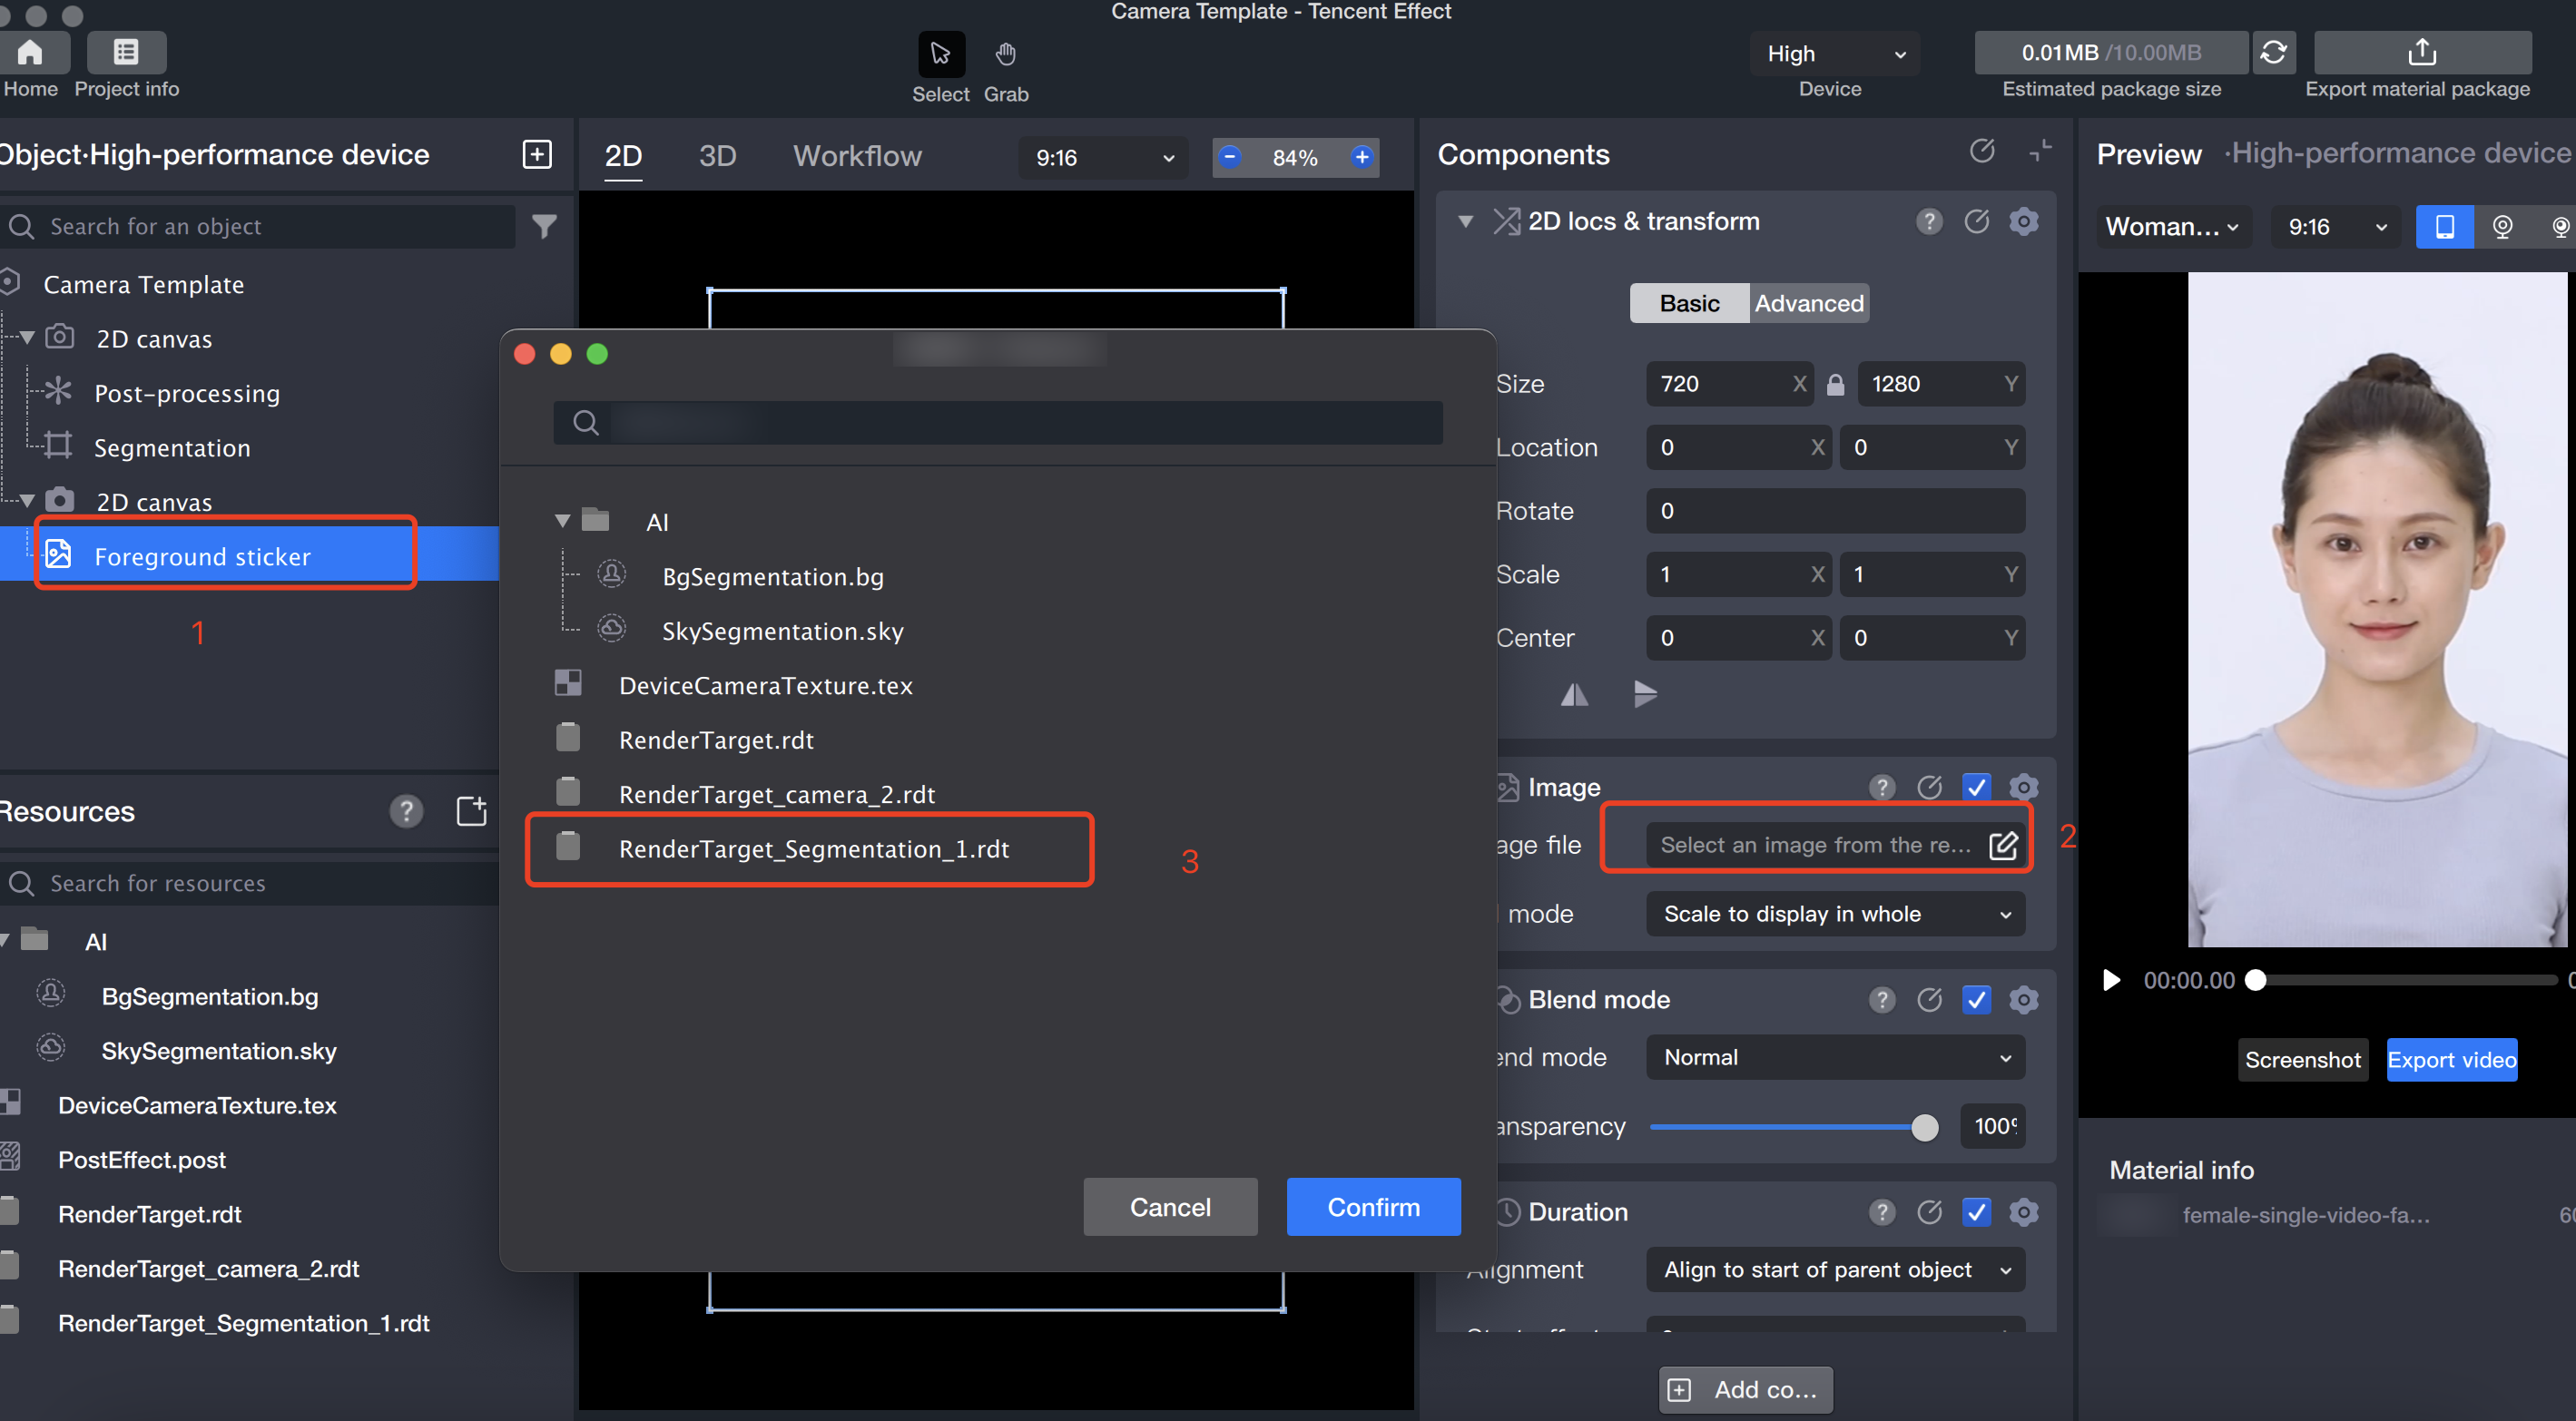
4.3 Select the output canvas of the Segmentation object as the foreground sticker.

5. Preview.

adjust the PostEffect.post
we can get different effects
for example:
