This document will guide you through quickly running the audio and video call Demo. By following this guide, you can run the Demo within 10 minutes and experience an audio and video call feature with a complete UI.
Prerequisites
Environment Setup
Flutter requirements: Flutter 3.24.0 and above.
Android requirements: Android Studio 3.5 and above, and an Android device running Android 4.1 and above.
iOS requirements: Xcode 13.0 and above, and ensure your project has a valid developer signature set.
We recommend that you run the Demo on two devices, log in with two different user accounts on two devices,one as the caller and one as the callee, to complete an audio/video call experience.
Step 1: Configure and Run the Demo
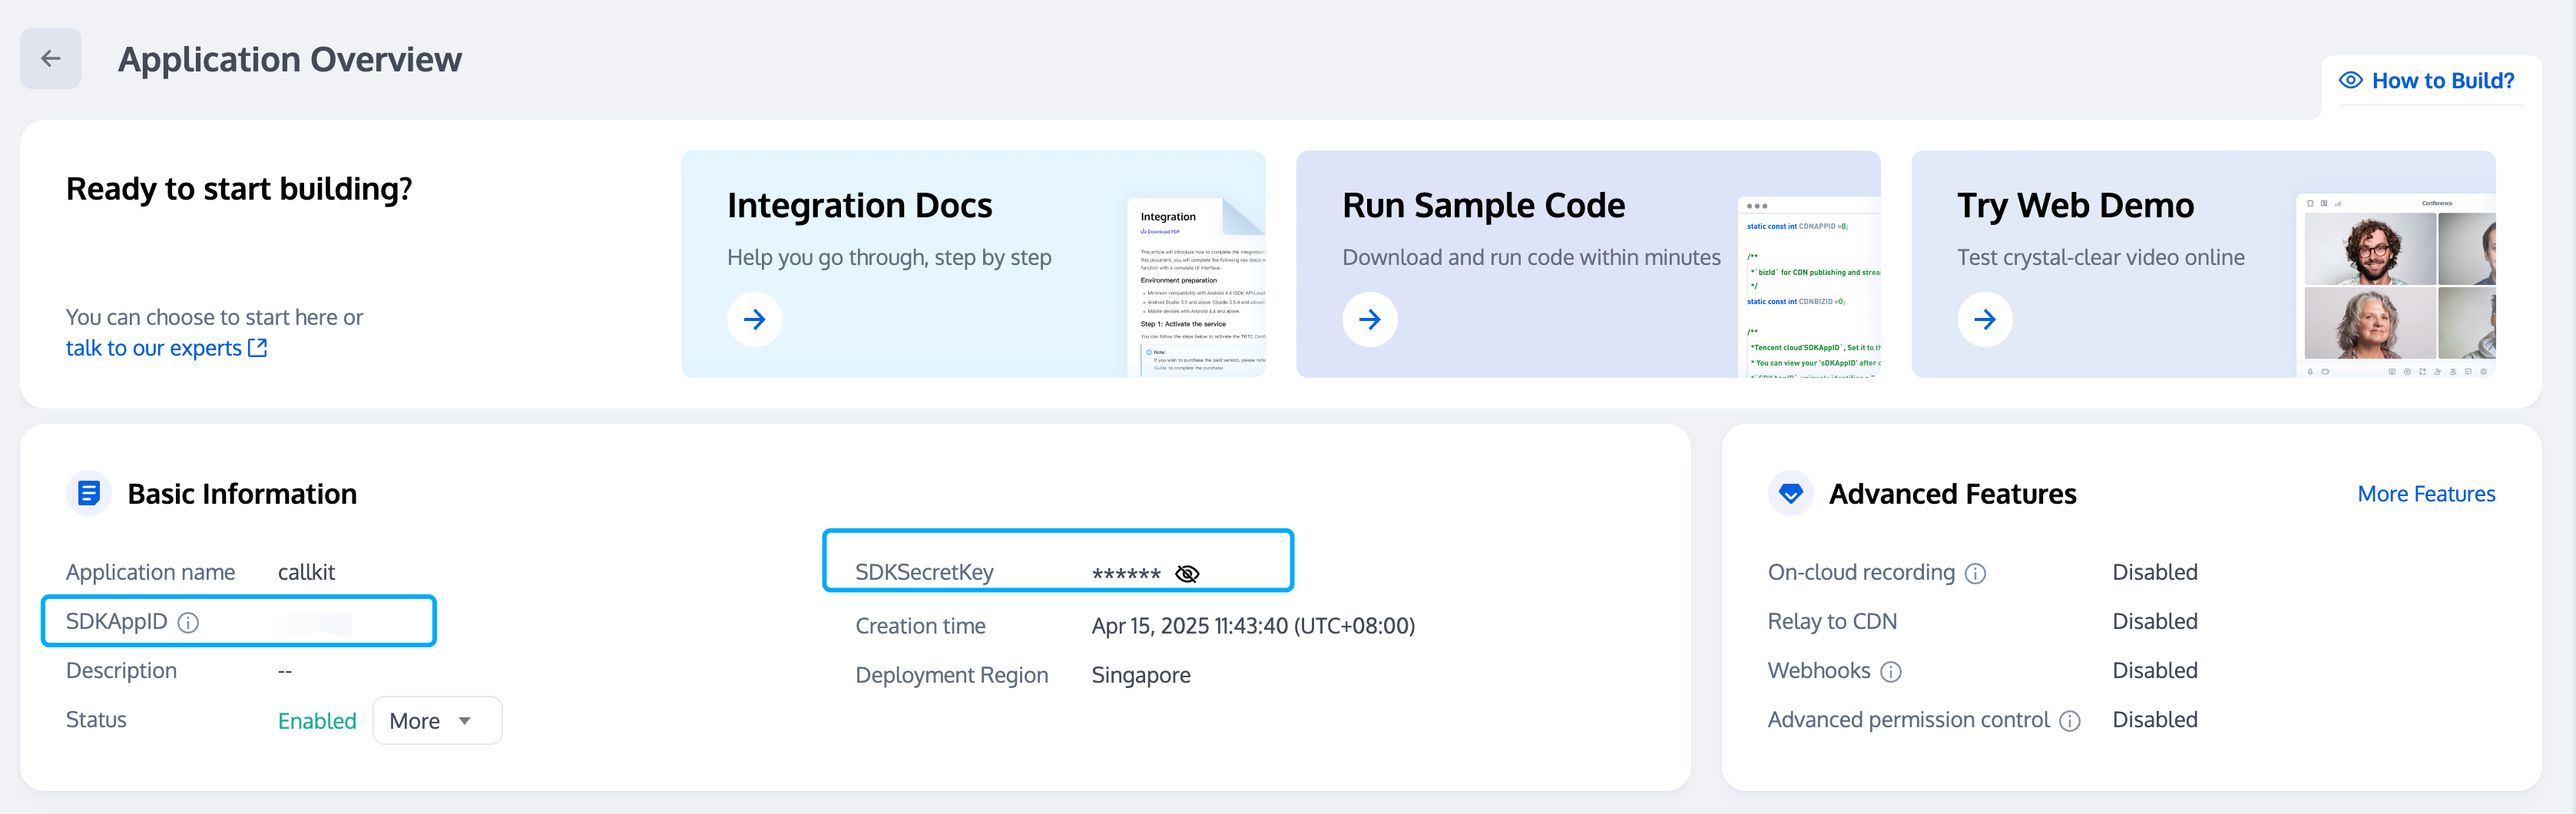
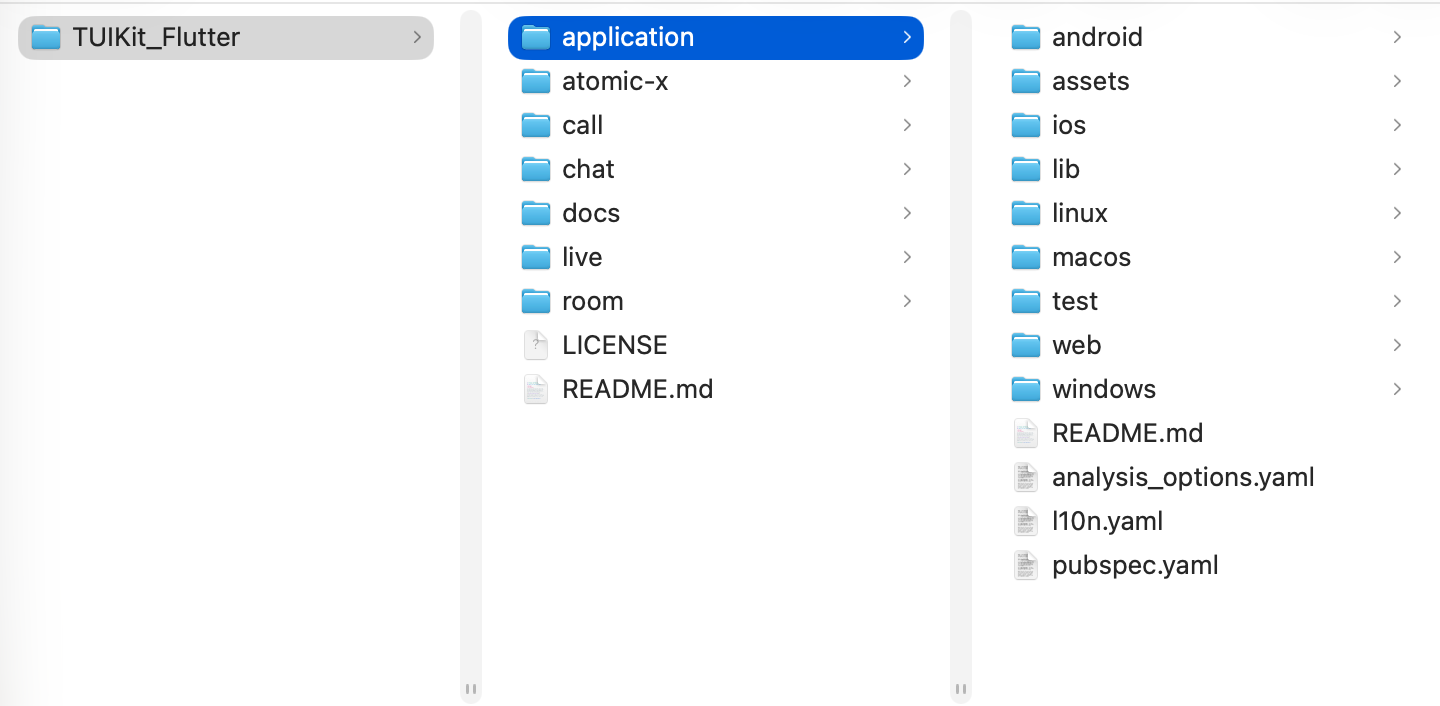
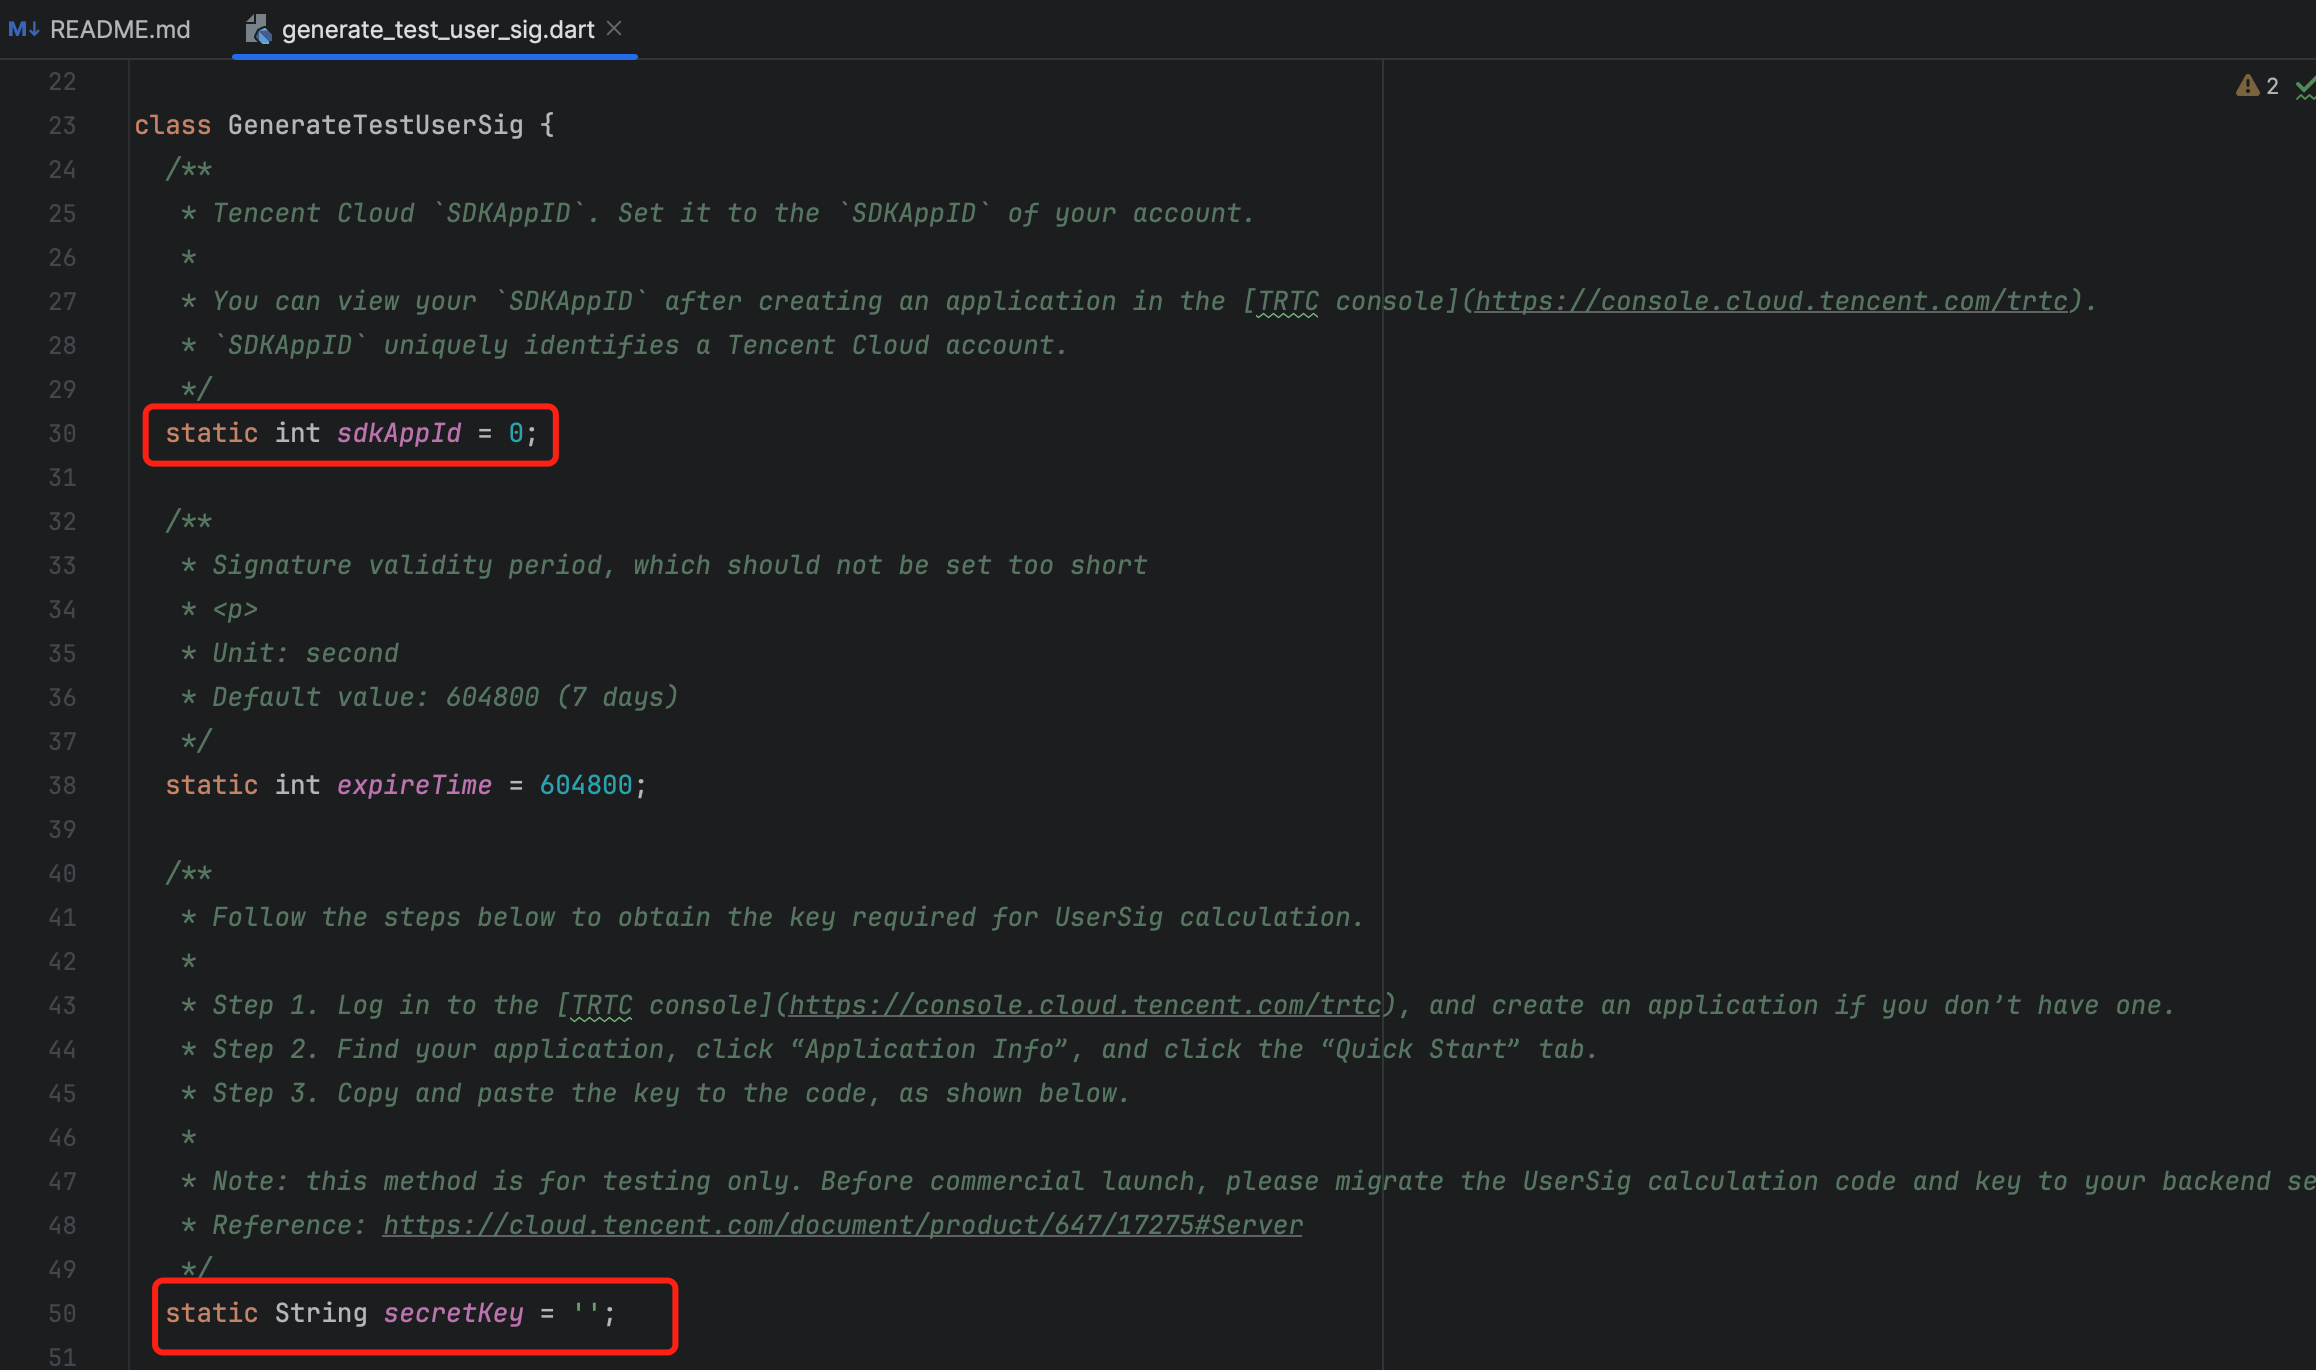
1. Configure SDKAppID and SecretKey: Open the lib/debug/generate_test_user_sig.dartfile, and fill in the sdkAppId and secretKey obtained during Activate the Service:
2. Run the Demo: You can run the Demo using the following command.
flutter run
Step 2: Login and Registration
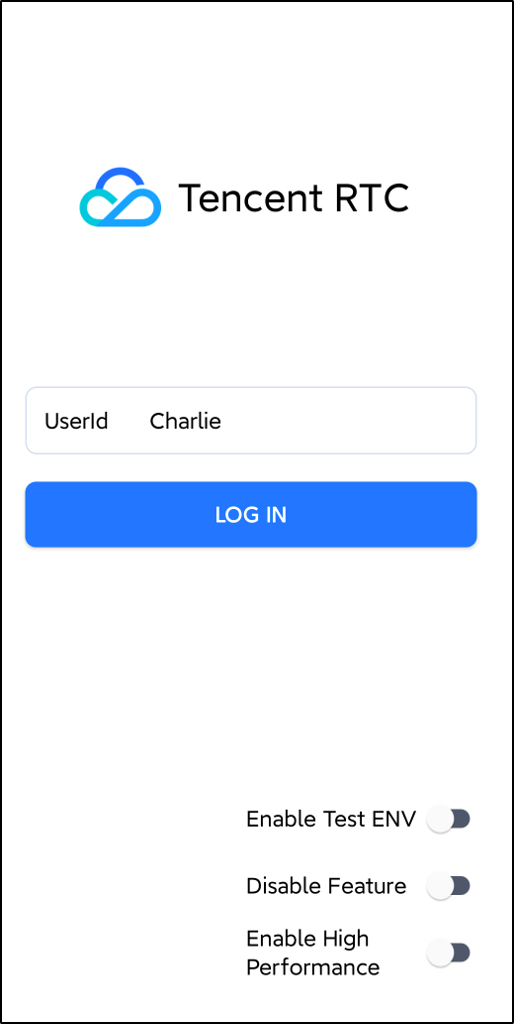
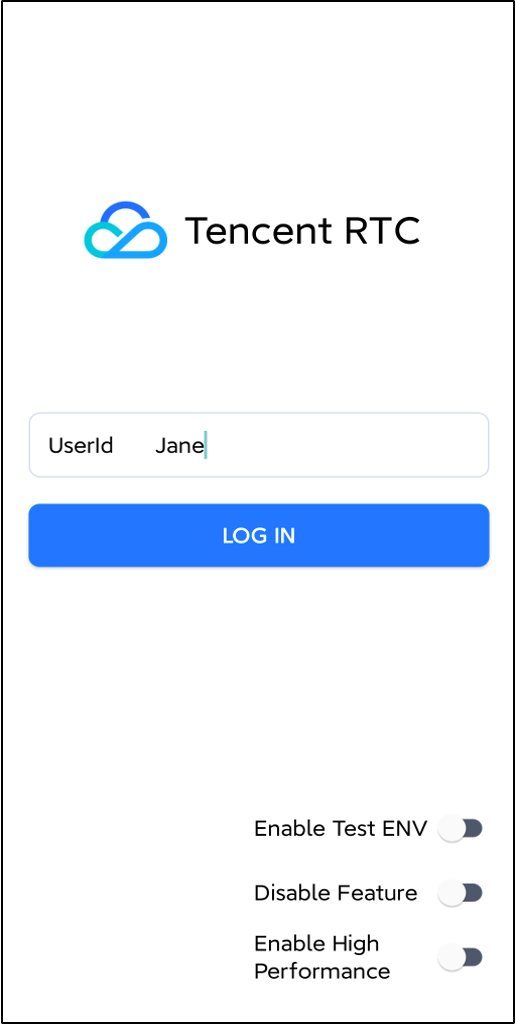
After the Demo starts, please enter an ID in the User ID field. If your current UserID has not been registered, you will enter the registration interface, where you can set a nickname for yourself.
Logged-in User: Charlie
Logged-in User: Jane
Tip:
Avoid using simple UserIDs such as "1", "123", or "111". These IDs are commonly used during collaborative development and may already be in use by others, resulting in login failures. We recommend using a unique UserID during testing.
Step 3: Make a Call
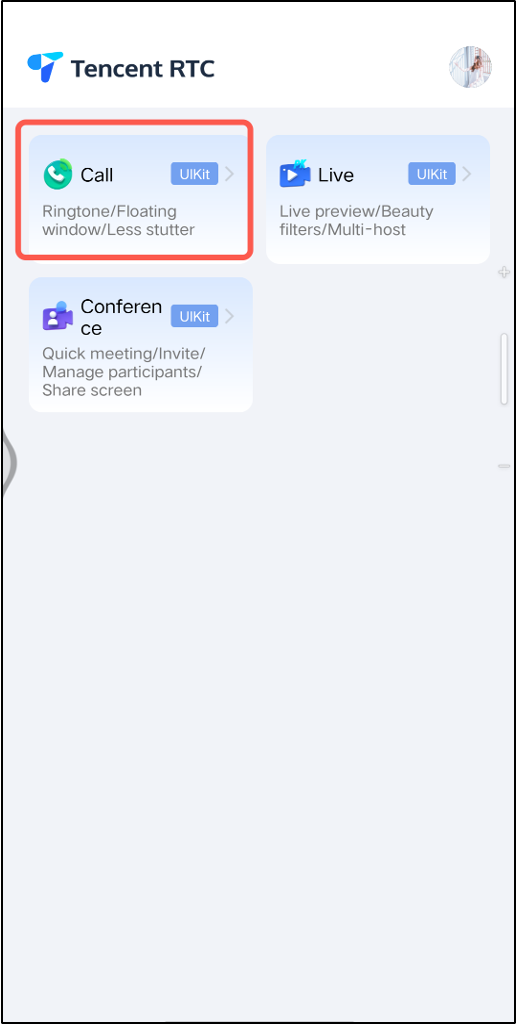
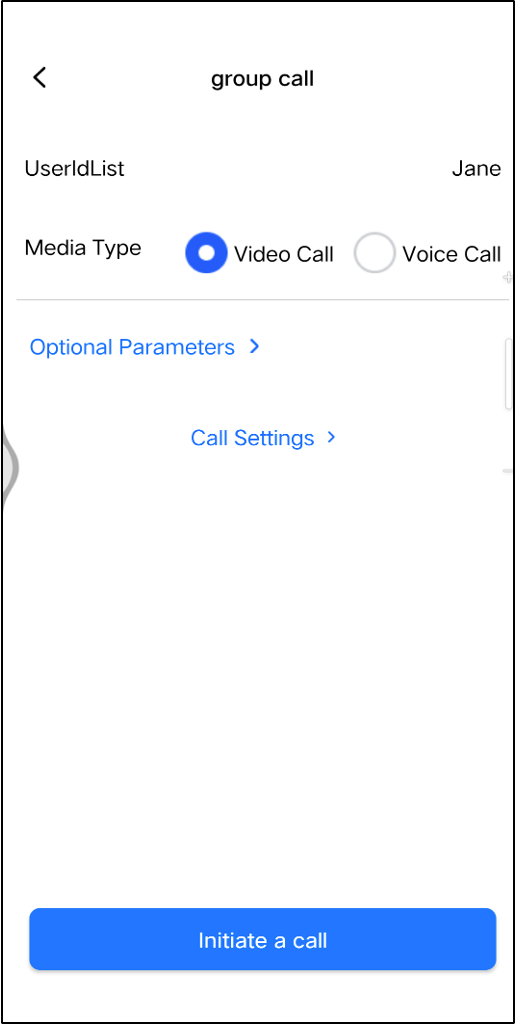
1. On the caller's device, tap 1V1 Call on the interface, enter the callee's UserID in the pop-up window, and select the desired call type.
2. Click Initiate a Call.
Click Call
Charlie calls Jane
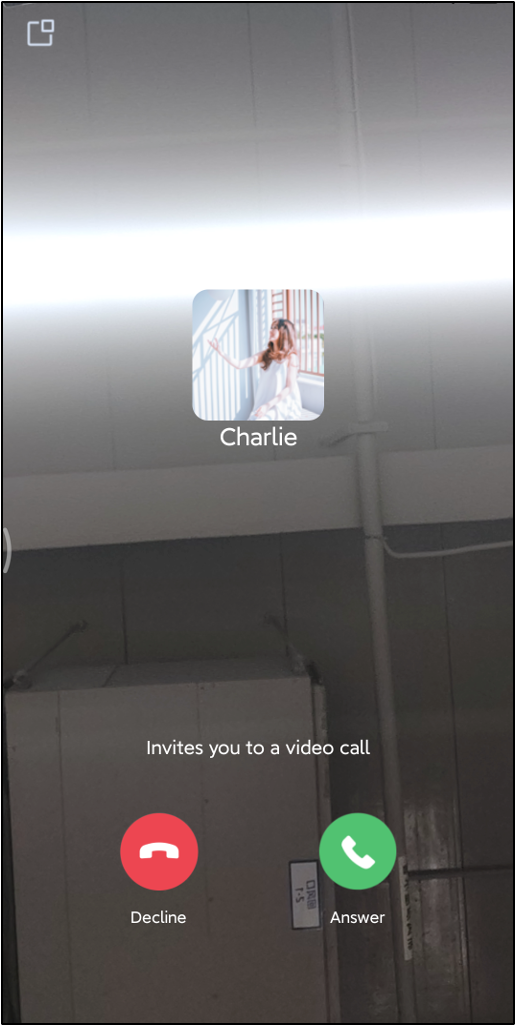
Jane receives the incoming call
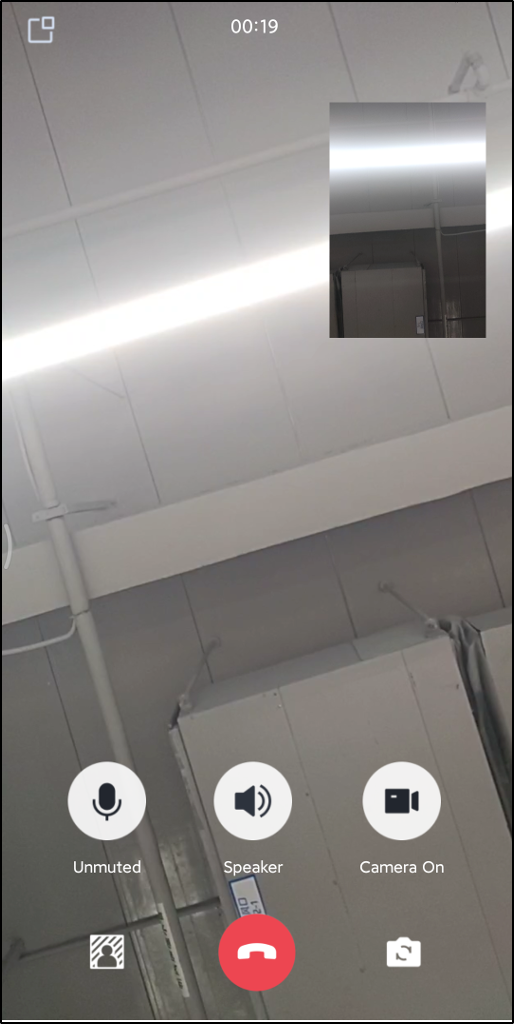
The call starts after Jane clicks Answer
Tip:
To start a call, you need to confirm that the Callee User ID is a valid and logged-in ID.
FAQs
A signature error or login failure occurs when running the demo?
Please check if the sdkAppId and secretKey you filled in the lib/debug/generate_test_user_sig.dart file are correct. Ensure they are the keys you obtained when Activate the Service.
Purchase prompt appears during call?
Error Prompt
Solution
You have not purchased an audio and video calling package. Please go to the IM console to activate a free trial or purchase the official version.
The audio and video calling package you currently purchased does not support this feature. It is recommended that you upgrade your package type.
The audio and video calling package you currently purchased does not support this feature. It is recommended that you go to the console to upgrade your package type.
Tip:
If you encounter other error prompts, you can refer to the TUICallDefine Error Codes for a solution.
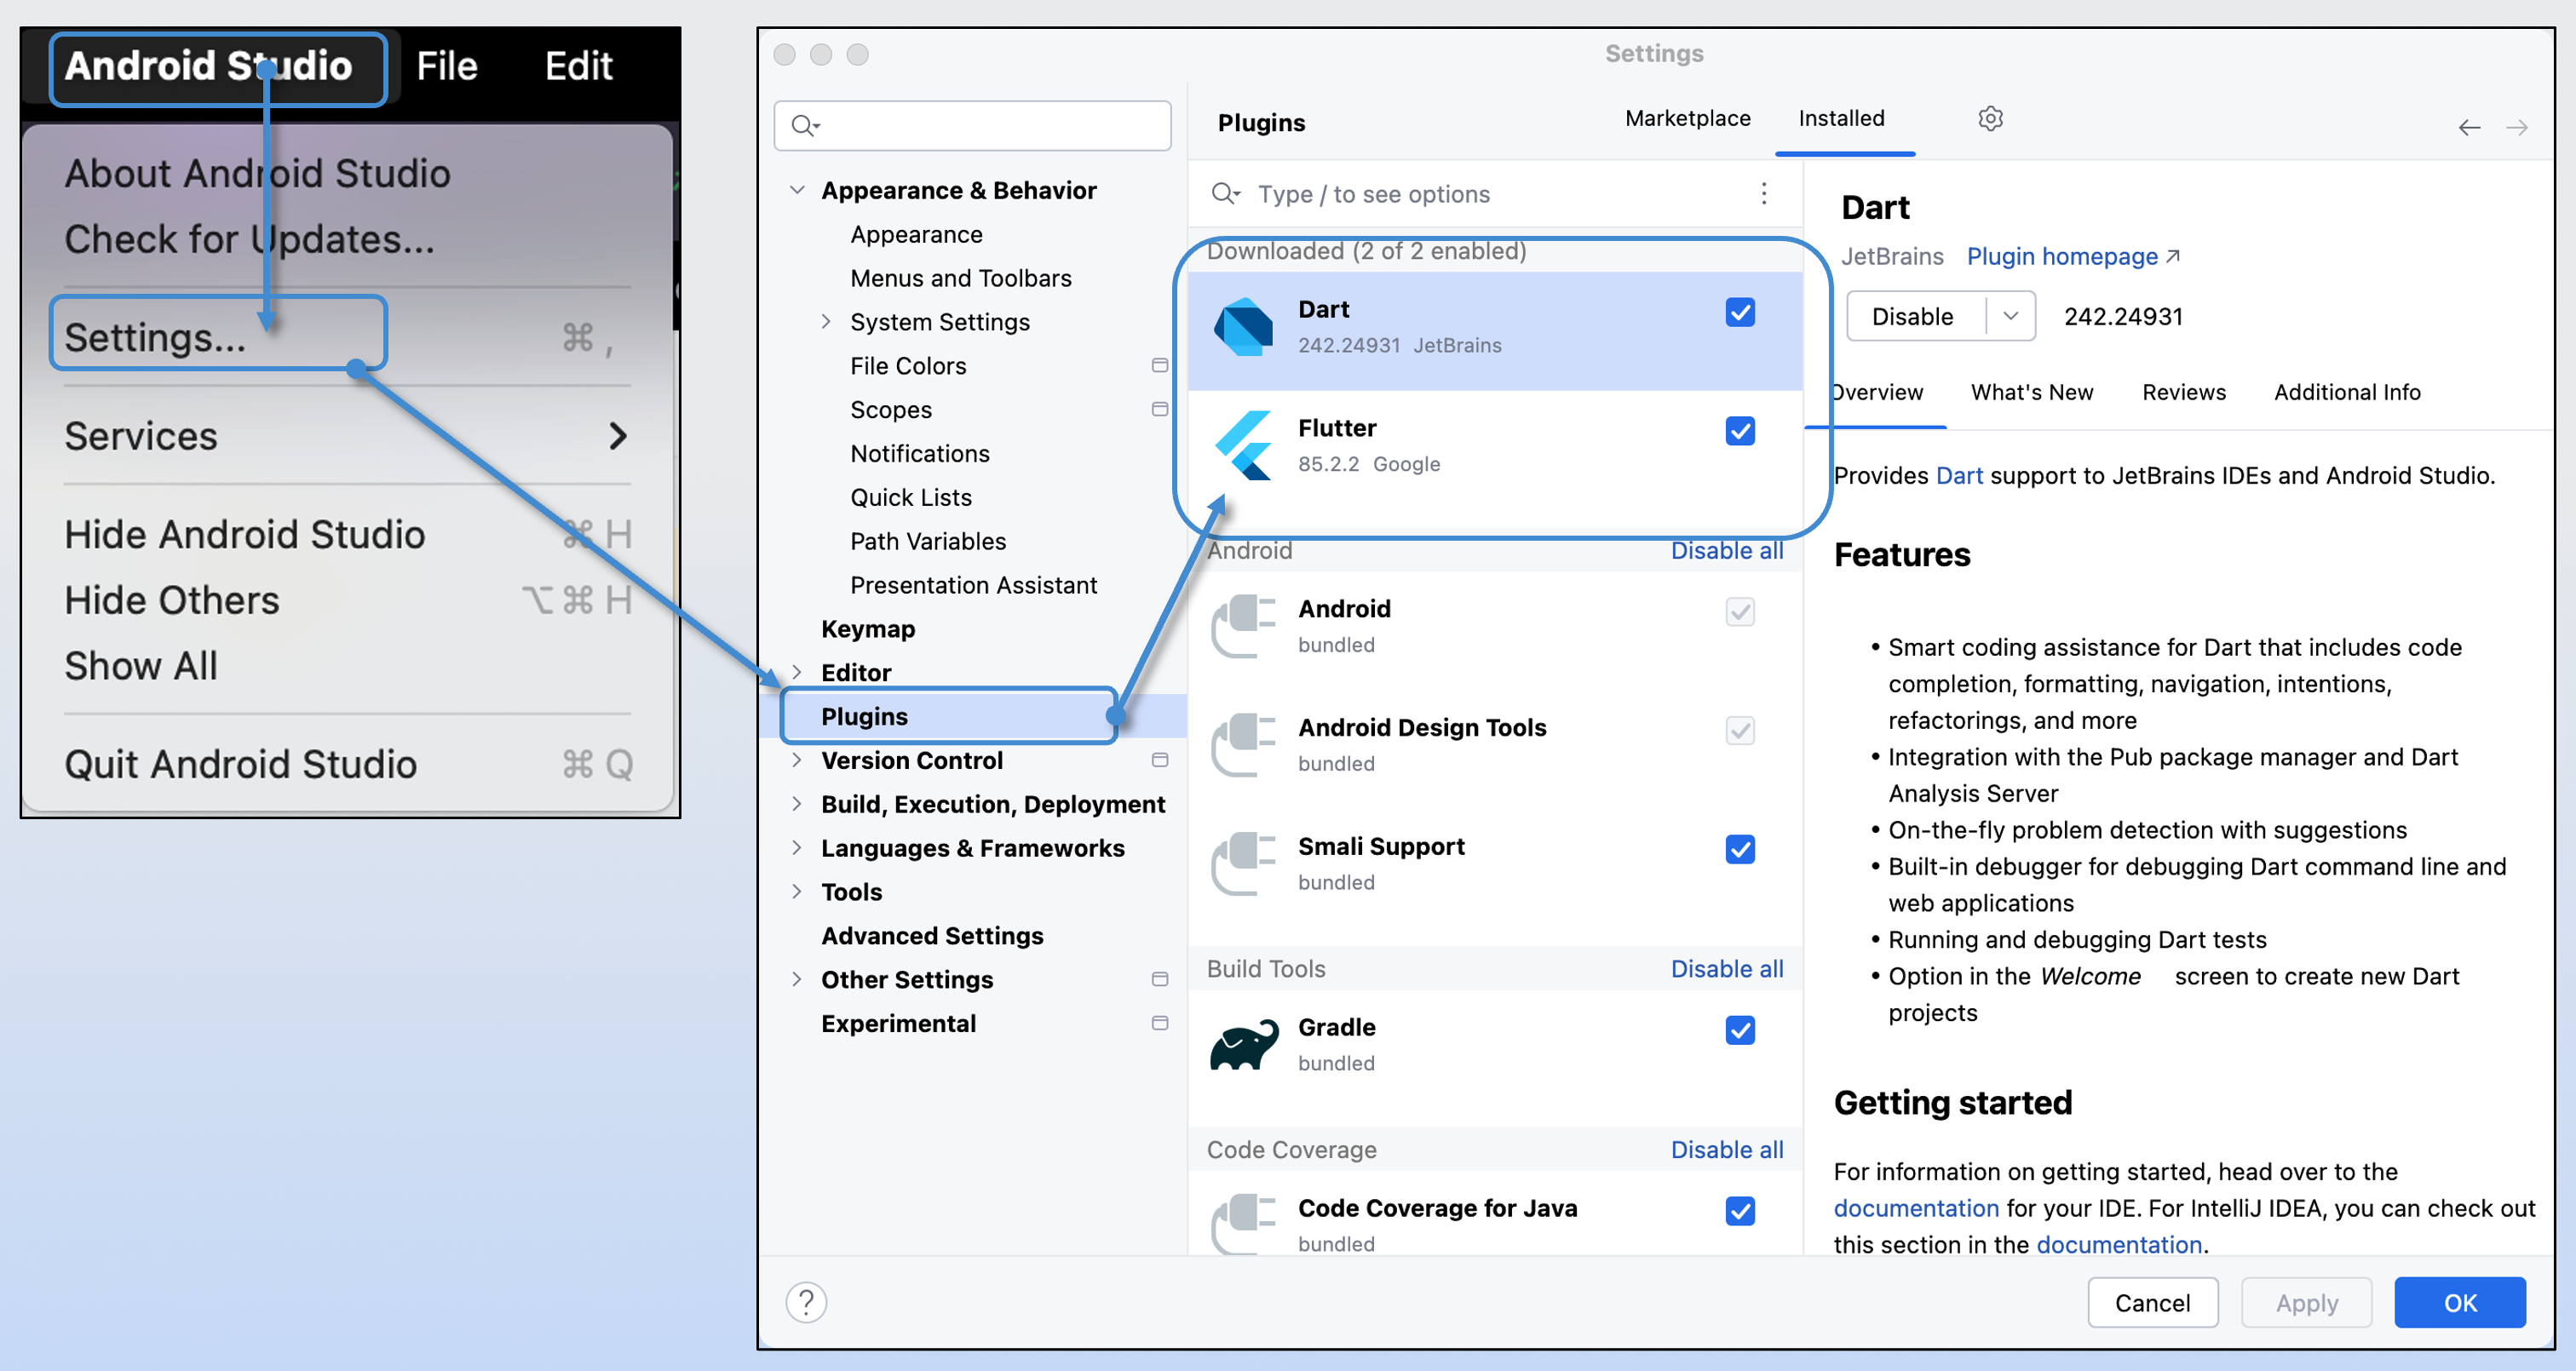
How to install Flutter and Dart plugins in Android Studio?
Click on Android Studio > Settings > Plugins in the upper left corner to download them.
How to check for Flutter environment issues?
If you need to know if there are any issues with your Flutter environment, run flutter doctor to check if the Flutter environment is properly installed.
flutter doctor
Contact Us
If you have any questions or suggestions during integration or usage, feel free to join our Telegram group or contact us for support.