This guide walks you through running the TUIRoomKit sample project. Follow the steps below to get the demo up and running in under 10 minutes and explore a full-featured multi-party video conferencing solution with a ready-to-use UI.
Prerequisites
Activate the Service
Follow the instructions in Activate the Service to create a Room application and obtain the following:
SDKAppID: The unique identifier for your Room application, available in the Console.
SDKSecretKey: The application's SecretKey.
Environment Preparation
Platform
Version
Flutter
Version 3.29.3 or later.
Android
Android 5.0 (SDK API Level 21) or higher.
iOS
iOS 14.0 or later.
Get the Demo
1. Download the source code using one of the following methods:
Download the TUIKit_Flutter Demo and extract the archive.
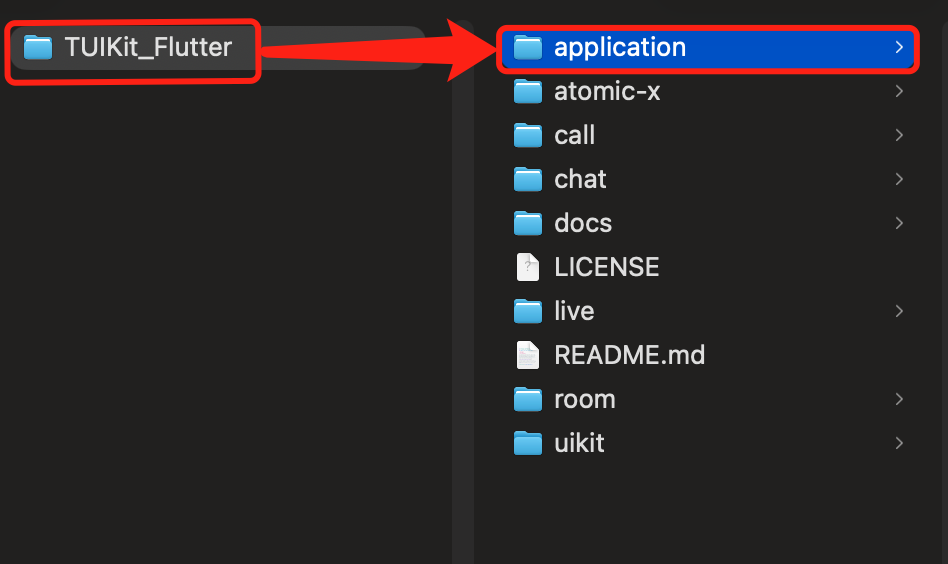
2. Open the application directory in TUIKit_Flutter using Android Studio or VSCode. The following instructions use VSCode as an example:
Setup
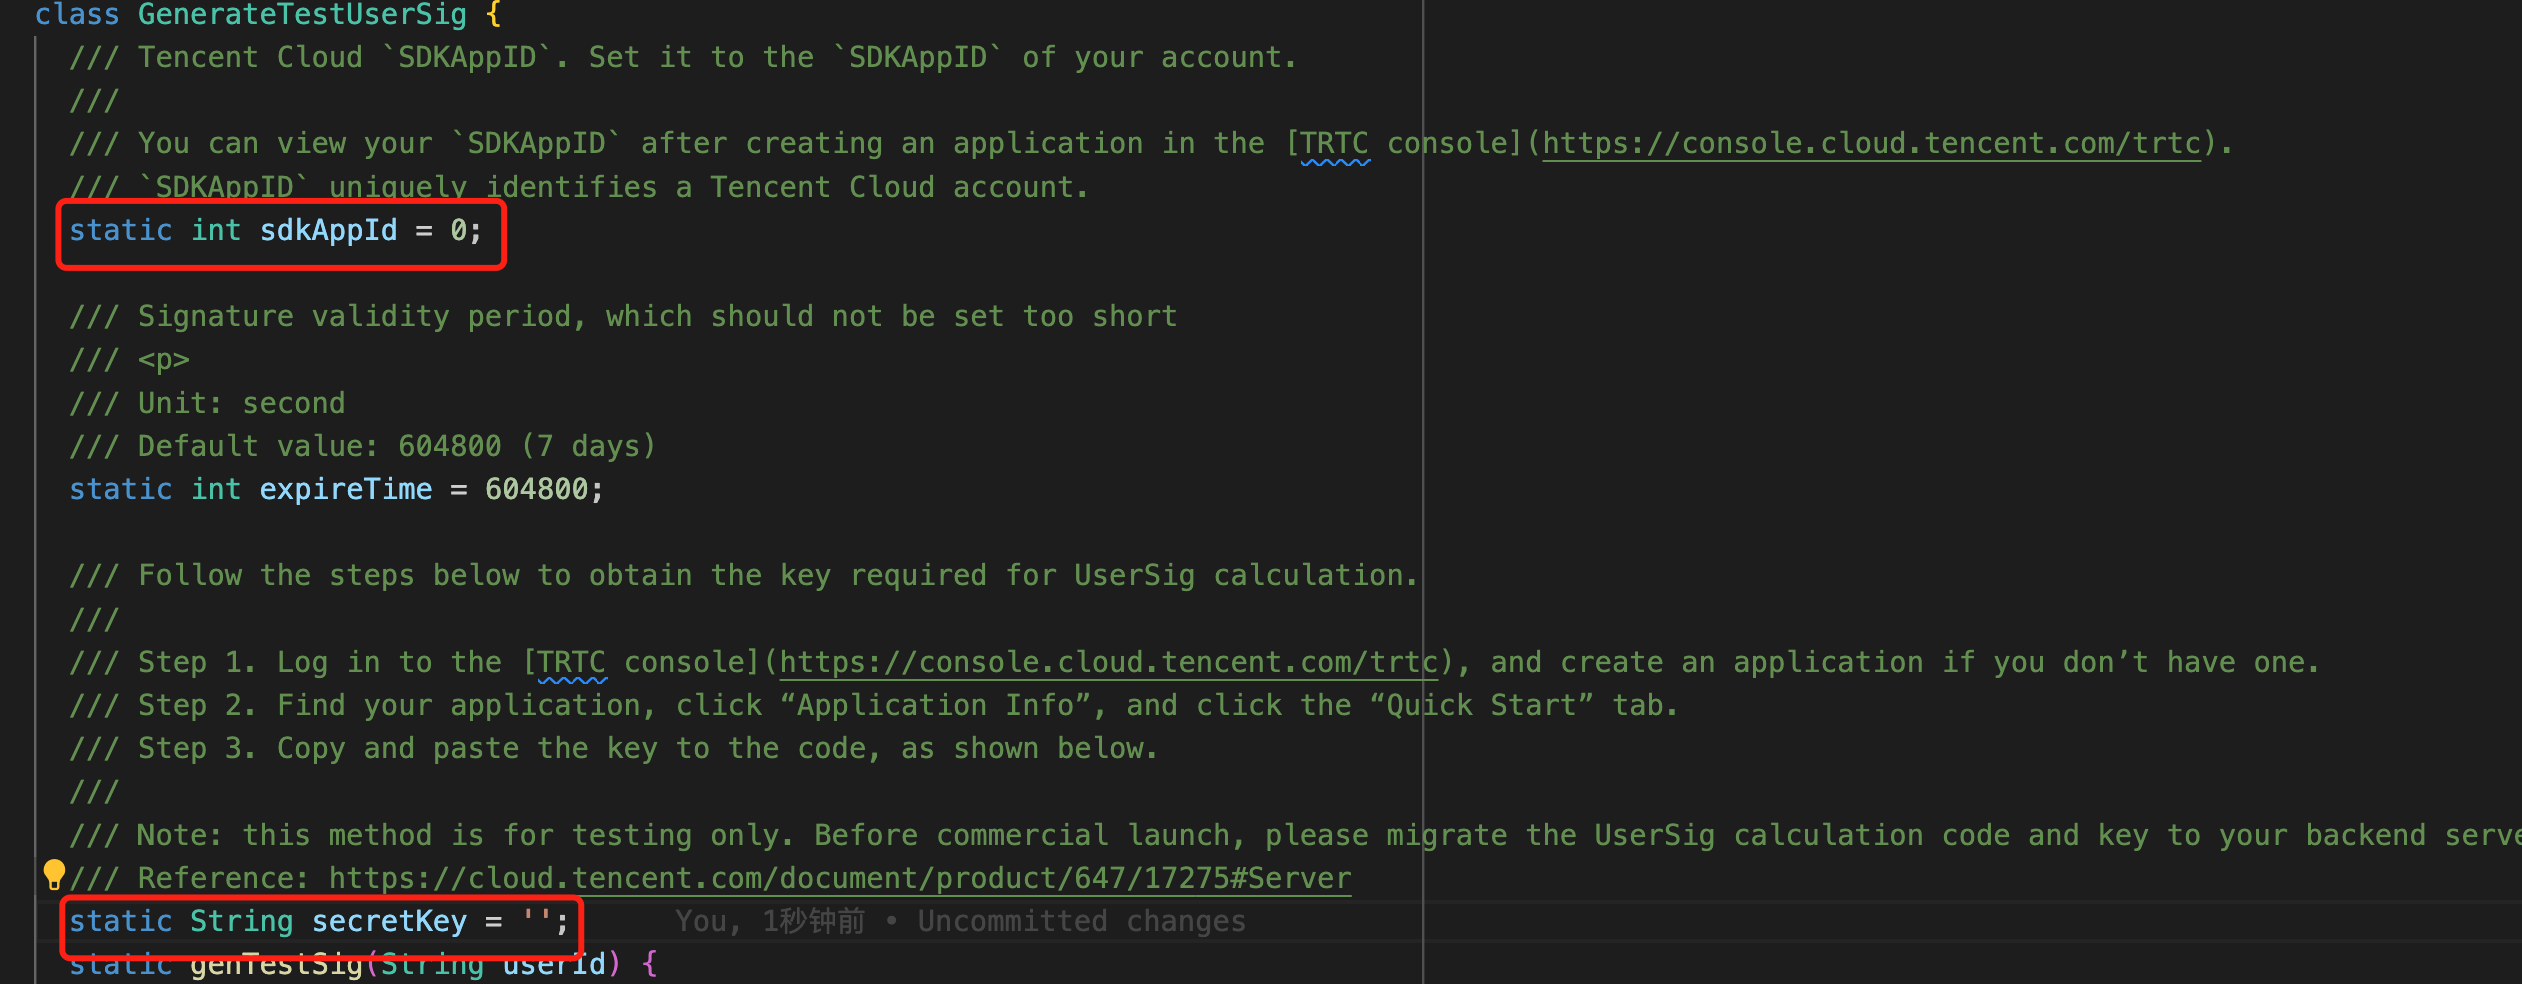
1. Configure SDKAppID and SDKSecretKey: Open the project and navigate to application/lib/debug/generate_test_user_sig.dart. Enter your SDKAppID and SDKSecretKey in the designated fields:
Note:
This demo authenticates users by setting the SDKSecretKey directly in the client code. Since the key can be easily extracted through reverse engineering, a leaked key could allow attackers to abuse your TRTC resources. This approach is intended for local development and debugging only.
For production environments, generate UserSig on your server. When your app needs a UserSig, request it dynamically from your business server for authentication. For details, see Server-side UserSig Generation.
Build and Run the Demo
Multi-party conferencing requires camera and microphone access, so we recommend using a physical device for debugging and running the demo.
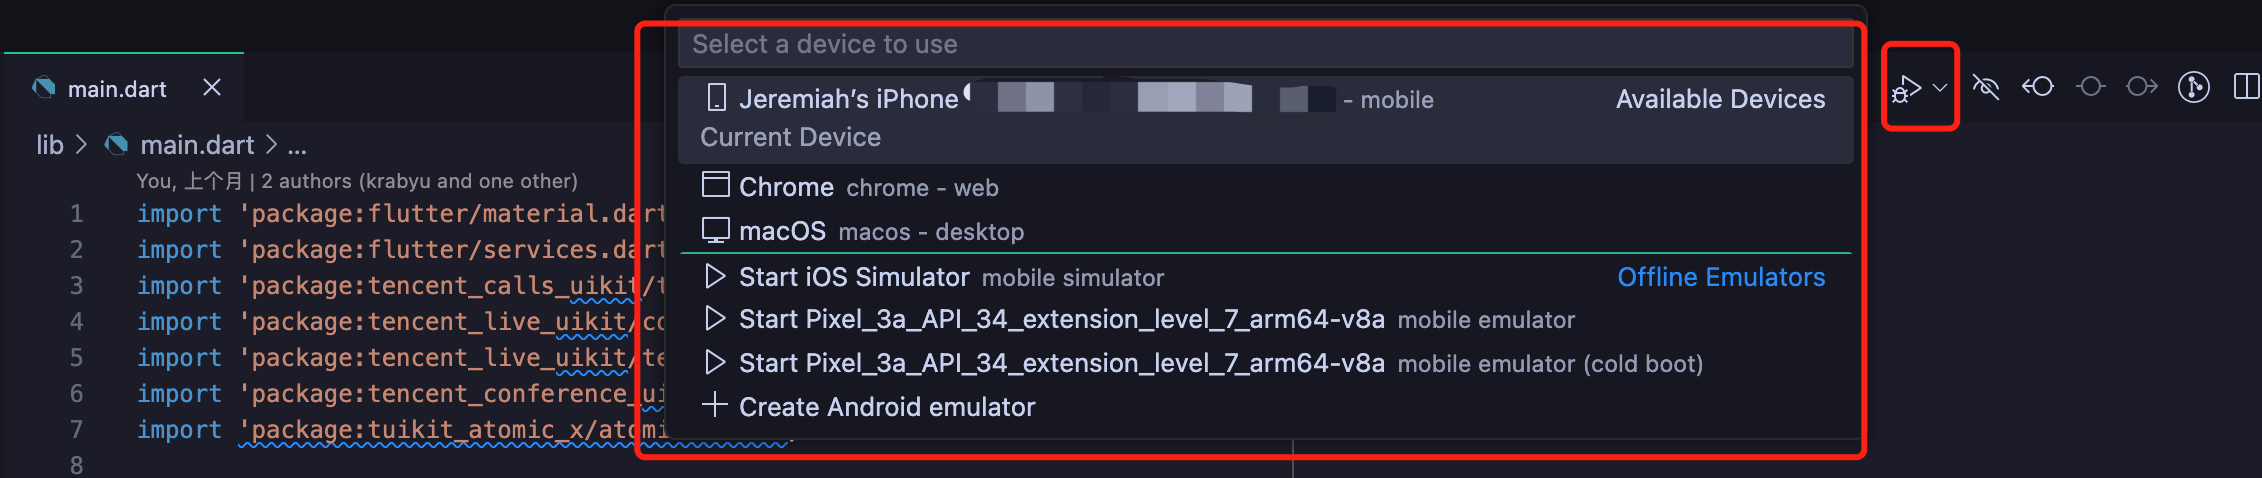
1. Open application/lib/main.dart in VSCode. Click the device connection button at the bottom right. In the pop-up, select the device you want to use. After selection, click the run button at the top right to launch the TUIKit_Flutter demo on your device.
2. Alternatively, run the following command in the application directory to start the demo on your device:
flutter run
Tip:
To fully experience the conference workflow, run the demo on two devices and log in with two different users (for example, one device as the host and another as a participant).
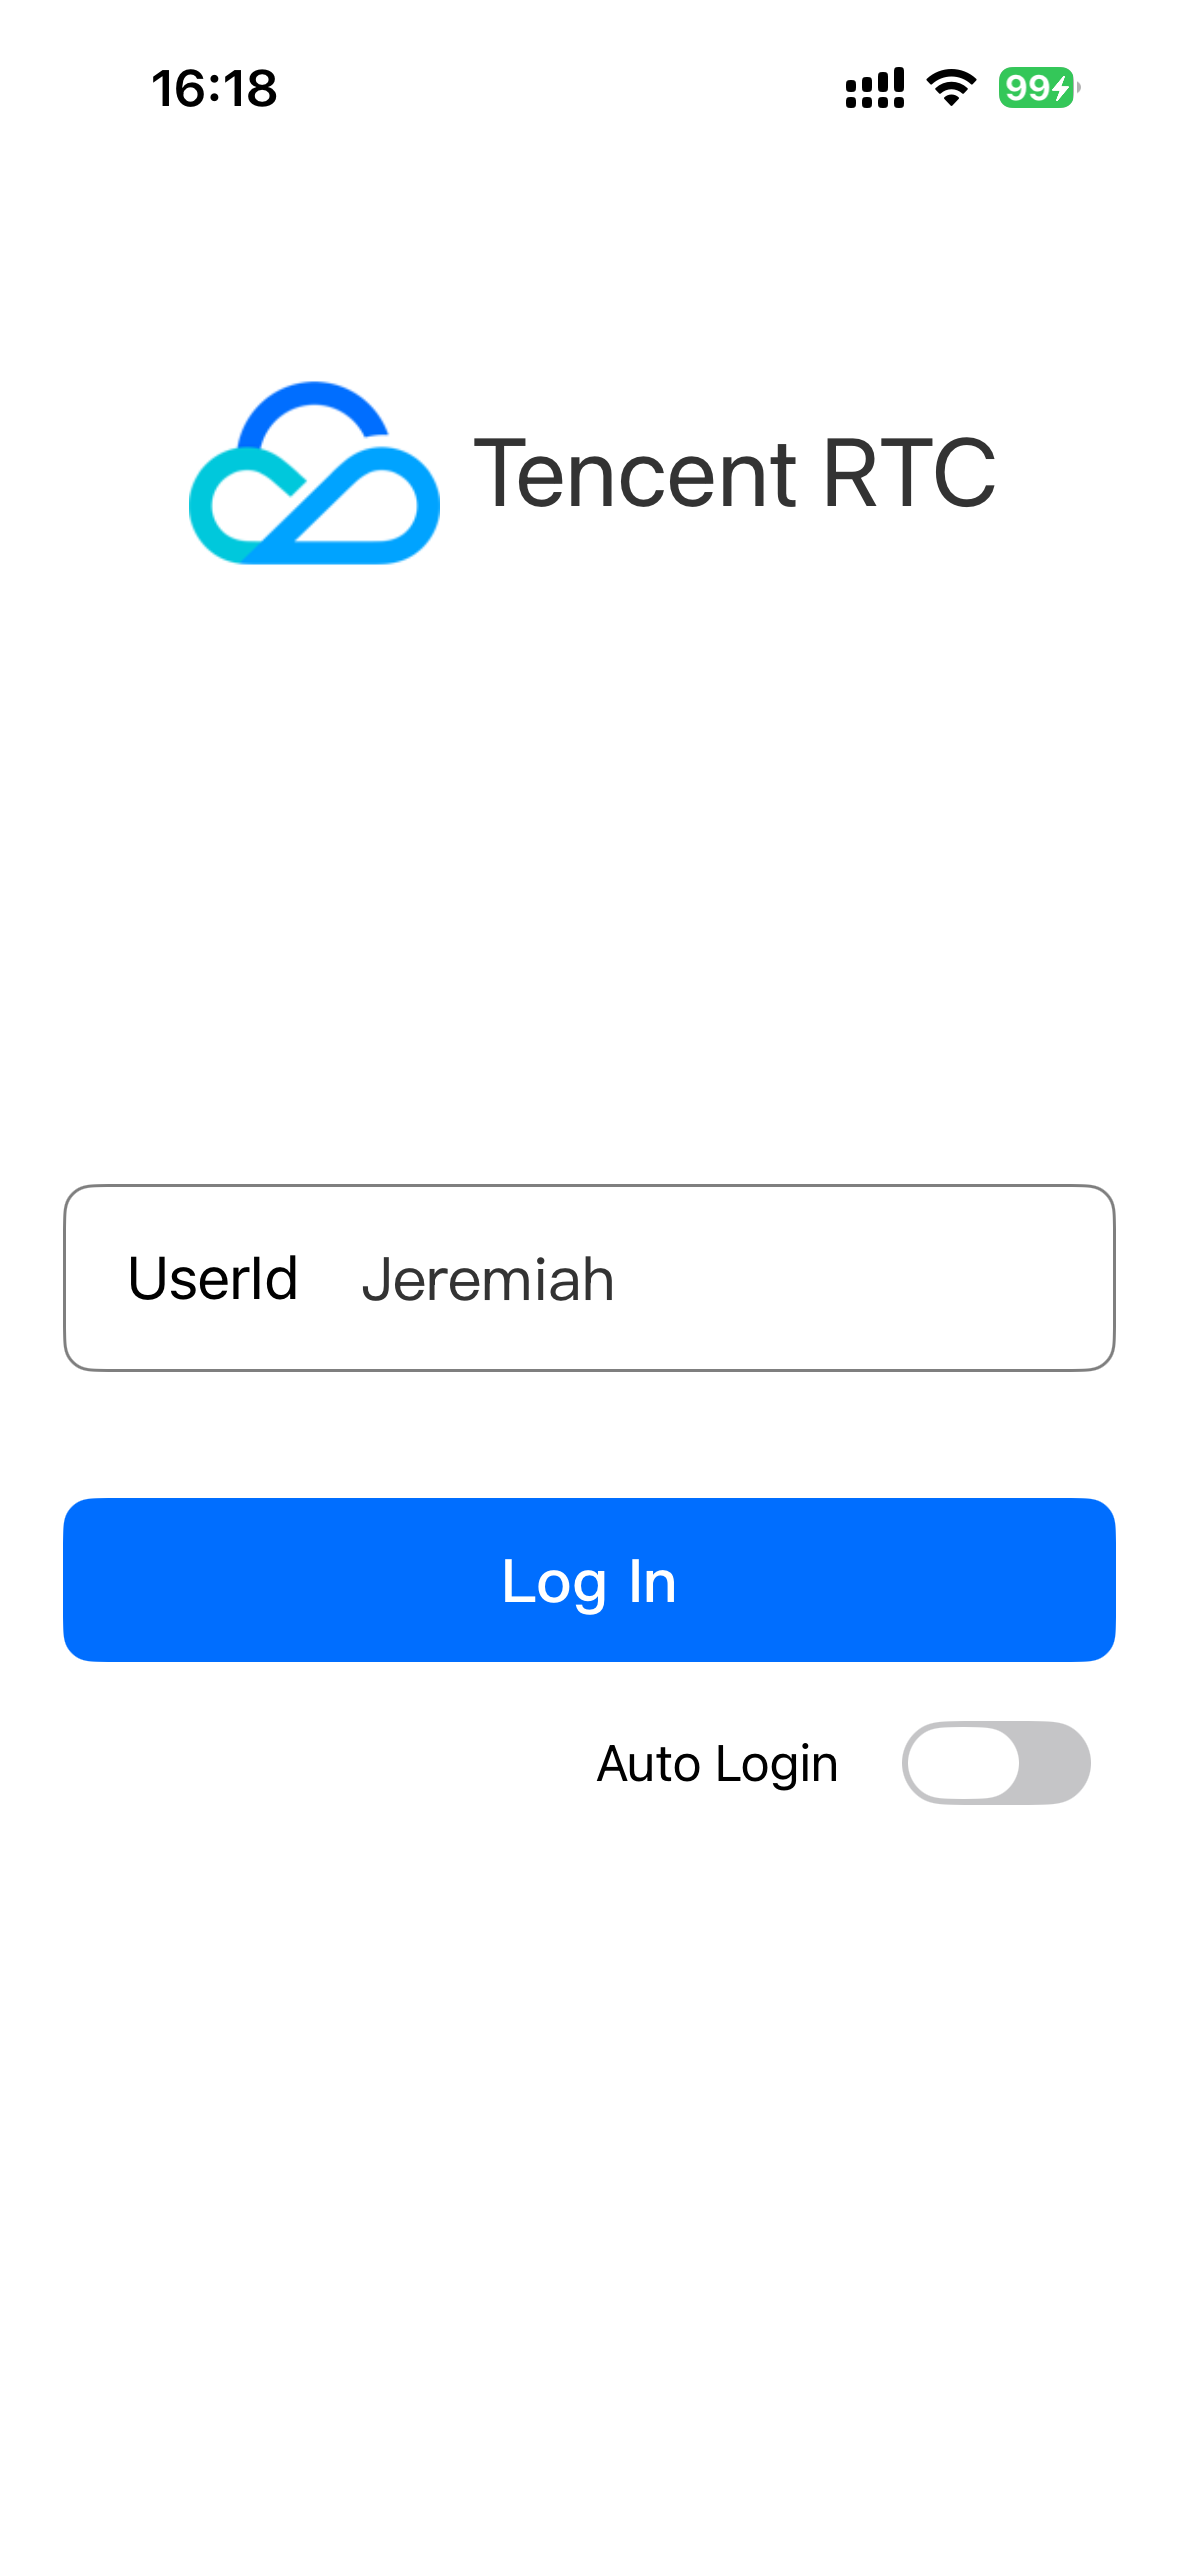
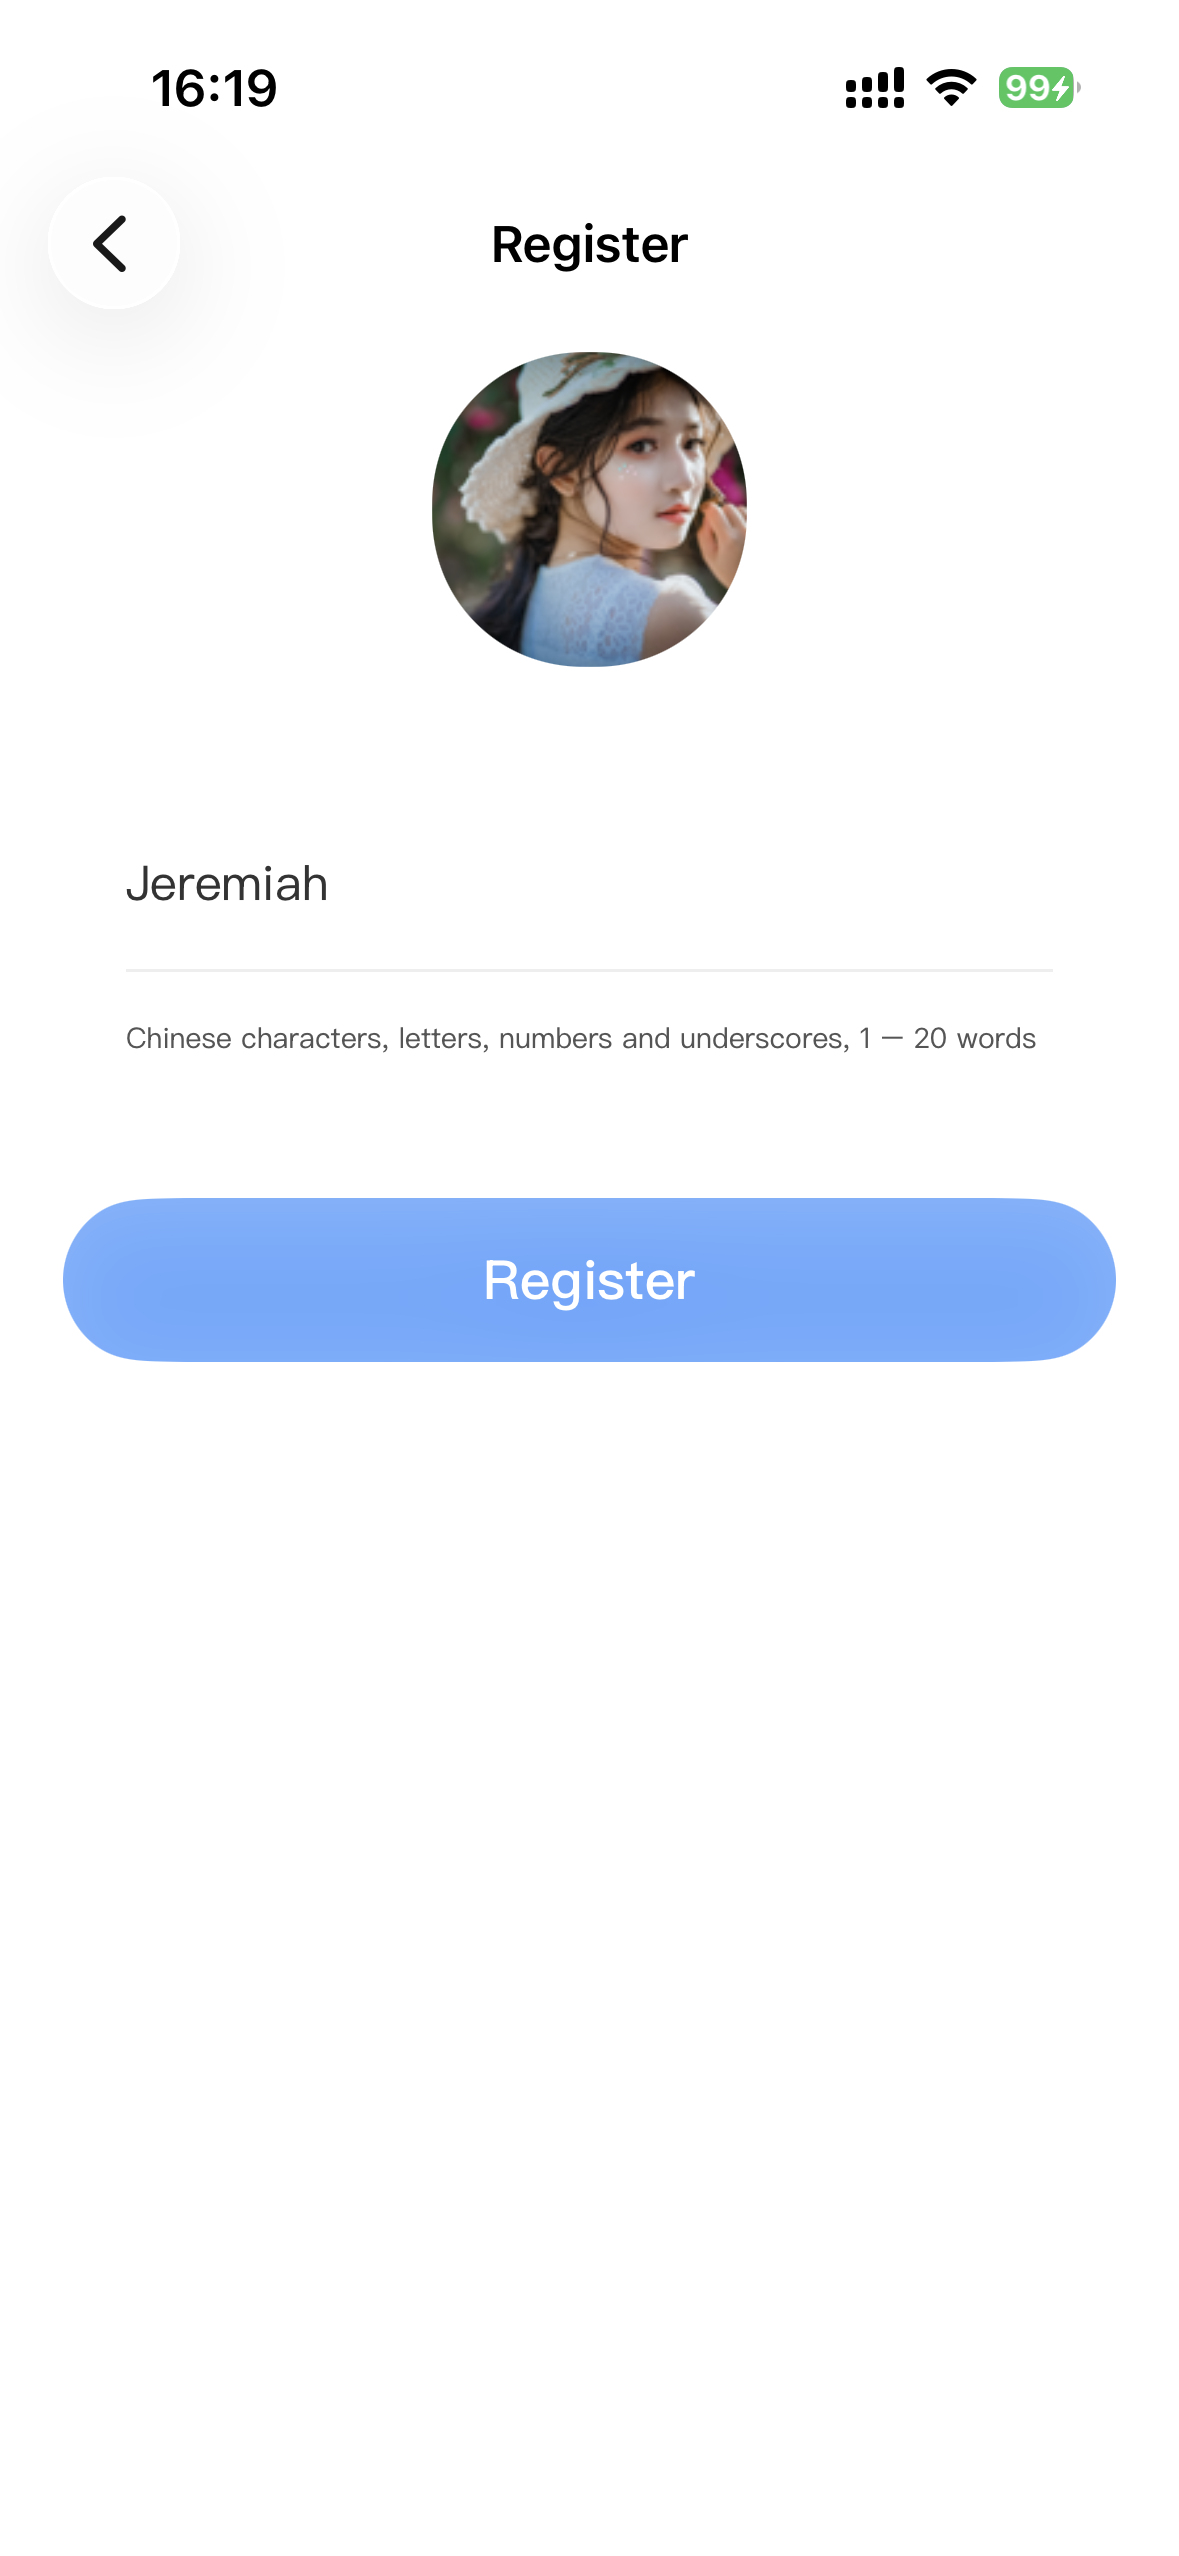
Login and Registration
After launching the demo, enter your user ID to log in. If the ID is not registered, you will be redirected to the registration page to set your nickname.
Login Page
Registration Page
Tip:
Avoid using simple UserIDs such as "1", "123", or "111" to prevent login failures caused by others occupying these IDs during multi-user testing. Use distinctive UserIDs for debugging.
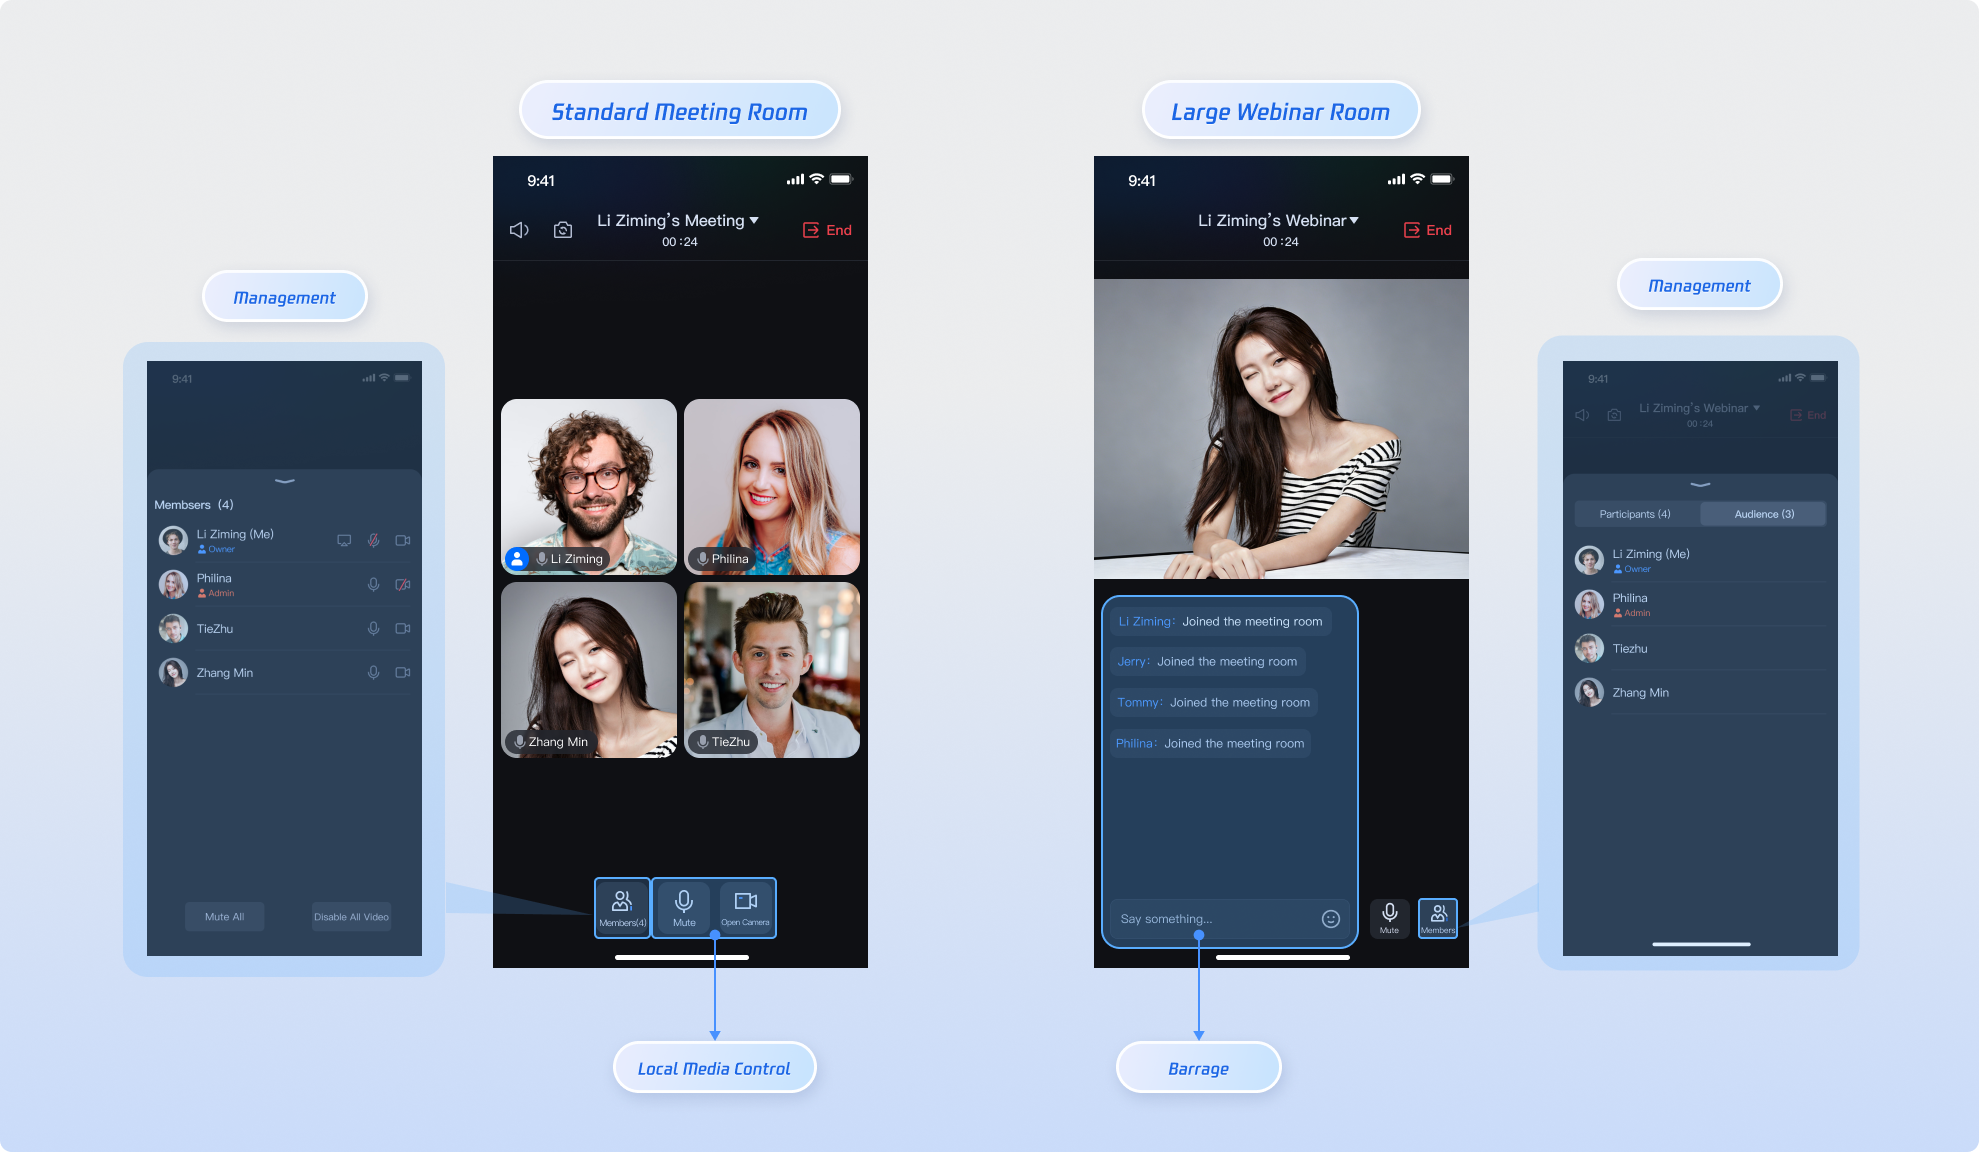
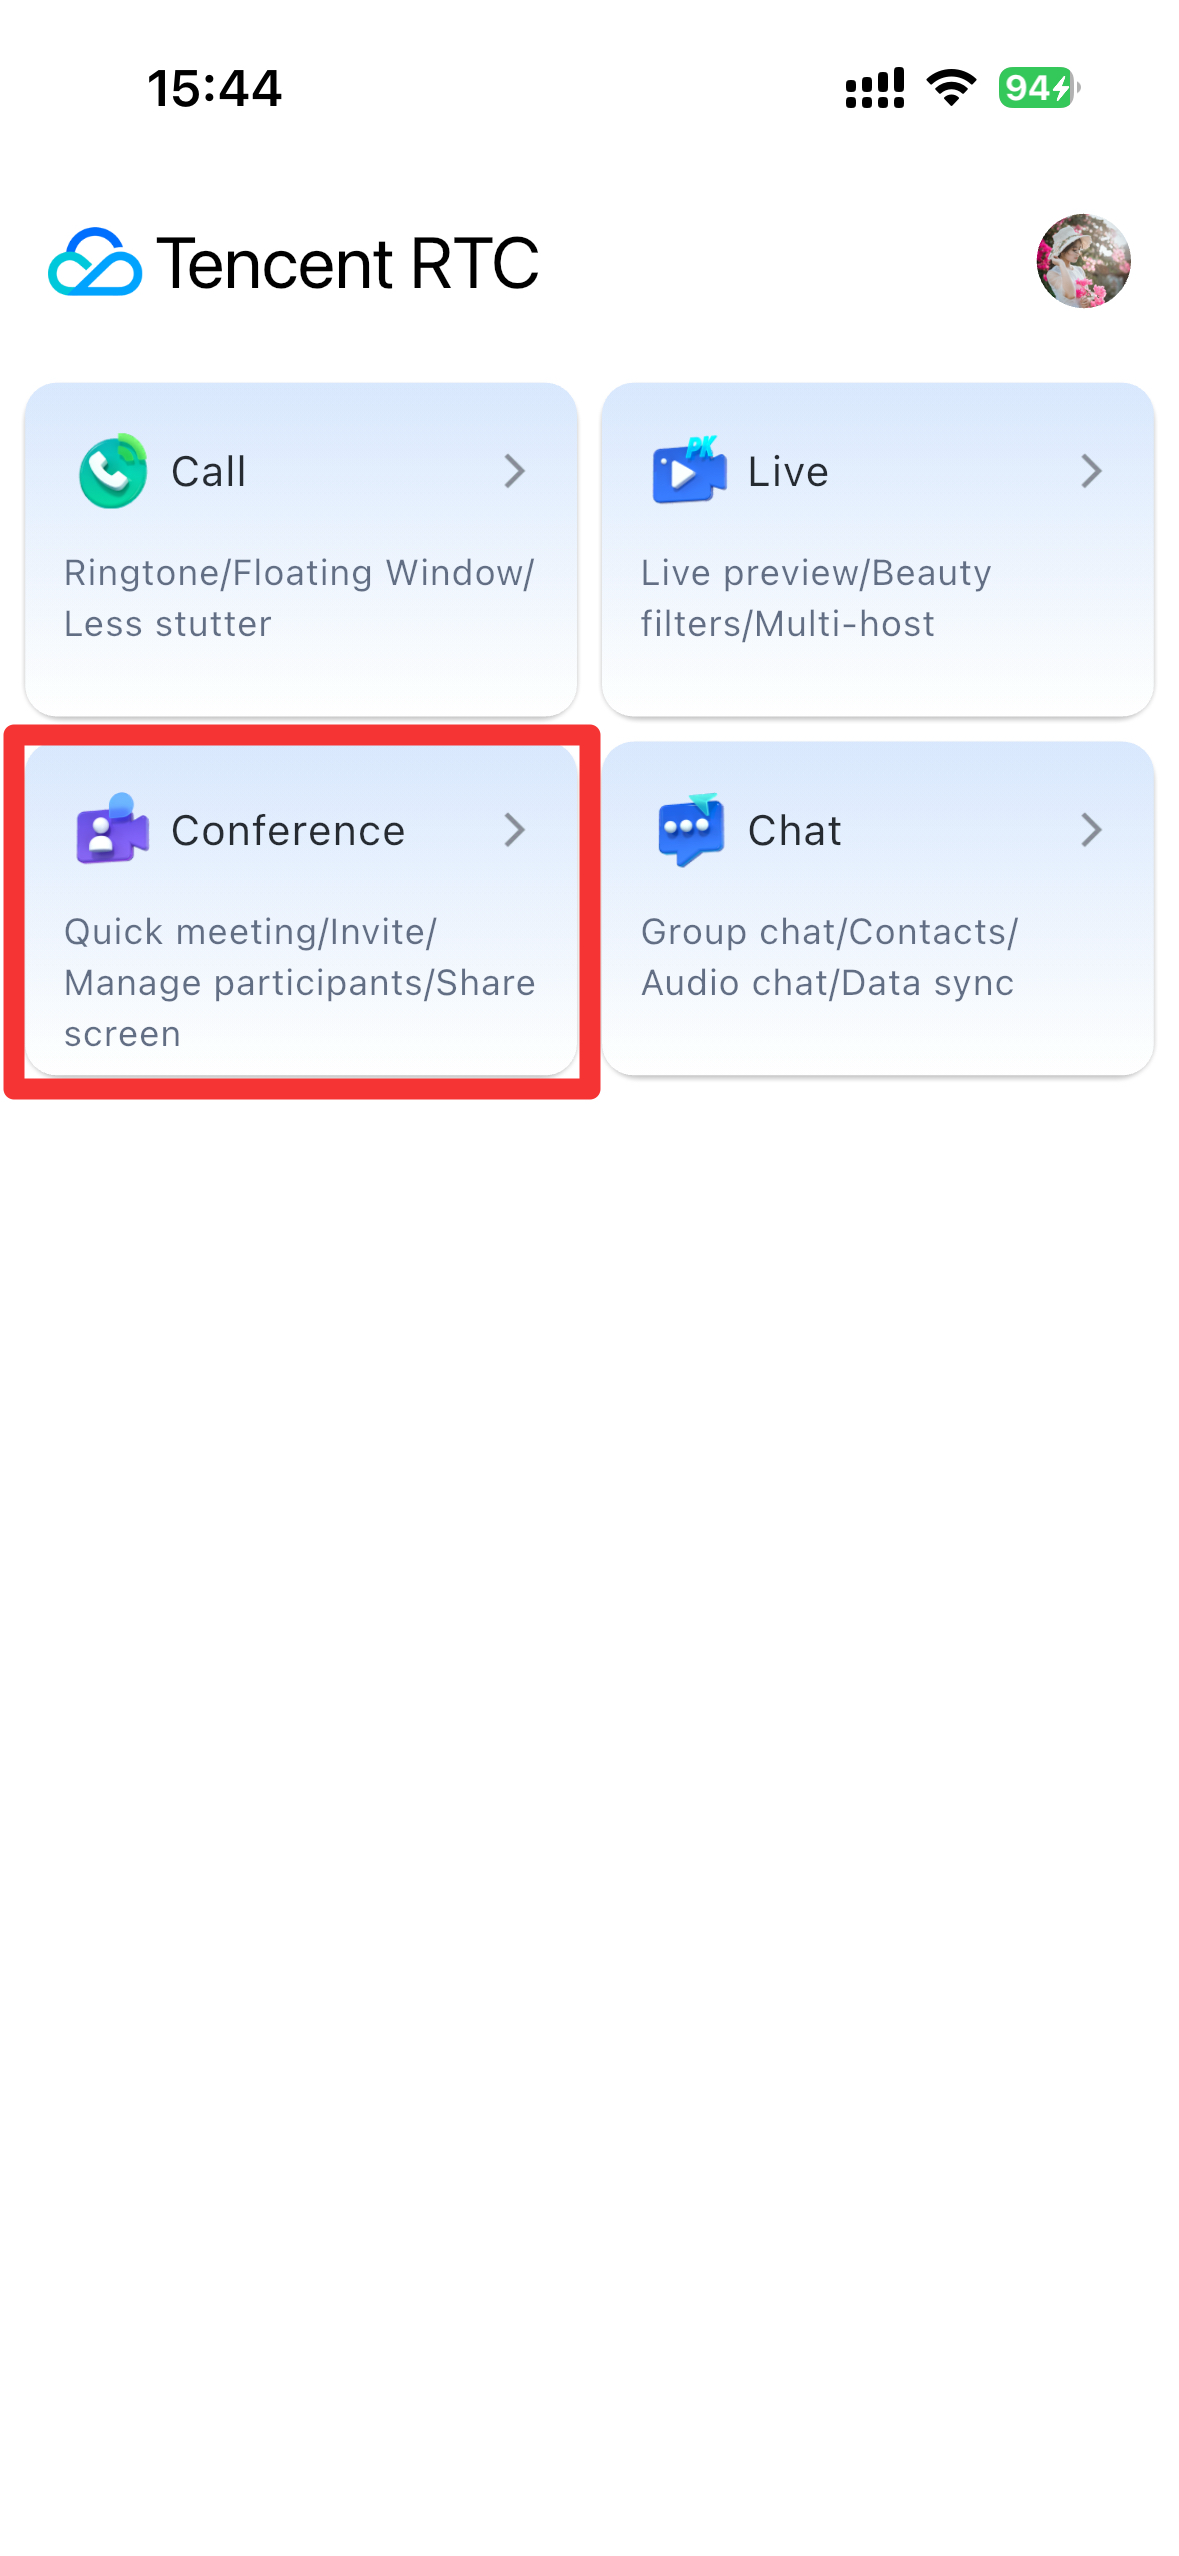
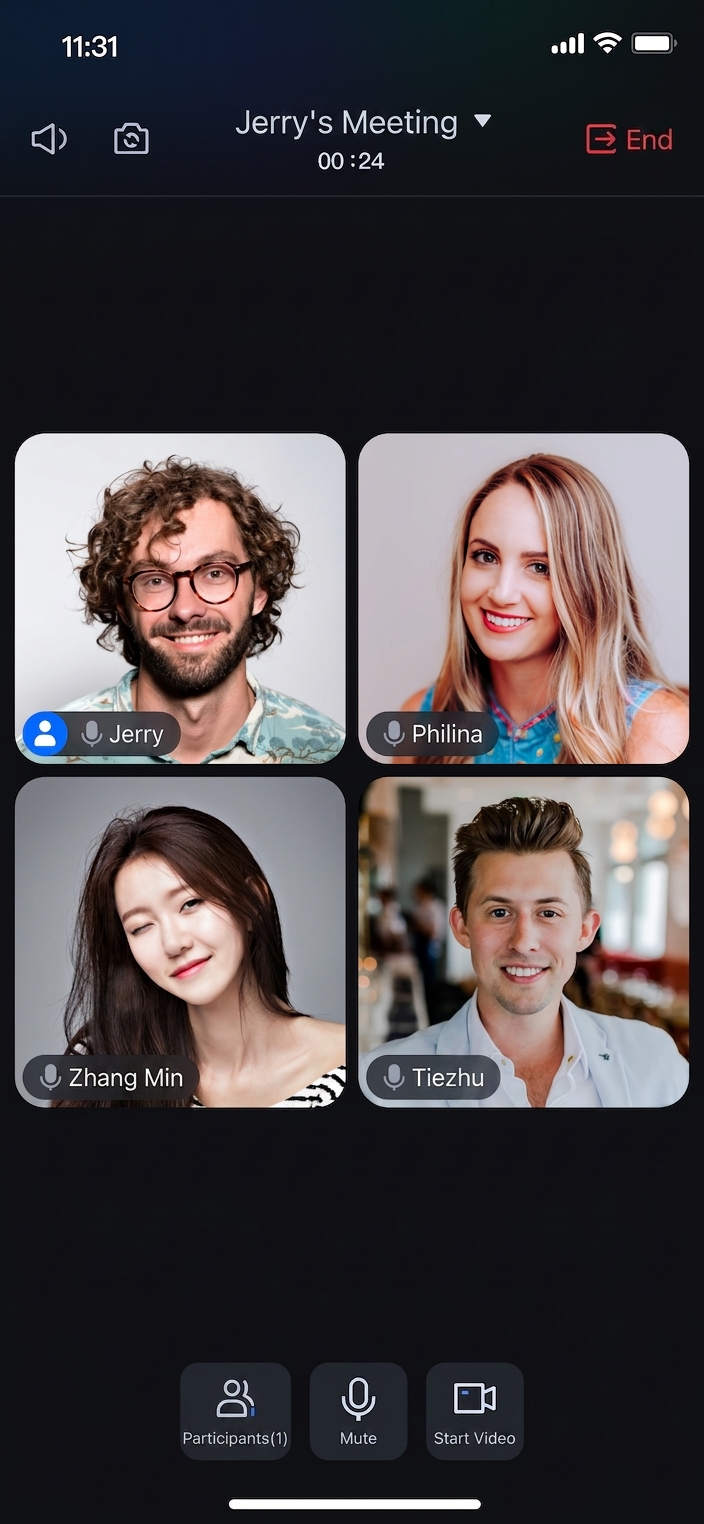
Room Features
After logging in, access the TUIRoomKit demo feature page via the conference entry on the homepage.
Feature Entry
Standard Room Homepage
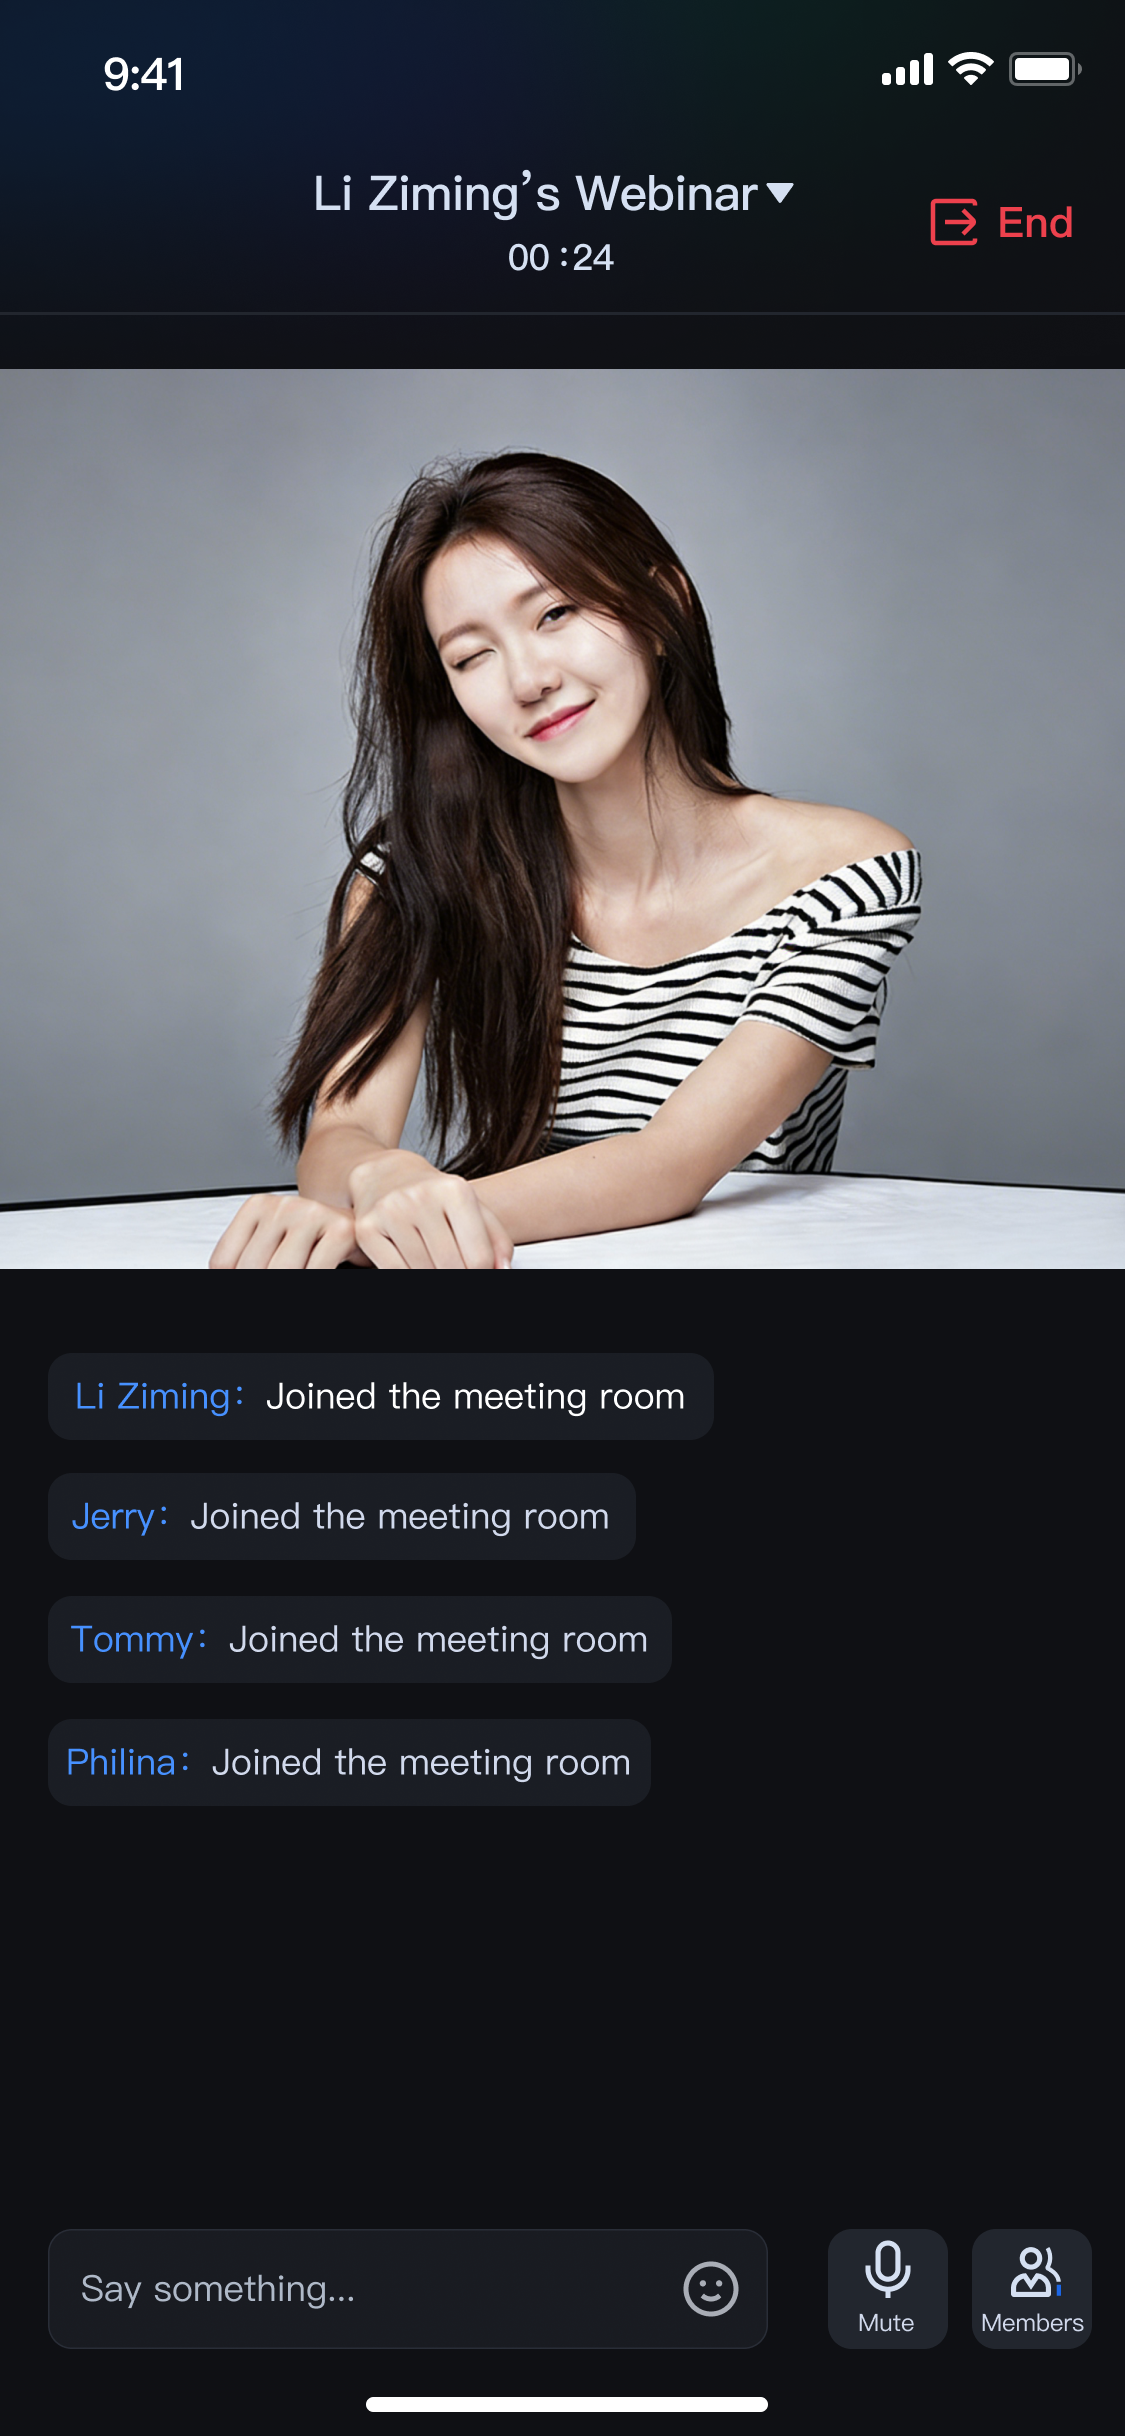
Webinar Homepage
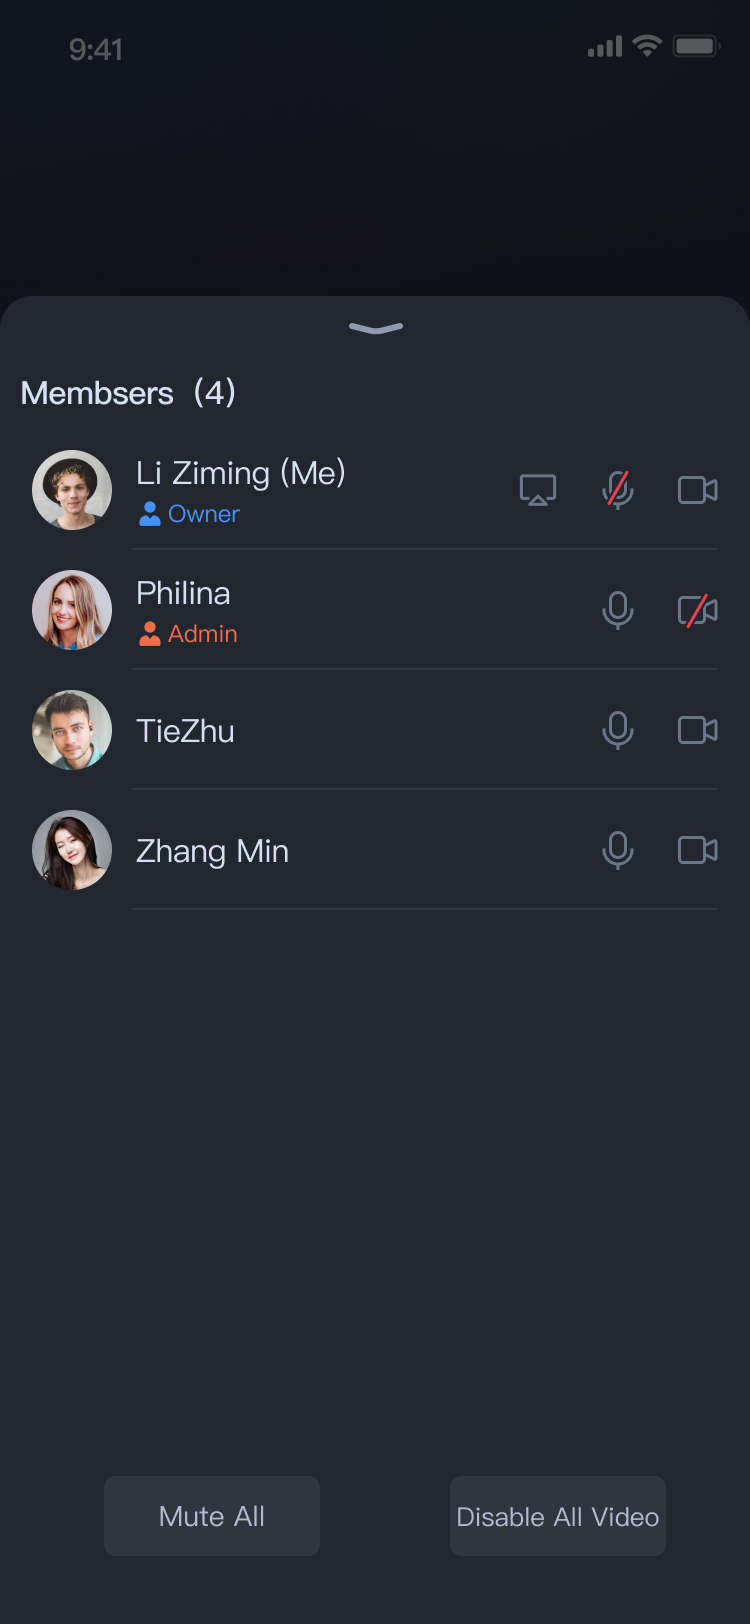
Member Management Panel
Note:
To enable audio and video interoperability across devices, ensure the SDKAppID entered in application/lib/debug/generate_test_user_sig.dart is identical on all devices.
FAQs
Signature error or login failure in the demo?
Verify that the SDKAppID and SDKSecretKey entered in application/lib/debug/generate_test_user_sig.dart are correct and match the credentials obtained during Activate the Service.
How can I remove call, live streaming, and chat modules from the demo
The current demo integrates four core TRTC scenarios: Calling (TUICallKit), Live Streaming (TUILiveKit), Conference (TUIRoomKit), and Chat (TUIKit). If you only need the conference scenario, remove unnecessary module code to simplify the project and its dependencies:
1. Remove the dependencies for tencent_live_uikit, tencent_calls_uikit, and tencent_chat_uikit from the pubspec.yaml file, then rerun the flutter pub get command.
2. Delete code related to call, live streaming, and chat scenarios from the demo project.
3. Resolve any compilation errors, then build and run the demo project.
Contact Us
If you have questions or feedback during integration or usage, contact info_rtc@tencent.com.