インテグレーション
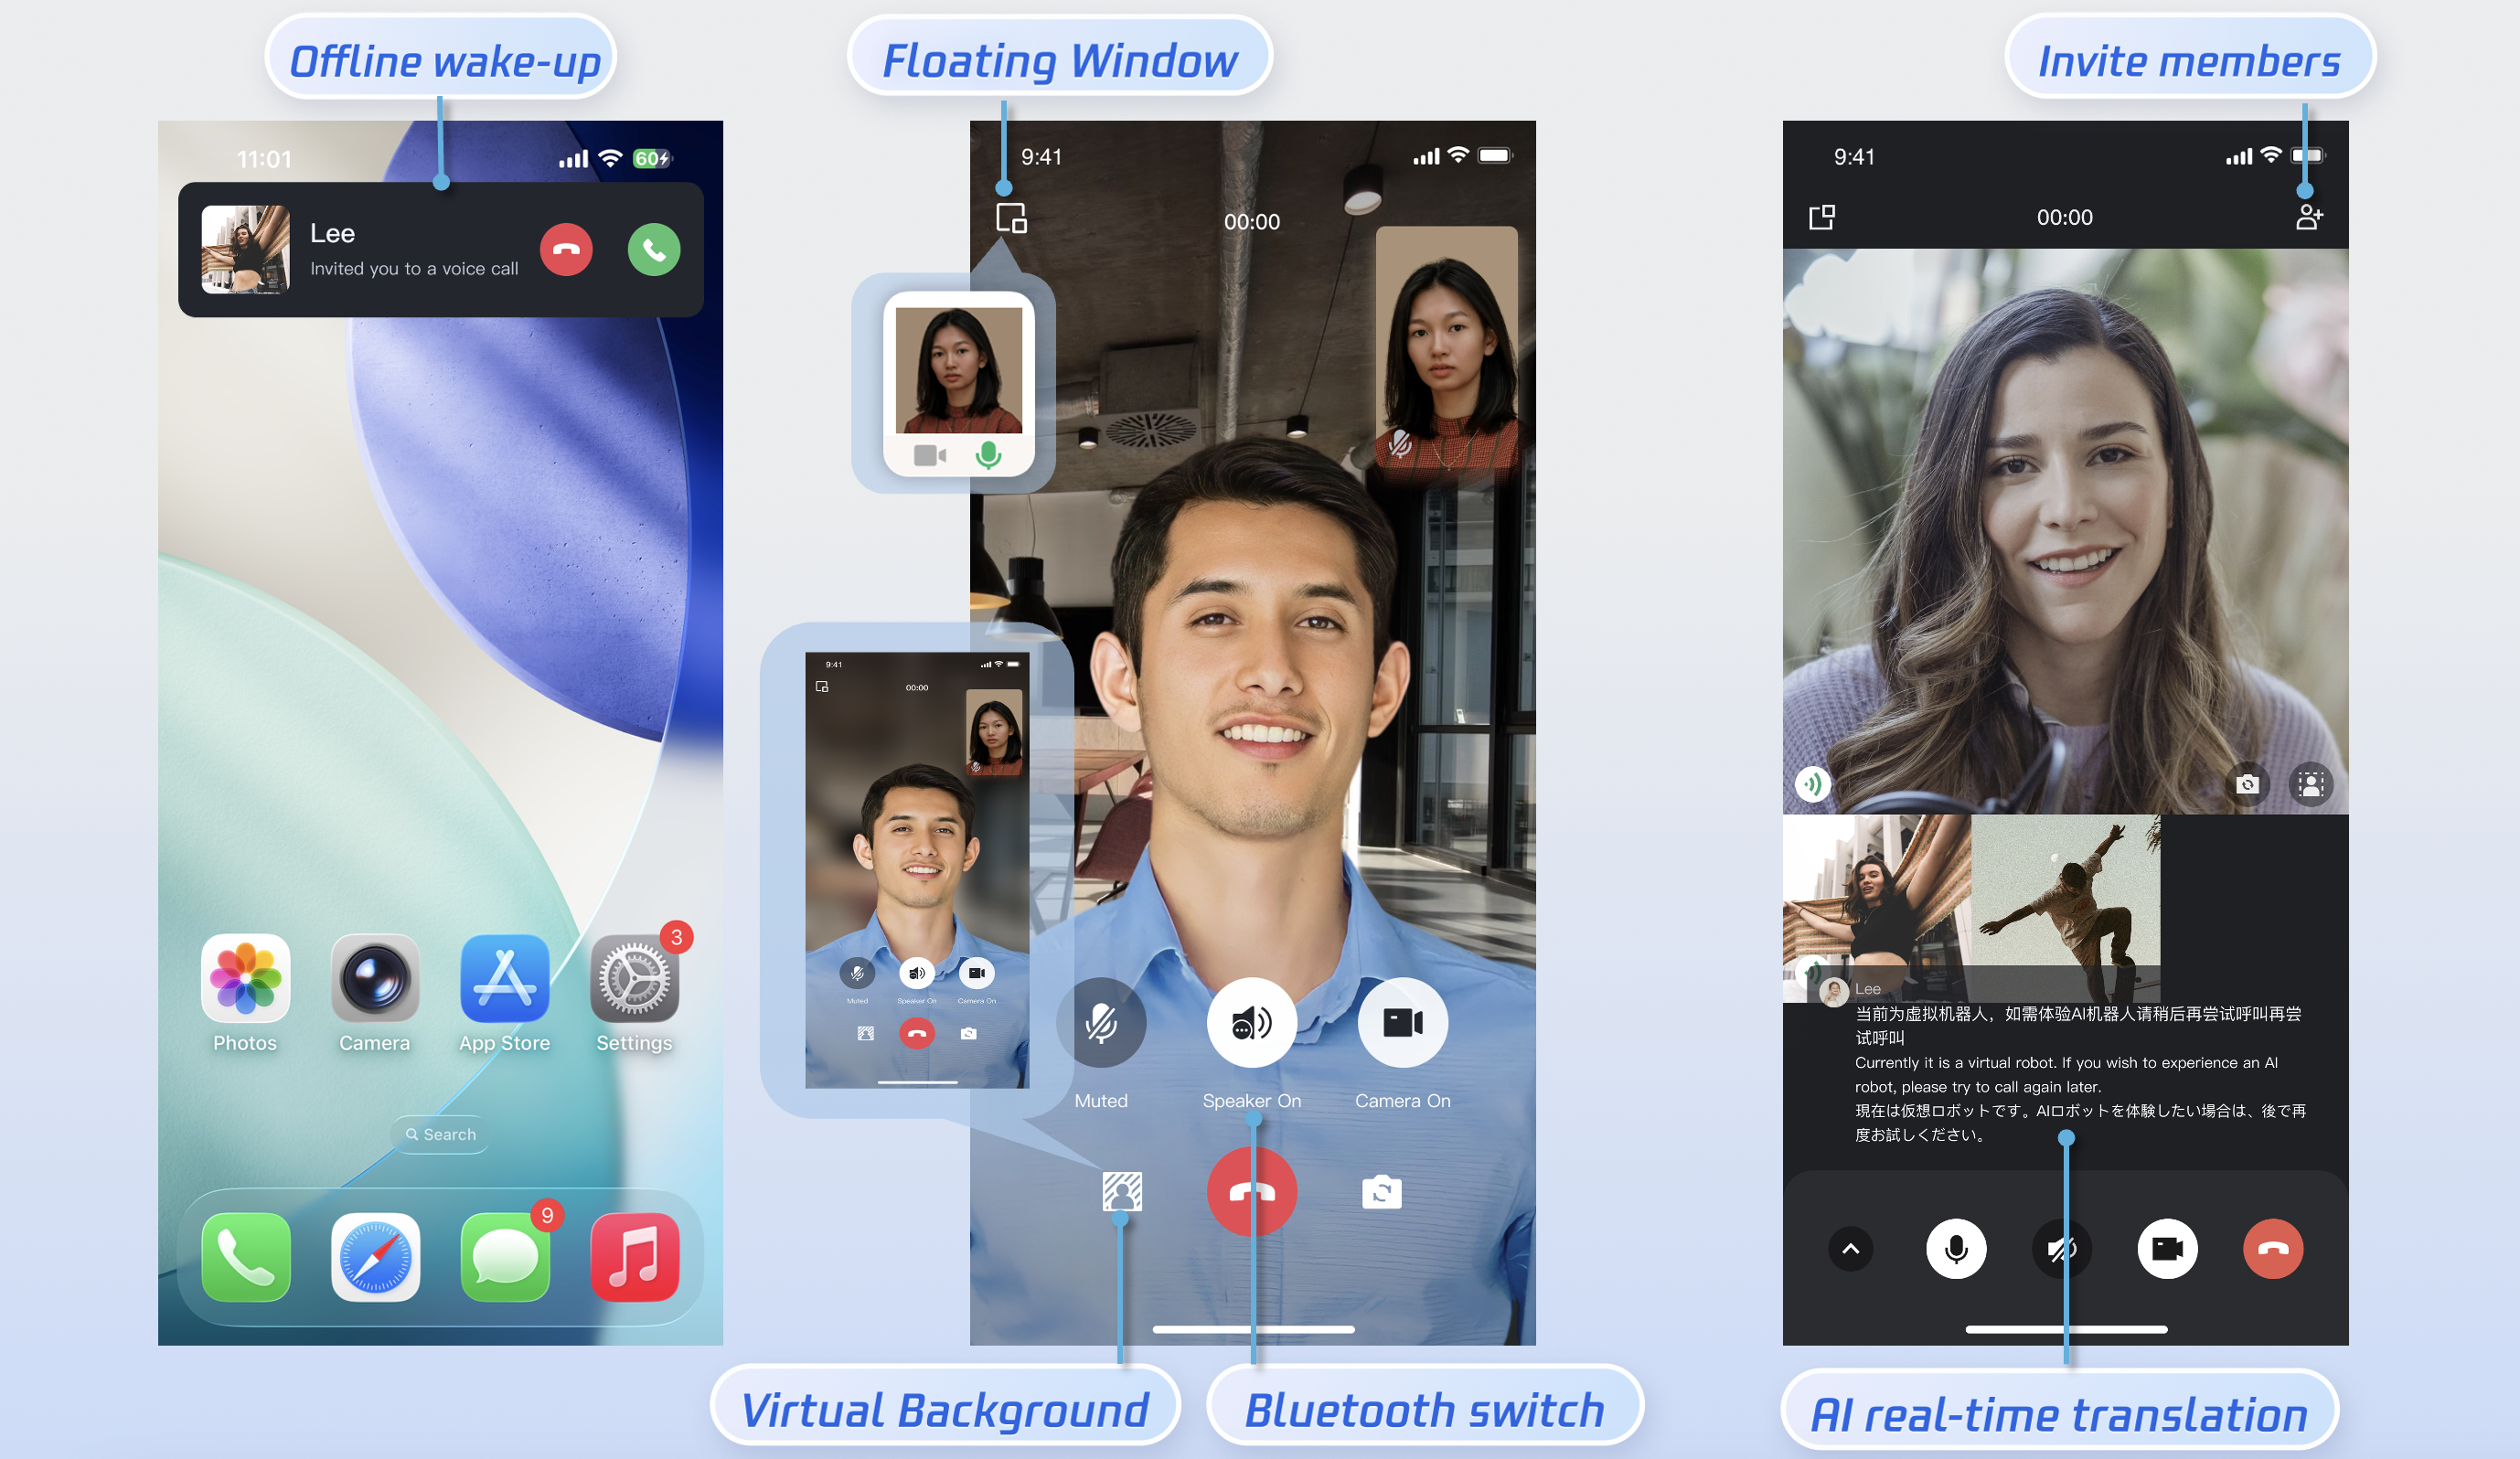
This document describes how to rapidly integrate the TUICallKit component. You can complete the following key steps within 10 minutes and obtain a complete audio and video call interface.

Preparations
Environmental Requirements
Node.js: Version 16 and above.
Device Requirements: Mobile devices running Android 5.0 and above.
Service Activation
Please refer to the Service Activation documentation to obtain the SDKAppID and SecretKey. These will be used as required parameters in the login step.
Implementation
Step 1.Importing Components
1. Install via npm/yarn: You can download the @tencentcloud/call-uikit-react-native component using the following command:
yarn add @tencentcloud/call-uikit-react-native
2. Copy Debug Files (UserSig Generation):Copy the debug directory into your project. You can use the files in this directory to locally generate userSig with your
SDKAppID and SecretKey.cp -r node_modules/@tencentcloud/call-uikit-react-native/src/debug ./src
xcopy node_modules\@tencentcloud\call-uikit-react\src\debug .\src\debug /i /e
Step 2.Login
You can introduce the login example code in
App.tsx. This process performs the login for the TUI component. This step is critical; you can only use the features provided by TUICallKit after a successful login.login
import { TUICallKit, MediaType } from '@tencentcloud/call-uikit-react-native';import * as GenerateTestUserSig from "./debug/GenerateTestUserSig-es";const handleLogin = async () => {try {const sdkAppID = 0; // Replace with the SDKAppID obtained from the consoleconst secretKey = ''; // Replace with the SecretKey obtained from the consoleconst userId = 'jack' // Replace with your UserIdconst { userSig } = genTestUserSig({SDKAppID: sdkAppID,SecretKey: secretKey,userID: loginUserID,});await TUICallKit.login({sdkAppId: sdkAppID,userId: loginUserID,userSig,});console.log('login success');} catch (error) {console.error('login fail:', error);}};
Parameter | Type | Description |
userId | String | Only allows a combination of uppercase and lowercase letters (a-z A-Z), numbers (0-9), hyphens, and underscores. |
SDKAppId | int | |
SecretKey | String | |
userSig | String | A security signature used to authenticate user login, verify user authenticity, and prevent malicious attackers from stealing your cloud service usage rights. |
Note:
Development environment: If you are in the local development and debugging stage, you can adopt the local
GenerateTestUserSig.genTestSig function to generate userSig. In this method, the secretKey is very easy to decompile and reverse engineer. Once your key is leaked, attackers can steal your Tencent Cloud traffic.Production environment: If your project is ready to go live, implement server-side generation of UserSig.
Step 3.Set Nickname and Avatar [Optional]
Users logging in for the first time do not have avatar and nickname information. You can set the avatar and nickname using the
setSelfInfo interface:setSelfInfo
import { TUICallKit, MediaType } from '@tencentcloud/call-uikit-react-native';const setSelfInfo = () => {const nickName = 'mick'; // Nickname to setconst avatar = 'https:/****/user_avatar.png'; // profile photo URL to setTUICallKit.setSelfInfo(nickName,avatar,() => {console.log('setSelfInfo success.');},(errCode, errMsg) => {console.error('setSelfInfo fail:', errCode, errMsg);});};
Parameter | Type | Description |
nickName | String | The nickname to be set for the target user. |
avatar | String | The avatar URL to be set for the target user. |
Step 4.Initiating a Call
The caller initiates an audio or video call by invoking the
calls function and specifying the call type and the callee's User ID list. The calls interface supports both one-to-one and group calls. A one-to-one call is initiated when userIDList contains a single User ID; a group call is initiated when userIDList contains multiple User IDs.calls
import { TUICallKit, MediaType } from '@tencentcloud/call-uikit-react-native';const calls = async () => {try {const userIdList: string[] = ['lee', 'jane']; // called listconst mediaType = MediaType.Audio // call typeawait TUICallKit.calls({userIdList: userIdList,mediaType,});console.log('calls success');} catch (error) {console.error('calls fail:', error);}};
Parameter | Type | Description |
userIdList | Array<String> | The list of User IDs for the target users. |
mediaType | Media type of the call, such as video call, voice call. MediaType.Audio :voice call. MediaType.Video :video call. | |
callParams | Call extension parameters, such as room number, call invitation timeout, offline push custom content. |
Step 5.Answering a Call
Once the callee has successfully logged in and the caller initiates a call, the callee will receive the call invitation, accompanied by a ringtone and vibration.
More Features
Language Settings
Supported Languages: We currently support Simplified Chinese, Traditional Chinese, English, Japanese, and Arabic.
Switching Languages: The default language of TUICallKit is consistent with the mobile operating system's language setting. If you need to switch the language, you can use the
setLanguage method.setLanguage
import { Language } from '@tencentcloud/call-uikit-react-native';TUICallKit.setLanguage(Language.EN);
Parameter | Type | Description |
language | string | Language.ZH_CN:Simplified Chinese. Language.ZH_TW:Traditional Chinese. Language.EN:English. Language.AR:Arabic. |
Note:
If you need to set up other languages, please contact us at info_rtc@tencent.com for assistance.
Ringtone Setting
You can configure the default ringtone, incoming call silent mode, and offline push ringtone using the following methods:
Setting Default Ringtone: Use the
setCallingBell interface to set the incoming call ringtone received by the callee.setCallingBell
import { TUICallKit, MediaType } from '@tencentcloud/call-uikit-react-native';const setCallingBell = () => {const filePath = 'path/to/your/bell.mp3'; // File path of the ringtoneTUICallKit.setCallingBell(filePath);};
Details: The set ringtone must be a resource file within the main project and must be configured in the main project's pubspec.yaml file. Only local file paths are allowed. The ringtone setting is bound to the device; even if the user changes, the ringtone setting remains. To restore the default ringtone, simply pass an empty filePath.
Parameter | Type | Description |
filePath | String | The path to the ringtone file. |
Incoming Call Silent Mode: You can set the mute mode using
enableMuteMode.enableMuteMode
import { TUICallKit, MediaType } from '@tencentcloud/call-uikit-react-native';TUICallKit.enableMuteMode(true);
Details: When enabled, the call request will not trigger ringtone playback.
FAQs
Contact Us
If you have any suggestions or feedback, please contact
info_rtc@tencent.com.