Tencent Gift AR provide demos suitable for different development platforms. This document mainly introduces how to quickly run through the Flutter Demo of the Gift AR SDK.
The Flutter version SDK relies on the Gift AR SDK for Android/iOS. Through the Plugin method provided by Flutter, native end features can be exposed to the Flutter end.
Preparing the Environment
Support Flutter 3.16.0 or later.
Android development:
Android Studio 3.5 or later.
Android SDK API Level 19 or higher.
Android 4.4 or higher, supports mobile devices with armeabi-v7a and arm-v8a architecture.
iOS development:
Xcode 11.0 or later.
iPhone or iPad with iOS 9.0 or later.
The project has a configured developer signature.
Download
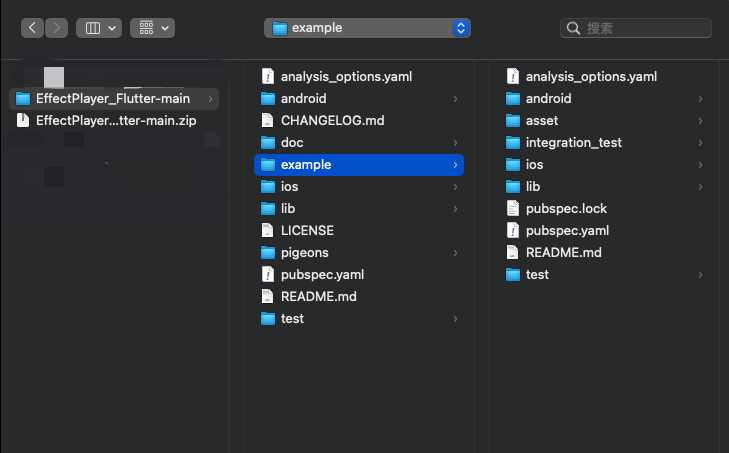
Click to download the Flutter Demo project for Gift AR.
Project Import
1. Open the Flutter Demo example project in a code editor (here we use AndroidStudio for demonstration, of course you can use other editors you're familiar with such as Visual Studio Code):
2. After opening the project, you can get Flutter dependencies through the built-in UI of the code editor, such as finding the pubspec.yaml file and clicking the button in the upper right corner to retrieve dependencies:
You can also directly run the following command to get:
// Fetch dependencies
flutter pub get
// During use, the following command can be used to update existing Flutter dependencies
flutter pub upgrade
Wait for the dependency update to complete.
License Configuration
Configuring the Flutter Side
Using Tencent Gift AR SDK requires applying for a corresponding License. For the detailed application process, please refer to License guide.
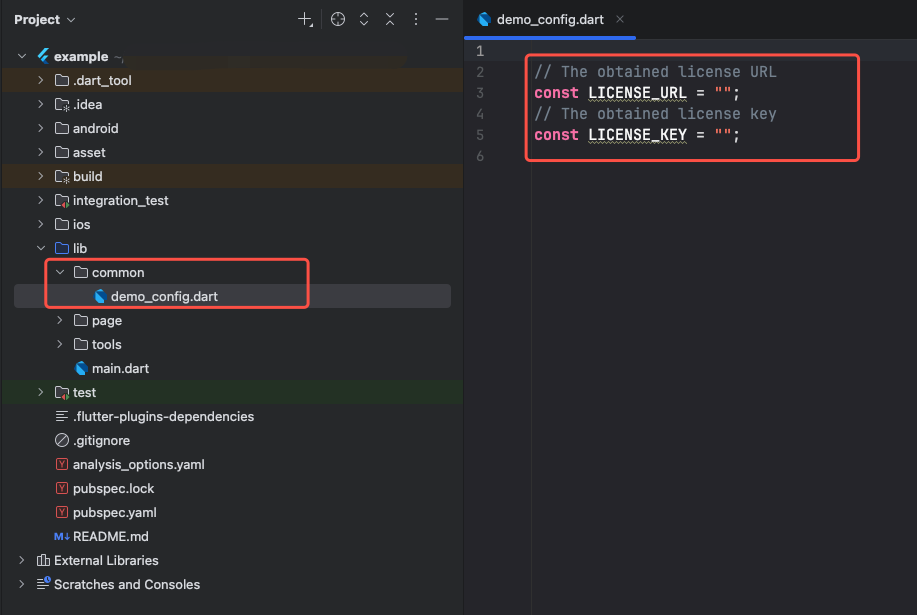
1. Therefore, before running, you need to configure the license information on the Flutter side. You can open the example/lib/common/demo_config.dart file and fill in the LicenseUrl and LicenseKey information you applied for, as shown below:
2. After filling in the License information, the FTCMediaXBase.instance.setLicense method will be called at startup to initialize it. For specific logic, see the file: example/lib/main.dart.
Android Configuration
After completing the above operations, if you need to compile and run on the Android platform for trial, perform the following operations to configure the Android platform.
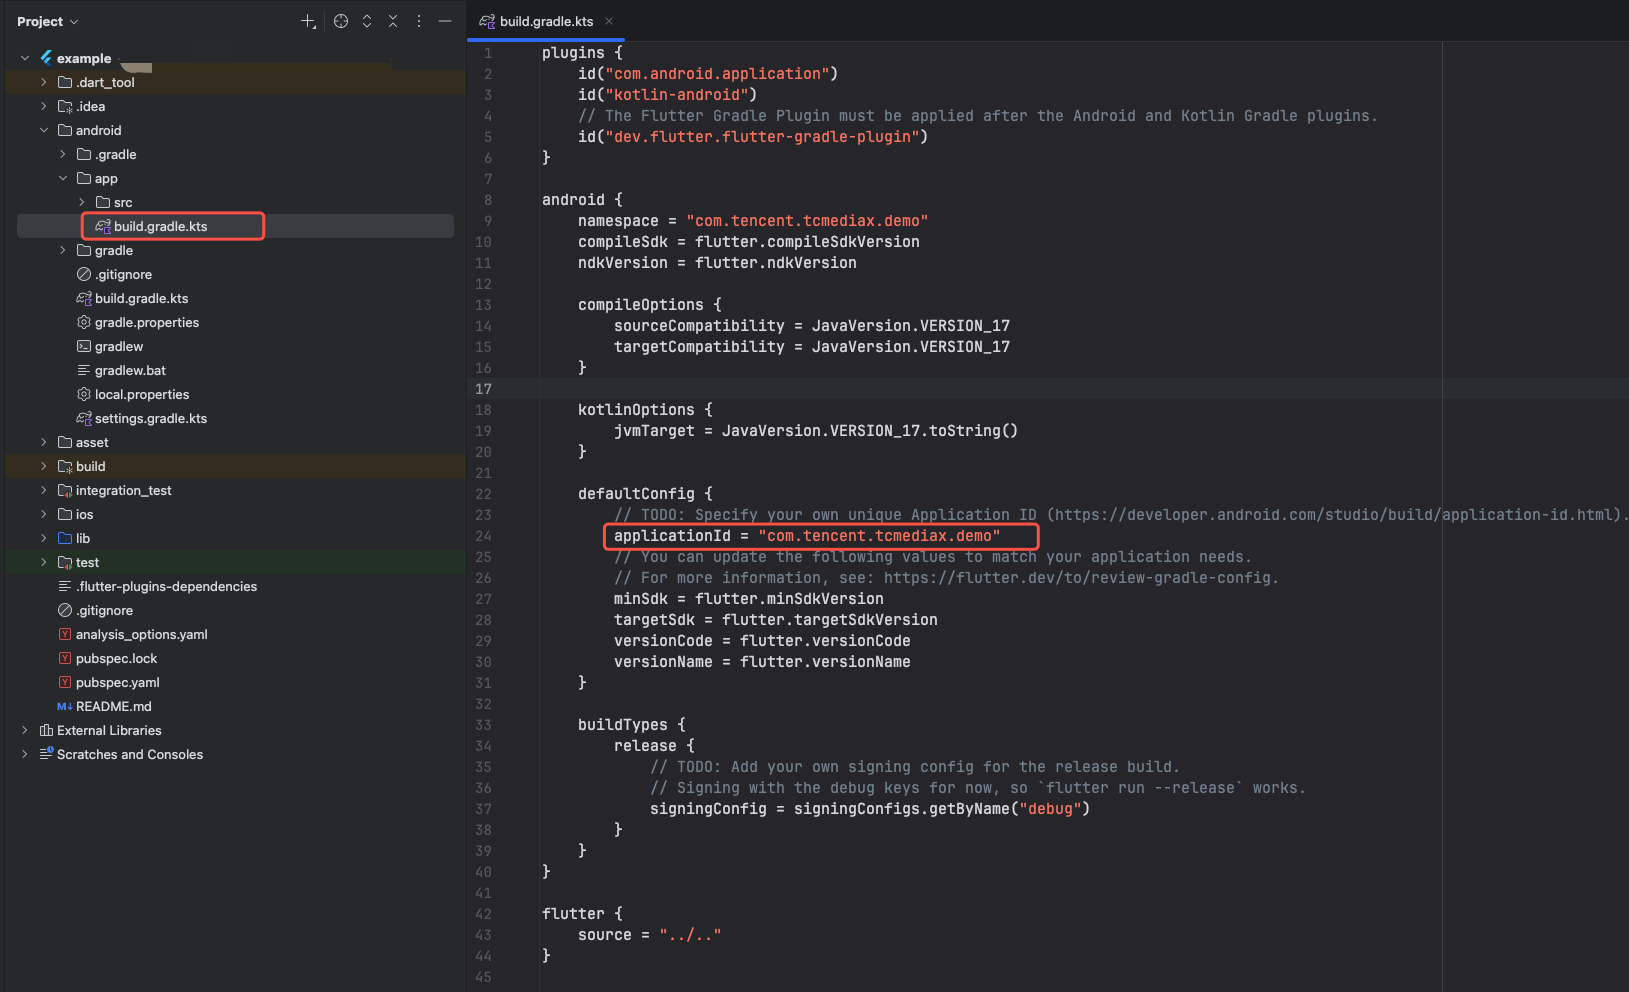
1. Open the example/android/app/build.gradle.kts file with a code editing tool, find the applicationId defined in it, and change it to the Android Package corresponding to the previously filled License, as shown below:
2. After filling out, just ensure error-free License initialization on the Android platform at runtime.
iOS Configuration
After completing the above operations, if you need to compile and run on the iOS platform for trial, perform the following operations to configure the iOS platform.
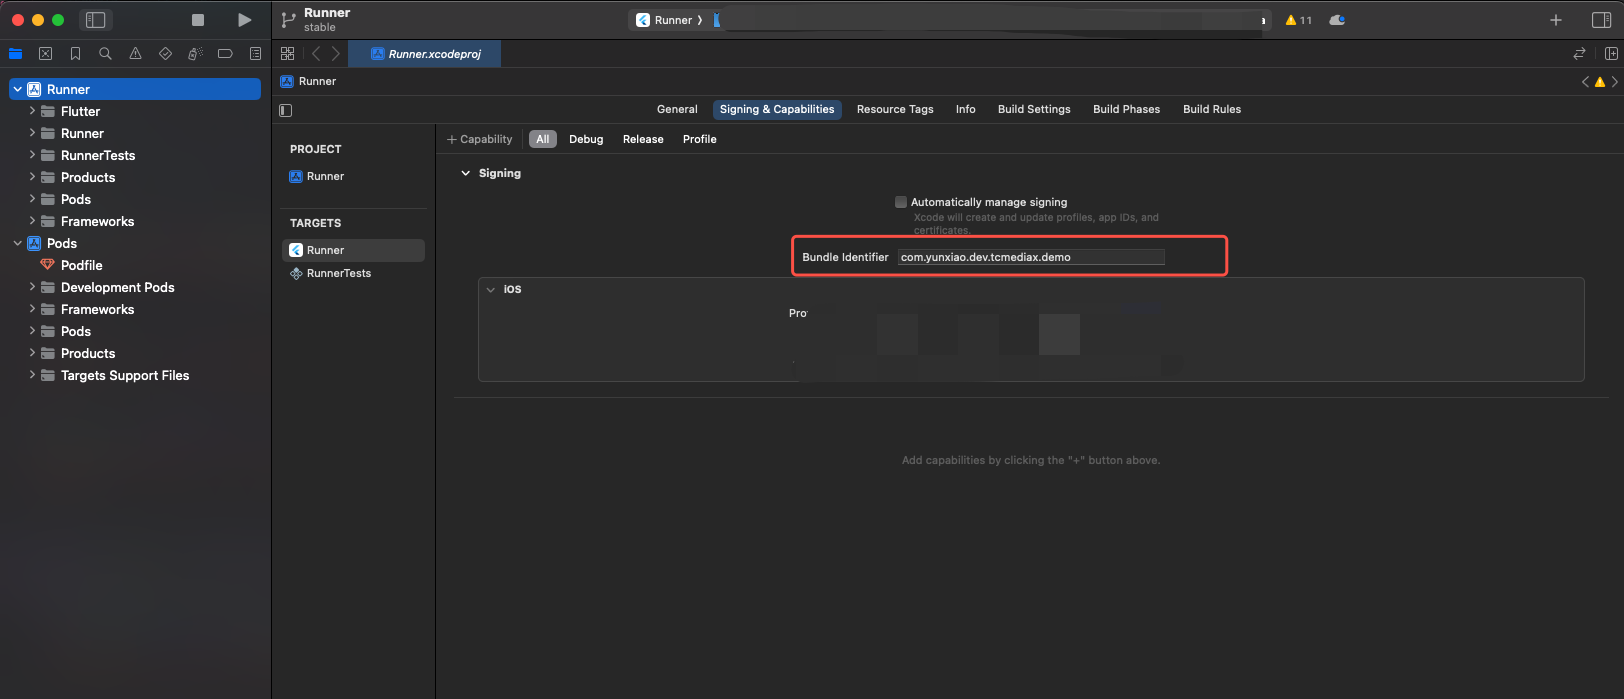
1. Under the example/ios directory, run command: pod install. Wait for execution to end, then use XCode development tool to open the Runner.xcworkspace file in this directory to start the project. Next, modify the project's Bundle Identifier to the iOS BundleId corresponding to the previously filled License, as shown below:
2. After filling out, just ensure error-free License initialization on the iOS platform at runtime.
Animation Resource Configuration
Note:
Note: If you do not need to play your own animation file, you can skip this step.
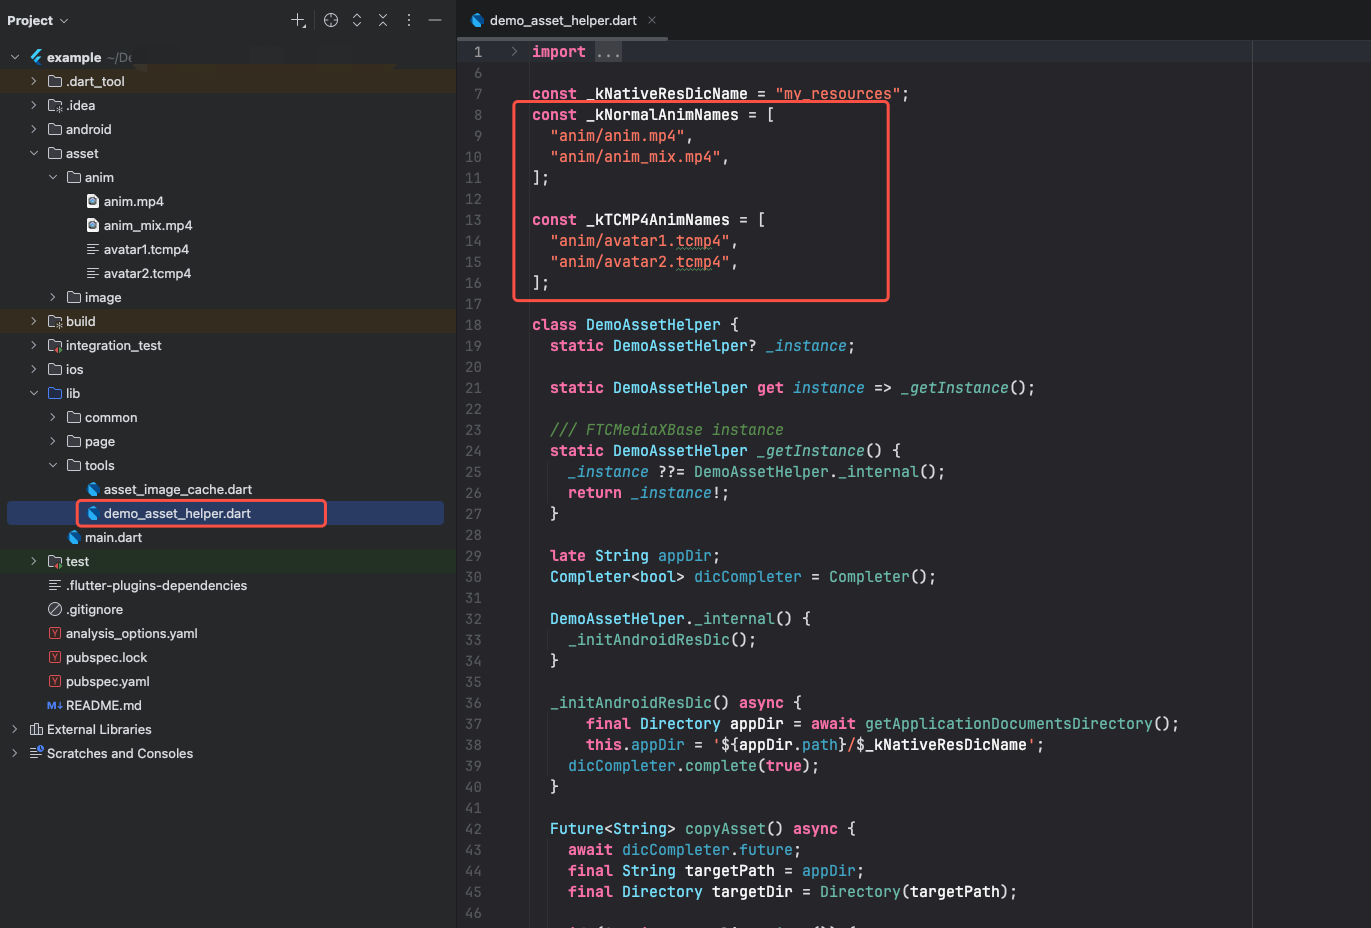
To modify the animation file to be played, you can add the animation file for playback in the example/asset/anim directory. Then open the example/lib/tools/demo_asset_helper.dart file and modify the _kNormalAnimNames (large animation) or _kTCMP4AnimNames (small avatar animation) property at the top. The demo will automatically complete tasks such as copying the animation file, as shown below:
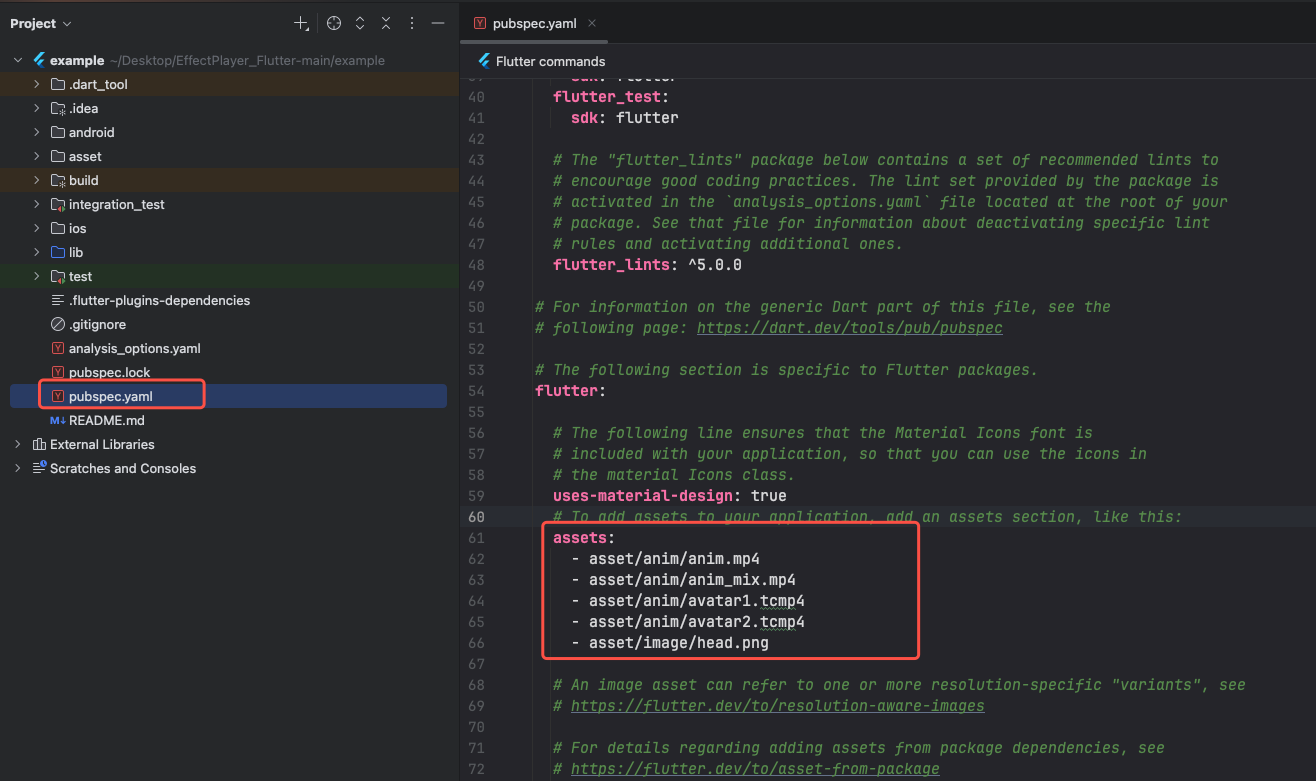
Finally, you need to turn on the example/pubspec.yaml configuration file, add the new animation file to the list of configurations. Afterward, you can run the Demo project directly to experience animation playback.
Note:
The built-in animation files in the Demo are not bound to a License, so you can use your own License for playback experience.
Note: If you want to replace your own animation, pay attention that the License information must match the set License information in the project, otherwise playback failure may occur due to mismatched License information.
Project Operation
After completing the above operations, you can start running the Demo project. You can run the Demo project as follows (many methods are available, here we list one):
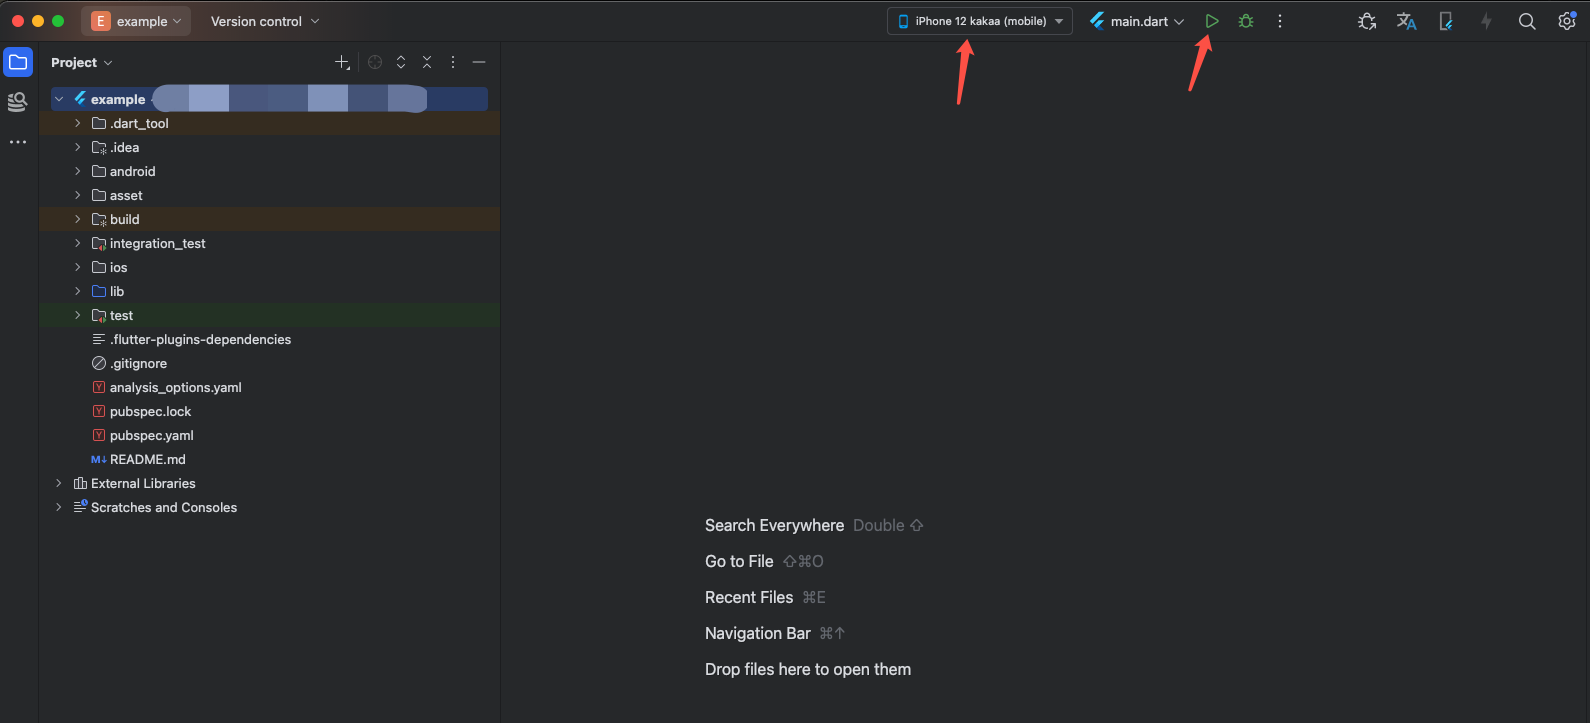
1. First, select the device to run, then click
Run and wait for compilation. Once installation is complete, you can proceed with the trial.
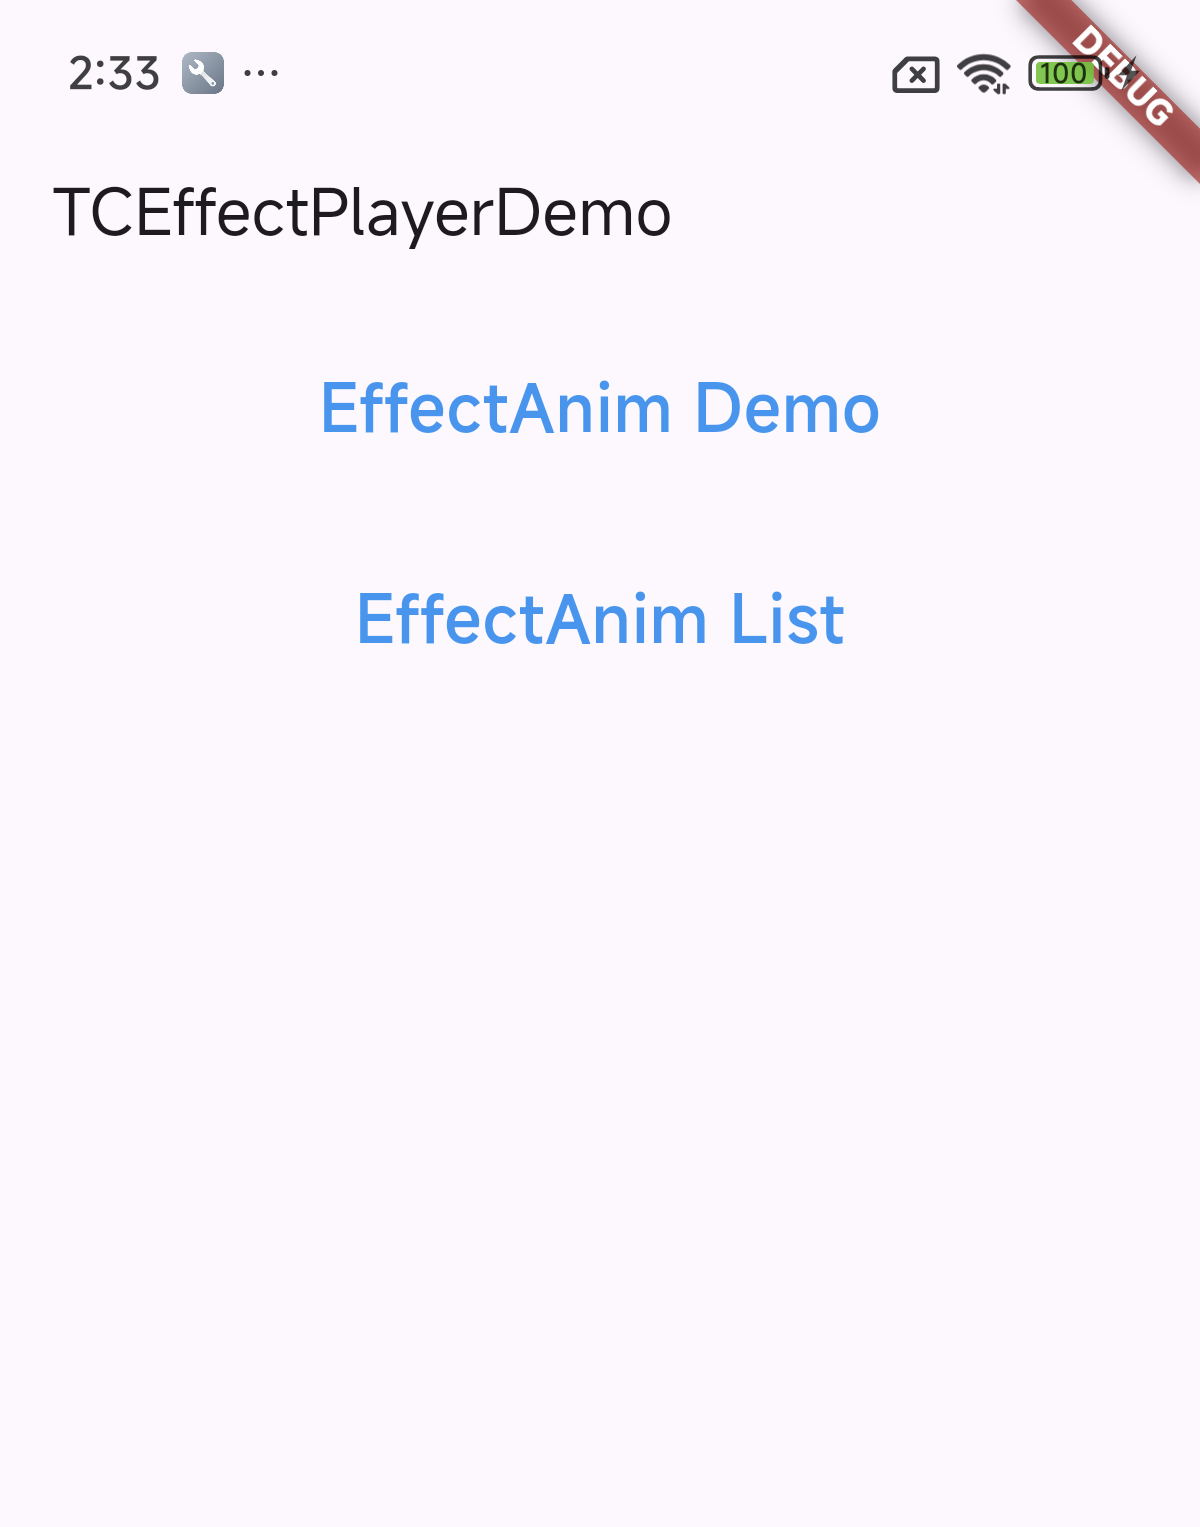
2. After the project runs, the homepage view is as shown below:
Among them:
EffectAnim Demo After the button click, you can proceed with the animation experience, including some common examples.
EffectAnim List After the button click, you can proceed with the small animation experience.