This document describes how to set the UI styles for web.
Setting the Conversation List UI Styles
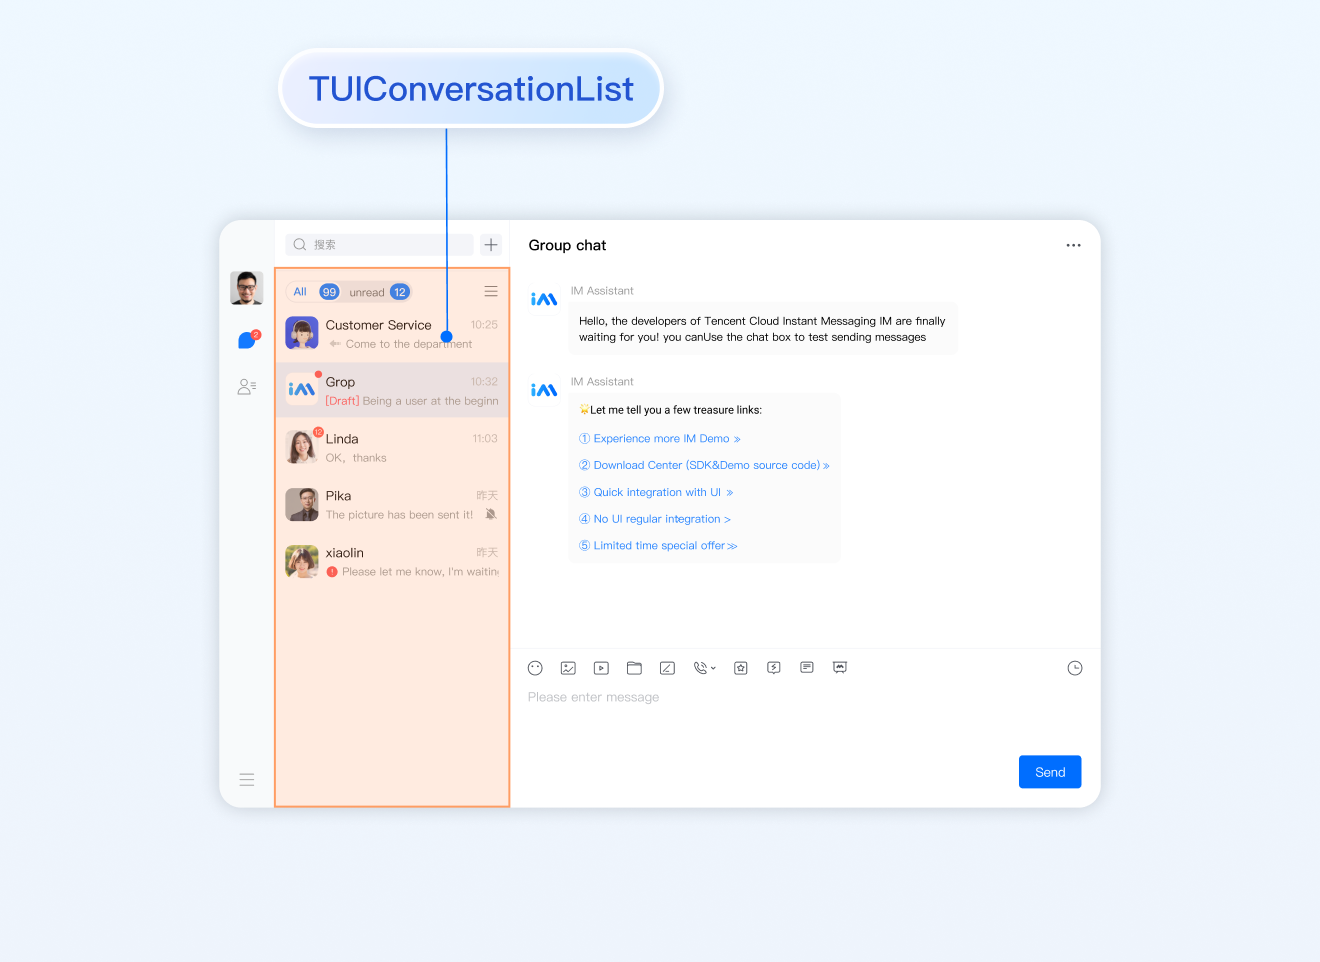
TUIConversation provides the conversation list feature. The conversation list consists mainly of the conversation list area, which provides UI styles that can be modified.
Setting the Conversation List Item Style
After a user logs in, TUIKit reads the user's conversation list from the SDK based on the user's username. You can customize common features for the conversation list. For example, you can configure the profile photo style, background, font size, click event, and long press event for the conversation list.
You can configure the display of list items for the conversation list inTUIKit/components/TUIConversation/conversation-list/index.vue
Sample code:
<template>
<div class="tui-conversation-list">
<!-- Conversation List operation panel -->
<ActionsMenu .../>
<!-- Conversation List Main -->
<div v-for="(conversation, index) in conversationList"...>
You can set the style of list items in the conversation list in the path TUIKit/components/TUIConversation/conversation-list/style/web.scss.
Below is an example code for setting the avatar style in the conversation list:
.TUI-conversation {
&-item {
.left {
.avatar {
width: 30px;// avatar width
height: 30px;// avatar height
border-radius: 5px;// avatar border radius
}
}
}
}
Setting the Chat UI Styles
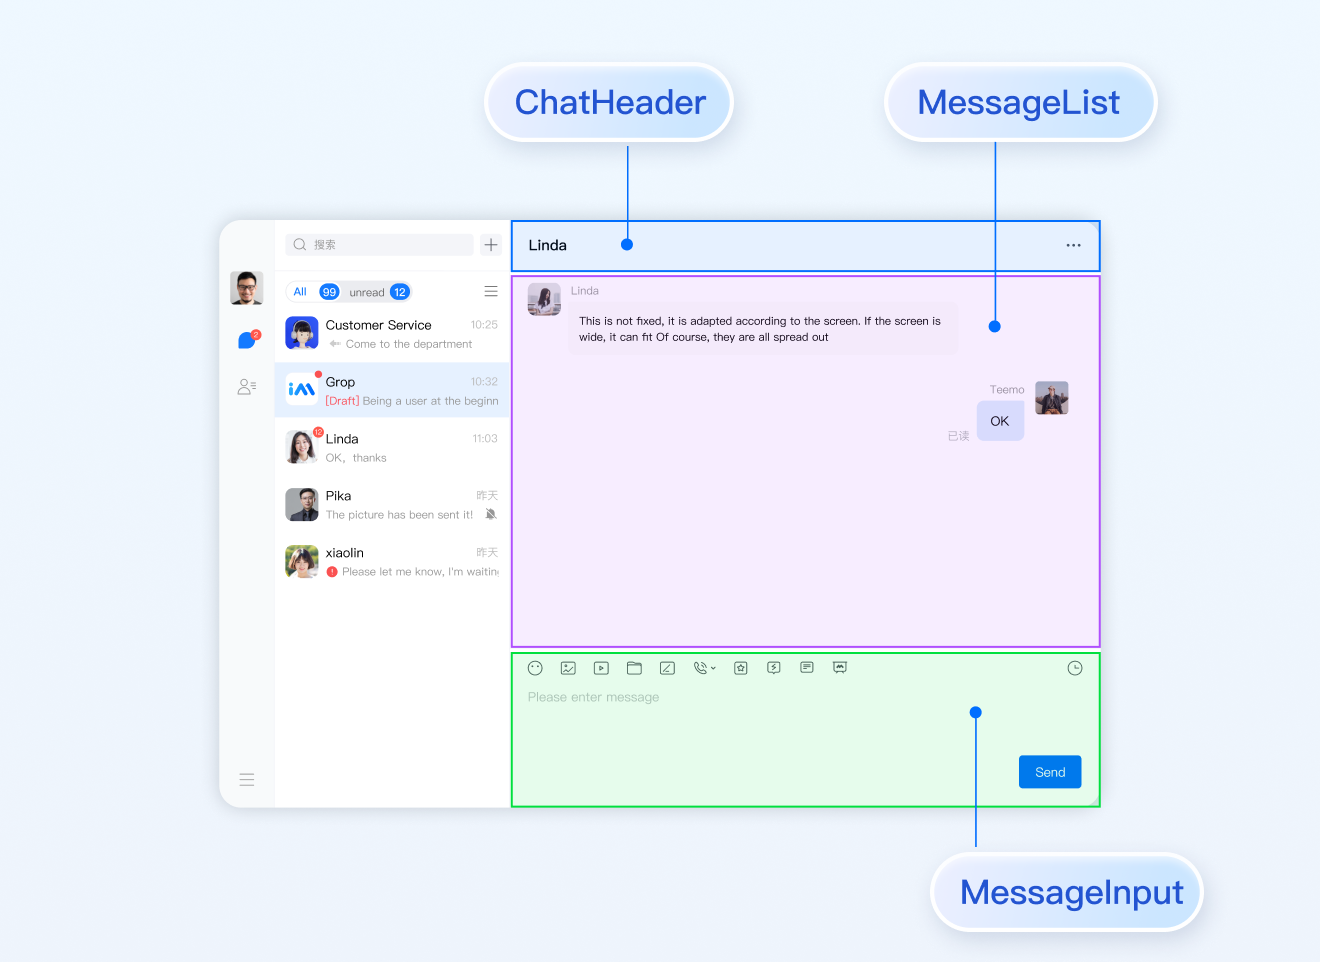
TUIChat provides a chat window comprised of three sections from top to bottom: the title bar, the message area, and the input area, as illustrated below:
The chat window related configurations primarily reside in the path src/TUIKit/components/TUIChat file directory.
Setting the Title Bar Style
The title bar consists of two areas (left and right), as shown in the figure below:
The title bar consists of three sections, as depicted below:
The main code related to the chat UI title bar is located in the file at path src/TUIKit/components/TUIChat/chat-header/index.vue. The chat UI title bar provides various functions for customization, such as background, font size, button icons, click events, feature toggles, etc.
The illustrative code is as follows:
<div v-for="(item, index) in extensions":key="index" @click.stop="handleExtensions(item)">
<Icon :file="item.icon"></Icon>
</div>
</div>
</div>
</template>
You can customize the style of the chat window title bar in the src/TUIKit/components/TUIChat/chat-header/index.vue file.
The sample code for setting the font size and background color of the chat window title bar is as follows:
.chat-header {
background-color: #147AFF;// chat background color
&-content{
font-size: 16px;// chat name font size
}
}
Setting the Message List Style
Setting the Background of the Chat Window
You can customize the chat background color or background image under the path src/TUIKit/components/TUIChat/message-list/style/web.scss.
The sample code for setting the background color of the chat window's message area is as follows:
.TUI-chat {
...
&-message-list {
background-color: #006eff;
}
}
The sample code for setting the background image of the chat window's message area is as follows:
The avatar-related code in the message area primarily resides in the file path src/TUIKit/components/TUIChat/message-list/message-elements/message-bubble.vue, and it is implemented using the Avatar common component. If the user does not set an avatar, a default avatar is displayed. You have the capability to personally tailor the default avatar, decide if the avatar is rounded or fill other size specifications.
The sample code for setting the default avatar in conjunction with the skeleton screen is as follows:
<Avatar
useSkeletonAnimation
:url="message.avatar || ''"
/>
The example code for setting the profile photo shape and size is as follows:
<Avatar
useSkeletonAnimation
:url="message.avatar || ''"
size="40px"
borderRadius="0px"
/>
Setting Bubble Background Colors
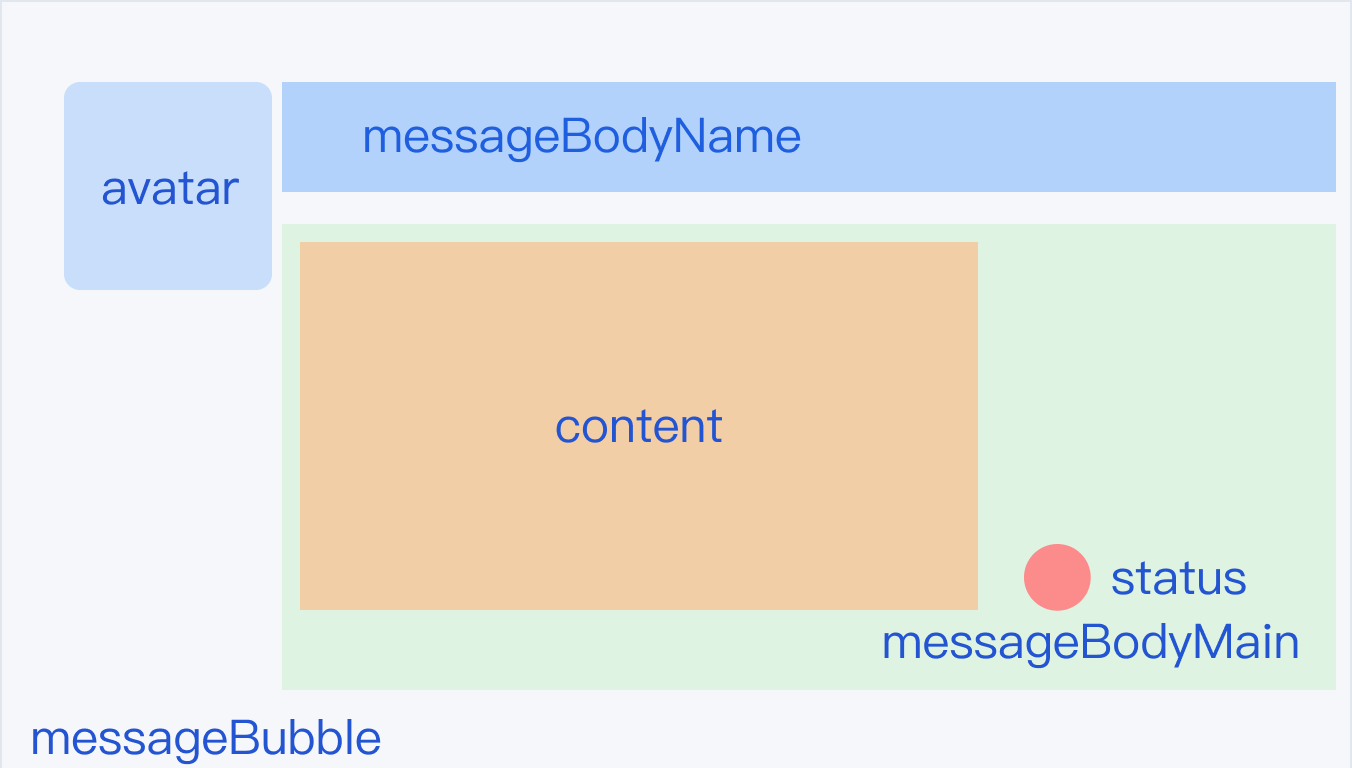
In the message area, each message consists of three parts: avatar (profile photo), messageArea (content area), and messageLabel (label area). The detailed structure is as follows:
In the chat window message area, the bubbles on the left are the recipients', whereas on the right are your own. You are allowed to customize the bubble backgrounds of both sides in the src/TUIKit/components/TUIChat/message-list/message-elements/message-bubble.vue file.
Here is a sample code to set the color of the message bubbles:
.message-bubble {
.message-bubble-main-content {
.message-body {
.message-body-main {
.content-in {
background: #fbfbfb;// Set the color of the receiving message bubble
border-radius: 0px 10px 10px 10px;
}
.content-out {
background: #dceafd;// Set the color of the sender message bubble
border-radius: 10px 0px 10px 10px;
}
}
}
}
}
Setting the Sender's Nickname Style
You can customize the sender's nickname style, including the font size and color in the src/TUIKit/components/TUIChat/message-list/message-elements/message-bubble.vue file.
The following sample code shows how to set the sender's nickname style:
.message-bubble {
.message-bubble-main-content {
.message-body {
.message-body-nickName {
font-weight: 500;// Set the font weight of the sender's nickname
font-size: 14px;// Set sender nickname font size
color: #999999;// Set the font color of the sender's nickname
}
}
}
}
Setting the Message Content Style
You can customize the chat content style, including the font size, font color, and emoji size for both parties in the src/TUIKit/components/TUIChat/message-list/message-elements/message-text.vue file.
The following code sample shows how to set the chat content style:
.emoji {
width: 20px;// emoji width
height: 20px;// emoji height
}
.text {
white-space: pre-wrap;
font-size: 14px;// text message font size
color: #999999;// text message font color
}
Setting the Tips Message Style
You can customize the background, font size, and font color of tips messages in the file at path src/TUIKit/components/TUIChat/message-list/message-elements/message-tip.vue.
Here is the sample code for reference:
.message-tip {
margin: 0 auto;
color: #999999;// message tip font color
font-size: 14px;// message tip font size
background: red;// message tip background color
}
Setting the Input Area InputView
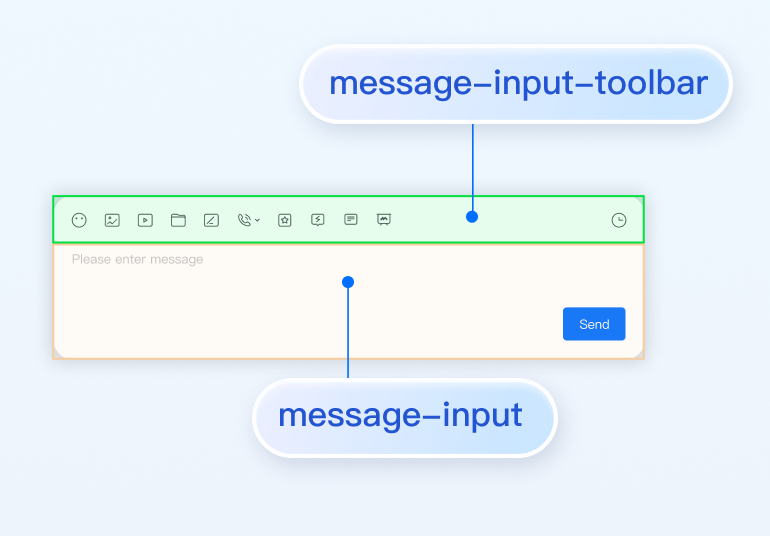
The input area provides various features, including the input of text and emojis and the sending of images, videos, files, ratings, and commonly used expressions.
Hiding unnecessary features
You can customize to hide features, such as image, file, and rating sending, of the feature module of the input area.
This feature module loads features by getting the feature module registered in the src/TUIKit/components/TUIChat/message-input-toolbar/index.vue. You can delete unwanted features from the file.
The example code is as follows: