
Integration
Feature Overview
TUILiveKit is a full-featured live streaming solution designed for seamless integration. It provides the following core modules:
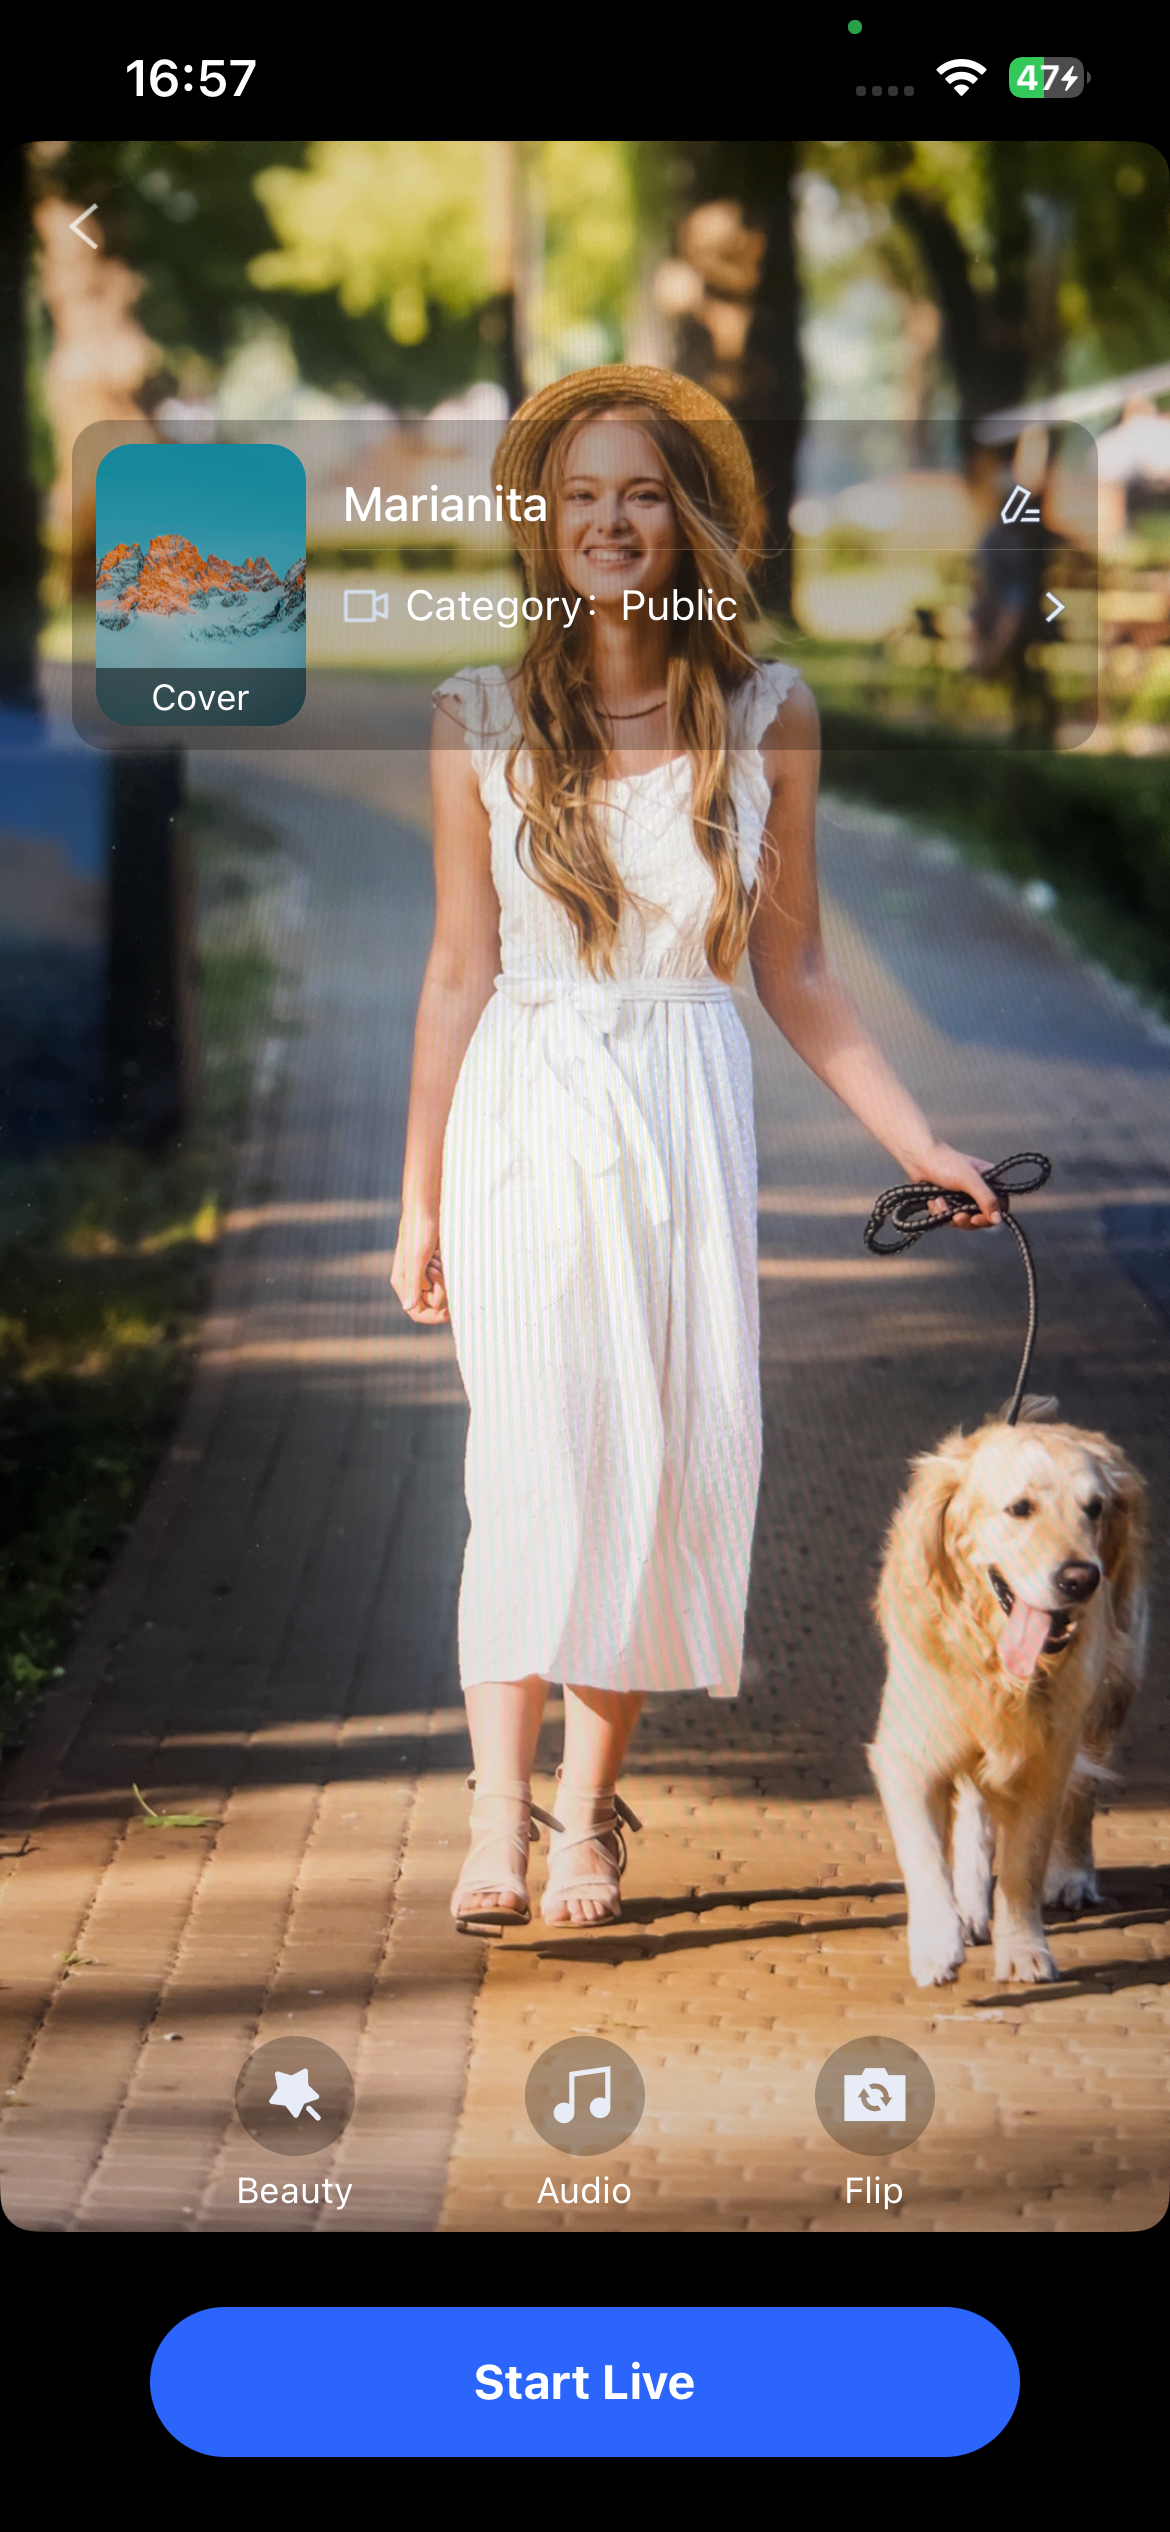
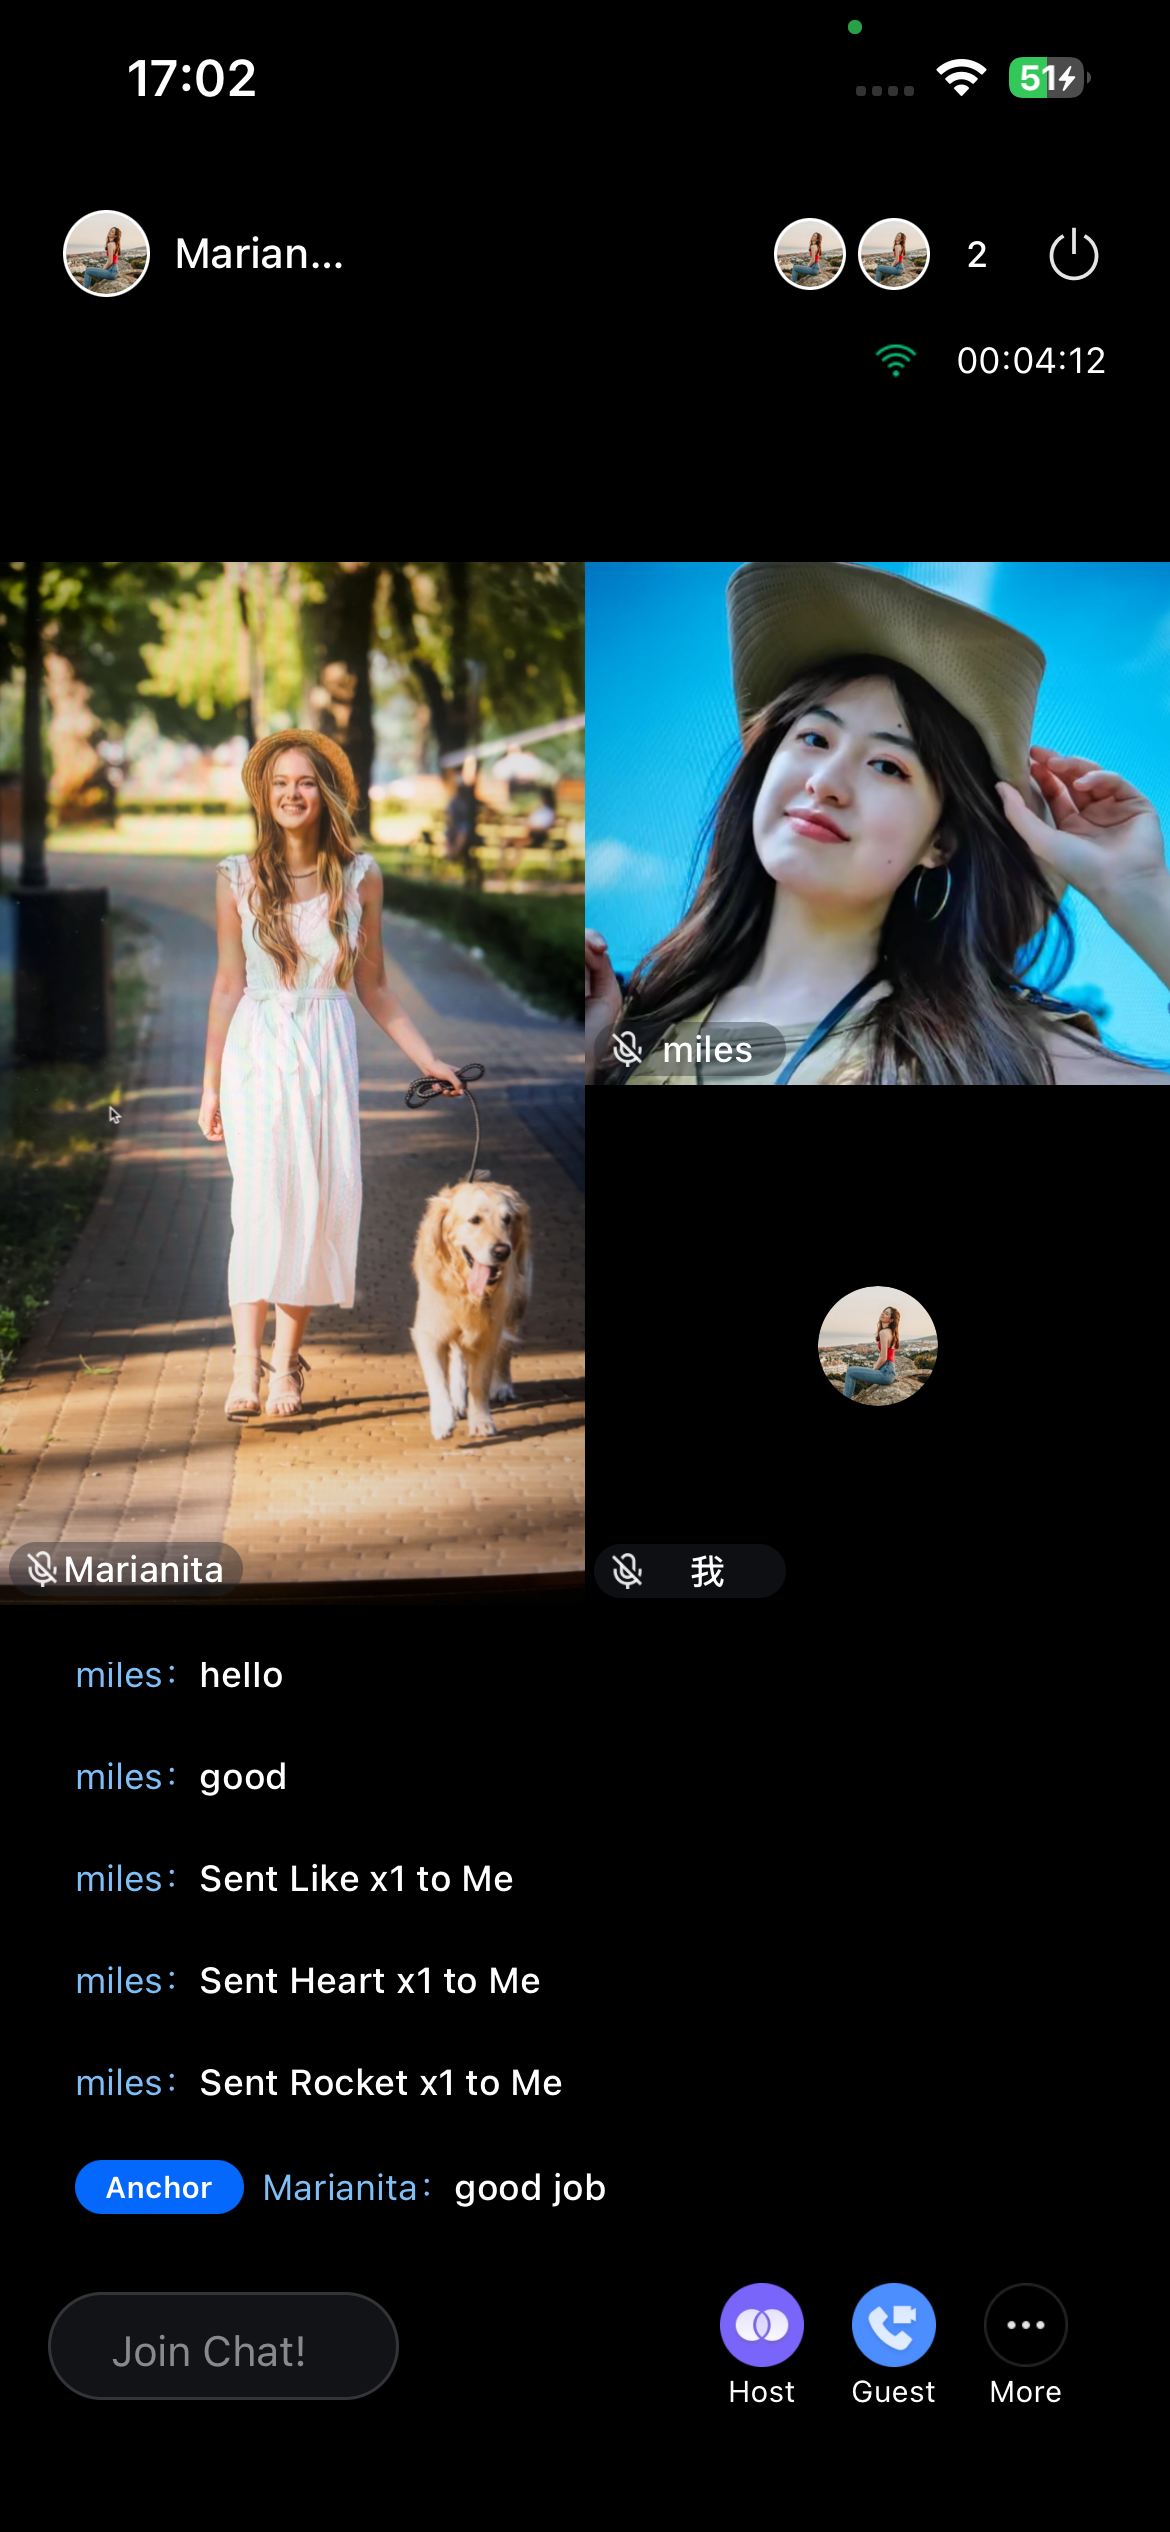
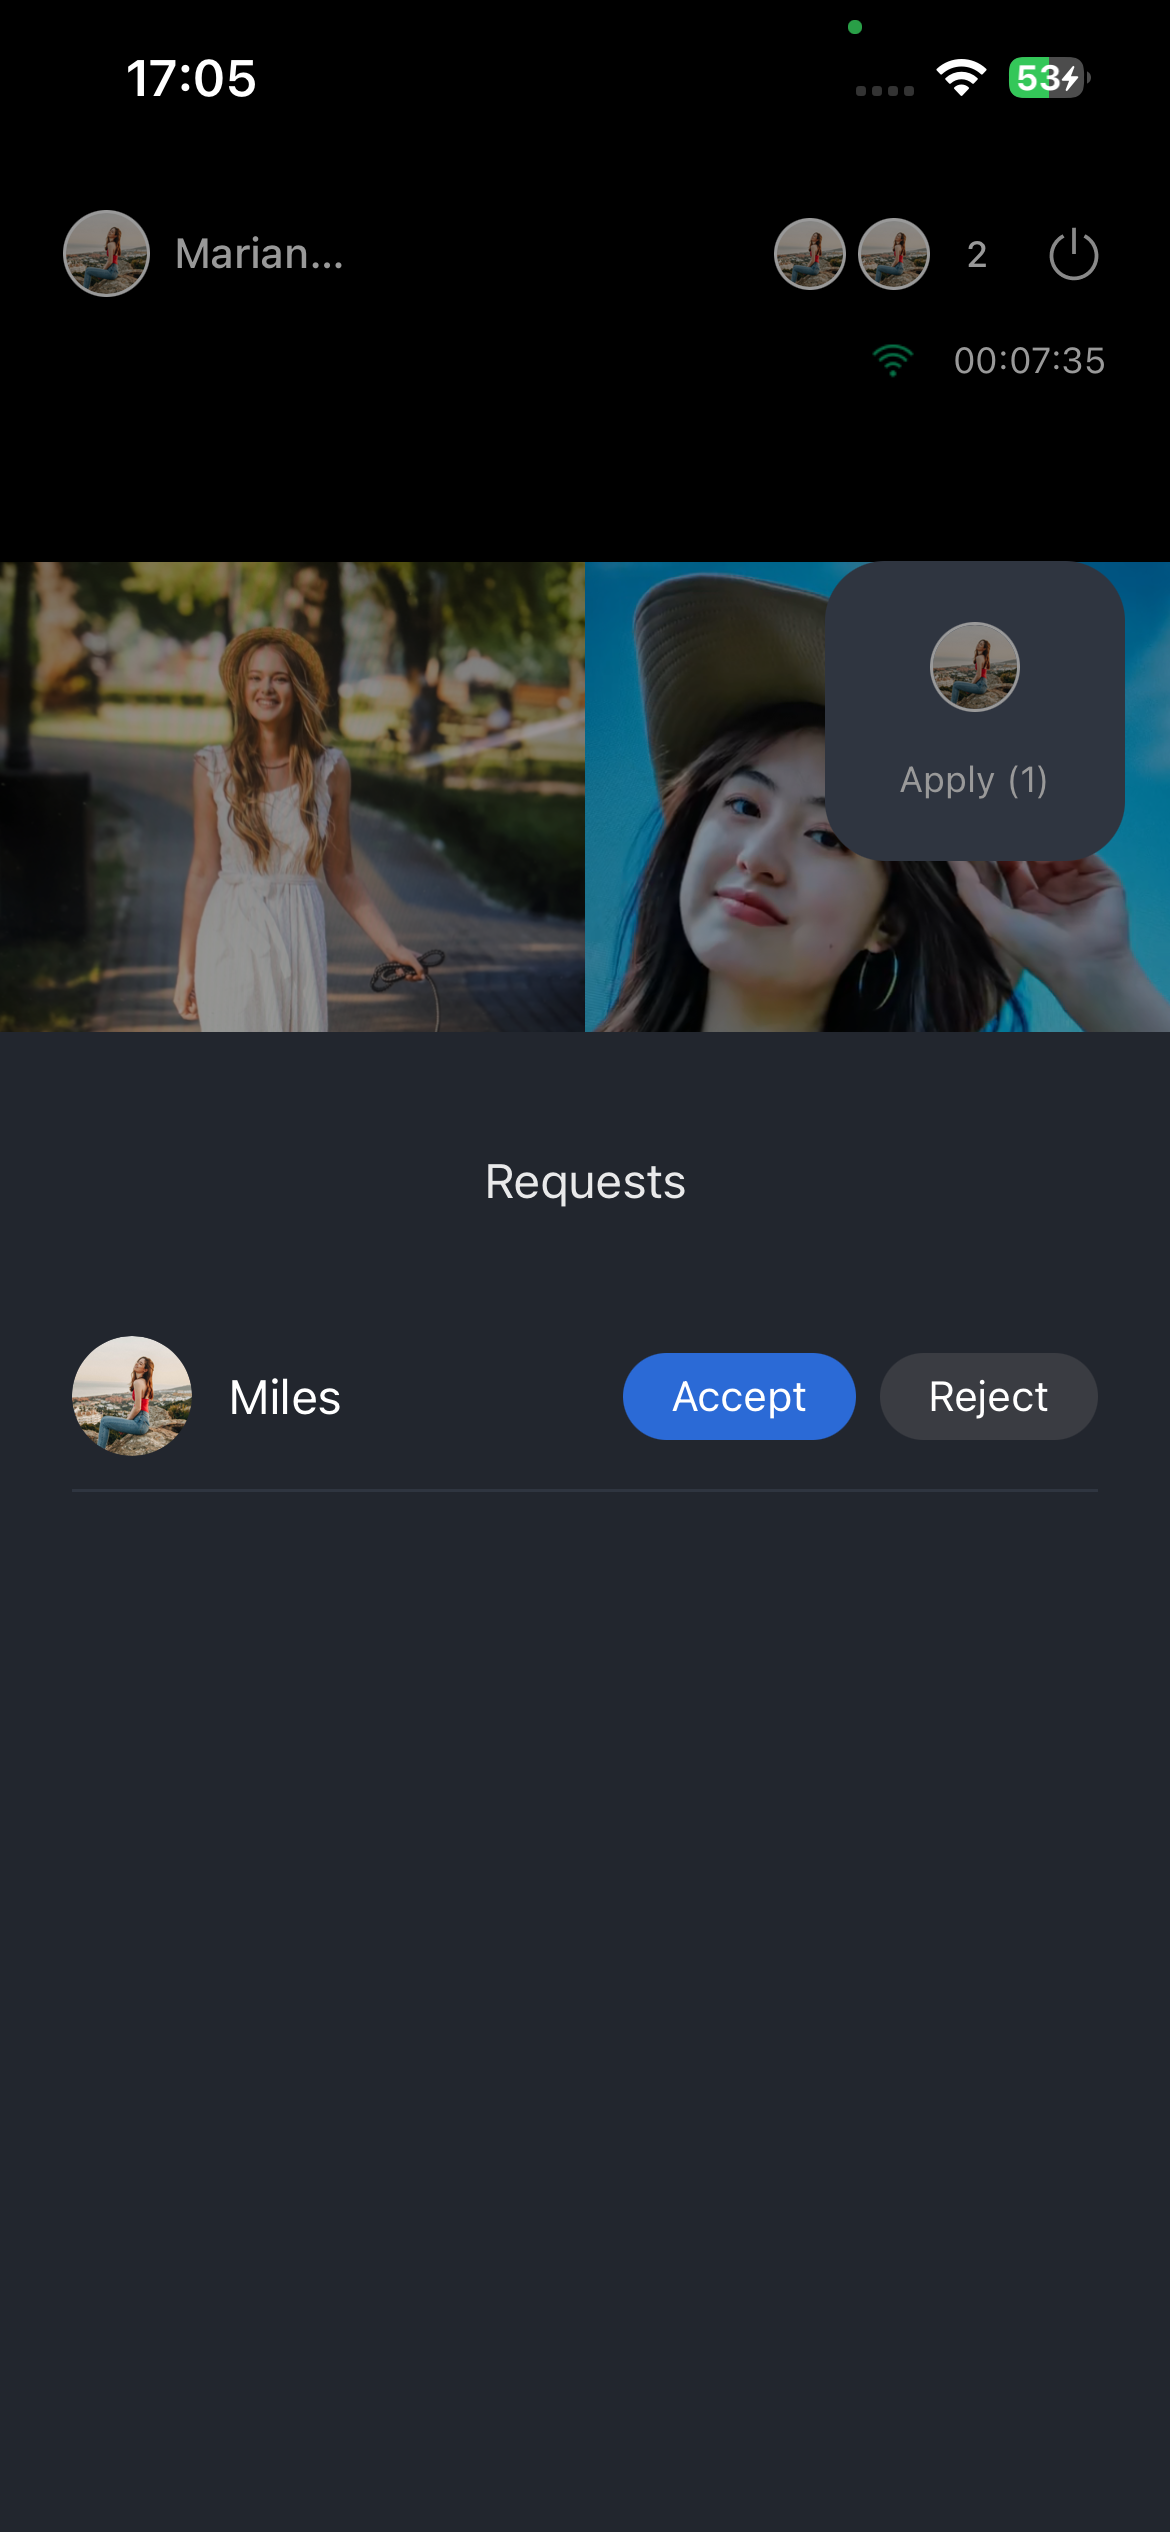
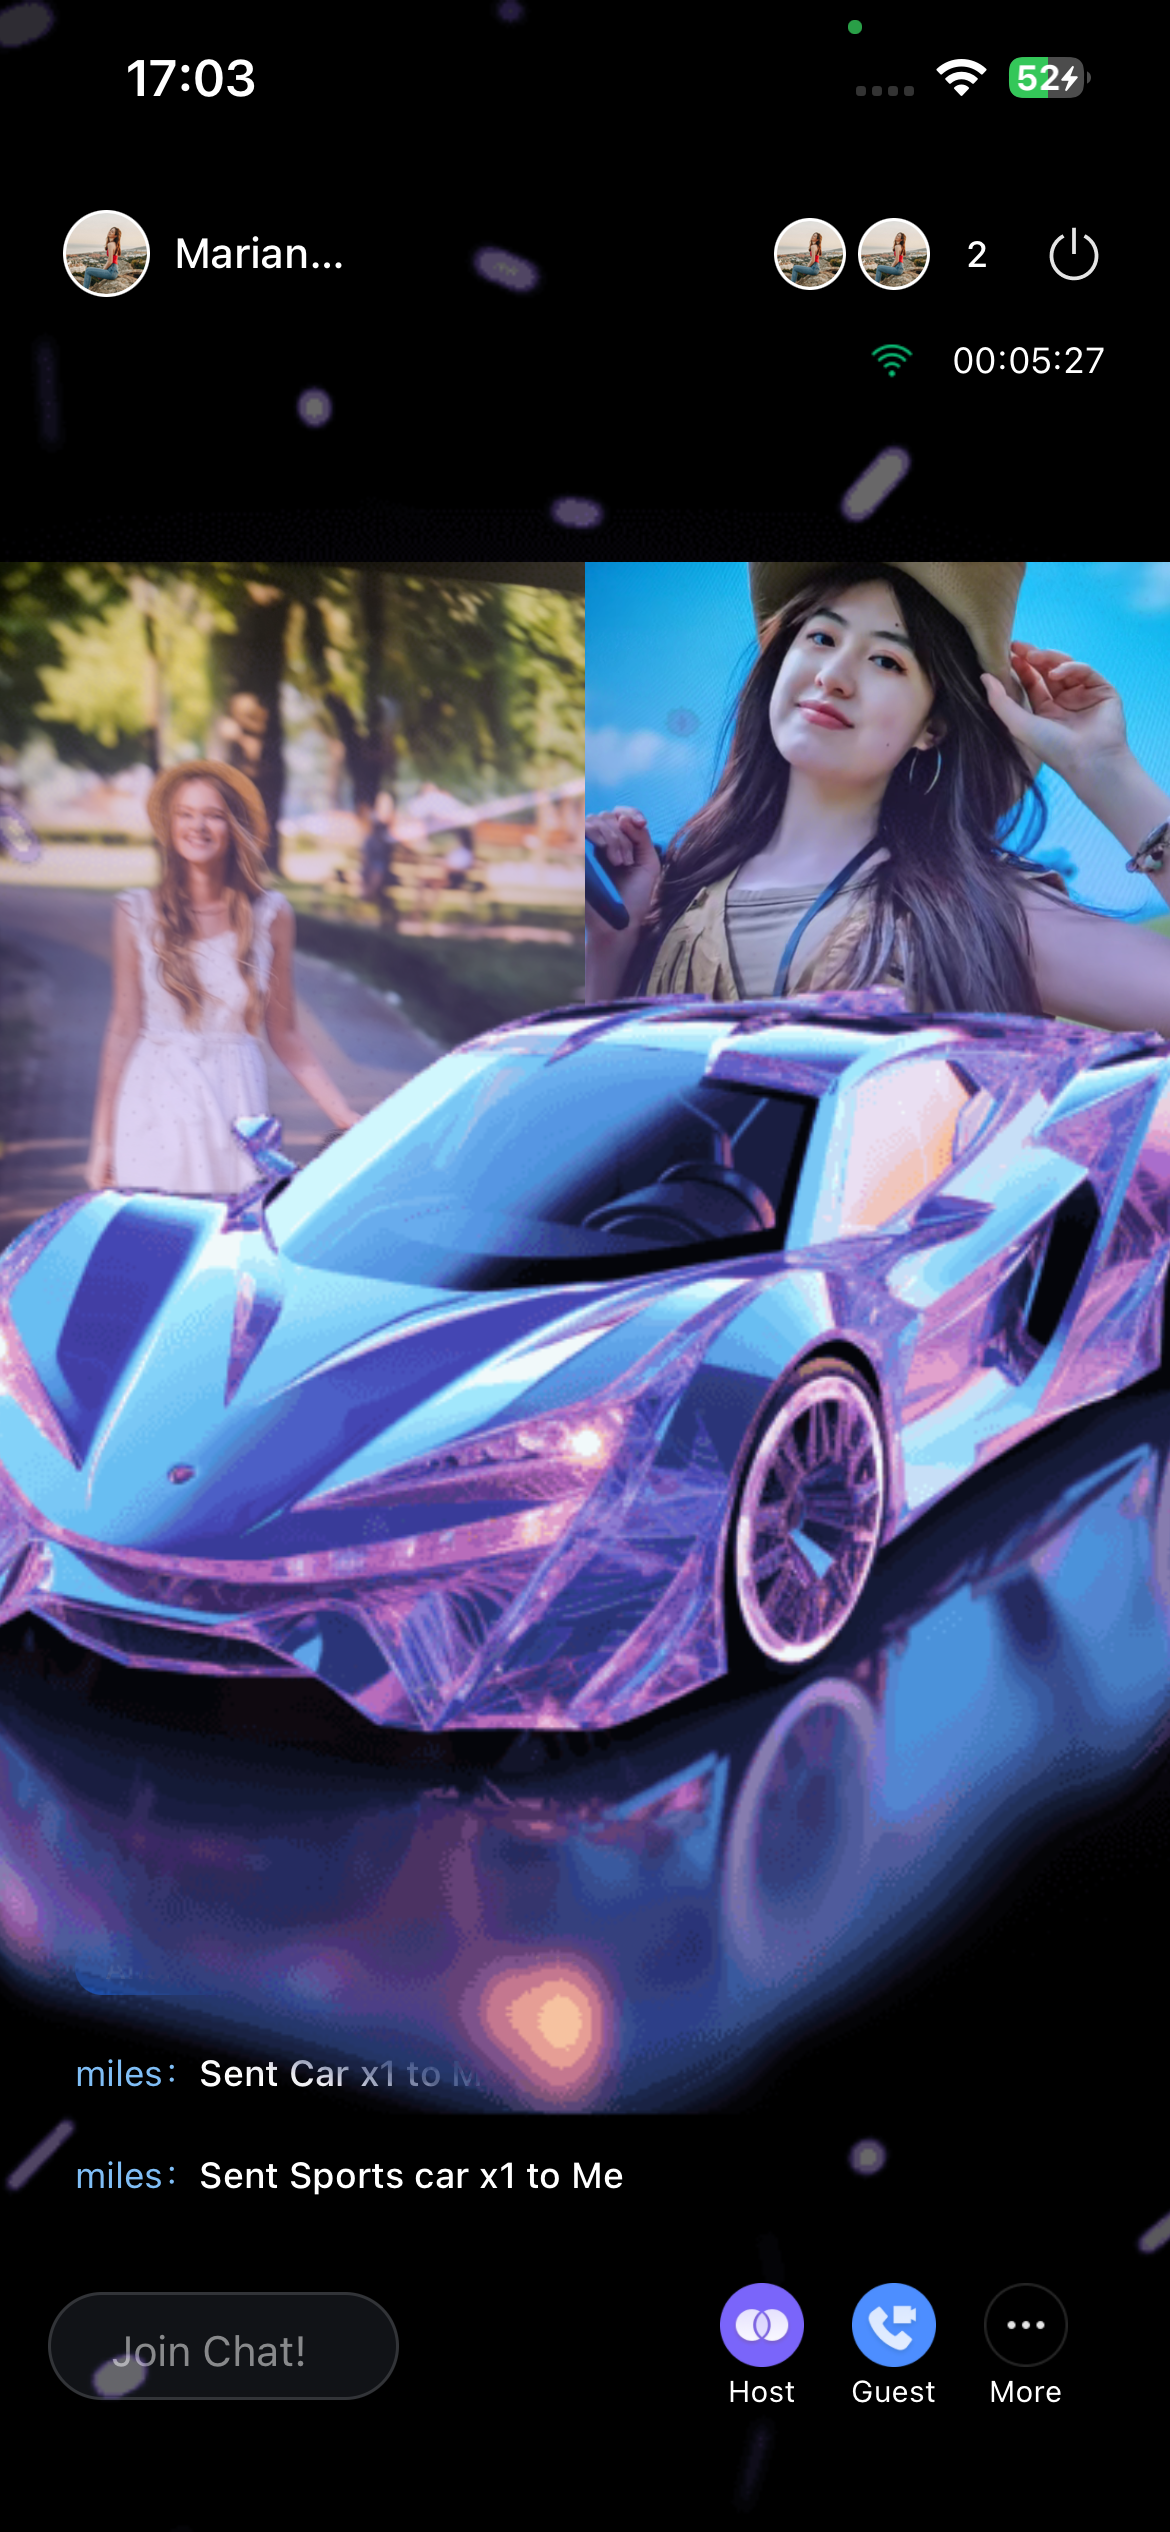
Host Preview Page | Host Live Stream Page | Co-host Management Page | Audience Viewing Page |
 |  |  |  |
Preparations
Activate the Service
Before using TUILiveKit, please refer to Activate Service to get the TUILiveKit Trial Edition or activate the Pro Edition.
Environmental Requirements
Node.js: >= 20.0.0 (recommended to use the official LTS version).
React Native:>= 0.82.1.
Yarn:>= 4.11.0.
Android Studio (Android only).
Xcode 15+ (iOS only.
CocoaPods installed (iOS only). If not, follow the CocoaPods installation guide or run:
sudo gem install cocoapods in your terminal.Note:
During installation, you may be prompted for your computer password. Enter your administrator password as instructed.
Devices: Two smartphones with working cameras and microphones
Code Integration
Download the Source Code
1. Clone the repository
git clone https://github.com/Tencent-RTC/TUIKit_ReactNative.git
2. Import source code into your project
Copy the
tuikit-atomic-x folder into your project’s root directory.Copy the
live folder into your project’s root directory.3. Configure your package.json file
{// Your project configuration"workspaces": ["tuikit-atomic-x","live",],}
4. Install dependencies
yarn install
5. Configure your
App.tsx fileTUILiveKit’s internationalization and related logic depend on your project’s root node. Mount the component in your
App.tsx file.Note:
The following sample code is an incremental update to your existing project code.
import { CustomToastContainer, i18n, I18nextProvider } from 'react-native-tuikit-atomic-x';function App() {const renderPage = () => {// Your business logic};return (<I18nextProvider i18n={i18n}>......{renderPage()}<CustomToastContainer /></I18nextProvider>);}
Project Configuration
1. Add SVGAPlayer to your Podfile
target 'YourProjectTarget' do# Other existing Pod dependencies...# Add pod 'SVGAPlayer' dependency, the gift playback module uses this capacitypod 'SVGAPlayer', '~> 2.5.0'end
2. Install pods
In your terminal, navigate to the directory containing your Podfile and run:
pod install
3. Configure audio/video permissions in
ios/YourApp/Info.plist<dict>camera permission<key>NSCameraUsageDescription</key><string>Require the use of camera to perform video call</string>mic permission<key>NSMicrophoneUsageDescription</key><string>Require the use of microphone to perform audio call</string>android.permission.INTERNET<key>NSAppTransportSecurity</key><dict><key>NSAllowsArbitraryLoads</key><true/></dict></dict>
Configure audio/video permissions in
android/app/src/main/AndroidManifest.xml<manifest xmlns:android="http://schemas.android.com/apk/res/android">android.permission.BASE<uses-permission android:name="android.permission.INTERNET" /><uses-permission android:name="android.permission.ACCESS_NETWORK_STATE" />android.permission.RECORD_AUDIO<uses-permission android:name="android.permission.CAMERA" /><uses-permission android:name="android.permission.RECORD_AUDIO" /><uses-permission android:name="android.permission.MODIFY_AUDIO_SETTINGS" /><application>android.permission.INTERNET</application></manifest>
Complete Login
import { useLoginState } from 'react-native-tuikit-atomic-x';const { login } = useLoginState();async function Login() {try {await login({sdkAppID: 0, // SDKAppID, refer to Activate the Service to obtainuserID: '', // UserID, refer to Activate the Service to obtainuserSig: '', // userSig, refer to Activate the Service to obtain});} catch (error) {console.error('login error:', error);}}
Note:
For security, it is strongly recommended to implement the userSig generation logic on your server to avoid exposing your SecretKey in front-end code.
You can use the console assistant tool to generate a temporary userSig for debugging. For more details, see How to calculate and use UserSig.
The sample code on GitHub uses the genTestUserSig function to generate userSig locally for quick integration. However, this exposes your SecretKey in the code and is not recommended for production or future upgrades. Parameter descriptions are provided below:
Parameter | Type | Description |
SDKAppID | Int | |
UserID | String | The current user's unique ID, containing only English letters, digits, hyphens, and underscores. |
userSig | String | A ticket for TRTC authentication. Please note: Development Environment: You can use the local GenerateTestUserSig.genTestSig function to generate a UserSig or generate a temporary UserSig via the UserSig Generation Tool.Production Environment: To prevent key leakage, you must use a server-side method to generate UserSig. For details, see Server-side Generation of UserSig. |
Next Steps
You’re all set! After integrating the live streaming component and completing login, you can start hosting streams, enable audience viewing, and use other live streaming features. See the table below for details.
Feature | Description | Experience Link |
Live Stream Publishing | The complete workflow for a host to start a stream, including pre-stream setup and various in-stream interactions. | |
Audience viewing | Audience can watch live streaming after entering the anchor's live streaming room, with features like audience mic connection, live room information, online audience, and bullet screen display. | |
Live Stream List | Display the live stream list interface and features, including the live stream list and room information display. |
FAQs
iOS Compilation Issues
React Native 0.60+ supports automatic linking. However, if you encounter problems, run the following command:
# Clean up and rebuildnpx react-native clean
Android Compilation Issues
Verify your Gradle configuration:
// android/build.gradlebuildscript {ext {minSdkVersion = 24compileSdkVersion = 36targetSdkVersion = 36ndkVersion = "27.1.12297006"kotlinVersion = "2.1.20"}}

