
自定义消息
TUIKit 默认实现了文本、图片、语音、视频、文件等基本消息类型的发送和展示,如果这些消息类型满足不了您的需求,您可以新增自定义消息类型。
基本消息类型
消息类型 | 显示效果图 |
文本类消息 | 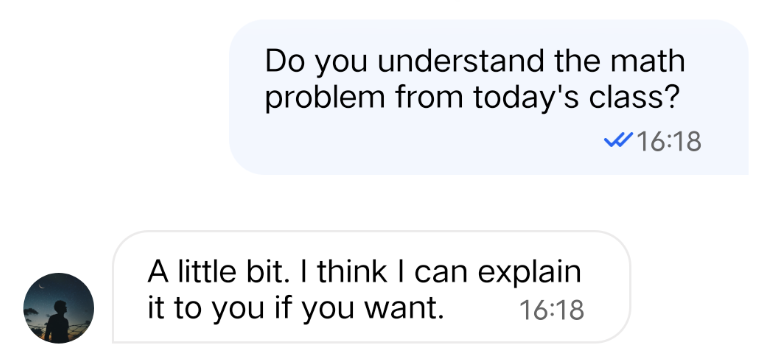 |
图片类消息 | 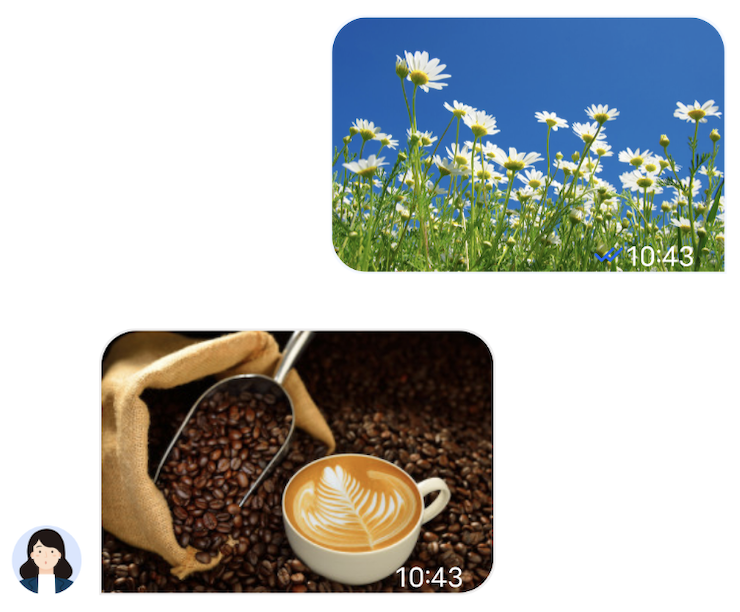 |
语音类消息 | 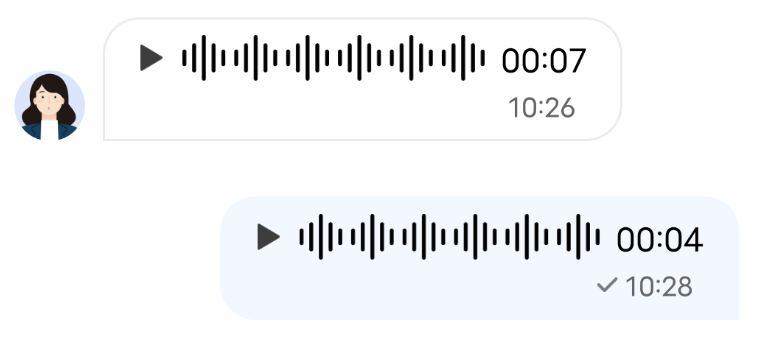 |
视频类消息 | 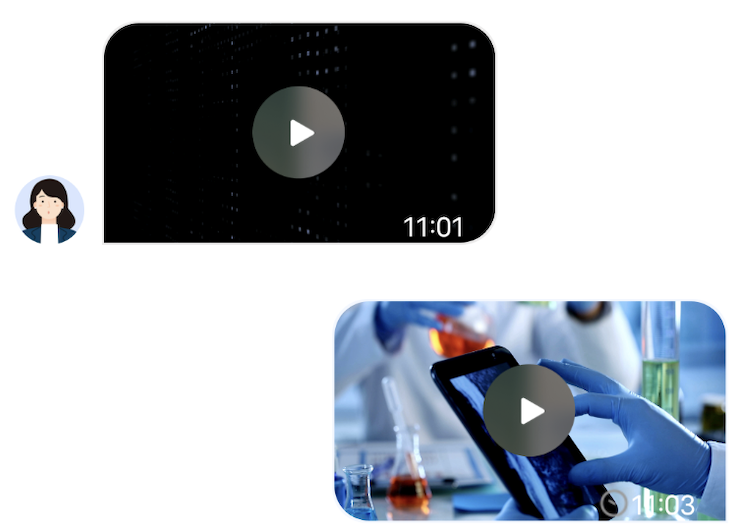 |
文件类消息 | 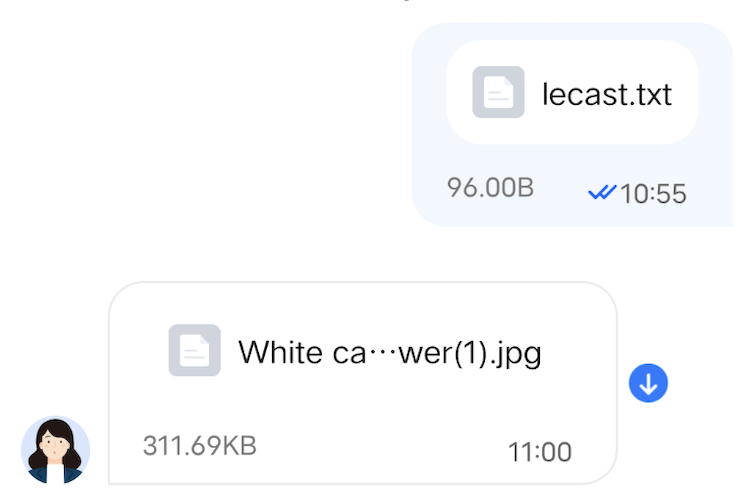 |
自定义消息
如果基本消息类型不能满足您的需求,您可以根据实际业务需求自定义消息。下文以发送一条可跳转至浏览器的超文本作为自定义消息为例,帮助您快速了解实现流程。
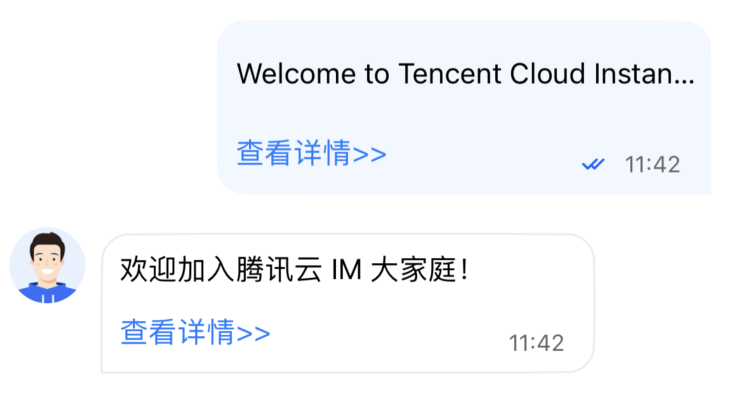
TUIKit 内置的自定义消息样式如下图所示:
说明:
TUIKit 在 5.8.1668 版本重新设计了一套自定义消息方案,新方案较旧方案有很大的改动,实现起来更简单快捷。旧方案 API 继续保留,但不再维护。
我们强烈建议您升级到 5.8.1668 及以上版本,使用新方案实现自定义消息。
展示自定义消息
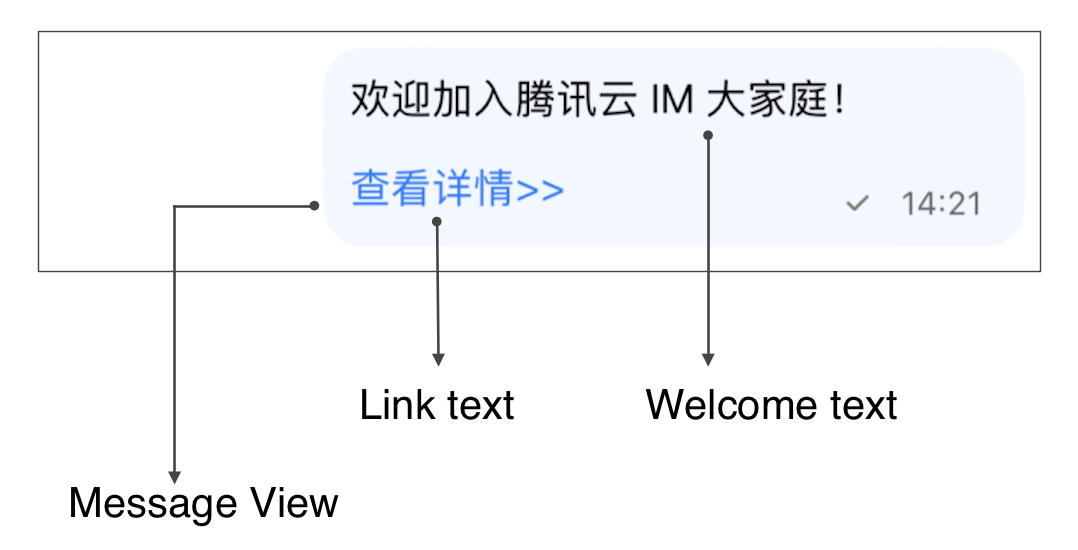
TUIKit 内置的自定义消息 View 元素如下图所示:
您可以在 ChatPresenter.java 的
onRecvNewMessage 方法中接收自定义消息。收到的自定义消息最终会以 MessageViewHolder 的形式展示在消息列表中,MessageViewHolder 绘制所需的数据我们称之为 MessageBean。下面我们分步骤讲解下如何展示自定义消息。
实现自定义消息 MessageBean 类
1. 在
TUIChat/tuichat/src/main/java/com/tencent/qcloud/tuikit/tuichat/bean/message/ 文件夹下新建 CustomLinkMessageBean.java 文件,CustomLinkMessageBean 类继承自 TUIMessageBean,用于存储显示的文字和要跳转的链接。
示例代码如下:public class CustomLinkMessageBean extends TUIMessageBean {private String text;private String link;public String getText() {return text;}public String getLink() {return link;}}
2. 重写
CustomLinkMessageBean 的 onProcessMessage(message) 方法,用于实现对自定义消息的解析。
示例代码如下:@Overridepublic void onProcessMessage(V2TIMMessage v2TIMMessage) {// Custom message view implementation. Here we configure to display only the text information and implement link redirection.text = "";link = "";String data = new String(v2TIMMessage.getCustomElem().getData());try {HashMap map = new Gson().fromJson(data, HashMap.class);if (map != null) {text = (String) map.get("text");link = (String) map.get("link");}} catch (JsonSyntaxException e) {}setExtra(text);}
3. 重写
CustomLinkMessageBean 的 onGetDisplayString() 方法,用于生成在会话列表中的文字摘要。实现后的效果如下:
示例代码如下:
@Overridepublic String onGetDisplayString() {return text;}
实现 MessageViewHolder 类
1. 在
Android/TUIChat/tuichat/src/main/java/com/tencent/qcloud/tuikit/tuichat/minimalistui/widget/message/viewholder/ 文件夹下新建 CustomLinkMessageHolder.java 文件,CustomLinkMessageHolder 继承自 MessageContentHolder ,用于实现自定义消息气泡的样式布局和点击事件。注意:
如果是使用经典版 UI,CustomLinkMessageHolder 需要继承 com.tencent.qcloud.tuikit.timcommon.classicui.widget.message.MessageContentHolder,如果是使用 简约版 UI,则需要继承 com.tencent.qcloud.tuikit.timcommon.minimalistui.widget.message.MessageContentHolder
示例代码如下:
public class CustomLinkMessageHolder extends MessageContentHolder {public CustomLinkMessageHolder(View itemView) {super(itemView);}}
2. 重写
CustomLinkMessageHolder 的 getVariableLayout 方法,返回展示自定义消息的布局。
示例代码如下:@Overridepublic int getVariableLayout() {return R.layout.test_custom_message_layout;}
布局文件
test_custom_message_layout 如下:<?xml version="1.0" encoding="utf-8"?> <LinearLayout xmlns:android="http://schemas.android.com/apk/res/android" android:layout_width="match_parent" android:layout_height="wrap_content" android:orientation="vertical"> <TextView android:id="@+id/test_custom_message_tv" android:layout_width="wrap_content" android:layout_height="wrap_content" android:textColor="?attr/chat_self_custom_msg_text_color" /> <LinearLayout android:layout_width="match_parent" android:layout_height="wrap_content" android:layout_marginTop="10dp" android:orientation="horizontal"> <TextView android:id="@+id/link_tv" android:layout_width="0dp" android:layout_height="wrap_content" android:layout_weight="1" android:textAlignment="viewEnd" android:text="@string/test_custom_message" android:textColor="?attr/chat_self_custom_msg_link_color" /> </LinearLayout> </LinearLayout>
3. 重写
CustomLinkMessageHolder 的 layoutVariableViews 方法,用于把自定义消息渲染到布局上,并添加自定义消息的点击事件。
示例代码如下:@Overridepublic void layoutVariableViews(TUIMessageBean msg, int position) {// Custom message view implementation. Here we configure to display only the text information and implement link redirection.TextView textView = itemView.findViewById(R.id.test_custom_message_tv);String text = "";String link = "";if (msg instanceof CustomLinkMessageBean) {text = ((CustomLinkMessageBean) msg).getText();link = ((CustomLinkMessageBean) msg).getLink();}textView.setText(text);msgContentFrame.setClickable(true);String finalLink = link;msgContentFrame.setOnClickListener(new View.OnClickListener() {@Overridepublic void onClick(View v) {Intent intent = new Intent();intent.setAction("android.intent.action.VIEW");Uri content_url = Uri.parse(finalLink);intent.setData(content_url);intent.addFlags(Intent.FLAG_ACTIVITY_NEW_TASK);TUIChatService.getAppContext().startActivity(intent);}});}
注册自定义消息
注意:
每一种自定义消息都必须有唯一的 businessID,区分大小写,不可跟其他自定义消息的 businessID 重复。TUIChat 需要根据此 businessID 找到对应的自定义消息。
新增自定义消息的 businessID 也不能和 TUIKit 内置自定义消息的 businessID 重复。
在 App 初始化时,调用 TUIChatConfigs.registerCustomMessage 接口,向 TUIChat 注册自定义消息。
示例代码如下:
// Self Definition message businessID (Note: Duplicates not allowed)public static final String CUSTOM_LINK_MESSAGE_BUSINESS_ID = "text_link";/** Register the self Definition message with TUIChat. The three parameters are* @param businessID Self Definition message businessID * @param messageBeanClass Self Definition message MessageBean type * @param messageViewHolderClass Self Definition message MessageViewHolder type*/ TUIChatConfigs.registerCustomMessage(CUSTOM_LINK_MESSAGE_BUSINESS_ID,CustomLinkMessageBean.class,CustomLinkMessageHolder.class);
除此之外,TUIChatConfigs 还提供了 registerCustomMessage 方法的另一个重载,支持注册简约版 UI 下的自定义消息,同时支持消息布局为空布局。详情可参见 TUIChatConfigs.java 文件。
发送自定义消息
注意:
自定义消息内容必须为 JSON 格式。其中 "businessID" 字段为必填项。可根据业务需求添加其他字段,单条消息大小上限为 12KB。例如:
{"businessID":"text_link","link":"https://trtc.io/products/chat","text":"Welcome to Tencent Cloud Chat!"}
如下图所示,自定义消息发送按钮主要由文本
title 和图片 icon 组成: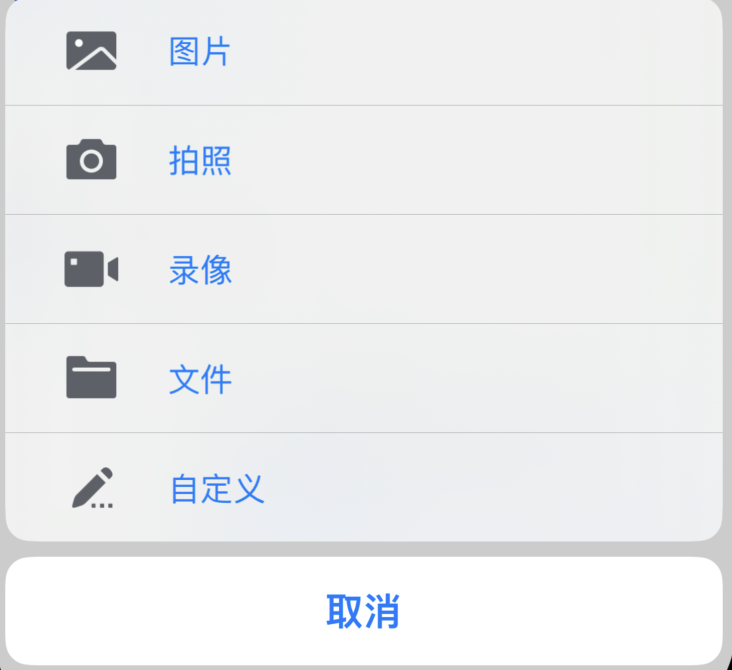
1. 在 ChatLayoutSetting.java 的
customizeChatLayout 方法中添加代码,添加自定义消息发送按钮。
示例代码如下:InputMoreActionUnit unit = new InputMoreActionUnit() {};unit.setIconResId(R.drawable.custom);unit.setName("Custom");unit.setActionId(CustomHelloMessage.CUSTOM_HELLO_ACTION_ID);unit.setPriority(10);inputView.addAction(unit);
2. 为上面步骤创建的自定义消息发送按钮设置点击监听,点击消息发送按钮后就可以创建一条自定义消息发送。
自定义消息是一段 JSON 数据,在 JSON 中定义
businessID 字段来唯一标识这条消息类型。
示例代码如下:unit.setOnClickListener(unit.new OnActionClickListener() {@Overridepublic void onClick() {Gson gson = new Gson();CustomHelloMessage customHelloMessage = new CustomHelloMessage();customHelloMessage.businessID = "text_link";customHelloMessage.text = "Welcome to Tencent Cloud Chat!";customHelloMessage.link = "https://trtc.io/products/chat";String data = gson.toJson(customHelloMessage);TUIMessageBean info = ChatMessageBuilder.buildCustomMessage(data, customHelloMessage.text, customHelloMessage.text.getBytes());layout.sendMessage(info, false);}});

