VoIP (Voice over IP) Push is a notification mechanism provided by Apple for responding to VoIP calls. Combining Apple's PushKit.framework and CallKit.framework can achieve system-level call effects.
Note:
Apple requires that VoIP Push be used in conjunction with the CallKit.framework starting with iOS 13.0; otherwise, the app will crash after running.
Effects of Applications in the Background and Expanding
Configuring VoIP Push
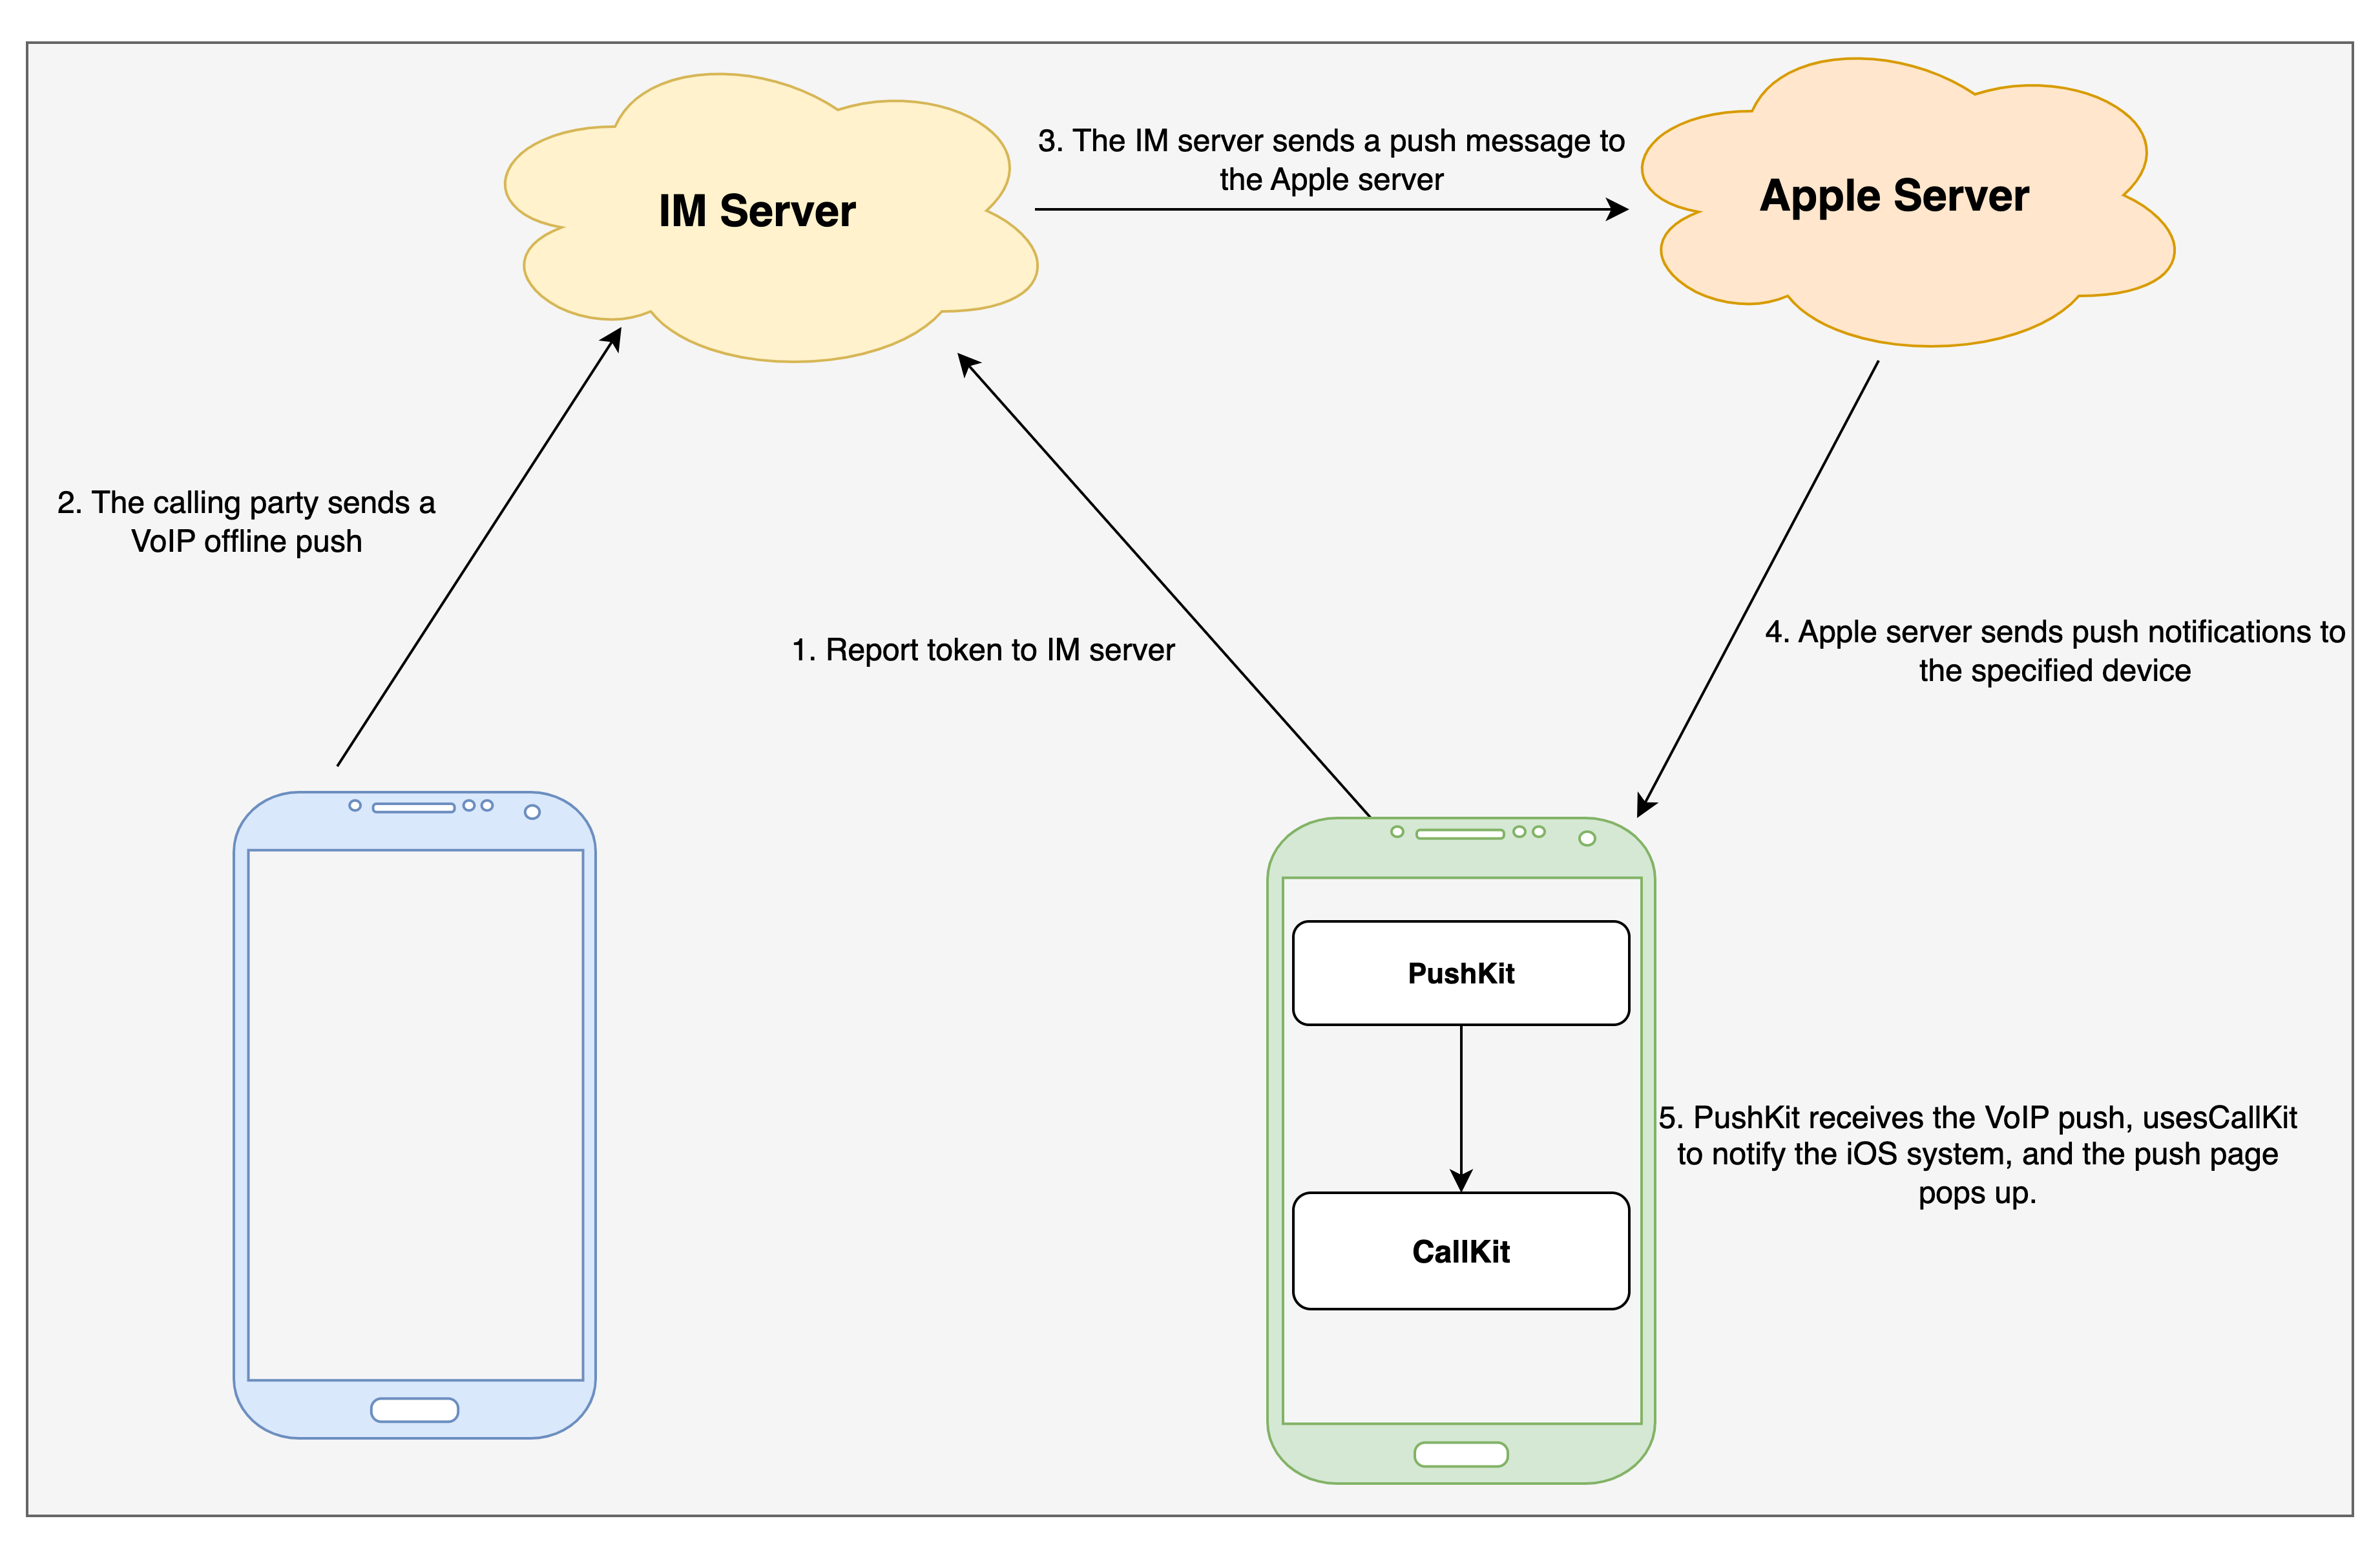
To receive VoIP Push notifications, follow these steps:
1. Apply for a VoIP Push certificate.
2. Upload the certificate to the Chat console.
3. Complete the project configuration.
4. Integrate the TUICallKitVoIPExtension component.
Step 1: Apply for a VoIP Push certificate
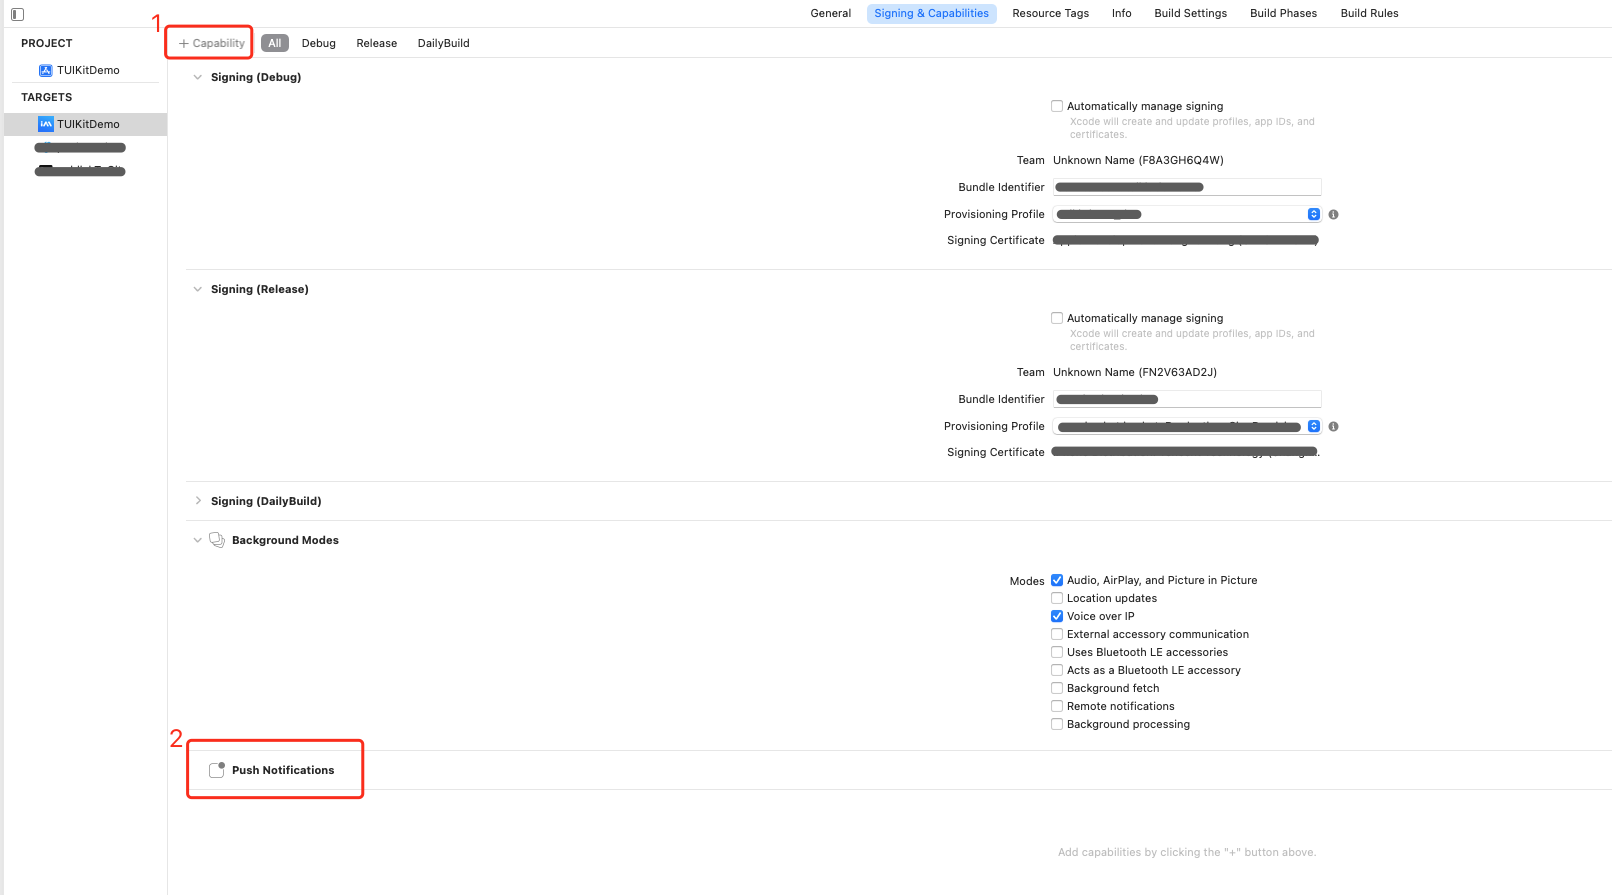
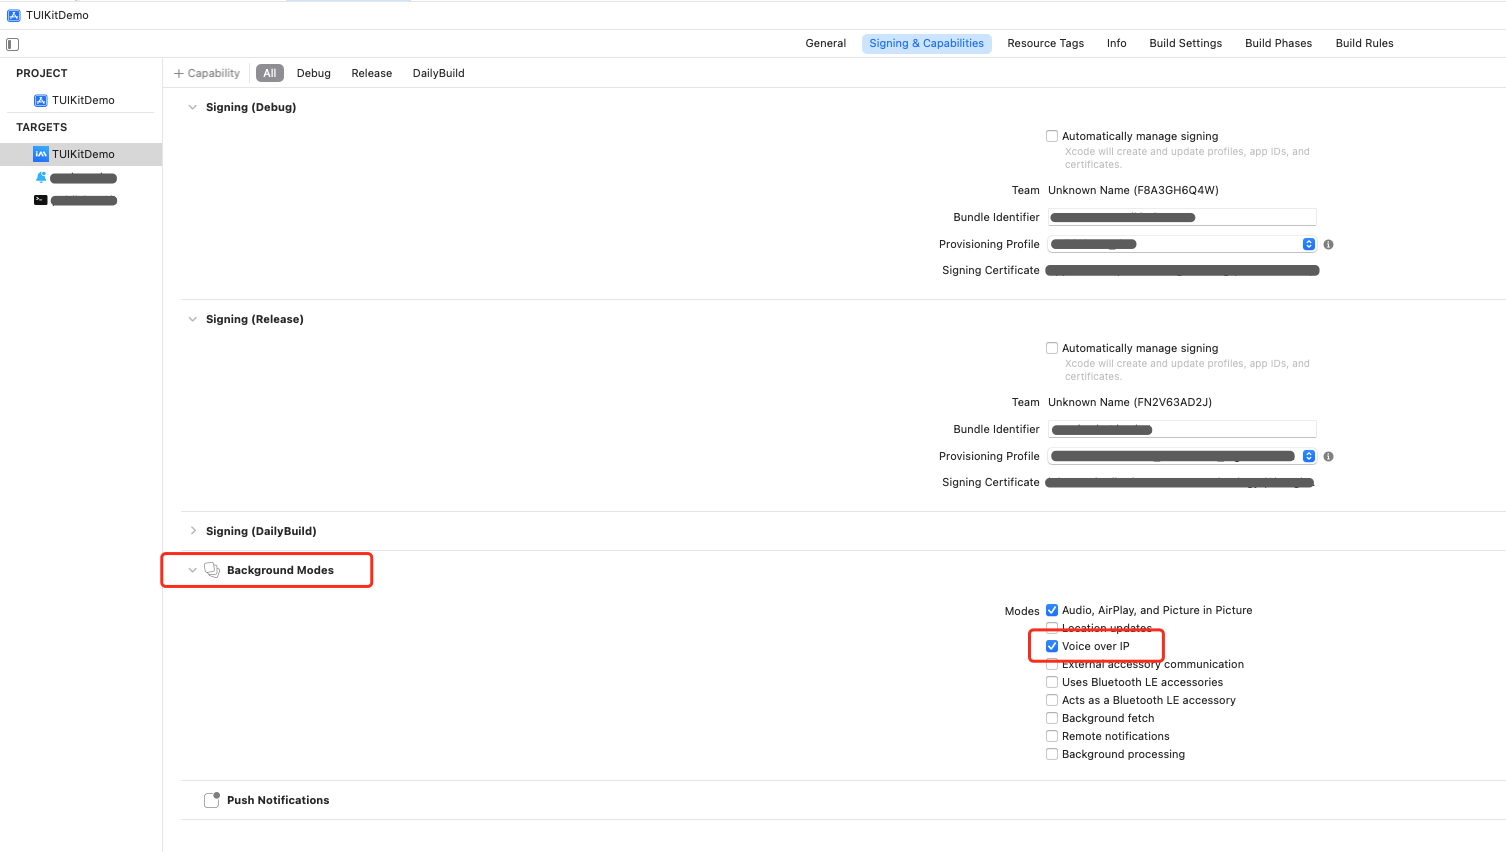
Before applying for a VoIP Push certificate, log in to the Apple Developer Center, enable your app's remote push capabilities.
Once your AppID has Push Notification capabilities, follow these steps to apply for and configure a VoIP Push certificate:
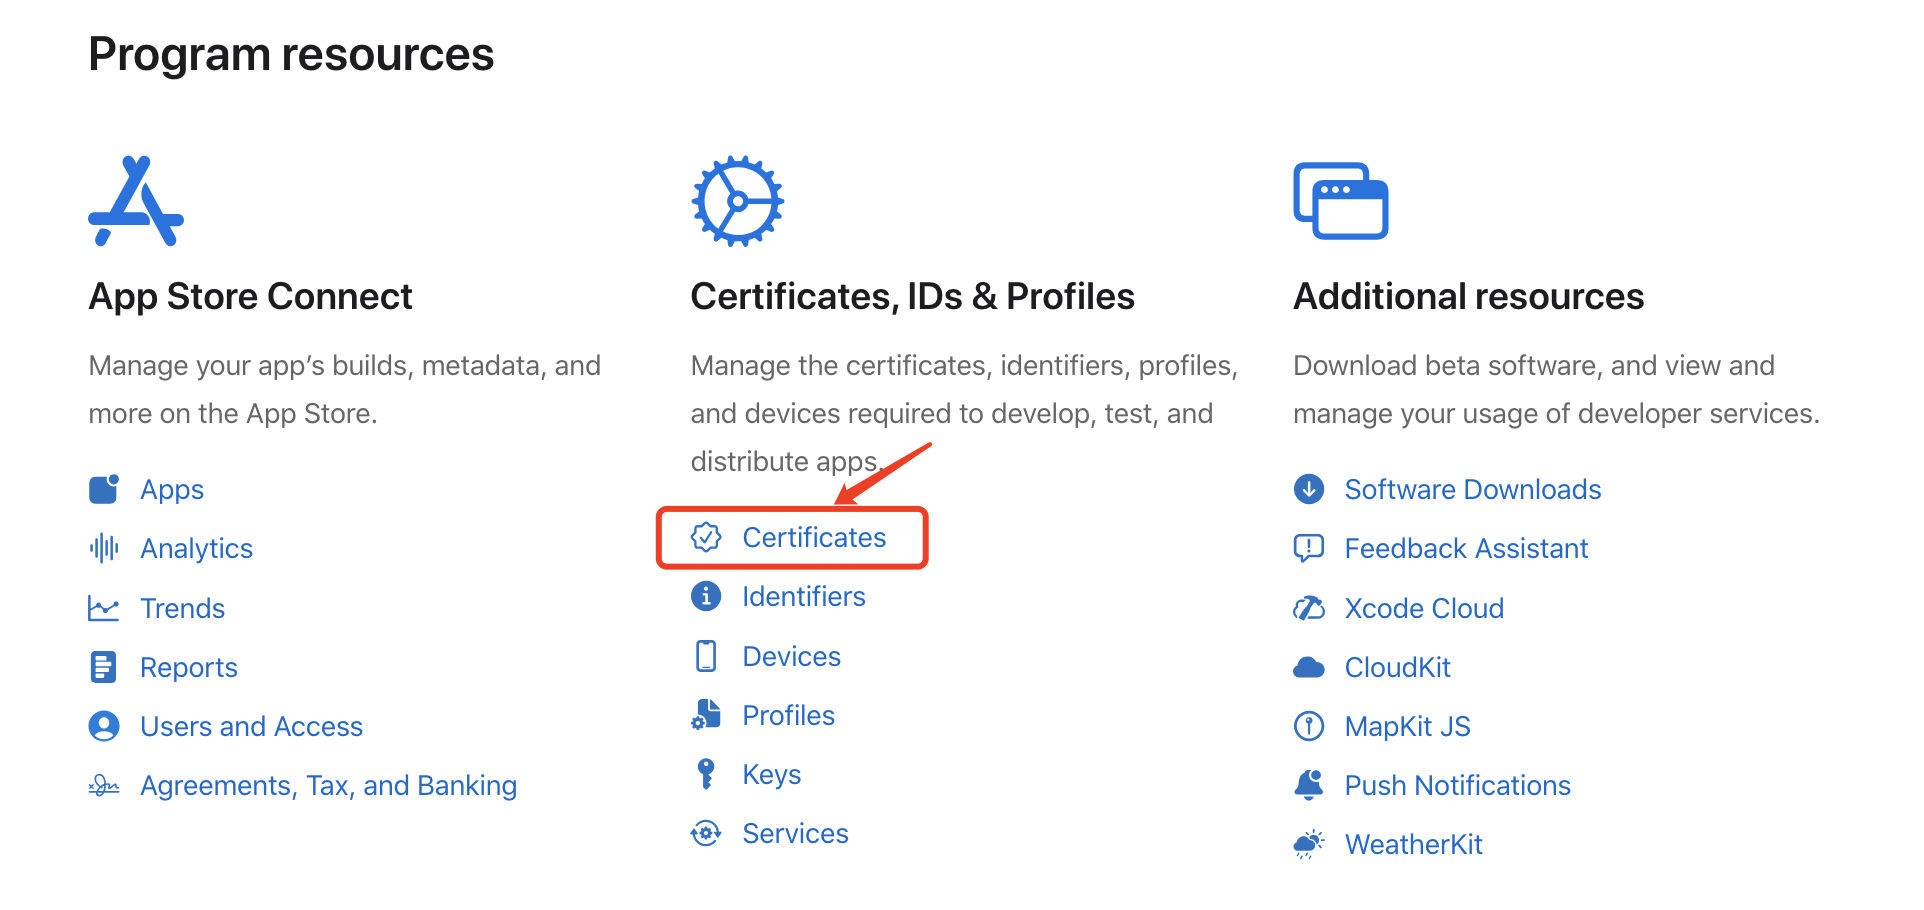
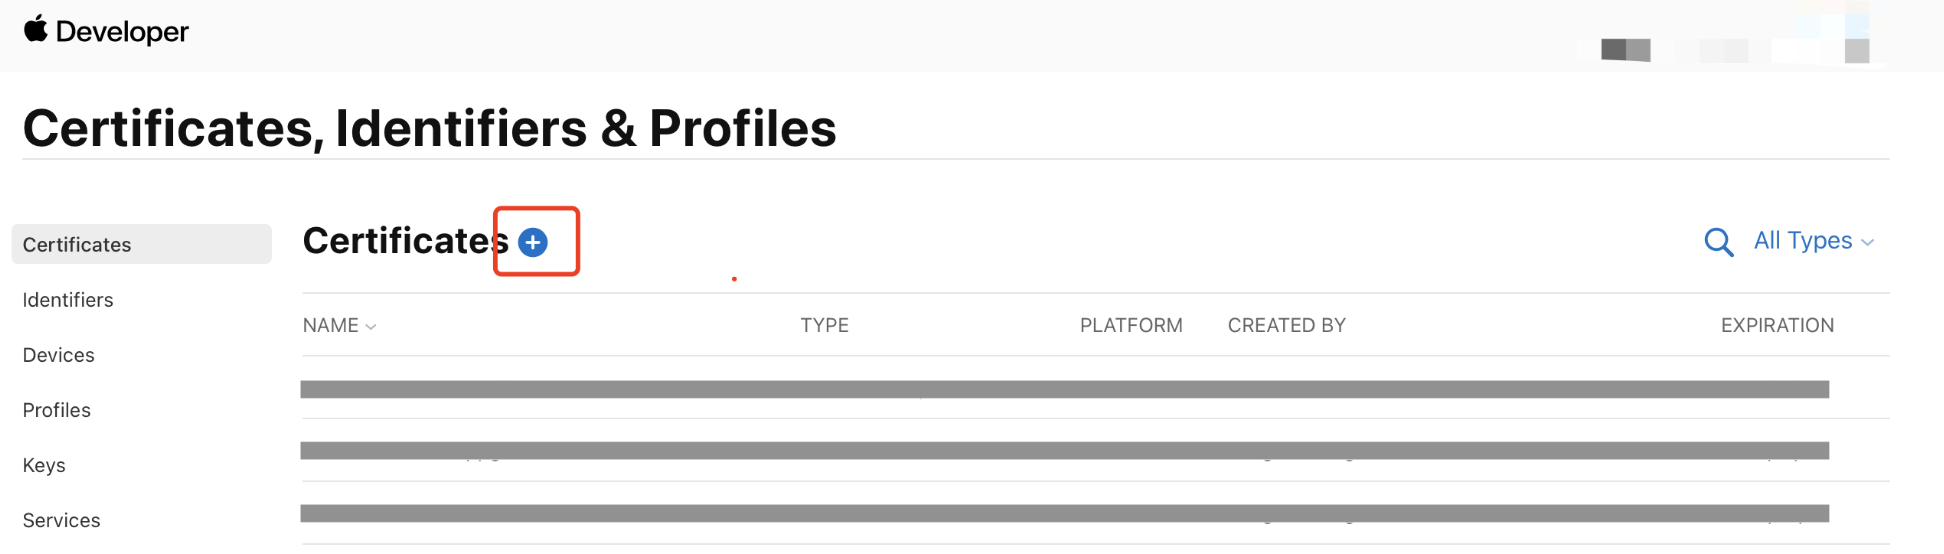
1. Log in to the Apple Developer Center website, click "Certificates, IDs & Profiles" in the sidebar, and go to the "Certificates, Identifiers & Profiles" page.
2. Click + next to Certificates.
3. In the Create a New Ceritificate tab, select VoIP Services Certificate and click Continue.
4. In the Select an App ID for your VoIP Service Certificate tab, select your app's BundleID, and click Continue.
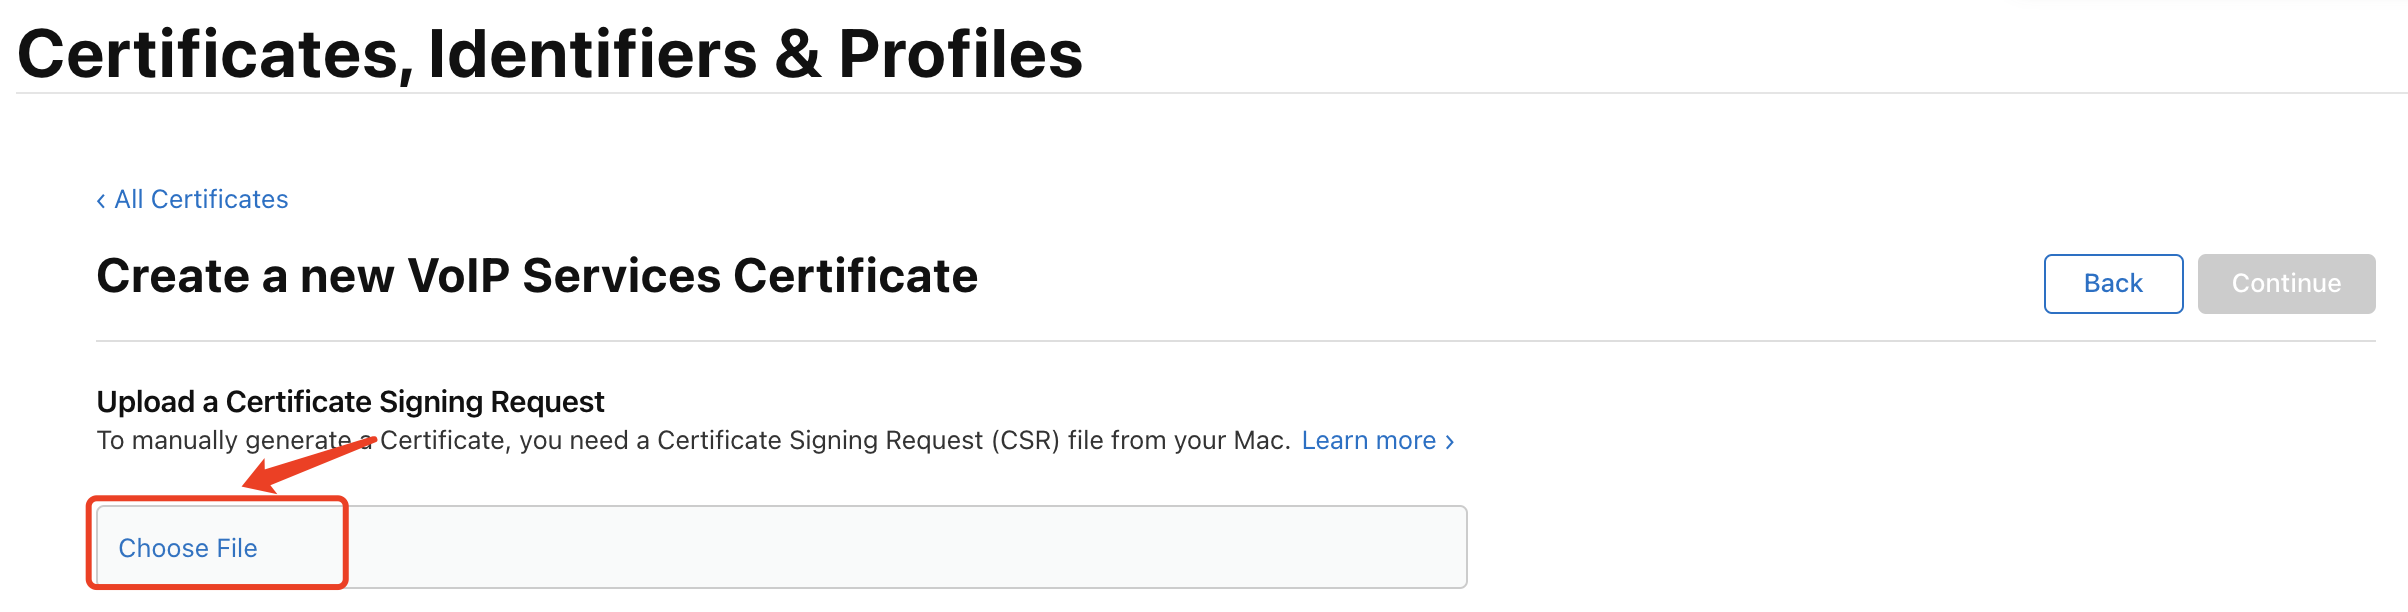
5.
The
system will prompt you for a Certificate Signing Request (CSR).
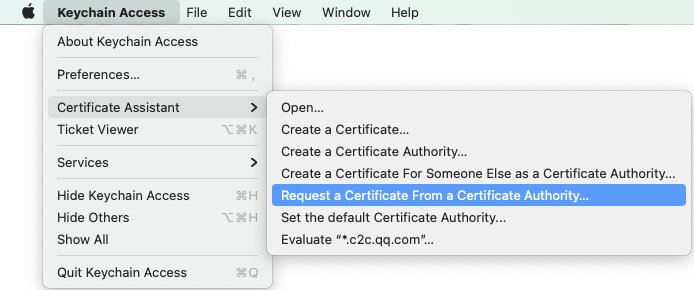
6. Next, create a CSR file. Open Keychain Access on your Mac, and in the menu, choose Keychain Access > Certificate Assistant > Request a Certificate From a Certificate Authority.
7. Enter your email address, common name (your name or company name), choose Save to disk, click Continue, and the system will generate a *.certSigningRequest file.
Go back to the Apple Developer website in Step5, click "Choose File" and upload the generated *.certSigningRequest file.
8. Click Continue to generate the certificate, and click Download to download the corresponding certificate to your local device.
9. Double-click the downloaded voip_services.cer file, and the system will import it into your keychain.
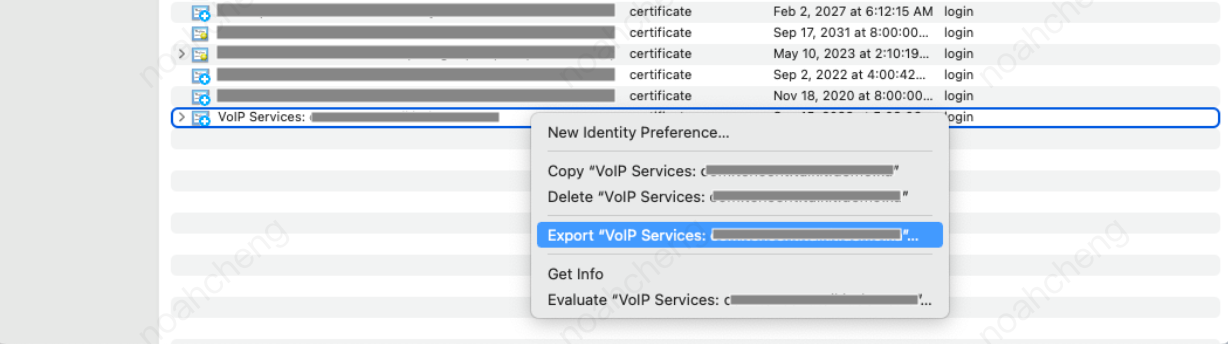
10. Open the Keychain app, under Login > My Certificates, right-click on the created VoIP Services certificate.
Note:
When saving the P12 file, be sure to set a password for it.
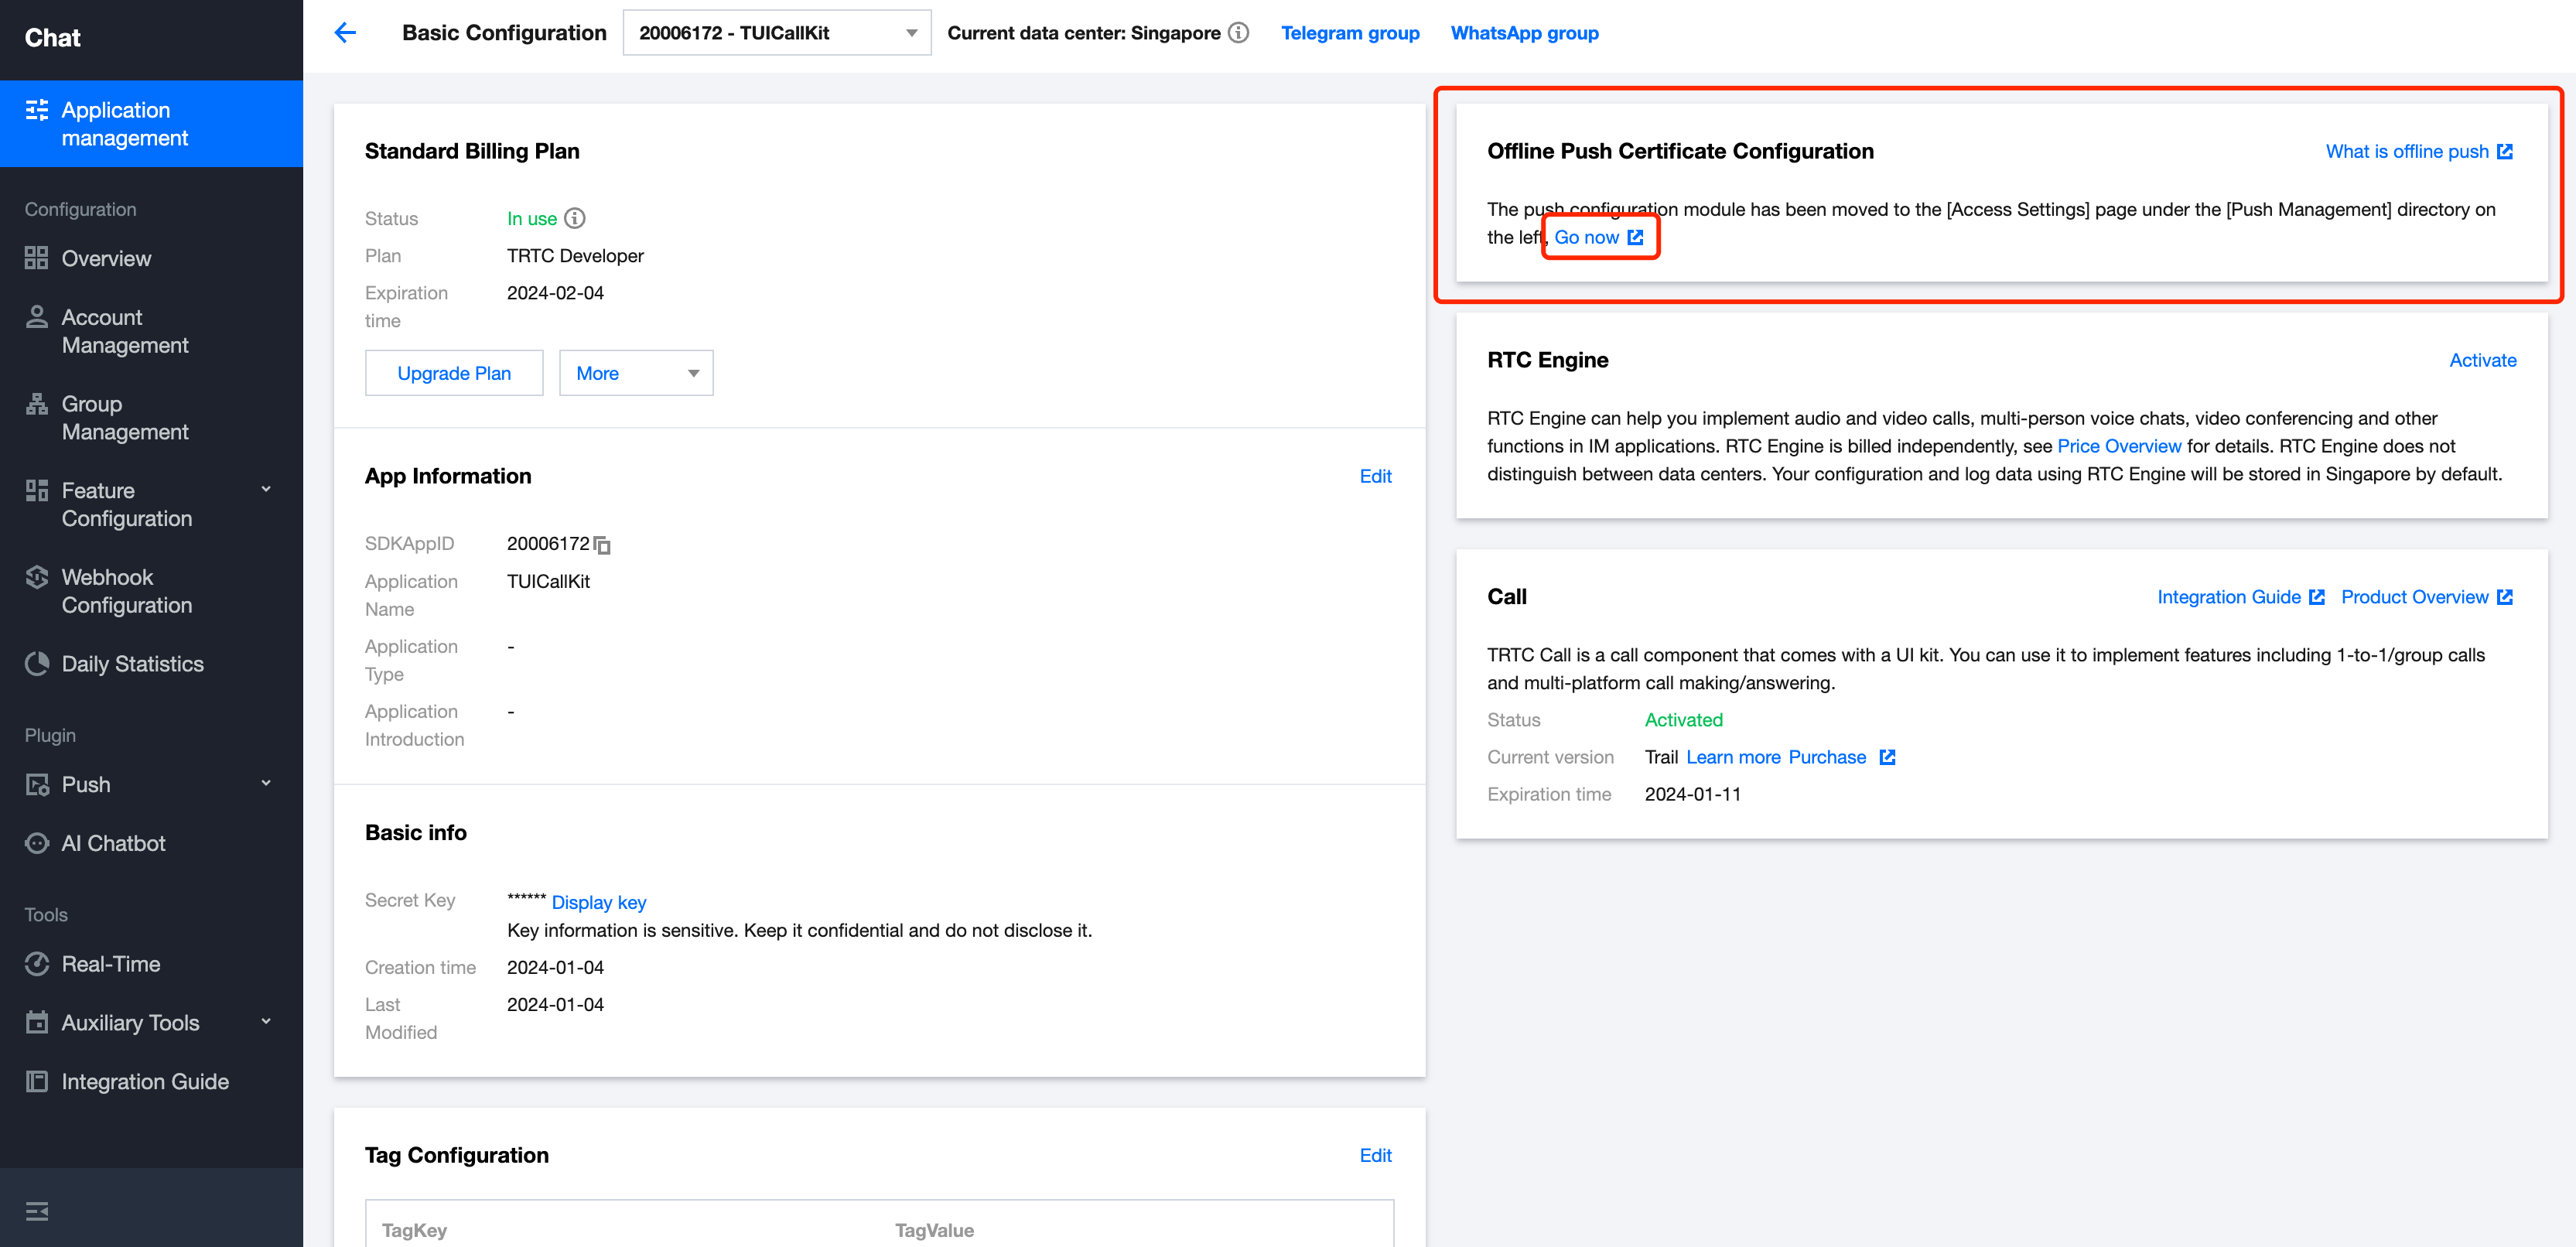
Step 2: Upload certificates to the Chat Console
Open the Chat Console, select your created Chat application, and follow the steps below to upload your certificates:
1. Choose your Chat application, click Go new under the Offline Push Certificate Configuration tab.
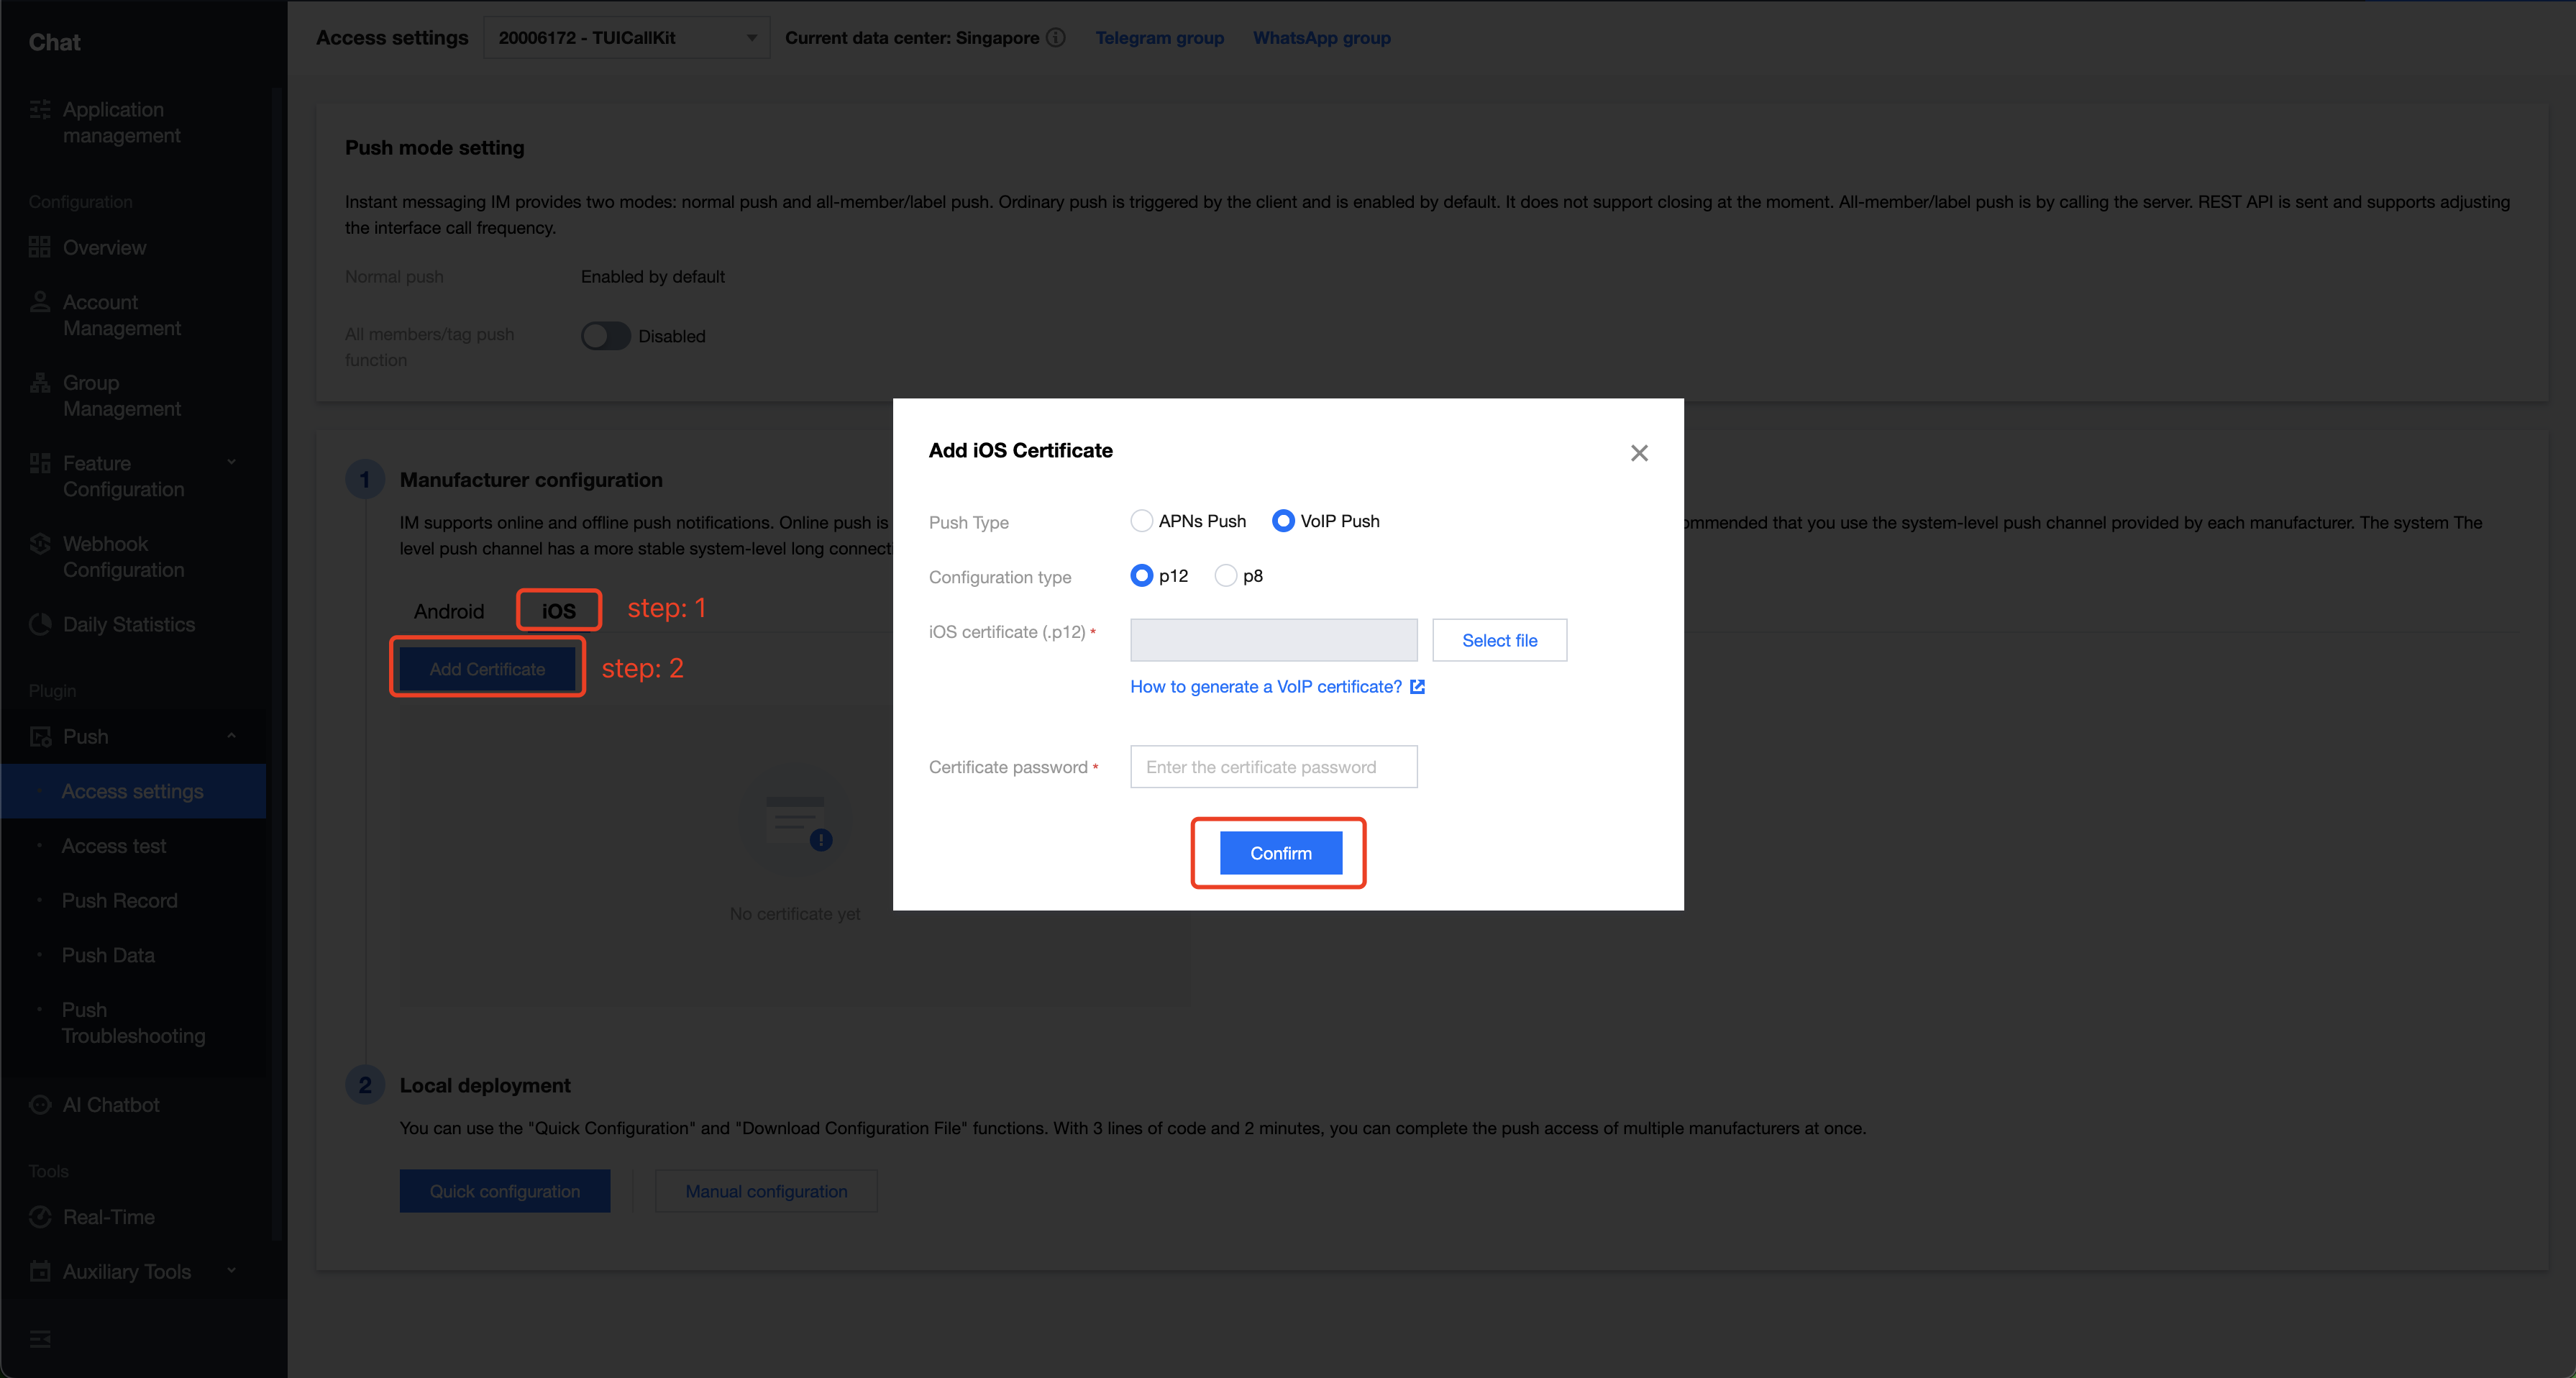
2. In the Manufacturer configuration, switch to iOS, click the Add Certificate button. Then upload the VoIP certificates for both the production and development environments.
Note:
The VoIP Push Certificate itself does not distinguish between production and testing environments. Both environments use the same VoIP Push Certificate.
The uploaded certificate name should be in English (especially avoiding brackets and other special characters).
The uploaded certificate must have a password set, or the push notification won't be received.
The certificate for publishing to the App Store needs to be set to the production environment; otherwise, the push notification won't be received.
The p12 certificate you upload must be a valid and genuinely applied certificate.
3. After the upload is completed, record the certificate ID for different environments.
If you cannot install the latest version of TUICallKit, execute the command below to update your local CocoaPods repository list.
pod repo update
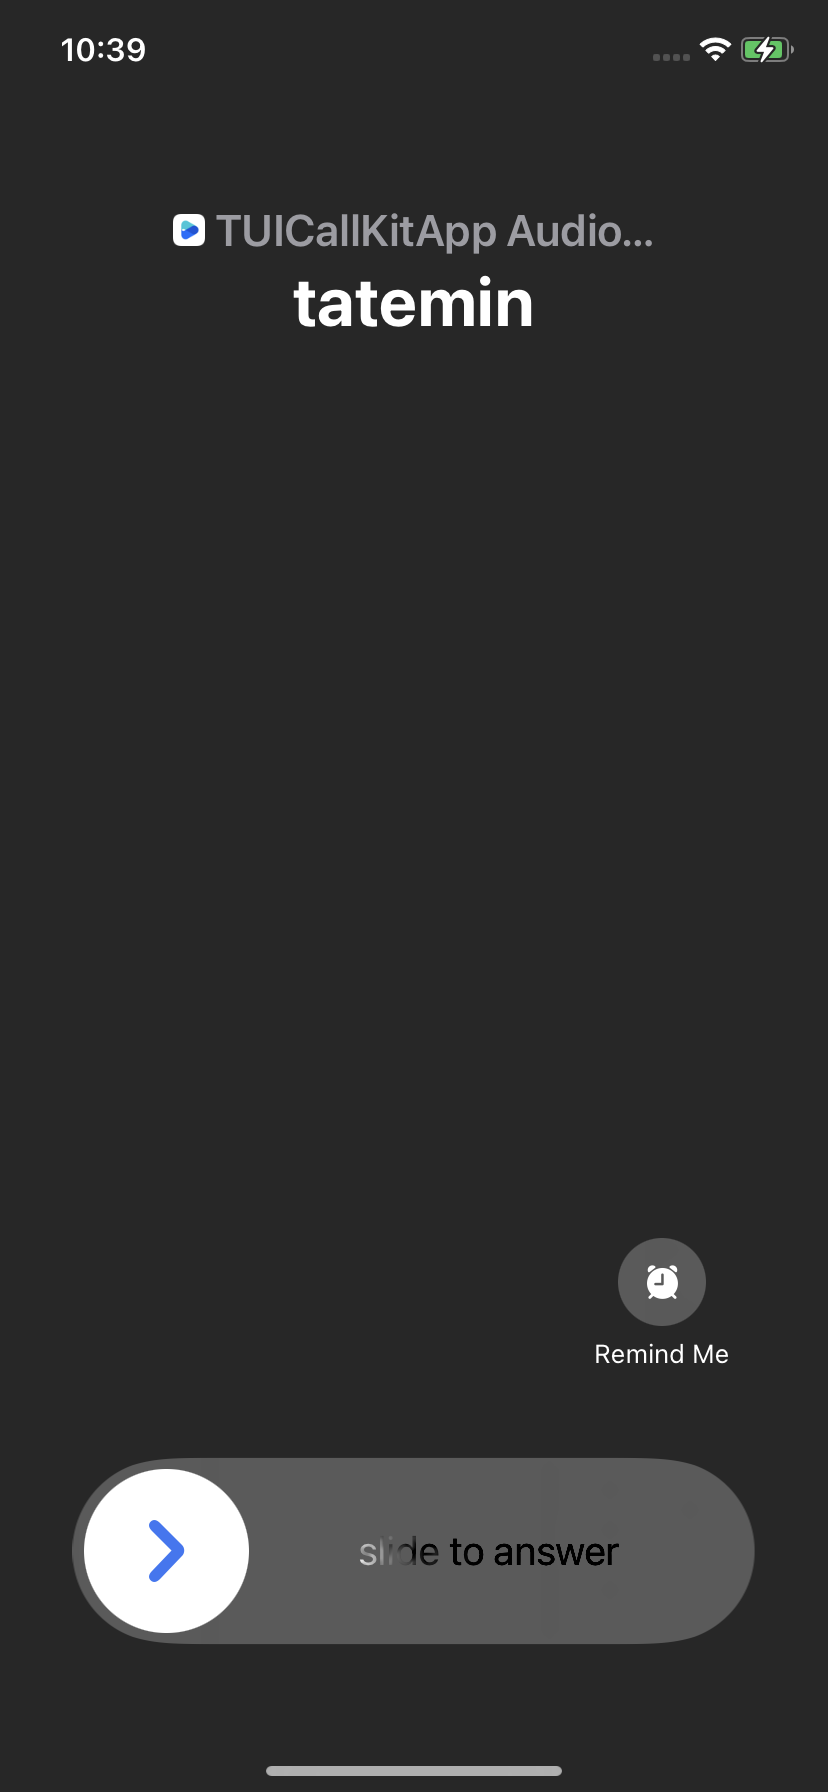
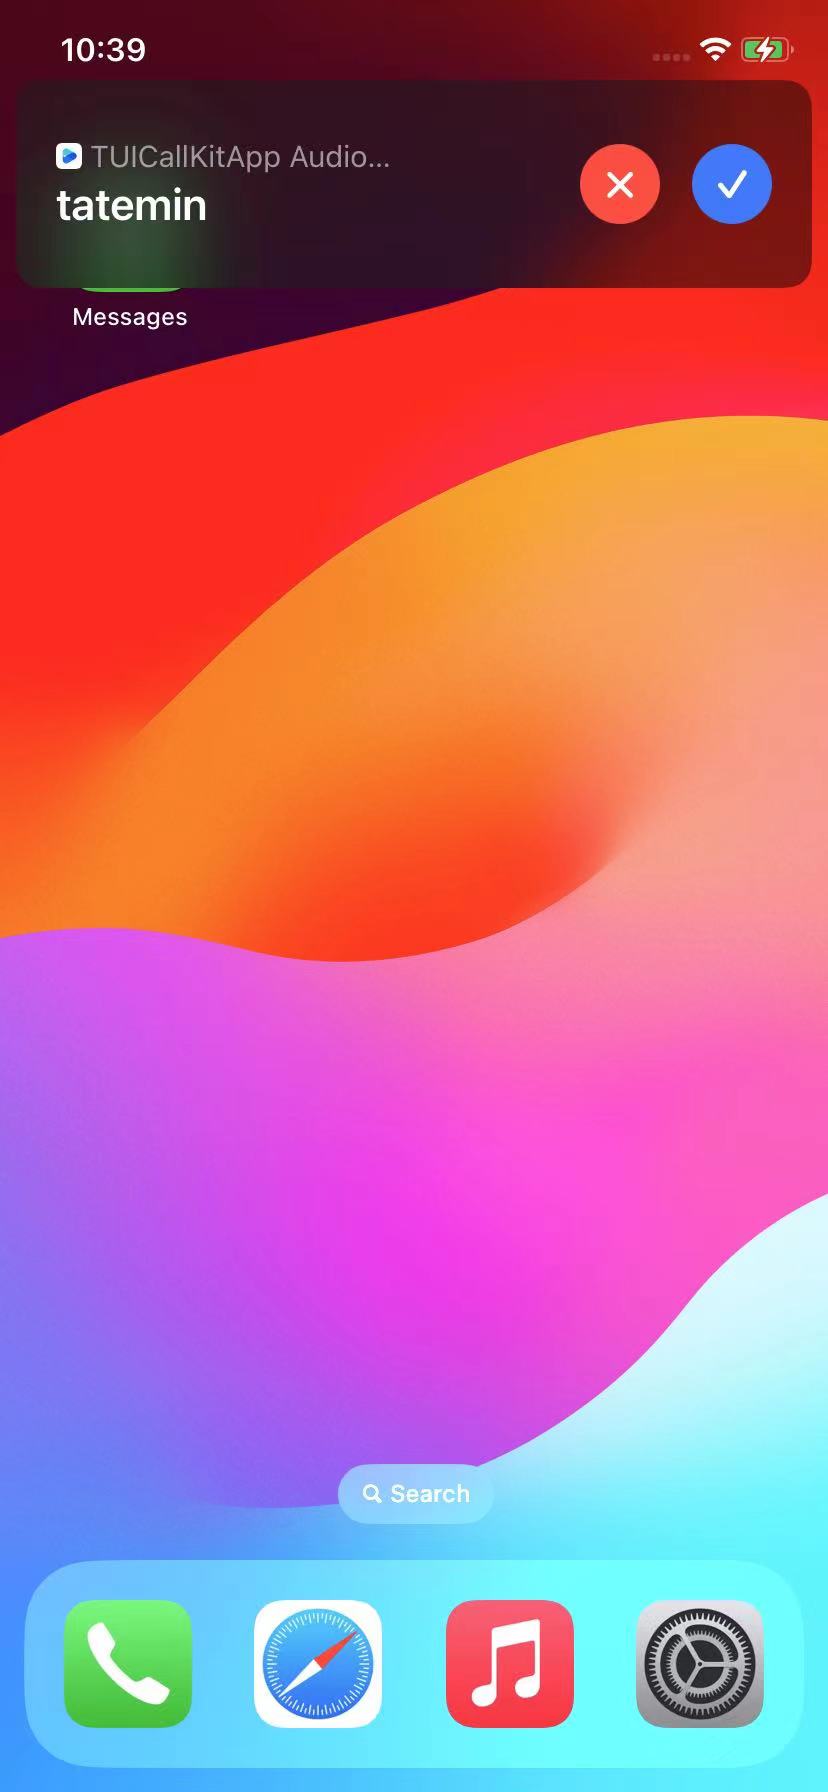
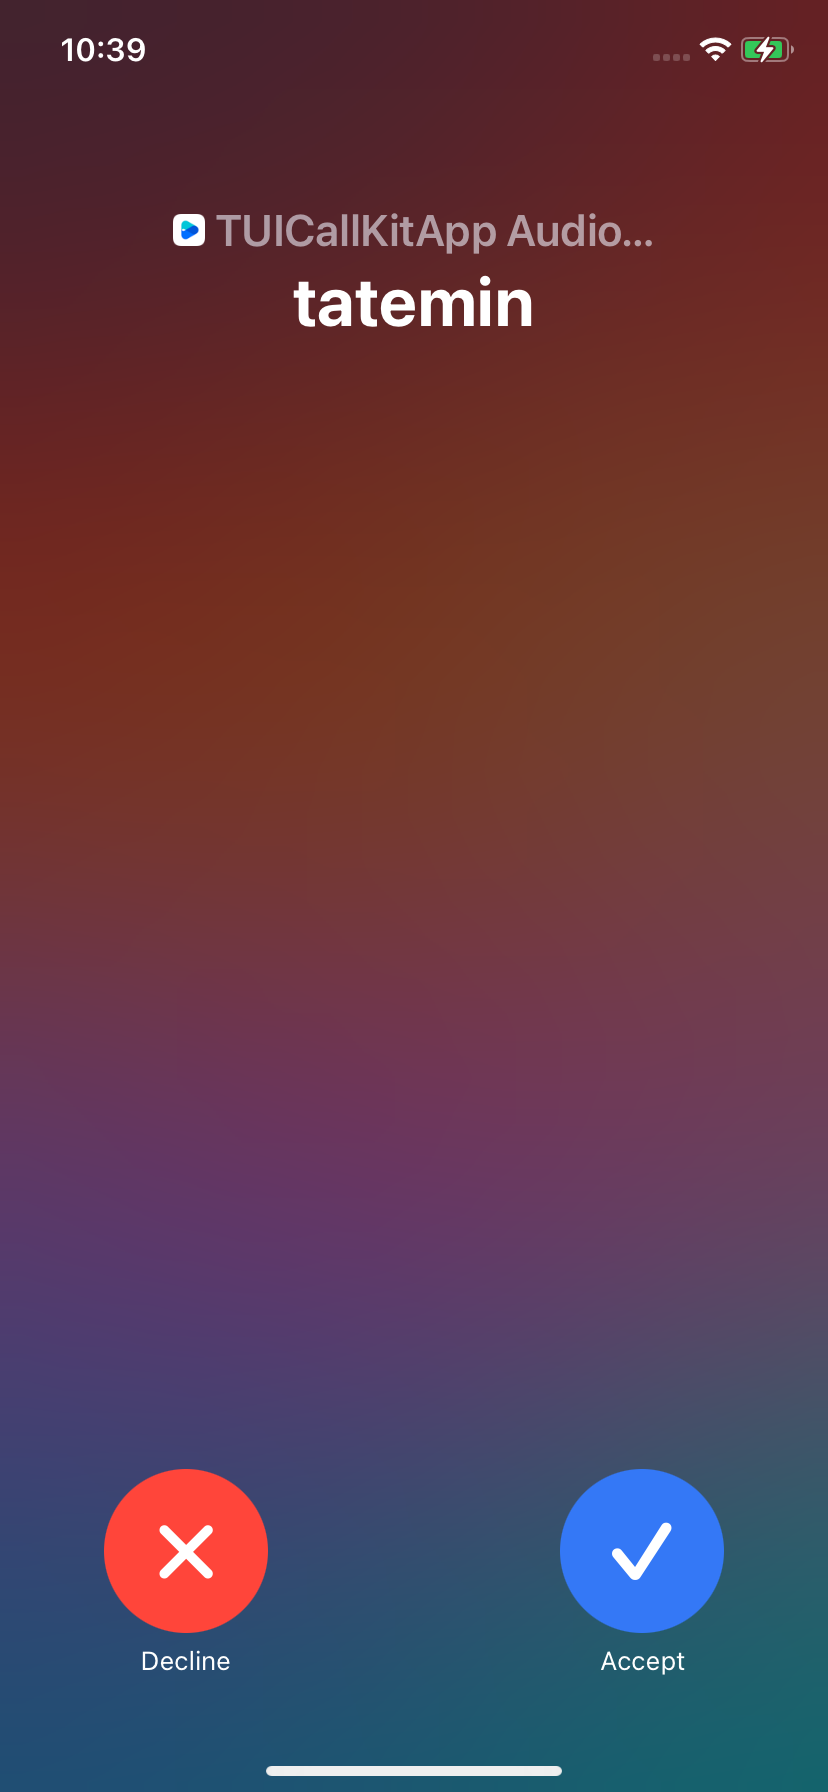
Make a VoIP call
If you need to make a VoIP call, you need to set the iOSPushType field of the OfflinePushInfo to TUICallIOSOfflinePushTypeVoIP when calling calls. The default value is TUICallIOSOfflinePushTypeAPNs.
Swift
Java
Dart
Objective-C
importTUICallKit_Swift
importTUICallEngine
let pushInfo:TUIOfflinePushInfo=TUIOfflinePushInfo()
pushInfo.title =""
pushInfo.desc ="You have a new call"
pushInfo.iOSPushType =.voip
pushInfo.ignoreIOSBadge =false
pushInfo.iOSSound ="phone_ringing.mp3"
pushInfo.androidSound ="phone_ringing"
// OPPO must set a ChannelID to receive push messages. This channelID needs to be the same as the console.
pushInfo.androidOPPOChannelID ="tuikit"
// FCM channel ID, you need change PrivateConstants.java and set "fcmPushChannelId"
pushInfo.androidFCMChannelID ="fcm_push_channel"
// VIVO message type: 0-push message, 1-System message(have a higher delivery rate)
If you want to initiate a one-on-one audio or video call directly by clicking the call record in the System Phone > Recent Calls list, you need to use the callWith method in the TUICallKitVoIPExtension component in the Application lifecycle callback function. Here's an example:
Note:
Only supports dialing one-on-one audio and video calls directly.
The logged-in account must be the same account.
1. On iOS 13 (and later versions) with SceneDelegate support, and with a minimum compatibility version prior to iOS 13, you need to implement the following methods in AppDelegate and SceneDelegate respectively.
Swift
Objective-C
importTUIVoIPExtension
/// Implementation in AppDelegate, for versions before iOS 13
1. First, check if the App's running environment and the certificate environment are consistent, and if the certificate ID matches. If they are inconsistent, you won't be able to receive push notifications.
2. Please make sure your currently logged-in account is offline: press the home key to switch to the background, or log in and then manually kill the process to exit. VoIP Push currently only supports push notifications in offline mode.