
Server-side Streaming (Relay)
AI Noise Suppression, derived from Tencent's Tianlai Labs AI algorithms, intelligently detects and eliminates noise interference mixed in the transmission signal. Thus, it significantly improves the quality of voice, enhances sound clarity, and improves user listening experience. The application of AI Noise Suppression features in TUIRoomKit allows users to obtain a clear and stable sound experience in various environments such as offices, internet cafes, malls, and outdoors.
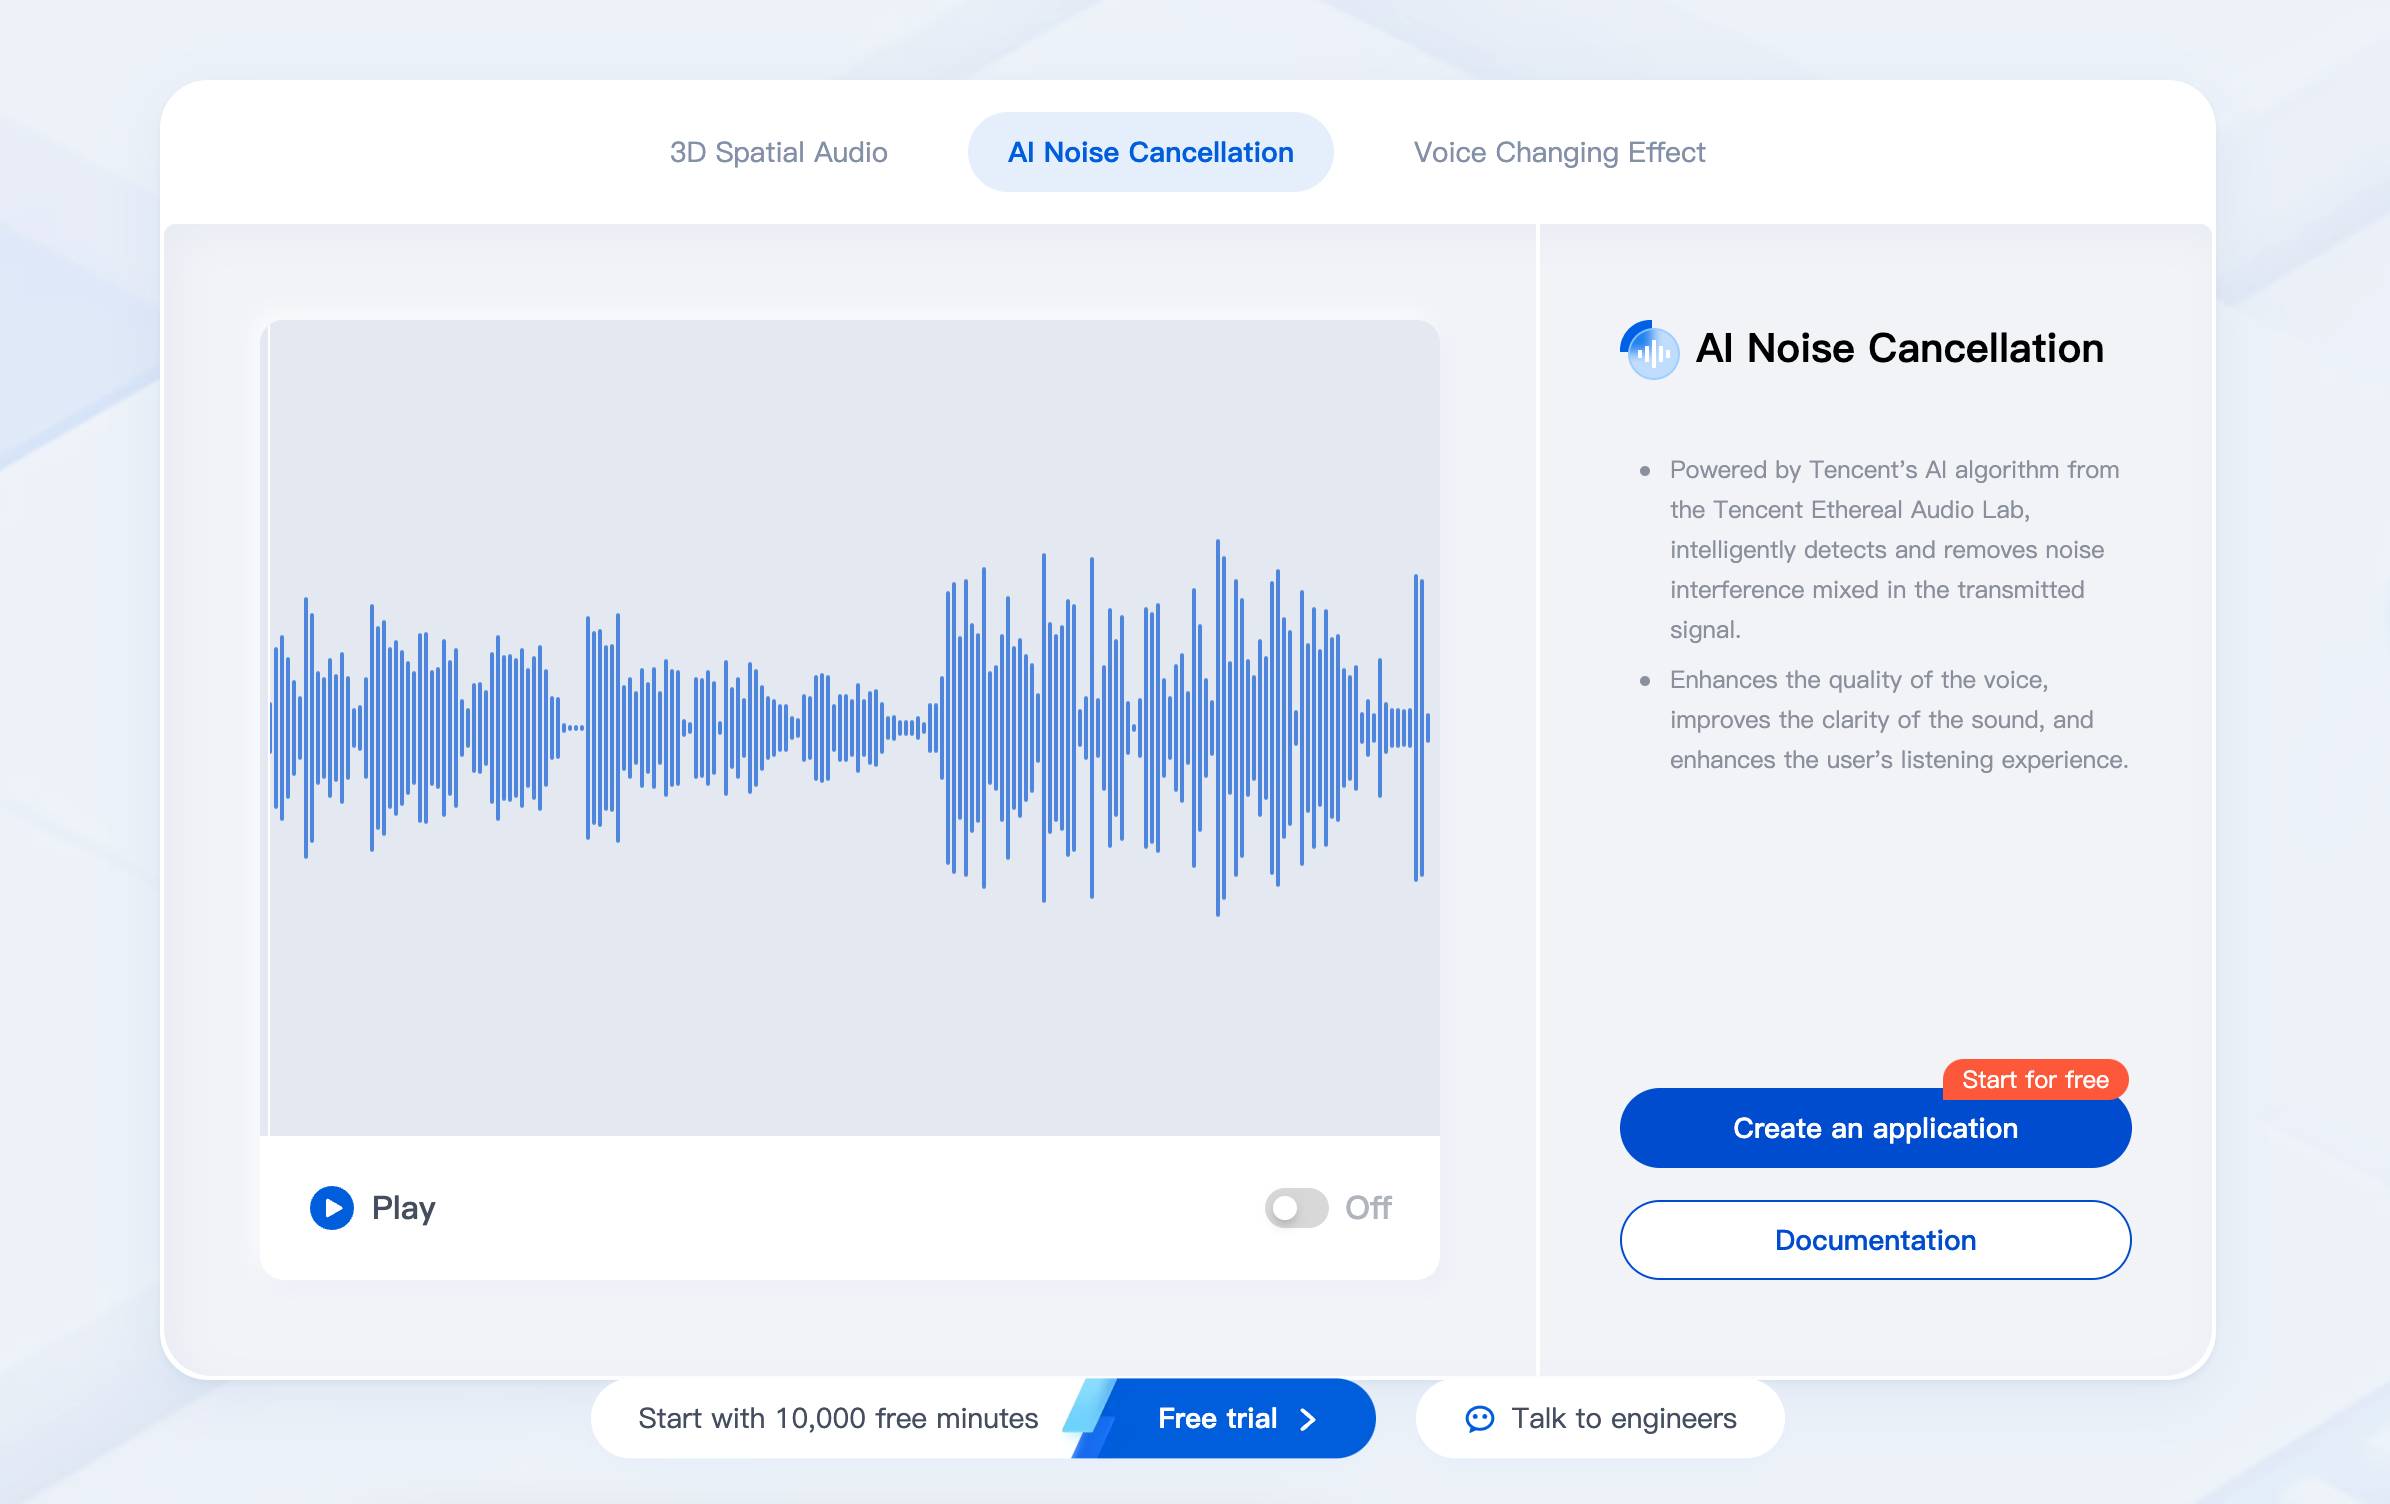
Trying It Online
You can also enter our TRTC Experience Pavilion to try the excellent sound effects brought by AI Noise Suppression online.
Activate AI Noise Suppression
TUIRoomKit now comes with AI Noise Suppression functionality enabled by default. Users can enjoy high-quality noise suppression within their applications without the need for additional configurations or actions.

