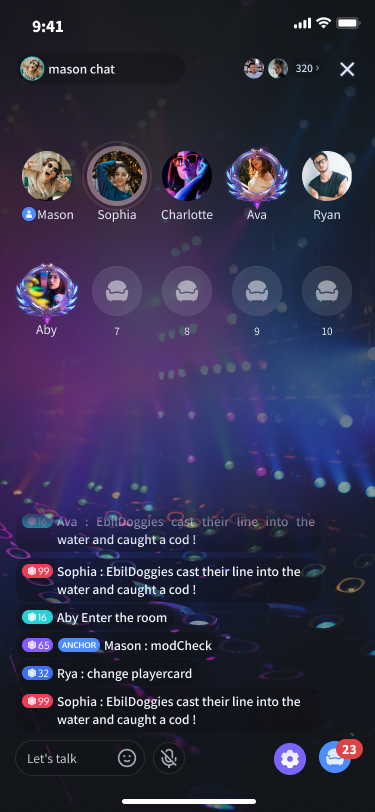
Our broadcasters' streaming and viewers watching feature mainly depend on our core control (LiveCoreView), which provides a rich array of APIs for managing voice chat rooms, such as opening and closing them, managing seats within the live room, like applying for a seat, inviting to a seat, moving seats, kicking users off the seat, and more.
After you've integrated the voice chat room UIKit through Quick Access, if there's a discrepancy between the UI style and your ideal UI style, you can use our core widgets to quickly build the main process of the voice chat room within half an hour. Then, add your own business UI views on top of it.
Use CocoaPods to import the component. If you encounter any issues, please refer to Environment Preparation first. Detailed steps for importing the component are as follows:
1. Add the pod 'LiveStreamCore' dependency to your Podfile file.
Swift
target 'xxxx'do
...
...
pod 'LiveStreamCore'
end
If you don't have a Podfile file, first cd in Terminal into the xxxx.xcodeproj directory, then create one using the following command:
pod init
2. In Terminal, first cd into the Podfile directory and then run the following command to install components.
pod install
If you can't install the latest version of SeatGridView, delete Podfile.lock and Pods first. Then run the following command to update the local CocoaPods repository list.
pod repo update
Then, run the following command to update the Pod version of the component library.
pod update
3. You can start by compiling and running the code. If you encounter any issues, please refer to FAQ. If the problem remains unresolved, consider running our Example project. We welcome any feedback on issues you encounter during integration and use.
Step 3. Log in
To log in to the LiveStreamCore component, add the following code to your project to call the relevant APIs in RTCRoomEngine. This step is very important, as the user can use the component features properly only after successfully logging in. Carefully check that the relevant parameters are correctly configured:
Here we detail the key parameters required in the login function:
Parameter
Type
Description
SDKAppID
int
You have already obtained it in the last step of Step 1, so it will not be elaborated here.
UserID
String
The ID of the current user, in string format, only allows letters (a-z and A-Z), digits (0-9), hyphens, and underscores.
userSig
String
Use the SecretKey obtained in step 3 of Step One to encrypt information such as SDKAppID and UserID to generate a UserSig. It's a credential used for authentication purposes, allowing Tencent Cloud to identify if the current user is authorized to use the TRTC service. You can generate a temporary UserSig through the Auxiliary Tools in the console. For more information, please refer to How to Calculate and Use UserSig.
Note:
Development Environment: If you are in the local development and debugging stage, you can use the local GenerateTestUserSig.genTestSig function to generate userSig. In this method, the SDKSecretKey is vulnerable to decompilation and reverse engineering, and once your key is leaked, attackers can steal your Tencent Cloud traffic.
Step 4: Use core controls to implement the live streaming feature
Create core controls and enable preview
Create Core Controls: In the Activity where you implement streaming, you can load our core controls using Java code or XML. An example of the code method is as follows (the XML method is similar):
swift
importLiveStreamCore
let seatGridView =SeatGridView(this)
The anchor starts the live streaming room and the audience joins the live streaming room
Anchor opens the live room: Opens a live streaming room and streams data collected from the local microphone.
swift
importLiveStreamCore
let roomInfo =TUIRoomInfo()
roomInfo.roomId ="123456"
roomInfo.seatMode =.applyToTake
seatGridView.startVoiceRoom(roomInfo: roomInfo){ roomInfo in
} onError:{ code, message in
}
seatGridView.startMicrophone(){
} onError:{ code,message in
}
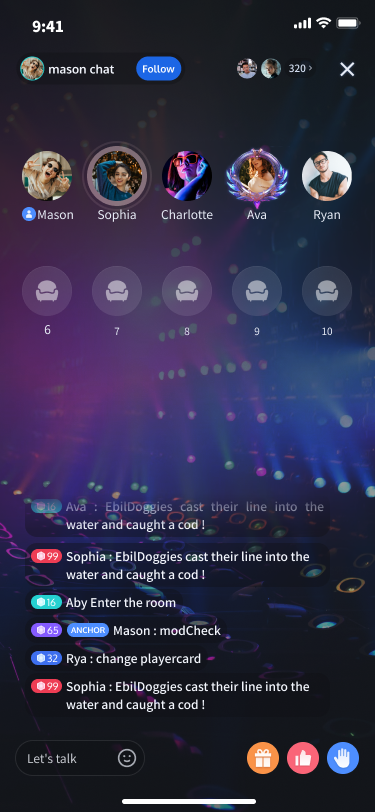
Audience joins the live streaming room.
swift
importLiveStreamCore
seatGridView.joinVoiceRoom(roomId:"roomId_123456"){ roomInfo in
} onError:{ code, message in
}
Anchor starts the live streaming room and begins the live stream
Audience joins the live streaming room to watch the live stream
Microphone Position Management
If you need to implement the Seat Management feature, refer to the Seat Management documentation.
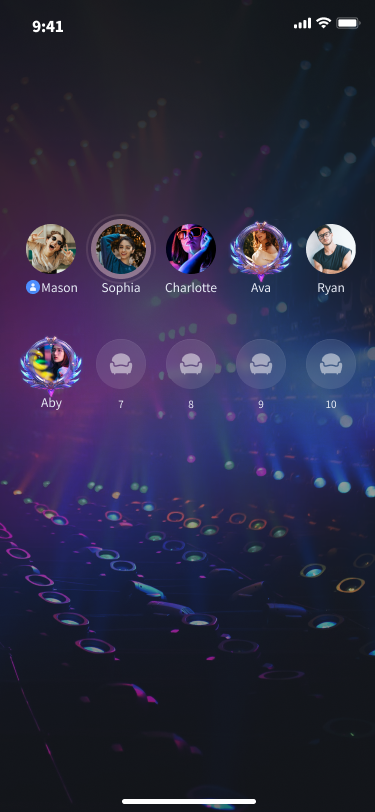
Set layout arrangement for the seat list
You can quickly set up your seat list layout in the following ways.
swift
importLiveStreamCore
// Set grid layout
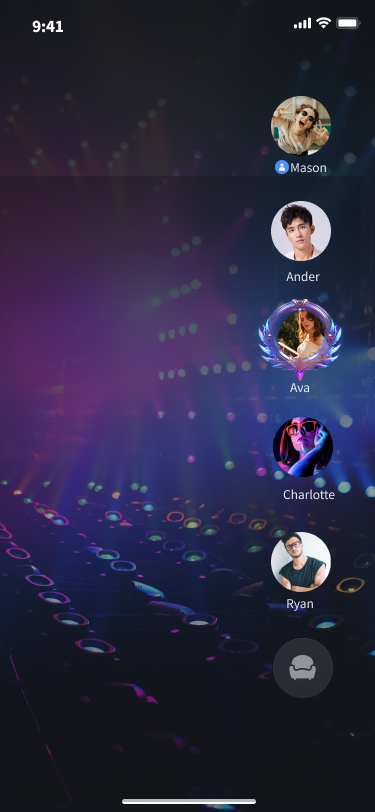
seatGridView.setLayoutMode(layoutMode:.grid)
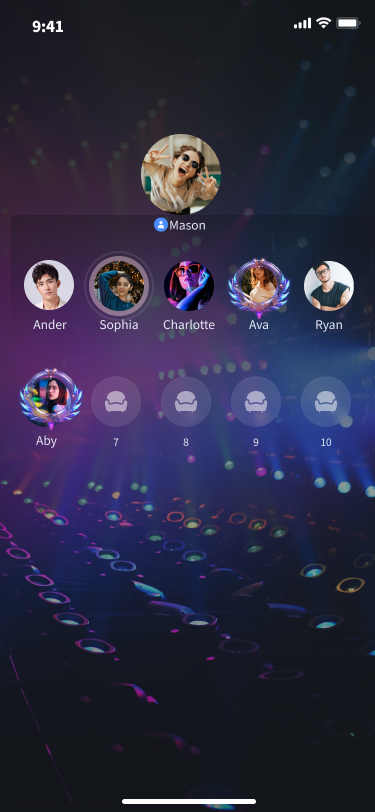
// Set element layout
seatGridView.setLayoutMode(layoutMode:.focus)
// Set vertical layout
seatGridView.setLayoutMode(layoutMode:.vertical)
// Set custom layout
// First row configuration
let rowConfig1 =SGSeatViewLayoutRowConfig(count:3,//Number of seats displayed in the first row
seatSpacing:10,//Horizontal spacing between each seat in the first row
seatSize:CGSize(width:50, height:50),//Size of each seat view displayed in the first row
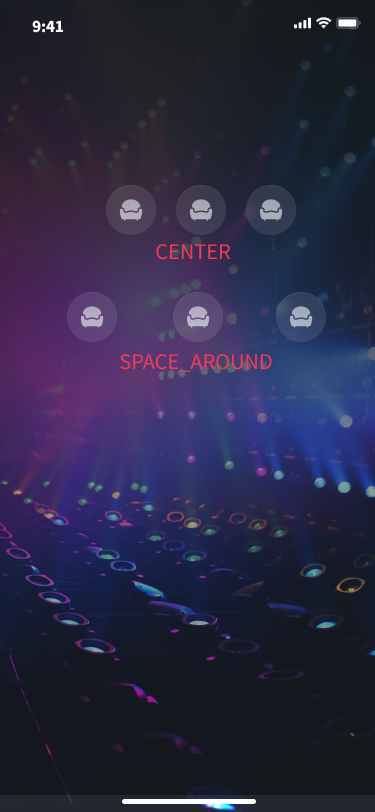
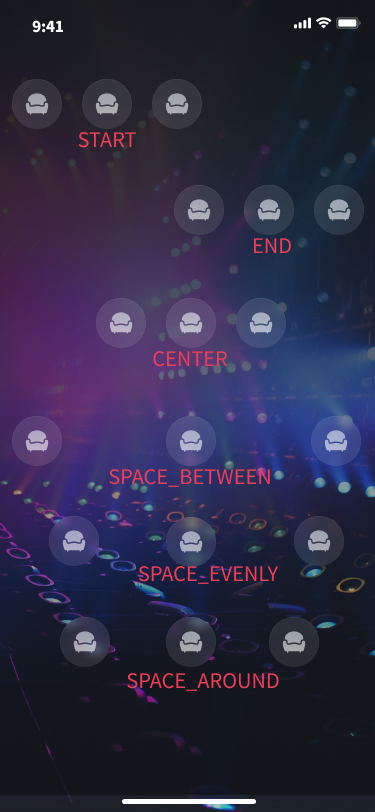
alignment:.center)//Alignment of seats in the first row
// Second row configuration
let rowConfig2 =SGSeatViewLayoutRowConfig(count:3,//Number of seats displayed in the second row
seatSpacing:10,//Horizontal spacing between each seat in the second row
seatSize:CGSize(width:50, height:50),//Size of each seat view displayed in the second row
alignment:.spaceAround)//Alignment of seats in the second row
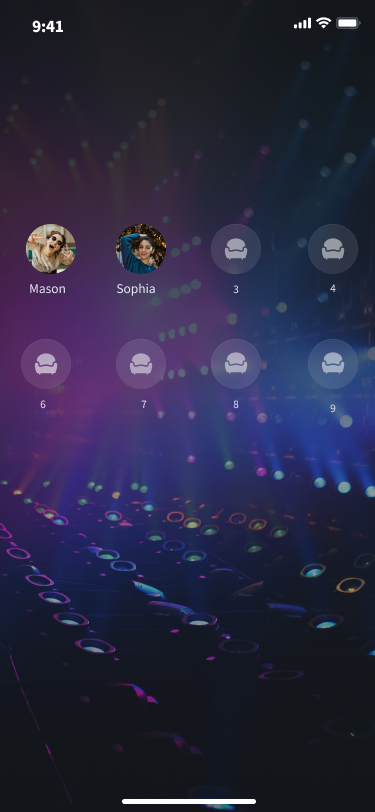
let layoutConfig =SGSeatViewLayoutConfig(rowConfigs:[rowConfig1, rowConfig2],
If you think our default UI does not meet your needs and you want to customize your own seat UI, you can quickly set up your seat layout in the following way.