TUIKit is a UI component library built on the Chat SDK. It enables rapid implementation of chat, conversation, search, relationship chain, and group management features through ready-to-use UI components. Message sending and receiving are handled by the TUIChat component. This guide explains how to quickly integrate TUIKit and implement its core features.
Key Concepts
Classic UI: Starting from version 5.7.1435, TUIKit supports modular integration and provides the Classic UI (WeChat-style interface).
Minimalist UI: Starting from version 6.9.3557, TUIKit introduces a new Minimalist UI (WhatsApp-style interface).
You can select either the Classic or Minimalist UI components as needed. If you are unfamiliar with the appearance of each UI library, see TUIKit UI Library Introduction.
Prerequisites
Android Studio 2022.3.1 or later
Android 5.0 or higher (physical device or emulator)
A valid Tencent Cloud account and Chat application. See Service Activation to obtain the following from the Console:
SDKAppID: Unique identifier for your Chat application
SDKSecretKey: Application secret key
Version Compatibility Notice:
To ensure a stable build environment, strictly follow the official compatibility requirements:
For compatibility between Gradle, Android Gradle Plugin, JDK, and Android Studio, see the Android official documentation: Release Notes
For the mapping between Kotlin, Android Gradle Plugin, and Gradle versions, see the Kotlin official documentation: Kotlin-Gradle Plugin Compatibility
Select a version combination that fully matches your project requirements according to these guidelines.
Integration
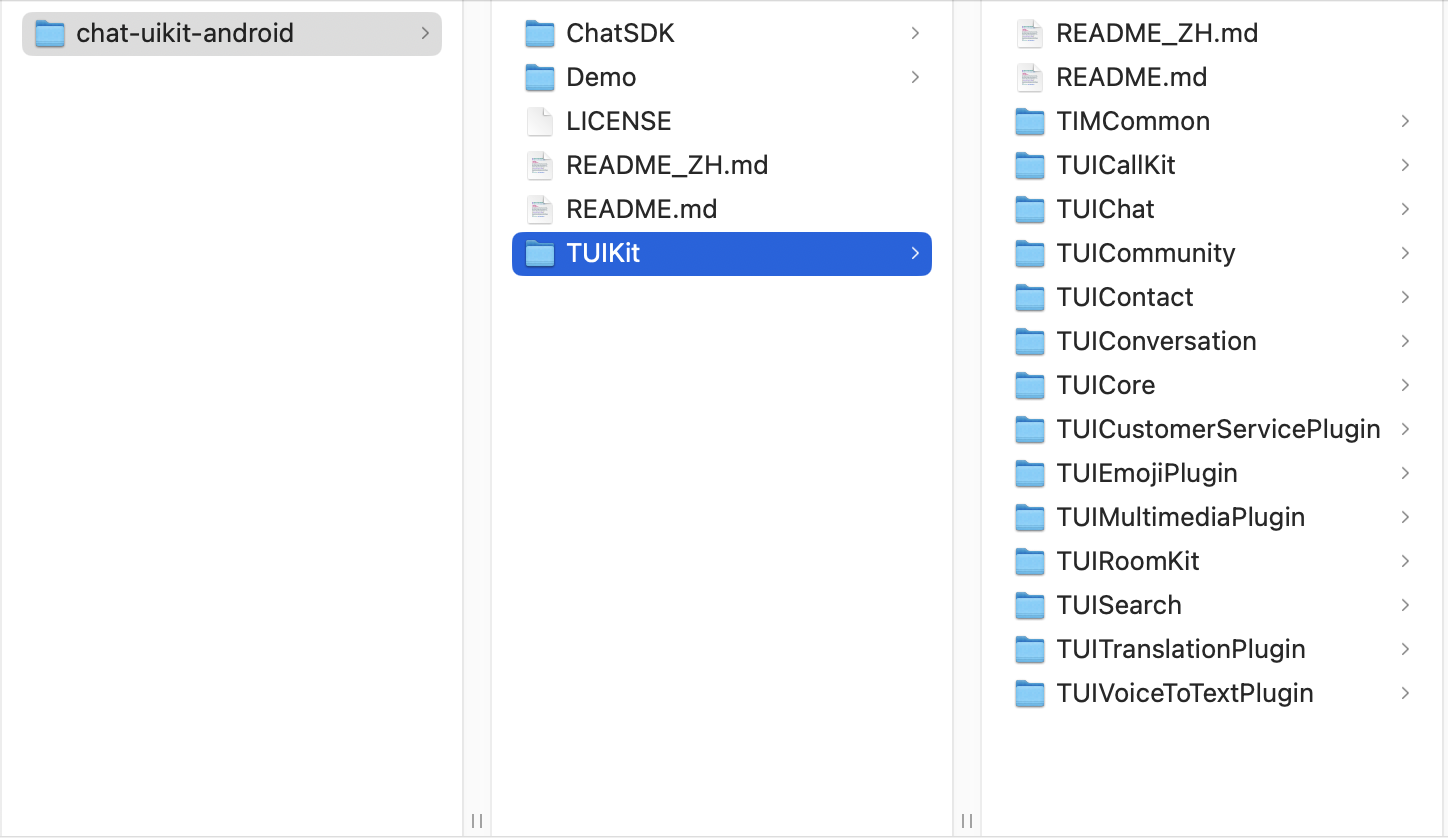
1. Download the Android TUIKit source code from GitHub and copy the TUIKit directory into your project directory:
2. Add the required TUI components to your settings.gradle based on your business needs. TUI components are independent; adding or removing them does not affect project compilation.
Note:
You can place the TUIKit directory anywhere, as long as the relative path is correctly set in settings.gradle
3. Add the following dependencies to your app module's build.gradle:
dependencies {
api project(':tuiconversation')
api project(':tuicontact')
api project(':tuichat')
api project(':tuisearch')
api project(':tuicommunity')
api project(':tuicallkit-kt')
api project(':tuiroomkit')
// Integrate speech-to-text plugin, supported from version 7.5
api project(':tuivoicetotextplugin')
// Integrate translation plugin, supported from version 7.2 (Value-added feature activation is required. Please contact Tencent Cloud sales)
api project(':tuitranslationplugin')
// Integrate emoji reaction plugin, supported from version 7.8 (To use this module, you need to purchase the Pro edition 、Pro Plus edition or Enterprise edition)
api project(':tuiemojiplugin')
// Integrate group chain plugin, supported from version 7.1
api 'com.tencent.imsdk:tuigroupnote-plugin:8.9.7511'
// Integrate group voting plugin, supported from version 7.1
api 'com.tencent.imsdk:tuipoll-plugin:8.9.7511'
// Integrate session grouping plugin, supported from version 7.3
api 'com.tencent.imsdk:tuiconversationgroup-plugin:8.9.7511'
// Integrate session tagging plugin, supported from version 7.3
api 'com.tencent.imsdk:tuiconversationmark-plugin:8.9.7511'
// Integrate message push plugin, supported from version 7.6
api 'com.tencent.timpush:timpush:8.8.7357'
// Integrate the corresponding manufacturer's push package as needed
api 'com.tencent.timpush:fcm:8.8.7357'
api 'com.tencent.timpush:xiaomi:8.8.7357'
api 'com.tencent.timpush:meizu:8.8.7357'
api 'com.tencent.timpush:oppo:8.8.7357'
api 'com.tencent.timpush:vivo:8.8.7357'
api 'com.tencent.timpush:huawei:8.8.7357'
api 'com.tencent.timpush:honor:8.8.7357'
}
4. In your app's AndroidManifest.xml, add tools:replace="android:allowBackup" to the <application> node to override the component's internal setting and use your own value.
If your project already uses Kotlin, skip this step.
If your project does not use Kotlin, add the appropriate version of the Kotlin Gradle plugin:
Note:
If you need to add the Kotlin Gradle plugin, set $kotlin_version to a specific version number and ensure it is compatible with your Android Gradle Plugin version (for example, if $kotlin_version is 1.9.0, use Android Gradle Plugin 8.6.0). See Kotlin-Gradle Plugin Compatibility
8. In Android Studio, select File > Sync Project with Gradle Files to sync and integrate the components.
When using local integration, always update your local TUIKit directory with the latest code from GitHub during upgrades.
If you have made private modifications, manually resolve any merge conflicts with the remote repository.
Note:
1. When integrating TUIKit from source, both UI versions are included by default.
2. Classic UI and Minimalist UI components cannot be mixed. When integrating multiple components, use either all Classic UI components or all Minimalist UI components. For example, the Classic "TUIChat" component must be used together with the Classic "TUIConversation" and "TUIContact" components. Similarly, the Minimalist "TUIChat" component must be used together with the Minimalist "TUIConversation" and "TUIContact" components.
The default timeout for call invitations is 30 seconds.
If an invitee goes offline and comes back online within the invitation timeout period, will they receive the invitation immediately?
For one-on-one call invitations, if the invitee goes offline and then comes back online, they will receive the call invitation. TUIKit will automatically display the call invitation interface.
For group call invitations, if the invitee goes offline and then comes back online, TUIKit will automatically retrieve invitations from the last 30 seconds and display the group call interface.
Android Studio Integration FAQs
How do I resolve "Manifest merger failed: Attribute application@allowBackup value=(true) from AndroidManifest.xml"?
By default, the IM SDK sets allowBackup to false, disabling the application's backup and restore functionality.
To resolve this, either remove the allowBackup attribute from your AndroidManifest.xml to disable backup and restore, or add tools:replace="android:allowBackup" to the <application> node to override the IM SDK's setting and use your own value.
// app/src/main/AndroidManifest.xml
<application
android:name=".BaseApplication"
android:allowBackup="false"
android:icon="@drawable/app_ic_launcher"
android:label="@string/app_name"
android:largeHeap="true"
android:theme="@style/AppTheme"
tools:replace="android:allowBackup">
How do I resolve "Plugin with id 'kotlin-android' not found."?
The TUIChat component uses Kotlin code. Add the Kotlin build plugin as described in Kotlin Setup.
Why do NullPointerExceptions or similar issues occur after copying TUIKit code into my own project module?
When copying a TUIKit module into your own project, in addition to migrating the Manifest file content, you must add the following dependency to the target module's build.gradle file. This is required for proper initialization of TUIKit components. Omitting this step may result in NullPointerExceptions or other errors.
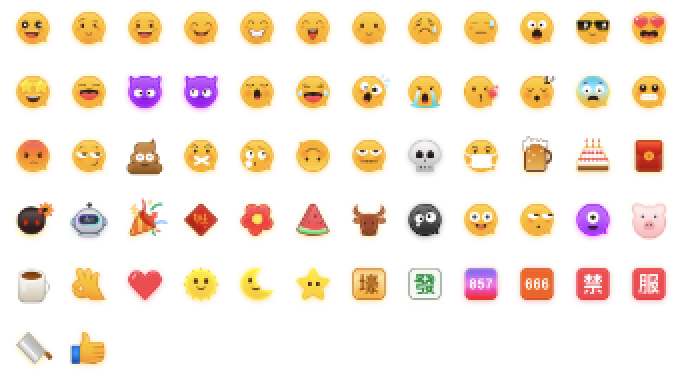
To respect the copyright of emoji designs, the Chat Demo/TUIKit project does not include cutouts of large emoji elements. Please replace them with your own designs or other emoji packs for which you hold the copyright before officially launching for commercial use. The default smiley face emoji pack shown below is copyrighted by Tencent RTC, you can upgrade to Chat Pro Plus Edition and Enterprise Edition to use it for free.
Contact Us
If you have any questions or suggestions, feel free to join our Telegram or WhatsApp community, or contact us for support.