Vue3

Environment Requirements
TypeScript
Sass (The version of sass-loader should be ≤ 10.1.1)
node(node.js ≥ 16.0.0)
npm (use a version that matches the Node version in use)
Step 1: Integrating Chat
Step 2: Activating the Audio and Video Call Capability
Before using the audio and video services provided by Tencent Cloud, you need to go to the console to activate the service for the application. Refer to the specific steps in Activate the Service.
Step 3: Download the TUICallKit Component
npm i @tencentcloud/call-uikit-react
Step 4: Introducing and Invoking the TUICallKit Component
As follows: Import
<TUICallKit /> where <TUIKit /> is imported.<template><div id="app"><TUIKit :SDKAppID="YOUR_SDKAPPID" userID="YOUR_USERID" userSig="YOUR_USERSIG" /><TUICallKit class="callkit-container" :allowedMinimized="true" :allowedFullScreen="false" /></div></template><script lang="ts" setup>import { TUIKit } from './TUIKit';import { TUICallKit } from '@tencentcloud/call-uikit-vue';</script><style lang="scss"></style>
Step 5: Launching the Project
npm run dev
npm run serve
Step 6: Sending Your First Message
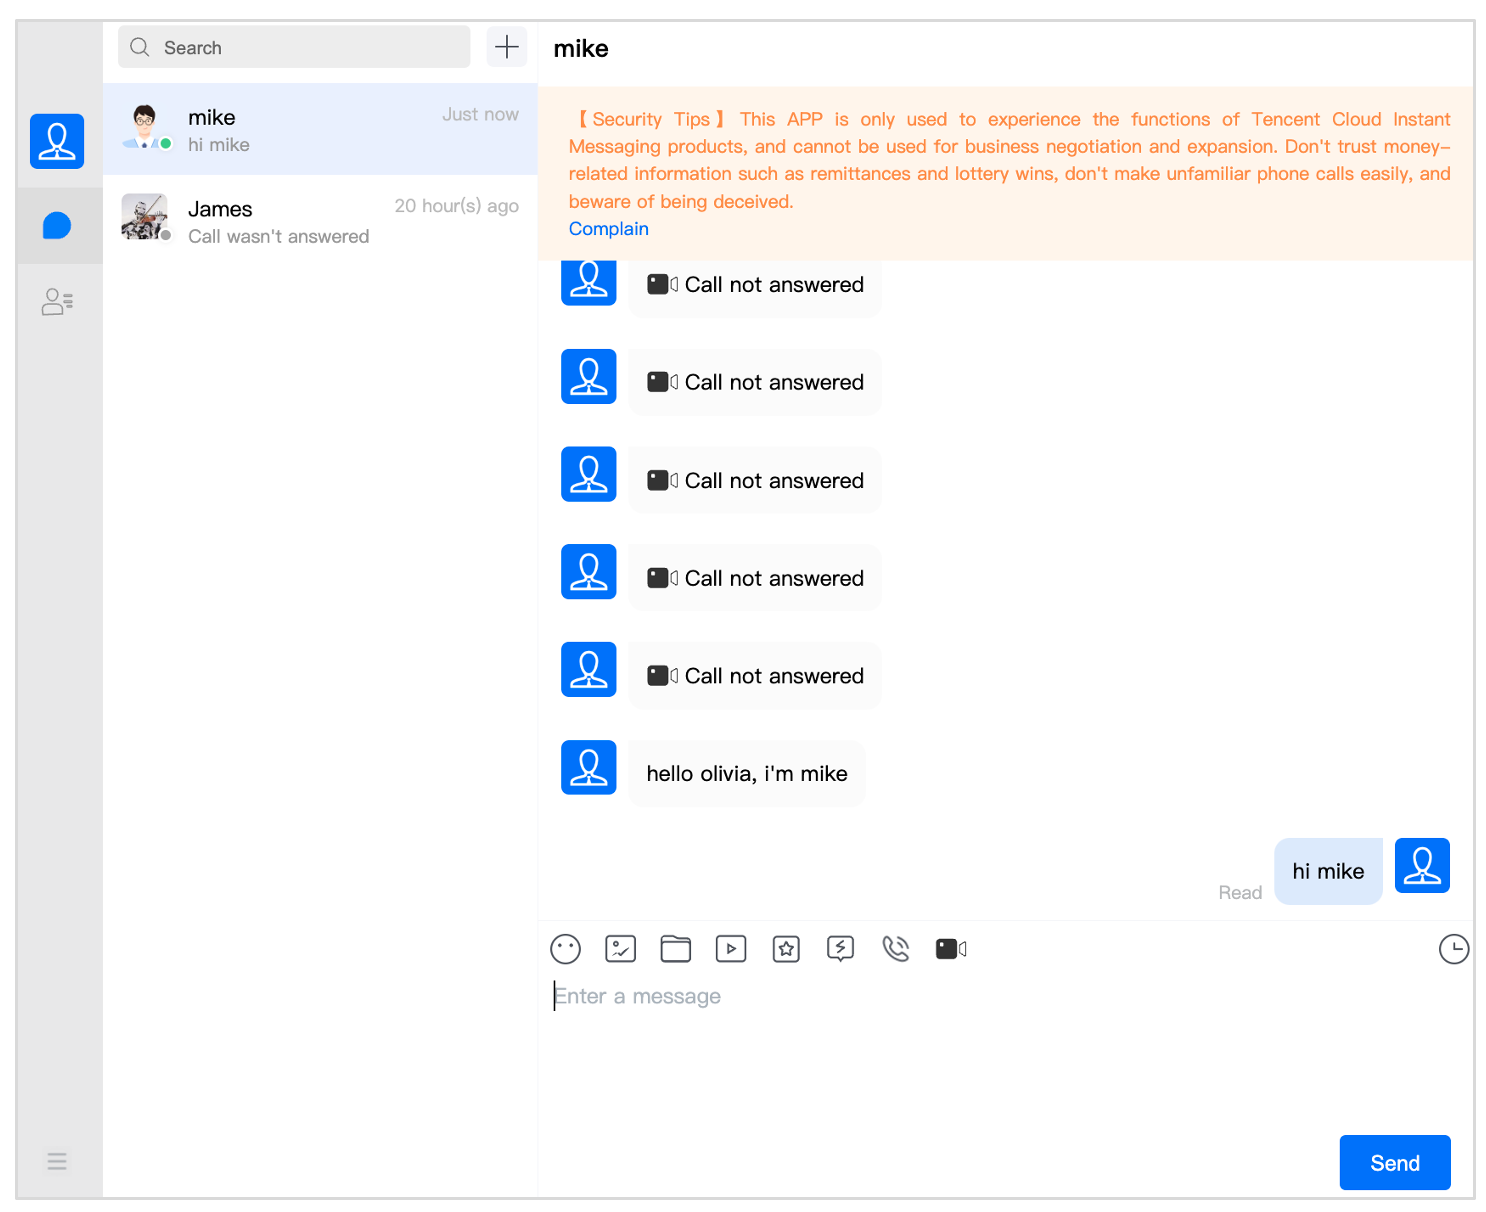
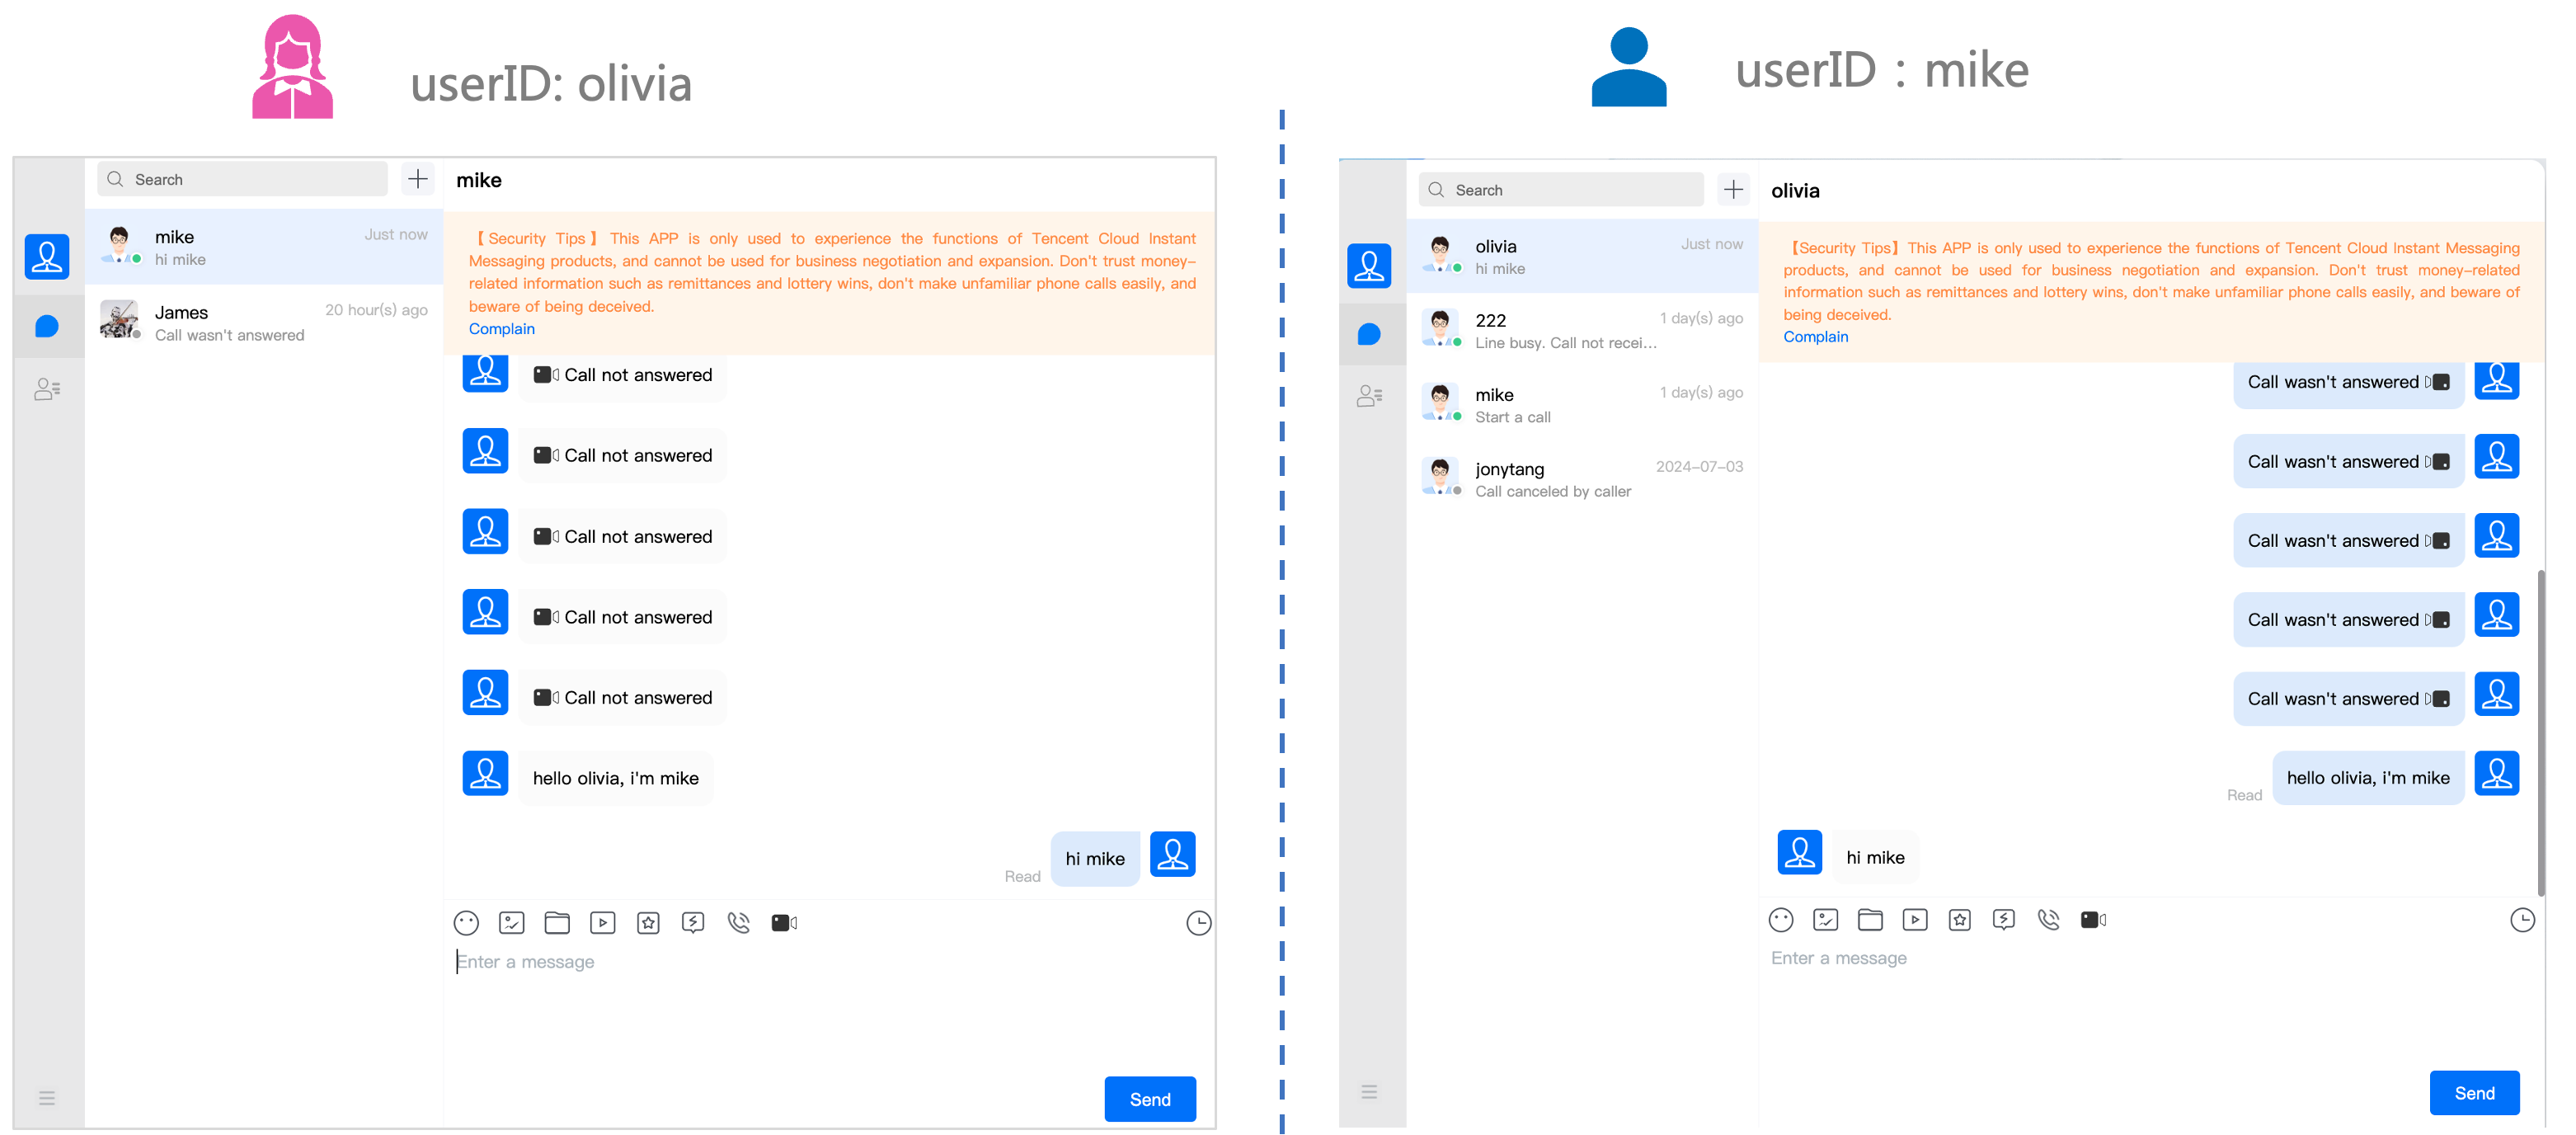
As shown in the figure, you can send messages to and from your friends.

Step 7. Make your first call
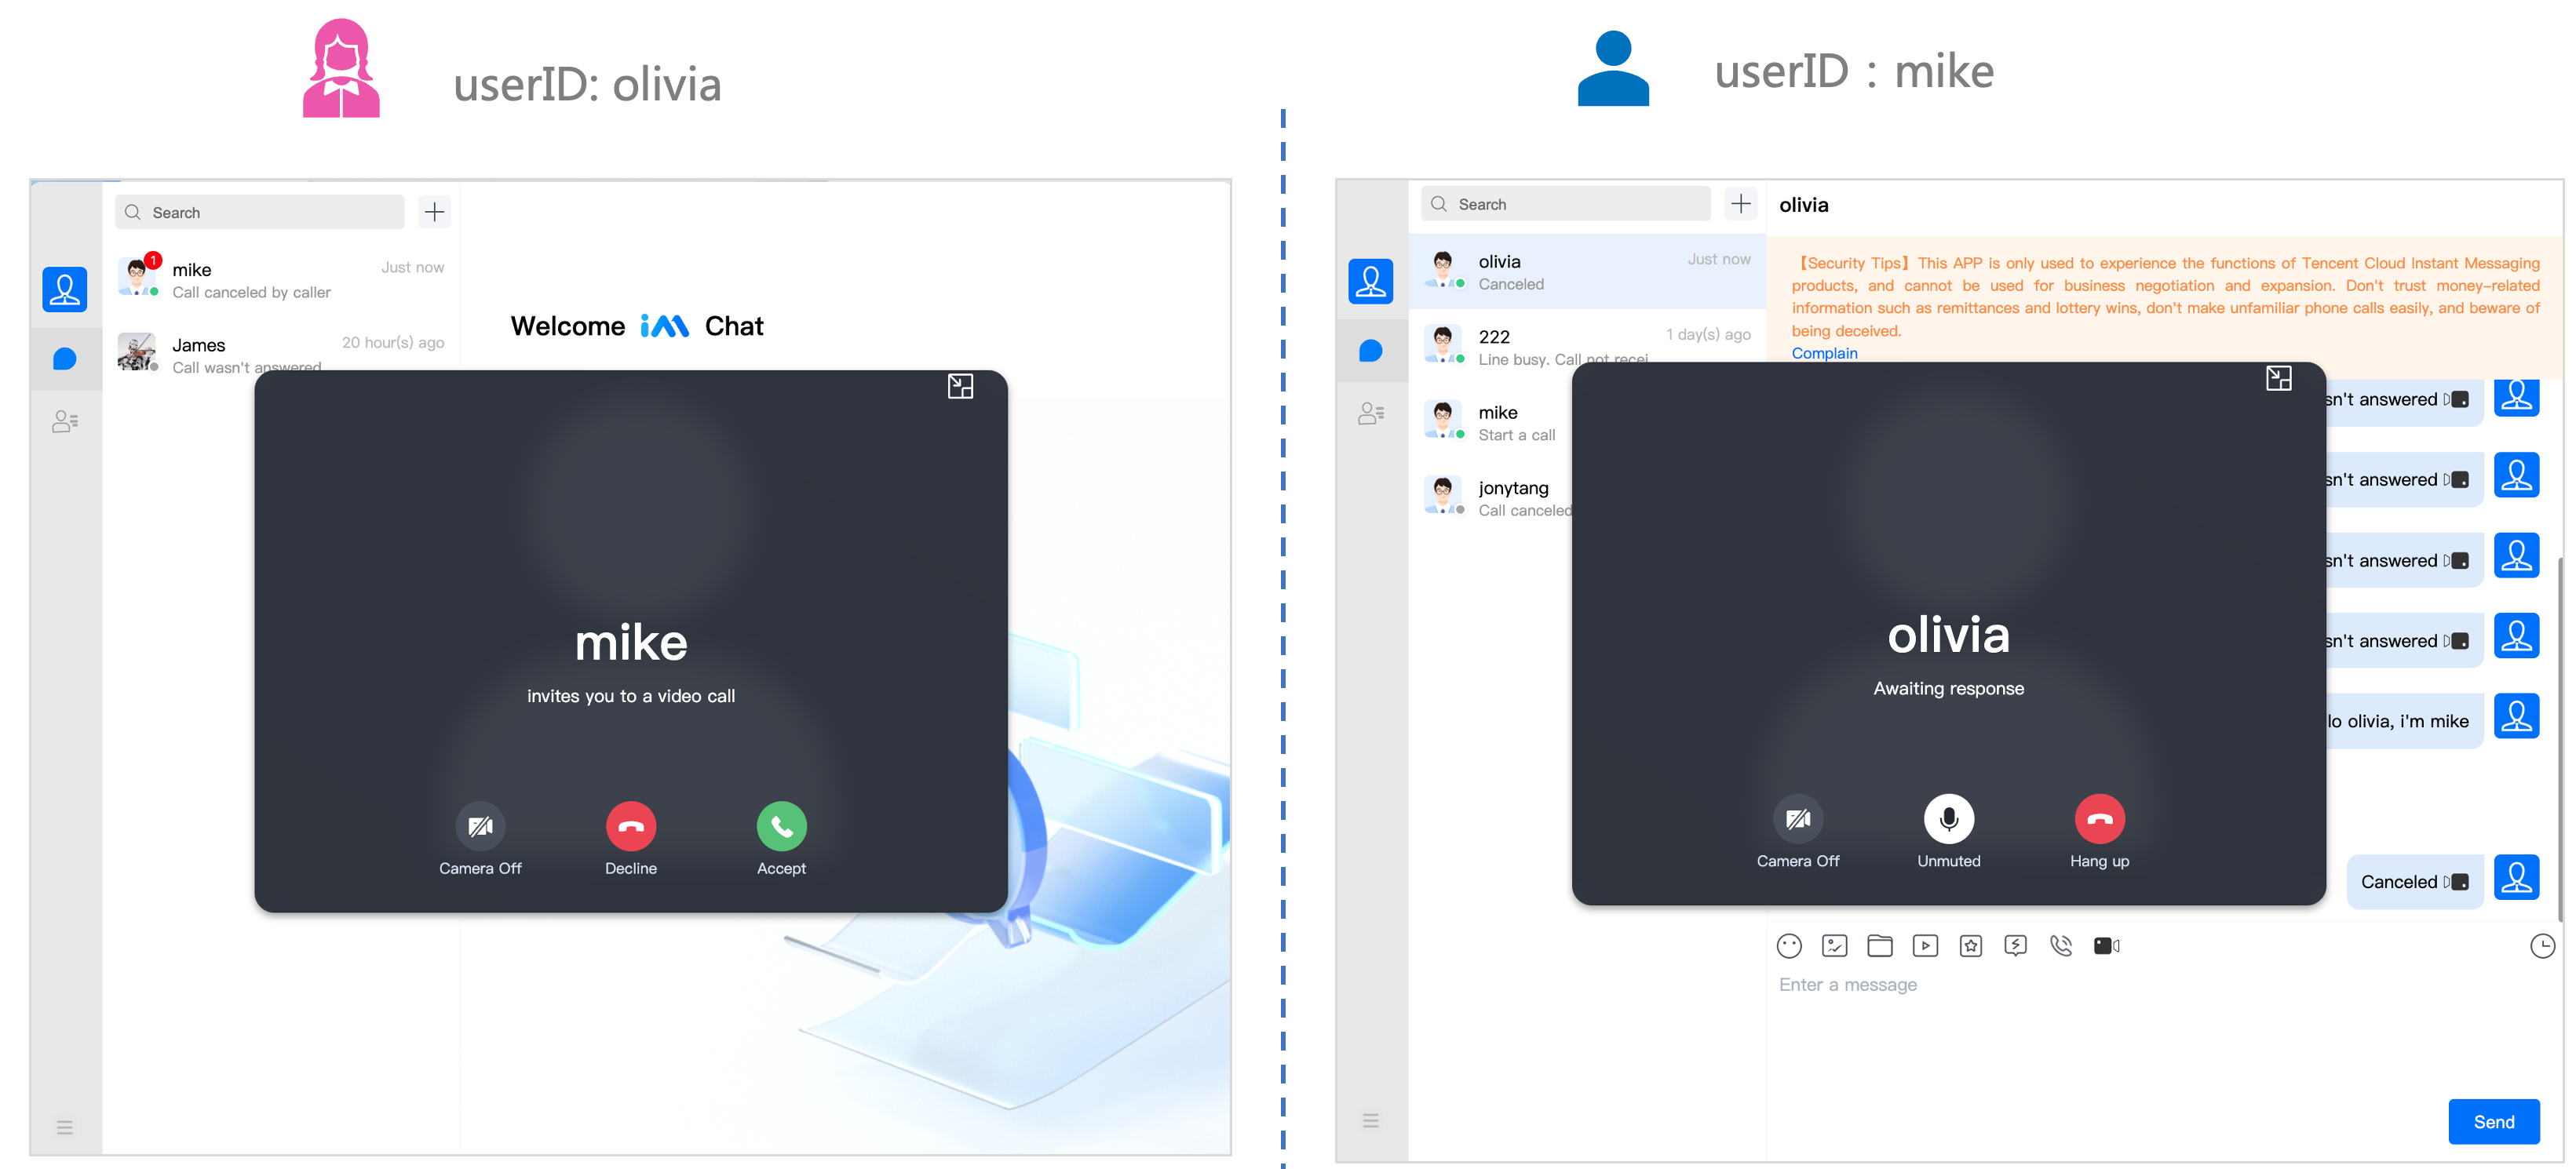
As shown in the figure, click the video/audio Icon in the toolbar to realize the call effect.

FAQs
If you encounter any problems with access and use, please refer to FAQs.
If you have any requirements or feedback, you can contact: info_rtc@tencent.com.