
Quick Start (React Native)
This documentation guides developers in building a Voice Chat Room app with host broadcasting and audience participation using the
AtomicXCore SDK. You'll leverage LiveListState and LiveSeatState to implement core functionality.Preparation
Step 1: Activate the Service
Step 2: Import AtomicXCore into Your Project
1. Install Required Components:
Run the following commands in your project directory to install AtomicXCore and its dependencies:
# 1. Install the core voice chat module and native build tools (required)npx expo install react-native-tuikit-atomic-x expo-dev-client expo-build-properties# 2. Install UI adaptation and utility libraries (recommended)npx expo install react-native-safe-area-context react-native-toast-message react-native-localize
2. Configure Project Permissions:
In your project's root, open
app.json and configure system permissions for voice chat (microphone, background audio):{"expo": {"name": "ExpoLive","slug": "ExpoLive",// ... other settings"ios": {// ... other settings"bundleIdentifier": "com.anonymous.ExpoLive","infoPlist": {"NSMicrophoneUsageDescription": "This app requires access to your microphone for live streaming.","UIBackgroundModes": ["audio"]}},"plugins": ["react-native-localize",["expo-build-properties",{"ios": {"useFrameworks": "static"}}]]}}
3. Rebuild Native Development Package:
Because AtomicXCore includes native code, you must recompile the native app once from your project root to package the new C++/Java/Swift code. Only repeat this step for first-time integration or SDK upgrades; for daily development, proceed to step 4.
# If you have local Android and iOS development environments:npx expo run:ios // Ensure CocoaPods is installednpx expo run:android# Or use Expo's cloud build to regenerate the development install package:npx eas build --profile development --platform all
4. Run the App:
In your project root, execute the following command. On iOS, scan the QR code with your device camera to launch the app. On Android, open the installed app and scan directly. Subsequent JavaScript changes will hot update automatically.
npx expo start
Step 3: Complete Login
Authenticate by calling the
login method from LoginState. You must complete this step before using any AtomicXCore functionality.
Important:
We recommend calling
login in LoginState only after your app's own user authentication succeeds, keeping your login logic clear and consistent.import { useLoginState } from 'react-native-tuikit-atomic-x/lib/module/atomic-x/state/LoginState';const { login } = useLoginState();const handleLogin = () => {login({sdkAppID: 1400000001, // Replace with your SDKAppIDuserID: "test_001", // Replace with your UserIDuserSig: "xxxxxxxxxx" // Replace with your UserSig});}
Login API Parameter Description:
Parameter | Type | Description |
sdkAppID | Int | |
userID | String | The unique ID for the current user. Must contain only English letters, numbers, hyphens, and underscores. |
userSig | String | A ticket for Tencent Cloud authentication. Please note: Development Environment: You can use the local GenerateTestUserSig.genTestSig function to generate a UserSig or generate a temporary UserSig via the UserSig Generation Tool.Production Environment: To prevent key leakage, you must use a server-side method to generate UserSig. For details, see Generating UserSig on the Server. For more information, see How to Calculate and Use UserSig. |
Build a Voice Chat Room
Step 1: Create a Voice Chat Room as Host
Follow these steps to quickly set up a voice chat room and begin broadcasting.
1. Initialize Mic Seat State
On the host page, instantiate
LiveSeatState. Listen for reactive data changes to obtain mic seat information and render the UI.import { useLiveSeatState } from 'react-native-tuikit-atomic-x/lib/module/atomic-x/state/LiveSeatState';// Define the voice chat room ID (must match the liveID used in createLive)// Use a unique identifier (e.g., UUID or timestamp)// Format: Only English letters, numbers, and underscores; max 64 charactersconst liveID = 'your_live_room_id'; // Replace with your voice chat room ID// Get LiveSeatState instance with liveIDconst { seatList } = useLiveSeatState(liveID);
2. Enable the Microphone
Call
openLocalMicrophone from DeviceState to turn on the microphone.import { useDeviceState } from 'react-native-tuikit-atomic-x/lib/module/atomic-x/state/DeviceState';const { openLocalMicrophone } = useDeviceState();const openMic = () => {openLocalMicrophone();};
3. Start a Voice Chat
Call
createLive from LiveListState to start broadcasting in the voice chat room.import { useLiveListState } from 'react-native-tuikit-atomic-x/lib/module/atomic-x/state/LiveListState';// Get LiveListState instanceconst { createLive } = useLiveListState();const startLive = () => {createLive({liveInfo: {liveID: liveID, // Voice chat room IDliveName: 'test', // Room namekeepOwnerOnSeat: true, // Host remains on the mic seatisSeatEnabled: true,seatLayoutTemplateID: 70, // Mic seat layout template (70 for voice chat)seatMode: 'APPLY', // Seat mode (apply to join mic)maxSeatCount: 10 // Maximum number of mic seats},onSuccess: () => {console.log('Voice chat room created successfully');// Navigate to another page if needed},onError: (error) => {console.log('Failed to create voice chat room', error);}});};
LiveInfo Parameter Description:
Parameter Name | Type | Required/Optional | Description |
liveID | string | Required | Unique identifier for the voice chat room. |
liveName | string | Optional | Voice chat room title. |
notice | string | Optional | Announcement for the voice chat room. |
isMessageDisable | boolean | Optional | Mute status ( true: muted, false: not muted). |
isPublicVisible | boolean | Optional | Room visibility ( true: public, false: private). |
isSeatEnabled | boolean | Optional | Enable mic seat functionality. |
keepOwnerOnSeat | boolean | Optional | Keeps the host on the mic seat. |
maxSeatCount | number | Required | Maximum number of mic seats. |
seatMode | string | Optional | Mic seat mode ( FREE: open, APPLY: application required). |
seatLayoutTemplateID | number | Required | Mic seat layout template ID; 70 for voice chat. |
coverURL | string | Optional | Cover image URL for the room. |
backgroundURL | string | Optional | Background image URL for the room. |
activityStatus | number | Optional | Voice chat activity status. |
isGiftEnabled | boolean | Optional | Enable gift functionality. |
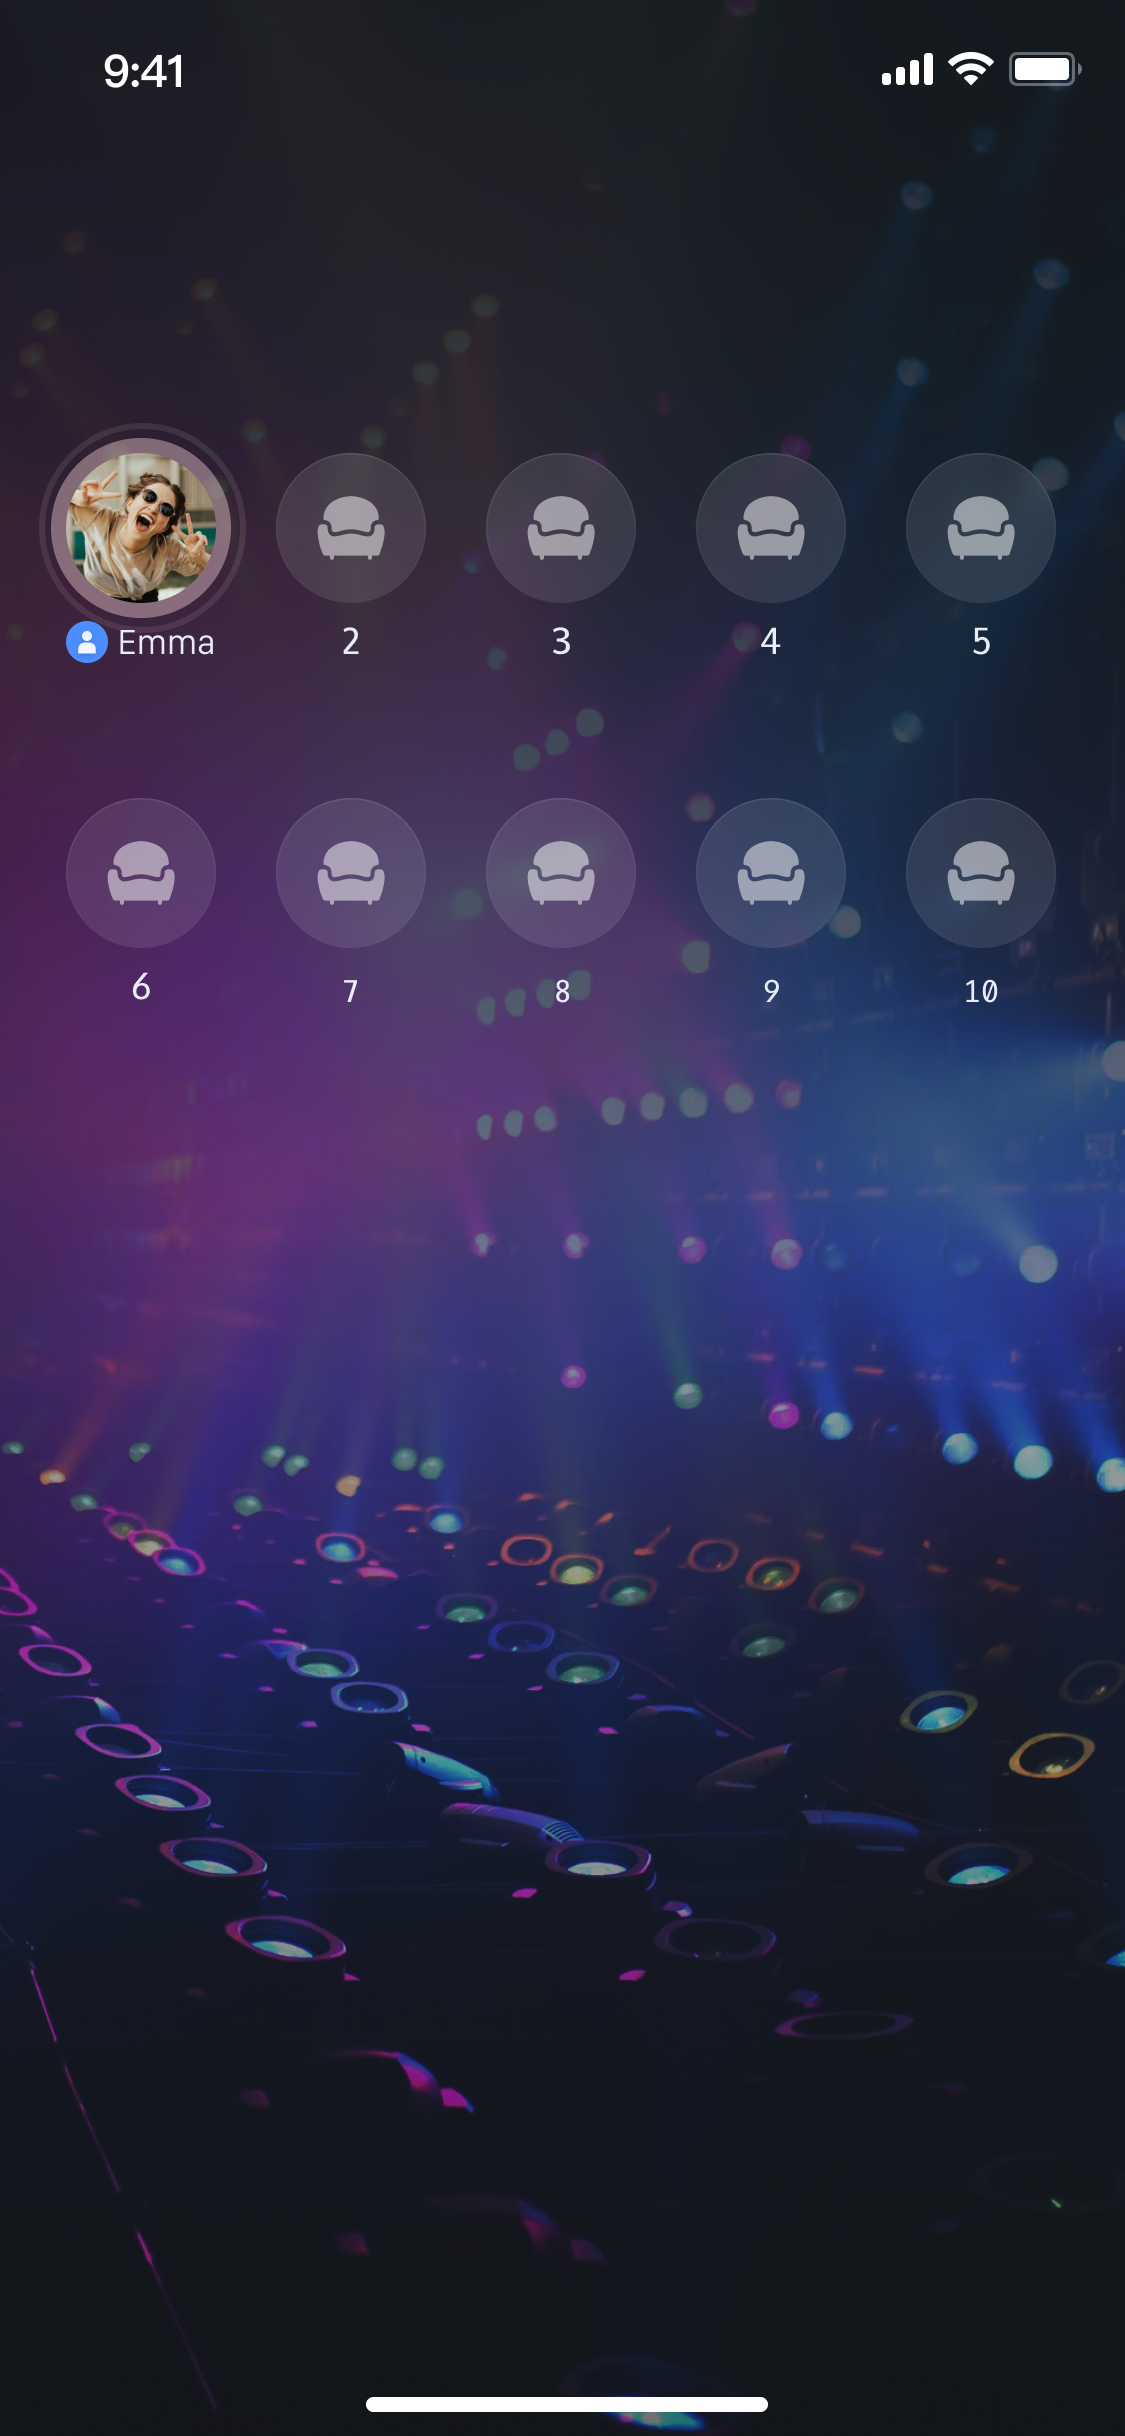
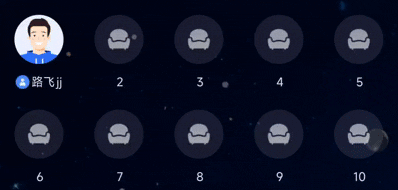
4. Build the Mic Seat UI
Use the
LiveSeatState instance to listen for changes in seatList and render mic seat UI in real time.import React, { useEffect } from 'react';import { useLiveSeatState } from 'react-native-tuikit-atomic-x/lib/module/atomic-x/state/LiveSeatState';// Get LiveSeatState instance with liveIDconst { seatList } = useLiveSeatState(liveID);// Generate displaySeats for UIconst displaySeats = React.useMemo(() => {return Array.from({ length: 10 }, (_, i) => {const foundSeat = (seatList || []).find(seat => seat.index === i) || {};return {...foundSeat,displayIndex: i + 1, // UI display index (1-10)userId: foundSeat.userInfo?.userID || foundSeat.userId || null,};});}, [seatList]);
5. Ending Voice Chat
After broadcasting, call
endLive from LiveListState to stop streaming and close the room.import { useLiveListState } from 'react-native-tuikit-atomic-x/lib/module/atomic-x/state/LiveListState';const { endLive } = useLiveListState();// End voice chatconst handleEndLive = () => {endLive({onSuccess: () => {console.log('Voice chat ended successfully');// Navigate if needed},onError: (error) => {console.log('Failed to end voice chat', error);}});}
Step 2: Audience Joining the Voice Chat Room
Enable audience entry into the voice chat room by following these steps.
1. Initialize Mic Seat State
On the audience page, create an instance of
LiveSeatState and listen for seatList changes to render mic seats.import { useLiveSeatState } from 'react-native-tuikit-atomic-x/lib/module/atomic-x/state/LiveSeatState';// Define the voice chat room ID (must match the liveID used in joinLive)const liveID = 'your_live_room_id'; // Replace with your voice chat room ID// Get LiveSeatState instance with liveIDconst { seatList } = useLiveSeatState(liveID);
2. Enter the Voice Chat Room
Call
joinLive from LiveListState to join the voice chat room.import { useLiveListState } from 'react-native-tuikit-atomic-x/lib/module/atomic-x/state/LiveListState';// Get LiveListState instanceconst { joinLive } = useLiveListState();// Join voice chatconst handleJoinLive = () => {joinLive({liveID: liveID, // Voice chat room ID to joinonSuccess: () => {console.log('Successfully entered the voice chat room');// Navigate if needed},onError: (error) => {console.log('Failed to enter the voice chat room', error);}});};
3. Build the Mic Seat UI
The audience mic seat UI follows the same implementation as the host. See the previous section for details.
4. Exit the Voice Chat Room
When the audience leaves the room, call
leaveLive from LiveListState.import { useLiveListState } from 'react-native-tuikit-atomic-x/lib/module/atomic-x/state/LiveListState';// Get LiveListState instanceconst { leaveLive } = useLiveListState();// Exit voice chat roomconst handleLeaveLive = () => {leaveLive({liveID: liveID, // Voice chat room ID joinedonSuccess: () => {console.log('Exited the voice chat room successfully');// Navigate if needed},onError: (error) => {console.log('Failed to exit the voice chat room', error);}});}
Demo Effect
After completing these steps, you'll have a basic voice chat live streaming setup.
Advanced Features
Implement Speaking Wave Animations
A common enhancement is to show a wave animation on the avatar of a mic seat user while they're speaking, indicating "who is speaking" in real time.
LiveSeatState provides the speakingUsers stream for this purpose.Implementation Example
Listen for changes in
speakingUsers in your mic seat UI and update the speaking status.import { useLiveSeatState } from 'react-native-tuikit-atomic-x/lib/module/atomic-x/state/LiveSeatState';// Get LiveSeatState instance with liveIDconst { speakingUsers } = useLiveSeatState(liveID);useEffect(() => {console.log('Users currently speaking', speakingUsers);// Combine this with seatList to update UI}, [speakingUsers]);
Enrich the Voice Chat Room Experience
After implementing basic voice chat functionality, refer to the guides below to add interactive features.
Voice Chat Room Feature | Feature Description | Feature State | Implementation Guide |
Audience Audio Co-hosting | Audience can apply to join the mic and interact with the host in real time. | ||
Add Live Comments Chat | Audience can send and receive real-time text messages in the voice chat room. | ||
Build Gift System | Audience can send virtual gifts to the host to increase interaction and fun. | ||
Add Audio Effects Settings | Voice changer (child/masculine), reverb (KTV, etc.), ear monitoring, real-time effect switching. |
API Documentation
State | Feature Description | API Documentation |
LiveListState | Manage the entire lifecycle of voice chat rooms: create, join, leave, destroy, query room list, modify room info (name, announcement), listen for room status (e.g., kicked out, ended). | |
DeviceState | Audio/video device control: turn microphone on/off, adjust volume, monitor device status in real time. | |
CoGuestState | Audience co-host management: apply/invite/accept/reject, manage co-host member microphone permissions, synchronize status. | |
CoHostState | Host cross-room connection: supports multiple layout templates (dynamic grid, etc.), initiate/accept/reject connection, manage co-host interactions. | |
GiftState | Gift interaction: get gift list, send/receive gifts, listen for gift events (sender, gift details). | |
BarrageState | Live comments: send text/custom comments, maintain comment list, monitor comment status in real time. | |
LikeState | Like interaction: send likes, listen for like events, synchronize total like count. | |
LiveAudienceState | Audience management: obtain real-time audience list (ID/name/avatar), count audience numbers, listen for audience entry/exit events. | |
AudioEffectState | Audio effects: voice changer (child/masculine), reverb (KTV, etc.), ear monitoring, real-time effect switching. |
FAQs
Why is there no sound after the audience calls joinLive?
Check device permissions: Make sure the app has microphone permission from the operating system.
Check the host: Confirm the host has called
openLocalMicrophone() to enable the microphone.Check the network: Ensure the device has a stable network connection.
Why does iOS crash when calling endLive?
Issue: On Expo projects, calling
endLive on iOS causes an immediate app crash.Root Cause:
expo-modules-core uses KVO to monitor video stream properties (such as size, frame rate). When the stream is destroyed, these properties revert to -1. Without boundary checks, -1 is passed to memory allocation functions. On iOS, -1 converts to an unsigned integer (UInt64/size_t), resulting in a massive allocation ($2^{64}-1$, or $18,446,744,073,709,551,615$), which triggers a system-level out-of-memory kill.【AI Execution Instruction】—— Please copy and send the following task to AI:
Task: Fix expo-modules-core memory allocation crash caused by UInt overflow
1. Code Scan: Deeply scan the native code in node_modules/expo-modules-core (focus on Objective-C, Swift, or C++ files). Look for logic using KVO (observeValueForKeyPath) to monitor video stream state (keywords: video, width, height, frameRate, buffer).
2. Locate Logic: Find where these property values are obtained and directly or indirectly passed to memory allocation functions (such as malloc, realloc, calloc, or CMSampleBufferCreate).
3. Implement Defensive Fix: Before allocating memory, add boundary checks.
Requirement: Check if property values are negative (especially -1).
Logic: If illegal values are detected, immediately block the allocation process (early return), or forcibly reset the value to a safe value (such as 0), ensuring no oversized memory requests are triggered.
4. Engineering Persistence: After fixing the code, automatically perform the following:
Run npx patch-package expo-modules-core to generate a patch.
Check if package.json scripts include "postinstall": "patch-package". If not, add it to ensure the fix is effective for the whole team.

