


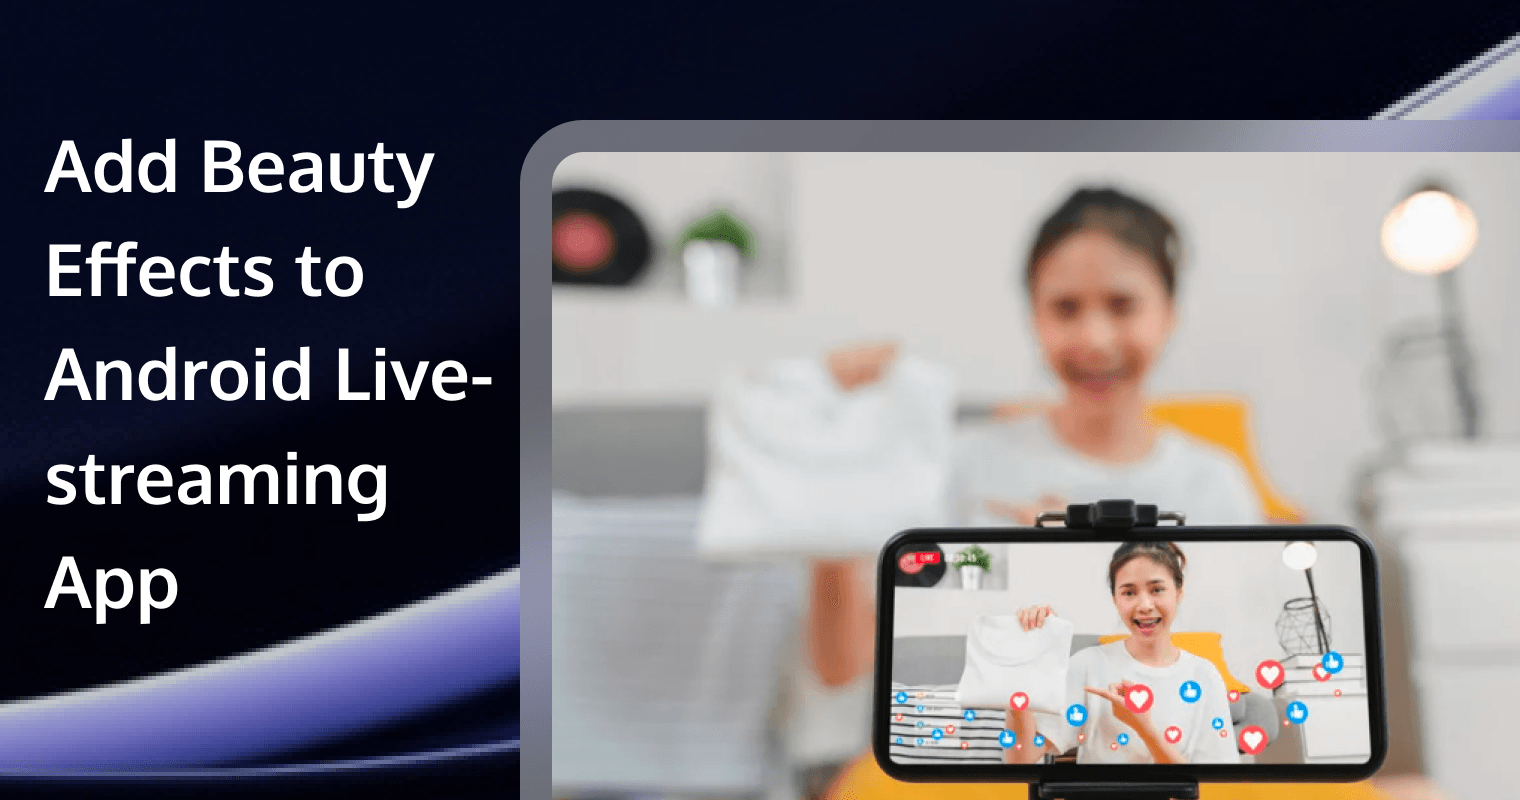
Previously, we explored how to build a live streaming app and how to implement beauty features. In this tutorial, we’ll show you how to add beauty filters to your Android live-streaming application. First, we’ll walk you through setting up a fully functional live streaming app, then we’ll integrate the Tencent Effects Beauty SDK. The Tencent RTC SDK provides a comprehensive, built-in UI, enabling you to quickly achieve sharp, real-time streaming with minimal effort.
Step 1. Activate the service
Before using the Audio and Video Services provided by Tencent Cloud, you need to go to the Console and activate the service for your application. For detailed steps, refer to Activate the service.
Step 2: Download the TUILiveKit component
Clone/download the code in Github, and then copy the TUILiveKit subdirectory in the Android directory to the same level directory as the app in your current project, as shown below:
Step 3: Configure the project
In the root directory of the project, add the jitpack repository URL to the settings.gradle.kts (or settings.gradle) file: Add the jitpack repository dependency (to download the SVG animation library for playing gifts, SVGAPlayer):
dependencyResolutionManagement {
    repositoriesMode.set(RepositoriesMode.FAIL_ON_PROJECT_REPOS)
    repositories {
        google()
        mavenCentral()

        // Add the jitpack repository URL
        maven { url = uri("<https://jitpack.io>") }
    }
}
In the root directory of the project, add the following code to the settings.gradle.kts (or settings.gradle) file. It will import the tuilivekit component downloaded in Step 2 into your current project:
include(":tuilivekit:livekit")
include(":tuilivekit:component:barrage")
In the app directory, find the build.gradle.kts (or build.gradle) file and add the following code. It declares the dependency of the current app on the newly added tuilivekit component:
api(project(":tuilivekit:livekit"))As the SDK uses Java's reflection feature internally, you need to add certain classes in the SDK to the obfuscation allowlist by adding the following code to the proguard-rules.pro file:
-keep class com.tencent.** { *; }
-keep class com.trtc.uikit.livekit.livestreamcore.** { *; }
-keep class com.trtc.uikit.livekit.component.gift.store.model.** { *; }
-keep class com.squareup.wire.** { *; }
-keep class com.opensource.svgaplayer.proto.** { *; }

-keep class com.tcmediax.** { *; }
-keep class com.tencent.** { *; }
-keep class com.tencent.xmagic.** { *; }
-keep class androidx.exifinterface.** {*;}
-keep class com.google.gson.** { *;}
# Tencent Effect SDK - beauty
-keep class com.tencent.xmagic.** { *;}
-keep class org.light.** { *;}
-keep class org.libpag.** { *;}
-keep class org.extra.** { *;}
-keep class com.gyailib.**{ *;}
-keep class com.tencent.cloud.iai.lib.** { *;}
-keep class com.tencent.beacon.** { *;}
-keep class com.tencent.qimei.** { *;}
-keep class androidx.exifinterface.** { *;}
In the app directory, find the AndroidManifest.xml file, and add tools:replace="android:allowBackup" and android:allowBackup="false" to the application node to override the component's settings with your own.
  // app/src/main/AndroidManifest.xml

  <application
    ...

    // Add the following configuration to override the settings in the dependent SDK
    android:allowBackup="false"
    tools:replace="android:allowBackup">
Step 4. Log in
Add the following code to your project. It calls the relevant interfaces in TUICore to complete the TUI component log in to. This step is crucial; you can only use the features provided by TUILiveKit after successfully logging in.
TUILogin.login(applicationContext,
    1400000001,     // Please replace with the SDKAppID obtained in step one
    "denny",        // Please replace with your UserID
    "xxxxxxxxxxx",  // You can calculate a UserSig in the console and fill it in here
    object : TUICallback() {
        override fun onSuccess() {
            Log.i(TAG, "login success")
        }

        override fun onError(errorCode: Int, errorMessage: String) {
            Log.e(TAG, "login failed, errorCode: $errorCode msg:$errorMessage")
        }
    })
Use the SecretKey obtained in Step One, Step 3 to encrypt information such as SDKAppID and UserID to obtain UserSig, which is a token for authentication used by Tencent Cloud to identify whether the current user can use TRTC services. You can generate a temporarily usable UserSig through the Auxiliary Tools in the console. For more information, see UserSig.
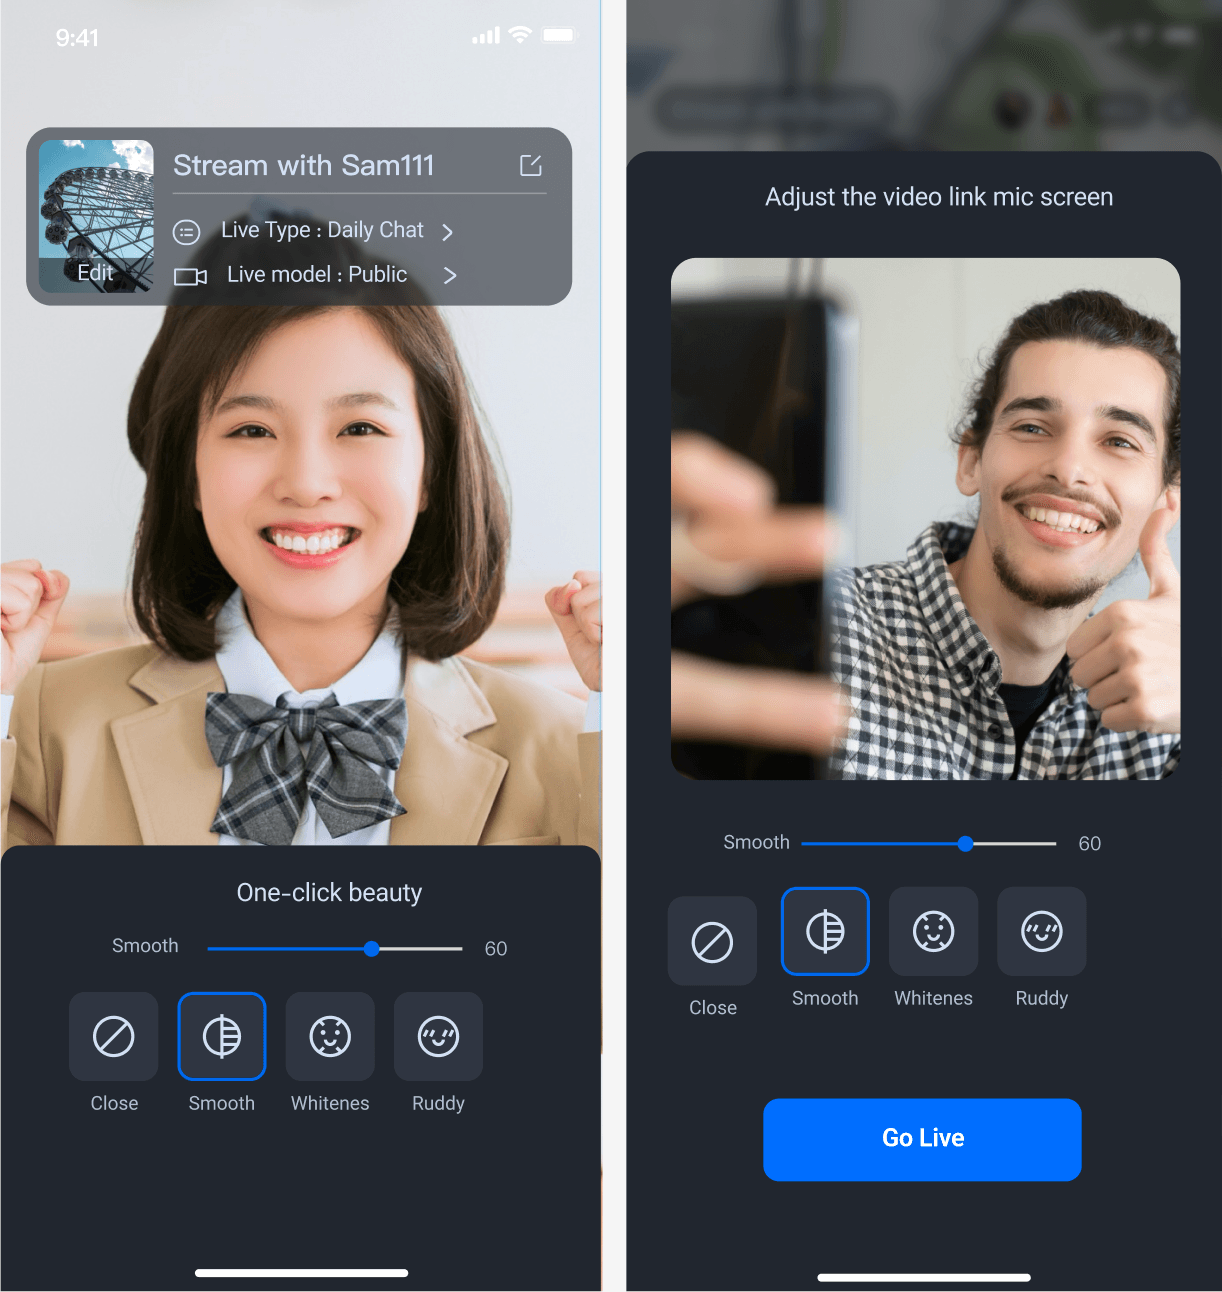
Step5. Integrating tebeautykit
Now lets utilizes Tencent Effects Beauty for advanced beauty effects.
Copy the Android/tebeautykit folder to your project, at the same level as the app folder.
Please edit your project's settings.gradle file and add the following code:
include ':tebeautykit'Step 6: Authorization & Setting Beauty Resources
Apply for authorization and obtain LicenseUrl and LicenseKey. Please refer to the License Guide for more information.
In the initialization section of your business logic (typically in the same location as the login process), Add the following authorization code and replace it with the Beauty Package ID, LicenseUrl, and LicenseKey you have obtained:
TEBeautySettings.getInstance().initBeautySettings(context,
                                       S1_07,         // Replace S1_07 with the beauty package number you purchased.
                                       "LicenseUrl",  // Replace with your LicenseUrl
                                       "LicenseKey"); // Replace with youLicenseKey
By completing the aforementioned steps, you will have successfully integrated advanced beauty effects.
Step 7. Start live streaming
After the above log in to method call returns successfully, call the VideoLiveKit's startLive method, specifying the room ID to start your live streaming page.
import com.trtc.uikit.livekit.VideoLiveKit
VideoLiveKit.createInstance(applicationContext).startLive("roomId")
Step 8. Watch the live stream
After the above log in to method call returns successfully, call the VideoLiveKit's joinLive method, specifying the room ID to start your live streaming page.
import com.trtc.uikit.livekit.VideoLiveKit
VideoLiveKit.createInstance(applicationContext).joinLive("roomId")
My name is Susie. I am a writer and Media Service Product Manager. I work with startups across the globe to build real-time communication solutions using SDK and APIs.
If you want to build face filter or other special effect into your app, welcome to contact us.