


In today's digital landscape, audio equalization (EQ) has become an essential feature in nearly every media application. Whether you're developing a music player, a video streaming app, or a voice chat system, having a solid understanding of EQ is fundamental—it can greatly enhance your users' audio experience.
So, what exactly is audio equalization, and why should developers pay attention to it?
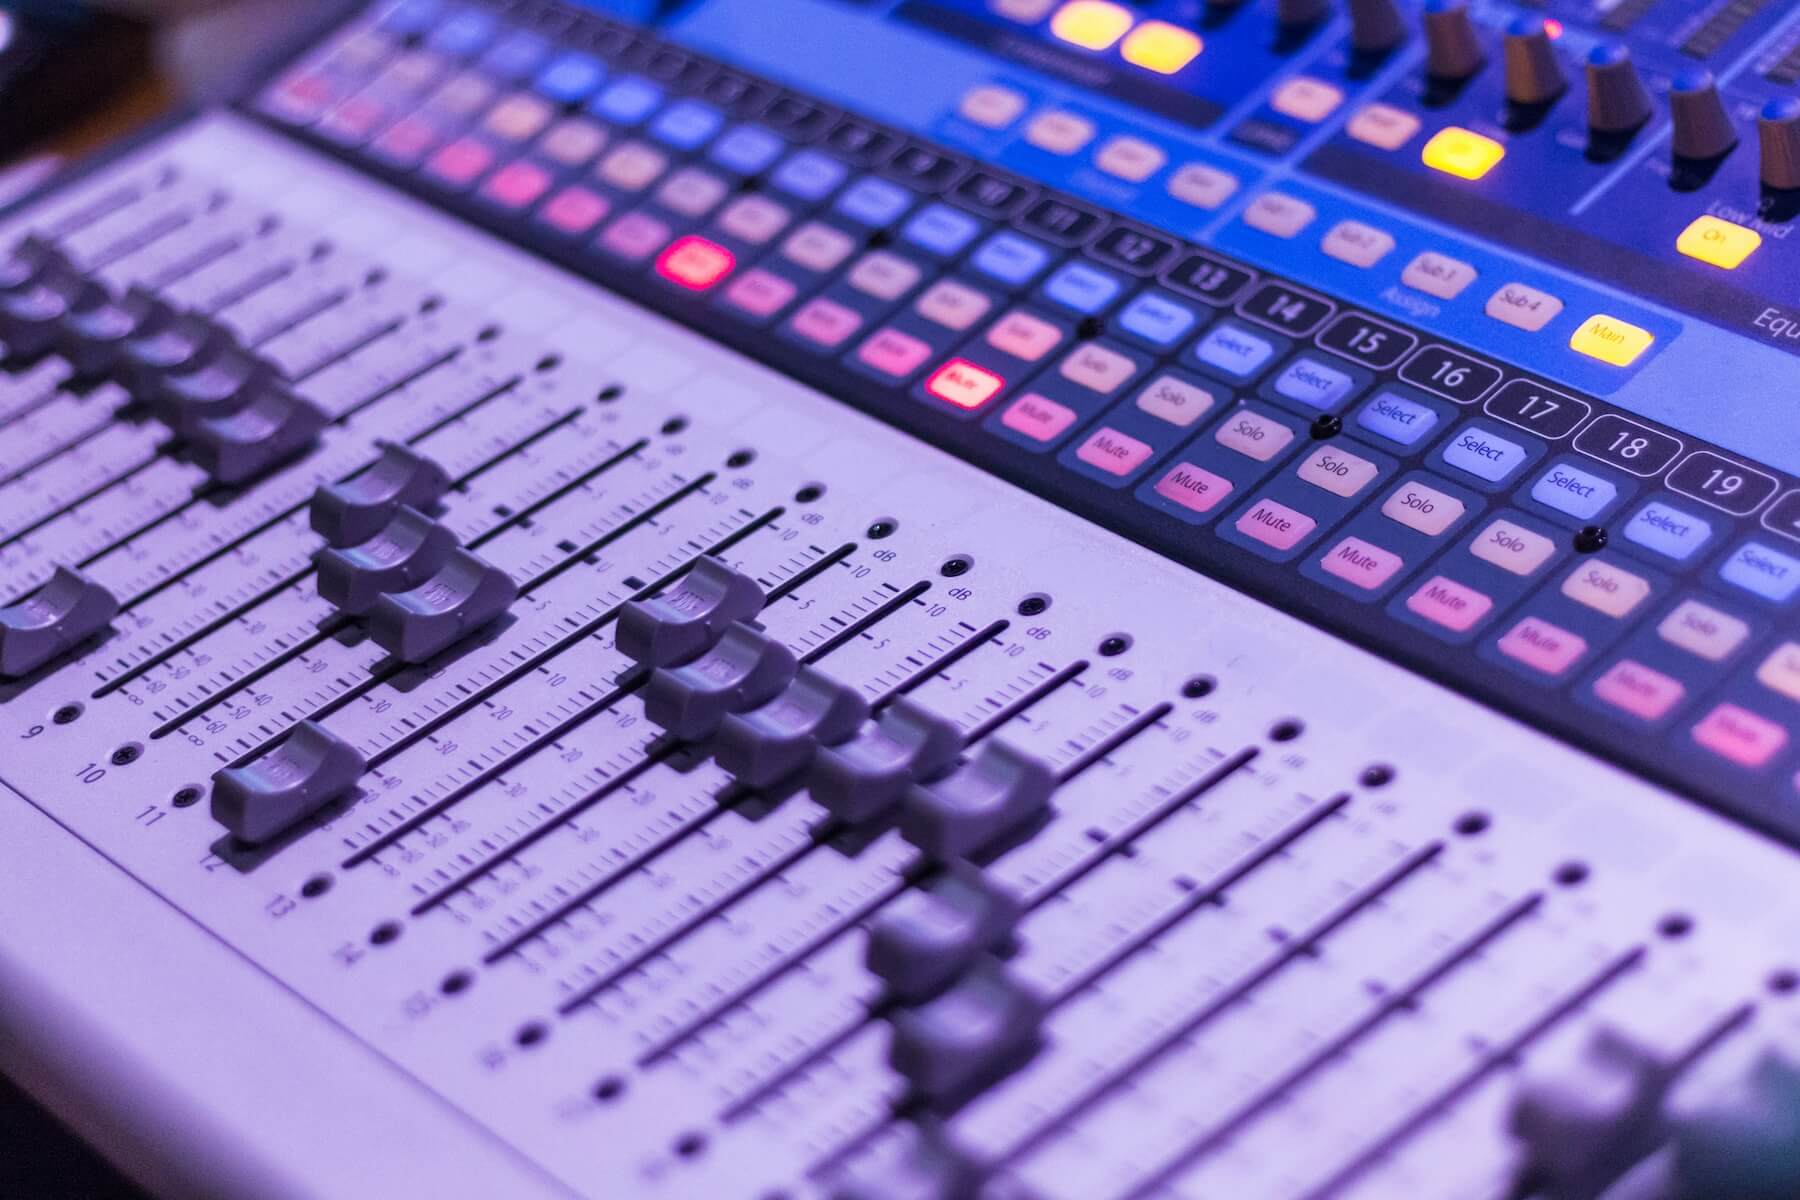
At its core, EQ functions like an advanced volume control system, allowing you to adjust specific frequency ranges of audio independently. Imagine it as a mixing console where you can boost the bass without affecting the treble, or enhance vocal clarity without increasing background noise. This powerful functionality is why EQ features are common in applications like Spotify's audio settings and Zoom's voice enhancement tools.
As a developer entering the audio realm, you may initially find EQ concepts intimidating. Terms like frequency bands, filters, and Q factors can seem complex. However, the fundamentals are quite approachable, and this guide aims to clarify them.
Whether you're building your first music player or adding voice enhancement to your chat application, this guide will provide you with the foundational knowledge necessary to implement effective audio equalization features.
Introduction to Audio Equalization
What is Audio Equalization (EQ)?
Audio equalization is a fundamental technique that allows developers to control and modify the balance between different frequency components in an audio signal. In simpler terms, it’s like having multiple volume controls, each affecting a specific range of sound frequencies.
Imagine listening to music where you can:
- Boost the low rumble of bass drums
- Reduce harsh high-frequency sounds
- Enhance the clarity of vocals
All these adjustments are possible through equalization.
Why Do Developers Need to Know About EQ?
In modern application development, audio processing has become increasingly important for several reasons:
- User Experience: It enables developers to create customizable sound profiles that cater to different listening preferences.
- Problem Solving: EQ helps resolve common audio issues, such as muffled voices or excessive background noise.
- Feature Differentiation: It allows apps to stand out by offering unique audio enhancement capabilities.
Common EQ Use Cases in Applications
Audio equalization plays a crucial role in various applications, ranging from entertainment to communication. Different use cases require different approaches to EQ implementation, but they all aim to improve audio quality and user experience.
Here are the main areas where EQ is commonly applied:
1. Music Players
- Genre-based Presets: Optimizes sound for different music styles.
- Custom Profiles: Allows users to create and save personal EQ settings.
- Adaptive EQ: Automatically adjusts based on content and the listening environment.
Popular examples: Spotify, Apple Music, Poweramp
2. Voice Chat Applications
- Echo Removal: Reduces room echo for clearer communication.
- Speech Enhancement: Improves voice clarity in noisy environments.
- Noise Reduction: Minimizes unwanted background sounds.
Popular examples: Zoom, Discord, Microsoft Teams
3. Video Players
- Dialog Enhancement: Makes spoken words clearer and more distinct.
- Dynamic Range: Balances loud and soft sounds for better listening.
- Sound Balance: Automatically adjusts background music and voice levels.
Popular examples: VLC, Netflix, YouTube
Understanding Basic Equalization Concepts
As a beginner developer, understanding the basic concepts of equalization (EQ) is crucial for creating audio applications. This chapter will introduce the core EQ concepts that you'll need to get started.
Fundamental Equalization Ideas
1. What is Frequency?
Frequency is a fundamental characteristic of sound, measured in Hertz (Hz). The human hearing range spans from 20 Hz to 20 kHz, which is the range we work with in audio applications. Low frequencies, such as bass sounds, occur around 20 to 250 Hz. The human voice primarily resides in the middle frequency range of 250 Hz to 2 kHz, while high frequencies, like cymbals, fall within the 2 kHz to 20 kHz range.
2. Understanding Volume (Gain)
Gain, measured in decibels (dB), is how we control sound levels in our applications. Consider 0 dB as your baseline, representing the original volume of your audio. To make something louder, you use positive values; for example, +6 dB increases volume, while negative values, such as -6 dB, reduce it. Most EQ applications operate within a range of plus or minus 12 dB to maintain audio quality.
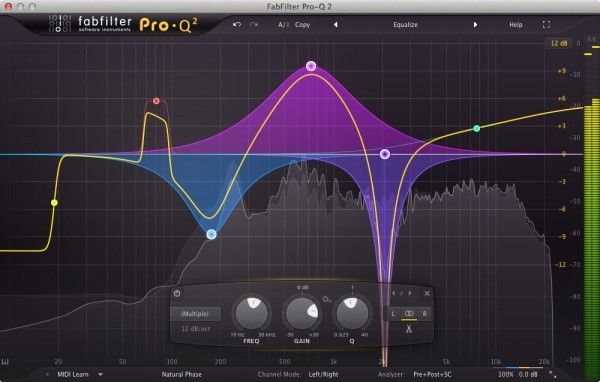
3. Reading Basic EQ Graphs
EQ graphs are visual tools used to understand and adjust sound parameters. The horizontal axis represents frequency, while the vertical axis shows gain. A flat line across the middle indicates that no adjustments are being made. If the line curves upward, those frequencies are being boosted, while downward curves indicate reductions in specific frequencies.
4. Simple Frequency Bands
For practical purposes, the frequency spectrum is divided into three main bands:
- The low band covers bass frequencies from 20 Hz to 250 Hz.
- The mid band handles most instruments and vocals from 250 Hz to 2,000 Hz.
- The high band takes care of treble and brightness from 2,000 Hz up to 20,000 Hz.
Key EQ Parameters
1. Frequency Selection
When developing EQ features, frequency selection involves choosing which sound components to adjust. You'll need to consider your target frequency range based on your goals. For instance, voice enhancement focuses on different frequencies than bass boosting.
2. Adjusting Volume
Volume adjustment in EQ isn't solely about making everything louder or quieter; it's about carefully controlling how much you boost or cut specific frequencies. Good EQ design includes appropriate limits and ensures smooth transitions between different volume levels.
3. Wide vs Narrow Adjustments
The Q factor determines how precisely you can target frequencies. A high Q value creates a narrow adjustment that affects fewer nearby frequencies, whereas a low Q value generates a wider adjustment that impacts more frequencies around your target. Most applications use Q values ranging from 0.1 to 10.
4. Common EQ Presets
Presets allow users to quickly achieve common sound adjustments. Popular presets include settings for different music genres, voice enhancement, and bass boosts. These presets combine various frequency adjustments to create a desired overall sound character.
Good EQ design begins with simple adjustments. Always test your changes with real audio, being careful not to over-process the sound. Different devices may respond differently to EQ adjustments, so testing across various platforms is essential.
Simple Equalization Filter Types
Understanding EQ filters is essential for any developer working with audio. This chapter explores the fundamental filter types that form the building blocks of audio equalization, with practical JavaScript examples using the Web Audio API.
Basic Filters Every Developer Should Know
1. Low-pass Filter (Bass)
A low-pass filter, sometimes called a high-cut filter, allows low frequencies to pass through while reducing high frequencies. Think of it as keeping the bass while gradually removing the treble.
What it Does: The low-pass filter creates a slope that starts cutting frequencies above a specified point. For example, if you set a low-pass filter at 500Hz, frequencies below 500Hz remain largely unchanged while higher frequencies are progressively reduced.
When to Use It: Low-pass filters are particularly useful when you want to remove unwanted high-frequency noise or focus on bass elements. Common applications include cleaning up low-frequency instruments or reducing harshness in audio recordings.
Here's a JavaScript implementation using Web Audio API:
// Basic example of low-pass filter implementation using Web Audio API
function applyLowPassFilter(audioContext, frequency) {
   const filter = audioContext.createBiquadFilter();
   filter.type = 'lowpass';
   filter.frequency.value = frequency; // e.g., 500Hz
   filter.Q.value = 1.0; // Default Q value
   return filter;
}

// Usage example
const audioContext = new AudioContext();
const lowPassFilter = applyLowPassFilter(audioContext, 500);
2. High-pass Filter (Treble)
A high-pass filter does the opposite of a low-pass filter. It allows high frequencies to pass while reducing low frequencies. This filter is essential for controlling bass content and cleaning up audio.
What it Does: The high-pass filter creates an upward slope starting from your chosen frequency. For instance, setting a high-pass filter at 100Hz will progressively reduce frequencies below 100Hz while maintaining higher frequencies.
When to Use It: High-pass filters are valuable for removing unwanted low-frequency rumble or when you need to focus on treble elements. They're commonly used in voice processing to remove microphone handling noise or to clean up muddy recordings.
JavaScript implementation example:
// Basic example of high-pass filter implementation using Web Audio API
function applyHighPassFilter(audioContext, frequency) {
   const filter = audioContext.createBiquadFilter();
   filter.type = 'highpass';
   filter.frequency.value = frequency; // e.g., 100Hz
   filter.Q.value = 1.0;
   return filter;
}

// Usage example
const highPassFilter = applyHighPassFilter(audioContext, 100);
3. Band Filter (Mid-range)
Band filters come in two main types: band-pass and band-stop (notch). These filters affect a specific range of frequencies while leaving others relatively unchanged.
What it Does: A band-pass filter allows a specific frequency range to pass while reducing frequencies above and below this range. A band-stop filter does the opposite, reducing a specific frequency range while leaving others intact.
When to Use It: Band filters are perfect for isolating or removing specific frequency ranges. They're useful for focusing on particular instruments or removing unwanted resonances in audio.
JavaScript implementation using Web Audio API:
// Basic example of band-pass filter implementation
function applyBandPassFilter(audioContext, frequency, Q) {
   const filter = audioContext.createBiquadFilter();
   filter.type = 'bandpass';
   filter.frequency.value = frequency; // e.g., 1000Hz
   filter.Q.value = Q; // Controls the width of the band
   return filter;
}

// Usage example
const bandPassFilter = applyBandPassFilter(audioContext, 1000, 2.0);
Working with Equalization Filters
1. Combining Different Filters
The Web Audio API allows us to chain filters together to create complex EQ curves. Here's how you might combine multiple filters:
function createFilterChain(audioContext, sourceNode) {
   // Create filters
   const lowPass = applyLowPassFilter(audioContext, 500);
   const highPass = applyHighPassFilter(audioContext, 100);

   // Connect filters in series
   sourceNode.connect(highPass);
   highPass.connect(lowPass);
   lowPass.connect(audioContext.destination);
}

// Usage example
const audioContext = new AudioContext();
const sourceNode = audioContext.createMediaElementSource(audioElement);
createFilterChain(audioContext, sourceNode);
2. Common Filter Settings and Best Practices
When working with the Web Audio API, start with these conservative settings:
- Low-pass filter: typically between 500Hz and 2kHz
- High-pass filter: usually between 20Hz and 200Hz
- Band filters: Q values between 0.5 and 5 for most applications
Remember to:
- Always test your filters with real audio content
- Avoid extreme filter settings that might cause audio artifacts
- Consider the computational cost of multiple filters
- Implement smooth parameter transitions to prevent audio glitches
By understanding these basic filter types and their JavaScript implementations using the Web Audio API, you can create effective EQ solutions for your web audio applications. Start with simple implementations and gradually add complexity as needed for your specific use case.
Real-World Equalization Examples
1. Basic Music Player EQ
Music players are perhaps the most common application of audio equalization. A well-designed music player EQ typically includes 5-10 frequency bands, allowing users to shape their listening experience. The key is to provide enough control without overwhelming users with too many options.
For optimal results, focus on these essential frequency ranges:
- Sub-bass (20-60 Hz) for deep, foundational tones
- Bass (60-250 Hz) for rhythm and warmth
- Mid-range (250-2kHz) for vocals and most instruments
- High-end (2-20kHz) for clarity and brilliance
Remember to include common presets like Rock, Jazz, and Classical. These presets help users who want quick results without understanding the technical details.
2. Voice Chat Applications
Voice chat EQ is all about clarity and intelligibility. Unlike music EQ, voice chat applications need to focus on the speech frequency range (300Hz-3kHz). The goal is to enhance voice clarity while reducing background noise.
Key features should include:
- Background noise reduction
- Voice enhancement
- Microphone optimization
- Low latency processing
3. Video Player Enhancement
Video players present unique challenges because they need to handle various types of audio content. A good video player EQ should adapt to different scenarios:
- Dialog-heavy scenes
- Music sequences
- Action sequences with sound effects
The key is to provide presets that enhance the viewing experience without requiring constant adjustment.
Conclusion
Audio equalization is a fundamental aspect of modern audio applications, and understanding its basics is crucial for developers working with sound. Throughout this guide, we have explored essential concepts and common equalization filters necessary for building effective EQ systems.
Successful EQ implementation goes beyond technical excellence; it is about creating meaningful user experiences. Whether you are developing a music player, enhancing voice chat, or creating video applications, the key principles remain consistent: start simple, prioritize performance, and focus on user needs.
As you continue your journey in audio development, keep these core takeaways in mind:
- Begin with fundamental EQ concepts and gradually build complexity.
- Always consider performance implications and resource constraints.
- Thoroughly test across different devices and scenarios.
The field of audio processing is constantly evolving, and there is always more to learn. Use this guide as a foundation and feel free to explore more advanced concepts as your expertise grows. With practice and persistence, you will be well-equipped to create sophisticated audio applications that users will love.
Are you looking to enhance your application's audio experience? Tencent Real-Time Communication (TRTC) provides professional-grade audio equalization and processing capabilities that can transform your real-time communications. Start your journey today by signing up for a free TRTC account. You will gain access to comprehensive documentation, sample code, and expert support to help you implement advanced audio features in your applications. Join thousands of developers who trust TRTC for their real-time audio needs. Don’t wait—take the first step toward superior audio quality now!
FAQs
Q1: What is the difference between parametric and graphic equalizers?
A: Parametric equalizers allow control over frequency, gain, and bandwidth for each filter. Graphic equalizers offer fixed frequency bands with simple gain control, making them easier to use but less flexible.
Q2: How does CPU performance impact audio equalization?
A: Audio equalization requires real-time processing power, which can affect CPU usage. We recommend using efficient algorithms and limiting the number of filter bands to optimize performance.
Q3: Can I apply equalization to live audio streams without noticeable latency?
A: Yes, TRTC uses optimized algorithms to achieve low-latency equalization for real-time communications. The key is finding the right balance between audio quality and processing speed.
Q4: What are the most common EQ frequency ranges for voice enhancement?
A: The key frequency ranges are 100-300 Hz for warmth, 2-4 kHz for clarity, and 4-8 kHz for intelligibility. These ranges can be adjusted based on specific voice characteristics and use cases.
Q5: How can I test if my EQ implementation is working correctly?
A: You can use frequency sweep tests and spectrum analyzers to verify the EQ implementation. It's also important to conduct real-world testing across different devices and environments.


