


Introduction
Vue is a popular JavaScript front-end framework used for building user interfaces. It has a simple and easy-to-learn syntax, along with a flexible architecture, enabling developers to quickly build highly interactive and efficient web applications. Due to its flexibility and ease of use, Vue has gained widespread adoption and recognition within the front-end development community.
Tencent RTC provides Tencent RTC Call (TUICallKit) , a UI component for audio and video calls in Vue3 version. With just a few lines of code, you can easily add audio and video call features to your Web application.This blog will walk you through the process of setting up 1-to-1 call and group call in your Web project.
Tencent RTC is the Ideal Video Commuincations Solution
After recommending our integration solution for Tencent RTC Call (TUICallKit), I would like to highlight why Tencent RTC is your preferred choice:
1. Feature rich
Tencent RTC provides a rich set of components to help you quickly implement features such as audio chat, conferencing, interactive live streaming, and interactive teaching.
2. Cross-platform global connection
Tencent RTC is a cross-platform solution compatible with more than 5,000 device models. It provides client SDKs and Tencent Cloud APIs for both mobile and desktop platforms including iOS, Android, Windows, macOS, and web.
3. Low latency, low stutter rate, high video/audio quality
Tencent RTC maintains an average end-to-end latency of below 300 ms across different countries and regions and supports 720p and 1080p video and allows video calls even under a packet loss rate of 70%.
You can now enter the official website Tencnet RTC and development documentation. Let's start coding!
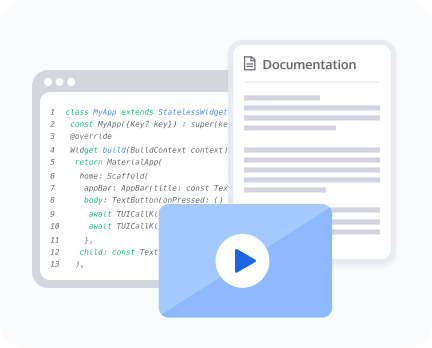
Video Tutorial
Step 0: Environment Preparations
- @vue/cli.
- @tencentcloud/call-uikit-vue If using source code integration requires:Vue3 + Typescript.
Step 1: Activate the service
You can activate the Call free trial version in the TRTC console, with the specific operation steps as follows:
1. Log into the TRTC console > Call, and create a new application.
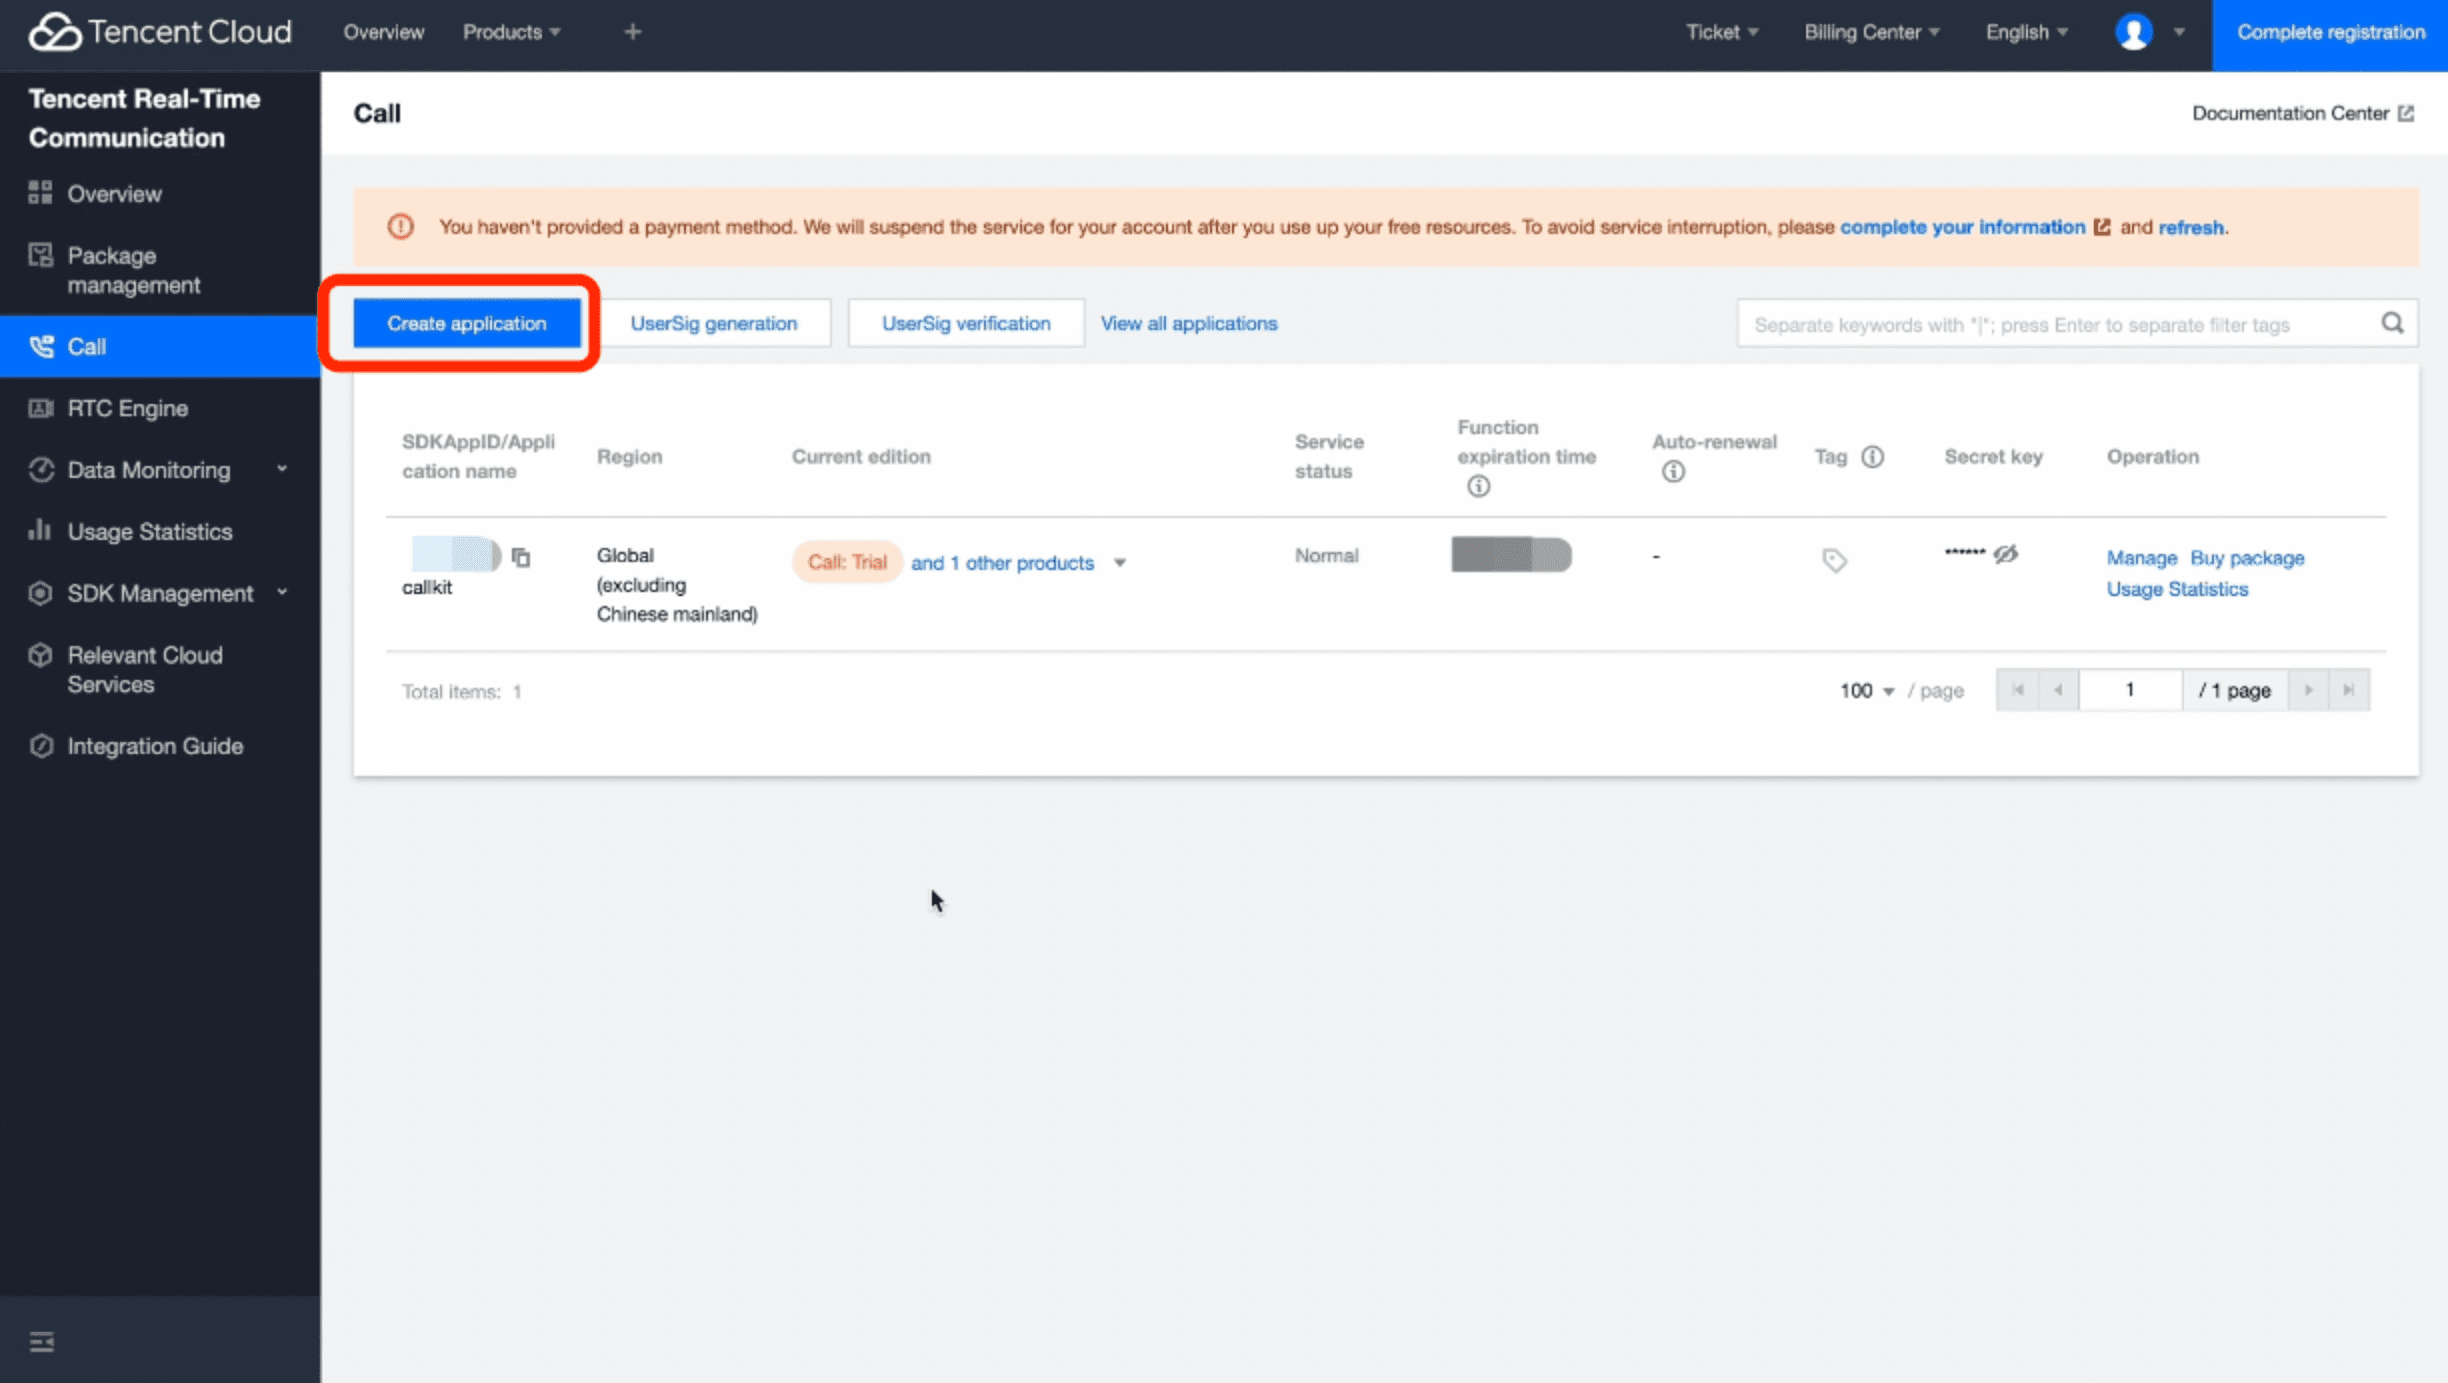
2. In the create pop-up window, select "Call" as the product and enter the application name. You can also choose to associate with an existing application to open Call for an existing TRTC application. After making the selection, click on <Create application>.
3. After completing the application creation, you will be directed to the application details page by default. In the pop-up window, select the "Trial Free" version and click on <Claim now>.
4. After confirming the pop-up content, click on "Free Trial" to successfully open the trial version of audio and video calling.
5. After opening, you can view the version information on the current page and refer to the integration guide for integration.
Step 2: Create a Vue3 project.
Create a project using the "@vue/cli" method
npm install -g @vue/cli
Create the project via "@vue/cli" and select the configuration item selected in the figure below.
vue create call-demo
To test if the project has been created successfully, switch to 'call-demo' and run 'npm run serve'. When the 'Local' address: "http: // localhost:8080/" opens successfully and the page appears as shown, the creation is successful.
cd call-demoStep 3: Install TUICallKit Components.
copy the "npm install @tencentcloud/call-uikit-vue" command, run it in the "~/call-demo" directory to install the Tencent RTC Call (TUICallKit) component.
npm install @tencentcloud/call-uikit-vue
Please modify the necessary information in the sample code below to ensure proper operation.
- SDKAppID:Obtained in the duration of creating the call application.
- userID:The ID of the current user, which is a string that can contain only letters (a–z and A–Z), digits (0–9), hyphens (-), or underscores (_).
- userSig:The authentication credential used by Tencent Cloud to verify whether the current user is allowed to use the TRTC service. You can generate a temporary UserSig by using the UserSig generation in the console.
Step 4: Generate the user signature.
Copy this code to the "App.vue" page of the sample project.
<template>
  <div>
    <button @click="init()"> init </button>
    <button @click="call()"> start video call </button>
    <details>
      <summary>auto accept feature</summary>
      <button @click="accept()"> accept </button>
      <button @click="reject()"> reject </button>
      <button @click="hangup()"> hangup </button>
    </details>
    <div style="width: 50rem; height: 35rem; border: 1px solid salmon;">
      <TUICallKit
        :beforeCalling="beforeCalling"
        :afterCalling="afterCalling"
        :onMinimized="onMinimized"
        :allowedMinimized="true"
        :allowedFullScreen="true"
        :videoDisplayMode="VideoDisplayMode.CONTAIN"
        :videoResolution="VideoResolution.RESOLUTION_1080P"
        @kicked-out="handleKickedOut"
        @status-changed="handleStatusChanged" />
    </div>
  </div>
</template>


<script lang="ts" setup>
import { TUICallKit, TUICallKitServer, TUICallType, VideoDisplayMode, VideoResolution } from "@tencentcloud/call-uikit-vue";
import TIM from "@tencentcloud/chat"


// The following 5 variables need to be modified before running
const SDKAppID = 0;
const userID = "";
const userSig = "";
const callUserID = ""; // callUserID of the called party in the one-to-one call


// If you do not want to experience group calls, you do not need to set this parameter
let userIDList = ["xxx", "xxx"]; // UserID of a group call member


async function init() {
  try {
    await TUICallKitServer.init({ SDKAppID, userID, userSig });
    // await TUICallKitServer.init({ tim, SDKAppID, userID, userSig});
    alert("init finished");
  } catch (error: any) {
    alert(`init failed, reason:${error}`);
  }
}


async function call() {
  try {
    await TUICallKitServer.call({ userID: callUserID, type: TUICallType.VIDEO_CALL }); // one-to-one call

    // If you want to experience a group call, comment the call, and then uncomment the following two pieces of code.
    // const groupID = await createGroupID();
    // TUICallKitServer.groupCall({ userIDList, groupID, type: 2 }); // group call
  } catch (error: any) {
    alert(`call failed, reason:${error}`);
  }
}


// chat SDK document: https://web.sdk.qcloud.com/im/doc/en/SDK.html#createGroup
async function createGroupID() {
  let tim = TIM.create({ SDKAppID });
  let memberList: any[] = [];
  userIDList.forEach((user: string) => {
    memberList.push({ userID: user });
  });
  let res = await tim.createGroup({
    type: TIM.TYPES.GRP_PUBLIC,
    name: 'WebSDK',
    memberList
  });
  return res.data.group.groupID;
}


function beforeCalling(type: string, error: any) {
  console.log("call begin", type, error);
}


function afterCalling() {
  console.log("call end");
}


function onMinimized(oldStatus: string, newStatus: string) {
  console.log("Minimize status changes: " + oldStatus + " -> " + newStatus);
}


function handleKickedOut() {
  console.error("The user has been kicked out");
}


function handleStatusChanged(args: { oldStatus: string; newStatus: string; }) {
  const { oldStatus, newStatus } = args;
  console.log("call status change: " + oldStatus + " -> " + newStatus);
}


async function accept() {
  try {
    await TUICallKitServer.accept();
    alert("auto-accept");
  } catch (error) {
    alert(`auto-accept failed, reason:${error}`);
  }
}


async function reject() {
  try {
    await TUICallKitServer.reject();
    alert("auto-reject");
  } catch (error) {
    alert(`auto-reject failed, reason:${error}`);
  }
}


async function hangup() {
  try {
    await TUICallKitServer.hangup();
    alert("auto-hangup");
  } catch (error) {
    alert(`auto-hangup failed, reason:${error}`);
  }
}
</script>
Please return to the console and copy the "SDKAppID" and "SDKSecretKey" in the basic information of the App here and paste them into your Web project:
After clicking on the "call" option in the left sidebar, click on <UserSig generation>, select the "SDKAppID" for which you want to generate "userSig", enter the userID you filled in the code earlier, and click <Generate>. You will see that the "userSig" is generated successfully.
Then, you can simply copy the "UserSig" to the project file.
Step 5: Make a call to test
One-to-one video call
You can find a partner to run the same code, ensuring that you both have the same "SDKAppID".
In the terminal, enter "npm run serve" to start the project. Open "http://localhost:8080/" in your browser to see the successful display of the page. You will then be able to successfully see the webpage as shown below:
First, click on the <init> button in the top left corner to initialize the login. Then, click on <start video call> to make a call to your friend.
Group video call
First, we need to import the package:
import TIM from "@tencentcloud/chat";
Comment out the 1v1 call and open the groupCall section. Then fill in the userIDs for the group call in the "userIDList":
Replace the "createGroupID()" code in Step 2 with the following code and copy it into your project file:
Then, call the function "createGroupID()" within the "call()" function:
The remaining steps are the same as the One-to-one video call. Execute the command "npm run serve" in the terminal, and then open the local address in your browser. Remember to click on <init> to initialize the login first, and then click on <start video call> to initiate a group call.
Conclusion
It's not difficult, right? You have successfully integrated Tencent RTC Call (TUICallKit) into your Web project. Tencent RTC Call (TUICallKit) saves you a lot of development time and effort for implementing audio and video calling applications.
Additionally, Tencent RTC Call (TUICallKit) provide custom UI components for your convenience. If you want to learn more information, please visit our official website: Tencent RTC and explore freely.
If you have any questions or need assistance, our support team is always ready to help. Please feel free to contact us, or join us in Discord.