As live streaming brings better brand engagement and reach to consumers, industries across the board are integrating live streaming functionality into their websites. The worldwide live streaming market, valued at USD 1219.19 million in 2022, is anticipated to reach USD 6555.32 million by 2030, exhibiting a Compound Annual Growth Rate (CAGR) of 23.40% during the forecast period from 2022 to 2028.
But what is also true about this industry is that not many providers offer services that align perfectly with your product. Choosing the right one is crucial because you want a delicate balance between top-notch services and cost efficiency. In the upcoming content, we will explore the essential business factors and the most efficient technical stack choice to help you to successfully build your live streaming website.
Define the Ideal Positioning for Your Live Streaming Website
There are mainly 2 types of live streaming platforms: social streaming platforms and video streaming platforms. They provide users with different levels of social interaction.
A social streaming platform is an online service that allows users to broadcast live content and interact with their audience in real-time through social media. Some popular social streaming platforms include Twitch, YouTube Live, Facebook Live.
A video streaming platform is an online service that allows users to upload, share, and view videos over the internet. These platforms host a variety of content, including movies, TV shows, user-generated videos, and more. Some popular video streaming platforms include YouTube, Netflix, Hulu.
So, what kind of live streaming website are you trying to achieve? There are several considerations you need to take into account:
- Define Your Purpose: Clearly identify the purpose of your live streaming website. Whether it's for gaming, educational content, business webinars, or a combination, having a clear focus will guide your platform's design and functionality.
- Target Audience: Understand your target audience's preferences and expectations. This insight will influence the content you stream, the features you implement, and the overall user experience.
- Choose a Niche: Consider focusing on a specific niche within your chosen industry. A niche-oriented live streaming website can attract a more dedicated audience.
Essential Components for Building a Live Streaming Website
Before embarking on building a live streaming website, a thorough understanding of these key components will ensure that your platform delivers a high-quality and stable streaming experience:
- Encoder: The encoder is responsible for capturing, compressing, and converting the audio and video signals into a digital format suitable for online streaming.
- Streaming Server: The streaming server receives the encoded data from the encoder and distributes it to the audience. It plays a crucial role in managing the flow of data to ensure a smooth streaming experience.
- Content Delivery Network (CDN): CDNs help optimize the delivery of content by distributing it across multiple servers globally. This reduces latency and enhances the overall performance of the live stream.
- Player: The player is the interface through which viewers access the live stream. It decodes and displays the audio-video content on various devices.
Guide to Building a Live Streaming Website with Tencent RTC Live SDK
Overview
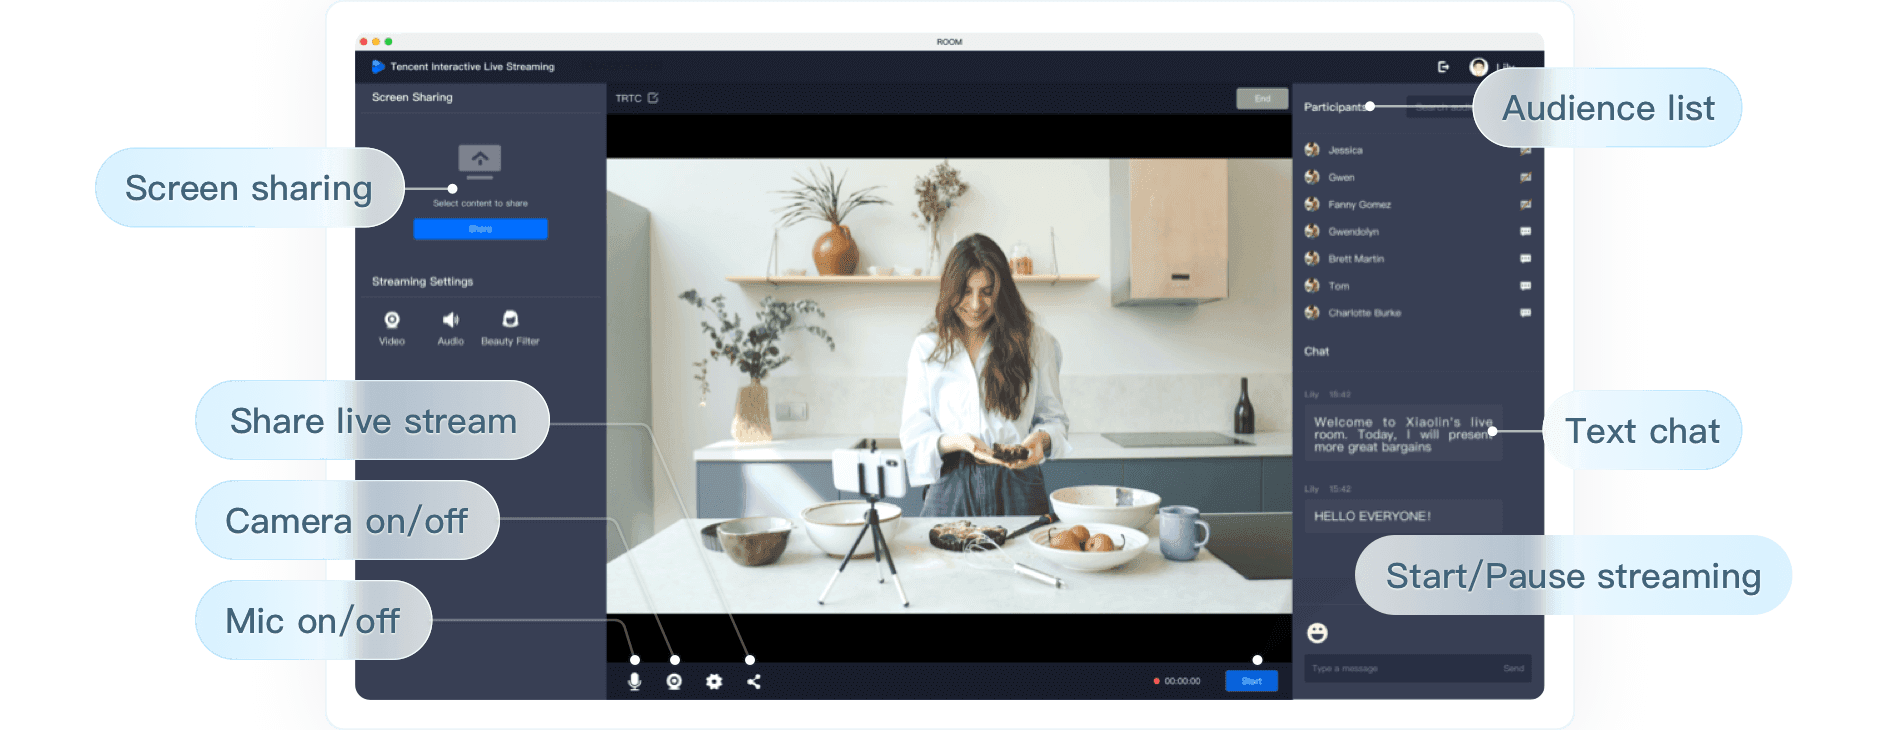
TUIPusher and TUIPlayer are our web-based open-source components for interactive live streaming (UI included). You can use them together with our basic SDKs such as RTC Engine and Chat to quickly equip your live streaming applications with web-based publishing and playback capabilities.

Integration
Step 1. Create an application
- Create a TRTC application
1. Sign up for a Tencent Cloud account and activate Tencent RTC (TRTC) and IM.
2. In the TRTC console, click Application Management > Create Application to create an application.
- Get the TRTC key information
1. In the application list, find the application created and click Application Info to view the SDKAppID.
2. Select the Quick Start tab to view the application’s secret key.
Accounts creating their first application in the TRTC console will get a 10,000-minute free trial package.
After you create a TRTC application, a Chat application with the same SDKAppID will be created automatically.
Step 2. Prepare your project
1. Download the code for TUIPusher and TUIPlayer at GitHub.
2. Install dependencies for TUIPusher and TUIPlayer.
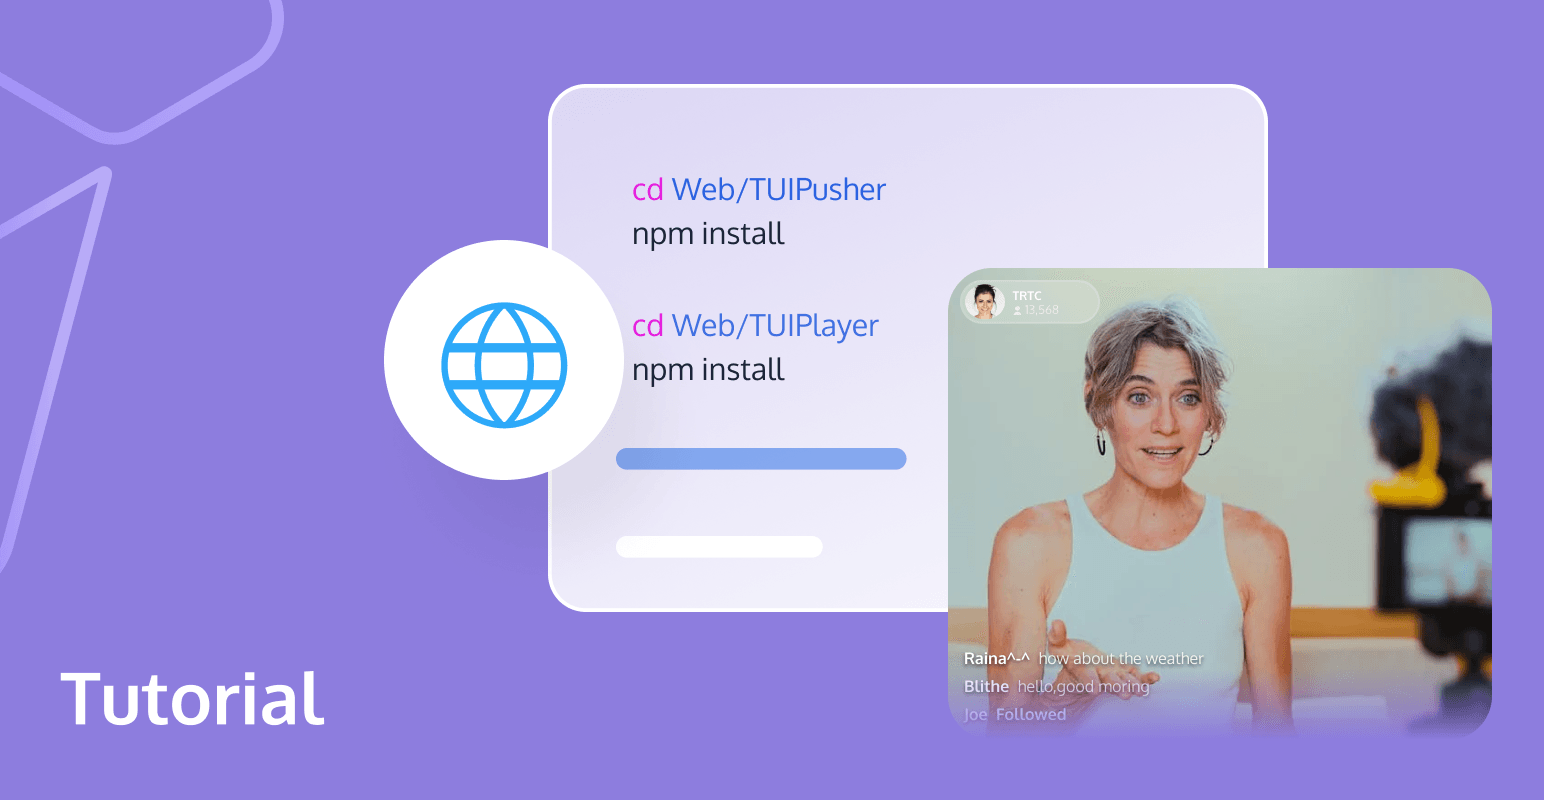
cd Web/TUIPusher
npm install

cd Web/TUIPlayer
npm install
3. Paste SDKAppID and the secret key to the specified locations below in the TUIPusher/src/config/basic-info-config.js and TUIPlayer/src/config/basic-info-config.js files.
4. Run TUIPusher and TUIPlayer in a local development environment.
cd Web/TUIPusher
npm run serve

cd Web/TUIPlayer
npm run serve
5. You can open http://localhost:8080 and http://localhost:8081 to try out the features of TUIPusher and TUIPlayer.
6. You can modify the room, anchor, and audience information in TUIPusher/src/config/basic-info-config.js and TUIPlayer/src/config/basic-info-config.js, but make sure the room and anchor information is consistent in the two files.
Step 3. Enable relay to CDN
Because the high-speed and standard live streaming features of TUIPusher and TUIPlayer are powered by Cloud Streaming Services, you need to enable relay to CDN to use these features.
1. In the TRTC console, enable relay to CDN for your application. You can choose Specified-stream relay or Global relay based on your needs.
2. On DomainManagement, add your playback domain name. For detailed directions, please see Adding Your Own Domain.
3. Configure the playback domain name in TUIPlayer/src/config/basic-info-config.js.
You can now use all features of TUIPusher and TUIPlayer, including ultra-low-latency live streaming, high-speed live streaming, and standard live streaming.
Step 4. Apply in a production environment
To apply TUIPusher and TUIPlayer to a production environment, in addition to integrating them into your project, you also need to do the following:
- Create a user management system to manage user information such as user IDs, usernames, and profile pictures.
- Create a room management system to manage room information such as room IDs, room names, and anchors.
- Generate UserSig on your server.
- Submit account information such as user information, room information, SDKAppID, and UserSig to store of vuex for global storage, as shown in TUIPusher/src/pusher.vue and TUIPlayer/src/player.vue. Then you will be able to use all publishing and playback features of the two components. The diagram below shows the workflow in detail:
Note
The tutorial here only provides a concise overview. For a more comprehensive understanding of TUIPusher and TUIPlayer attributes, explore our extended guide Integrating TUIPusher and TUIPlayer (Web).
Conclusion
We're confident that our Tencent RTC product will bring substantial convenience to your app development journey. If you're intrigued by our product, be sure to stay tuned for upcoming updates and insights on Tencent RTC.
If you have any questions or need assistance, our support team is always ready to help. Please feel free to Contact Us or join us in Discord.


