


Do you want to implement a video call effect like WhatsApp on the web? Imagine enhancing any type of user experience in scenarios such as social and community interactions, telehealth consultations, sales and customer support, and online education with seamless video calling.
In this step-by-step tutorial, we'll integrate the TUICallKit component from Tencent RTC Call UIKit to create a fully functional video chat app. Whether you're a developer looking to expand your skill set or a business aiming to improve user engagement, this guide may help you.
If you want to experience audio and video call, click to experience the Tencent RTC Demo.
Specific steps
Environment preparations
● React version 18+.
● Node.js version 18+ or 20+.
● Modern browser, supporting WebRTC APIs.
Step 1. Activate the service
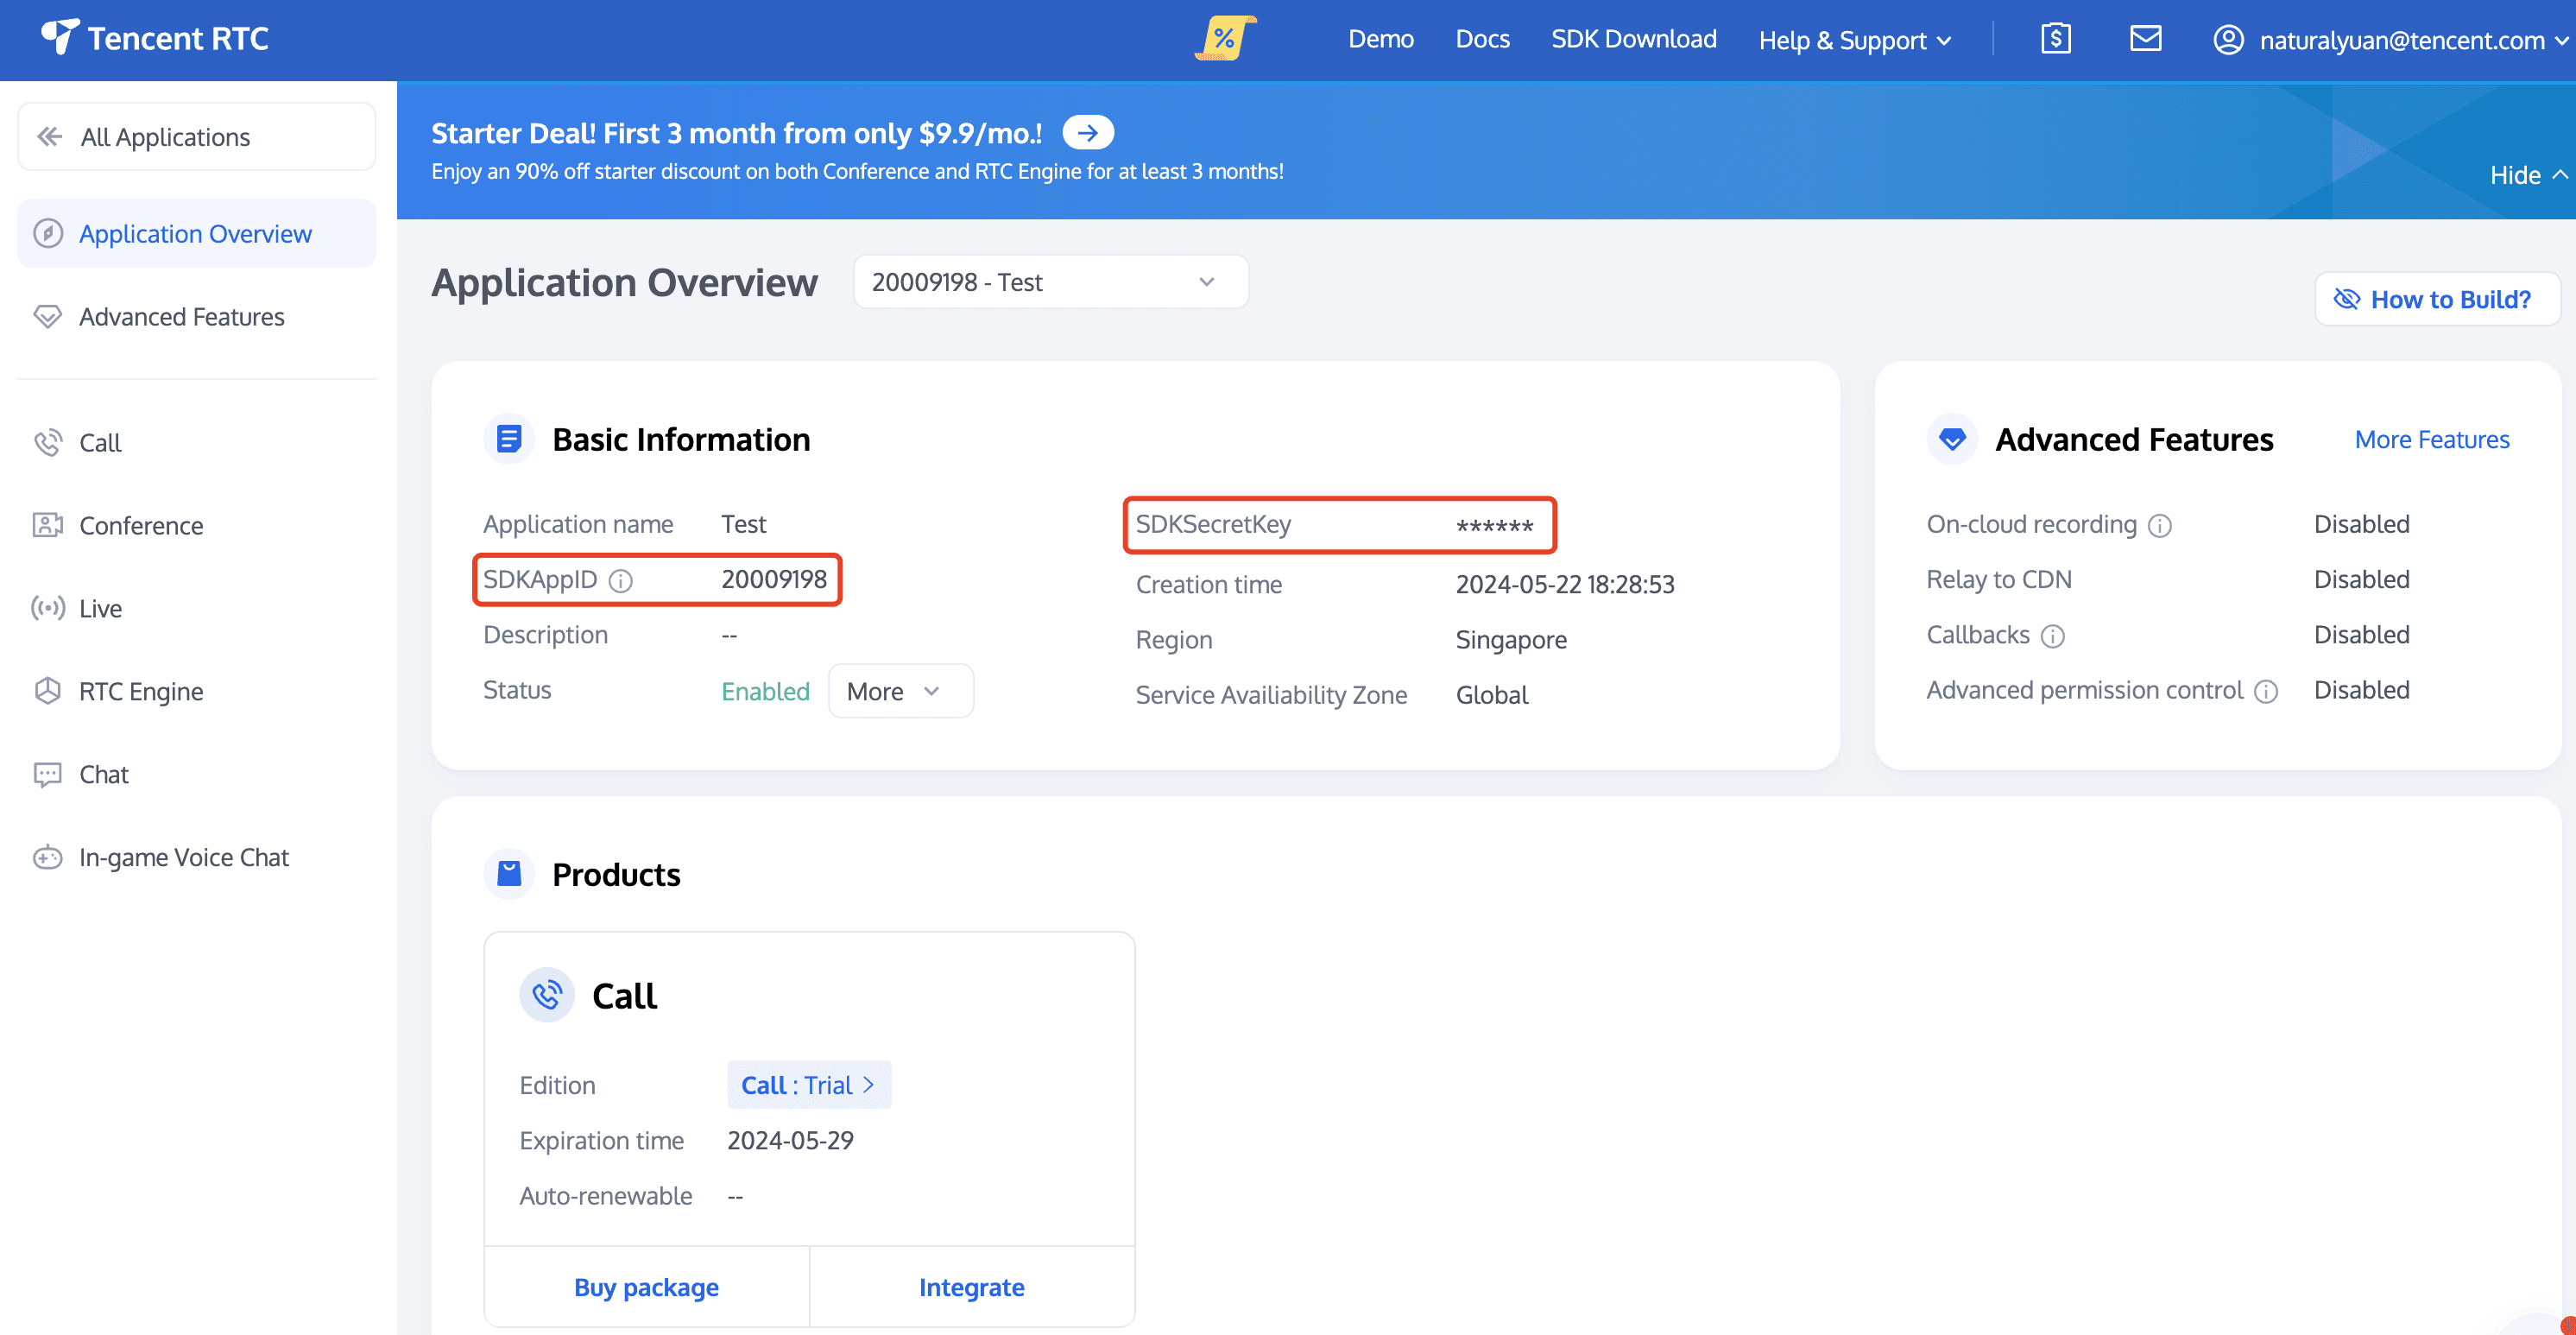
Refer to Activate the Service to obtain SDKAppID, SDKSecretKey, which will be used as Mandatory Parameters in Step 4: Initialize the TUICallKit.
log in to Console, click Create Application.
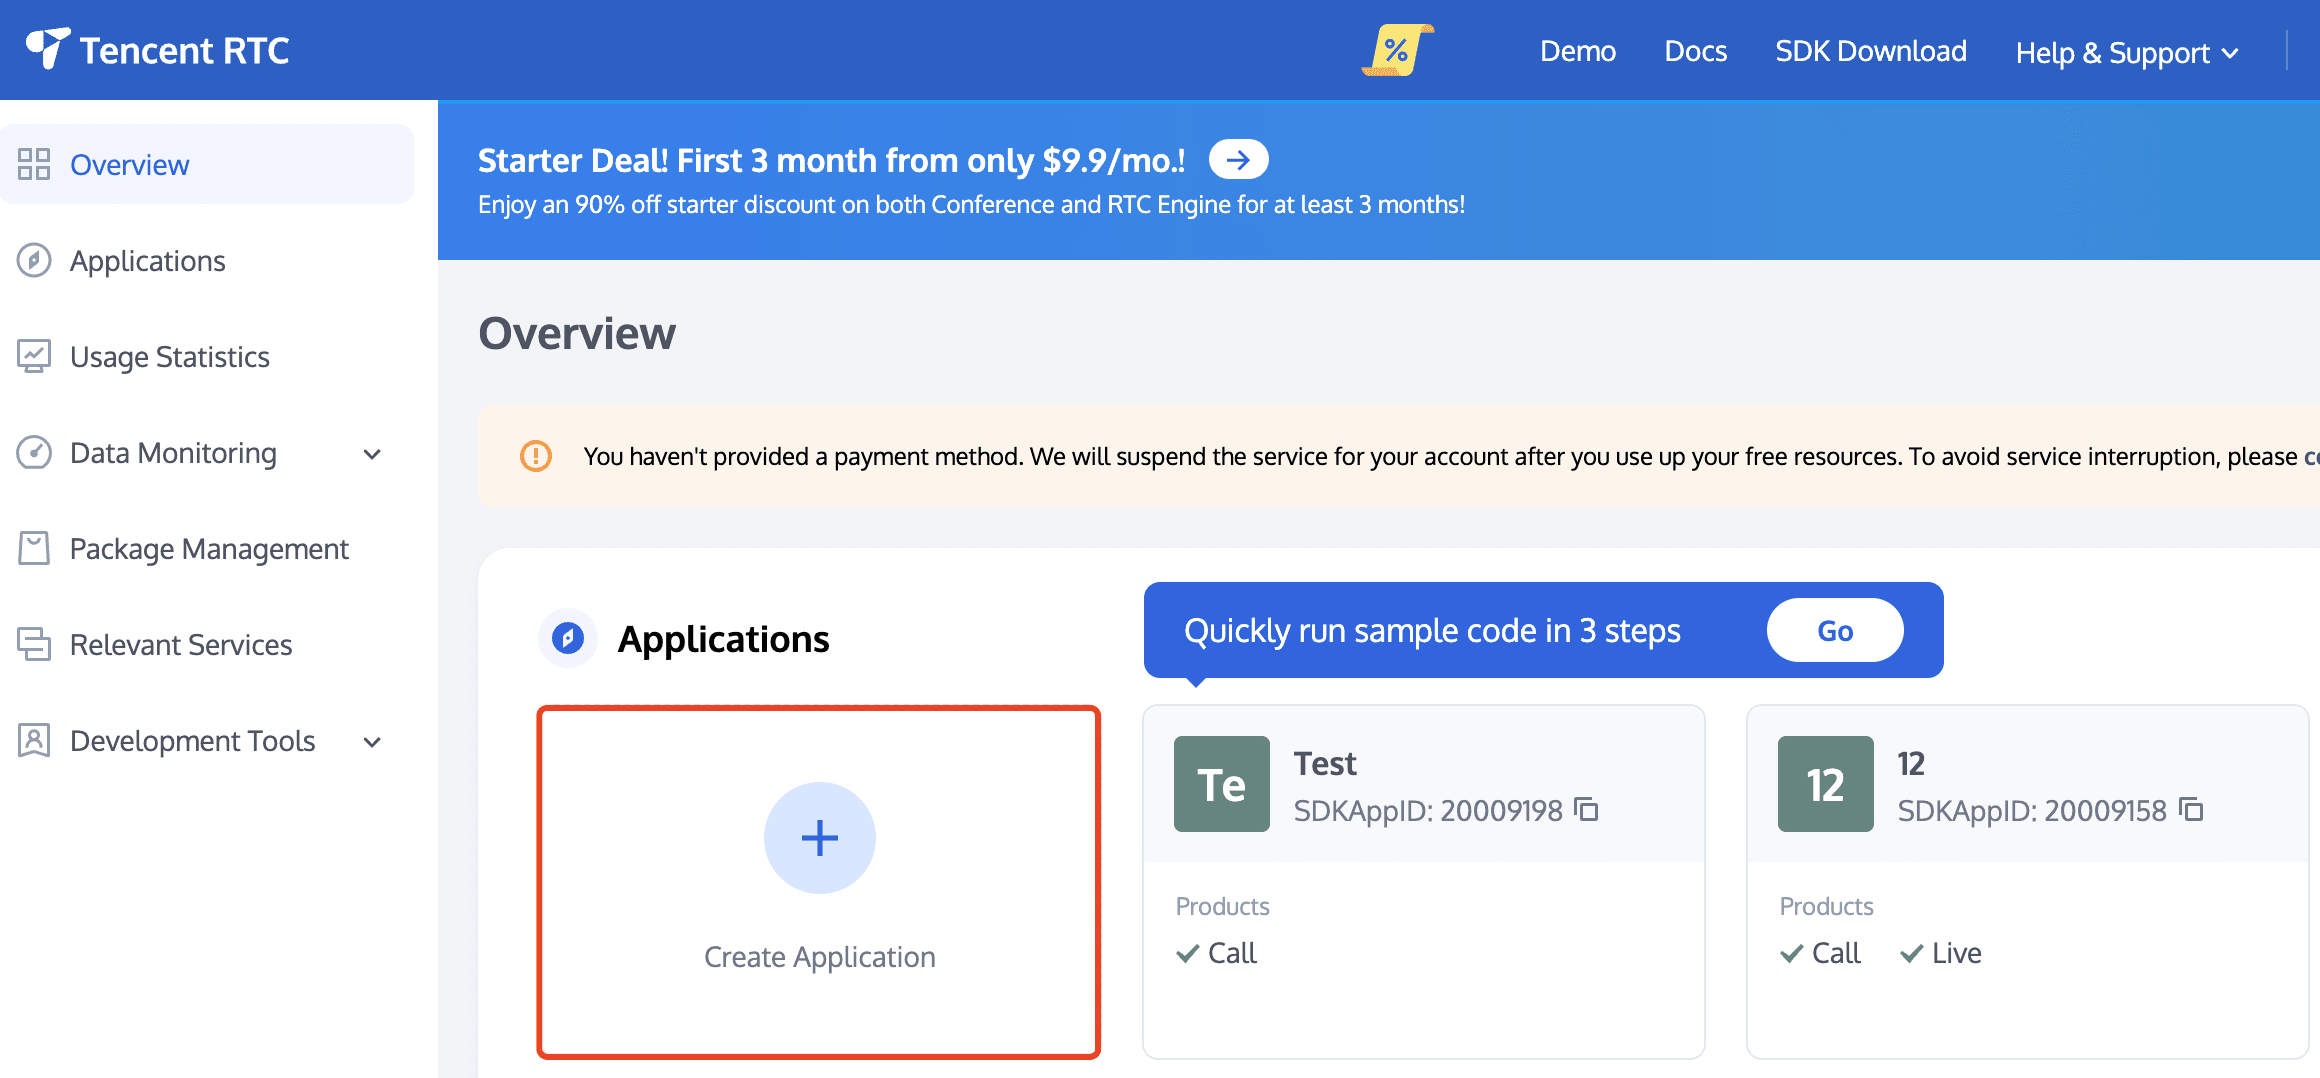
In the creation popup, select Call and enter the application name, select the data storage Region, click Create.
3. Once activated, click Application Overview to obtain SDKAppID、SDKSecretKey, which will be used when using CallKit.
Step 2. Create a React Project
1. Create the callkit-demo project. You can choose whether to use the typescript template. If you encounter any installation issues, see FAQs.
npm create vite@latest callkit-demo --template react-ts2. After the project is created, go to the project directory.
cd callkit-demoStep 3. Download the TUICallKit
1. Download the @tencentcloud/call-uikit-react component.
# callkit-demo
npm install @tencentcloud/call-uikit-react
2. Copy the debug directory to your project directory callkit-demo/src, it is necessary when generating userSig locally.
MacOS
cp -r node_modules/@tencentcloud/call-uikit-react/debug ./srcWindows
xcopy node_modules\@tencentcloud\call-uikit-react\debug .\src\debug /i /eStep 4. Initialize the TUICallKit
You can choose to import the sample code in the callkit-demo/src/App.tsx file.
1. Import the call-uikit related API object.
import { useState } from 'react';
import { TUICallKit, TUICallKitServer, TUICallType } from "@tencentcloud/call-uikit-react";
import * as GenerateTestUserSig from "./debug/GenerateTestUserSig-es"; // Refer to Step 3
2. use the TUICallKit component, which contains the complete UI interaction during a call.
return (
  <>
    <span> caller's ID: </span>
    <input type="text" placeholder='input caller userID' onChange={(event) => setCallerUserID(event.target.value)} />
    <button onClick={init}> step1. init </button> <br />
    <span> callee's ID: </span>
    <input type="text" placeholder='input callee userID' onChange={(event) => setCalleeUserID(event.target.value)} />
    <button onClick={call}> step2. call </button>

    {/* 【1】Import the TUICallKit component: Call interface UI */}
    <TUICallKit />
  </>
);
3. Call the TUICallKitServer.init API to log in to the component, you need to fill in SDKAppID, SDKSecretKey as two parameters in the code.
const SDKAppID = 0;        // TODO: Replace with your SDKAppID (Notice: SDKAppID is of type number)
const SDKSecretKey = '';   // TODO: Replace with your SDKSecretKey

const [callerUserID, setCallerUserID] = useState('');
const [calleeUserID, setCalleeUserID] = useState('');

//【2】Initialize the TUICallKit component
const init = async () => {
  const { userSig } = GenerateTestUserSig.genTestUserSig({
    userID: callerUserID,
    SDKAppID,
    SecretKey: SDKSecretKey,
  });
  await TUICallKitServer.init({
    userID: callerUserID,
    userSig,
    SDKAppID,
  });
  alert('TUICallKit init succeed');
}
//【3】Make a 1v1 video call
const call = async () => {
  await TUICallKitServer.call({
    userID: calleeUserID,
    type: TUICallType.VIDEO_CALL,
  });
};
Parameter
● userID: a custom of UserID, it is allowed to contain only upper and lower case letters (a-z, A-Z), numbers (0-9), underscores, and hyphens.
● SDKAppID: The unique identifier for the audio and video application created in the Tencent RTC Console.
● SDKSecretKey: The SDKSecretKey of the audio and video application created in the Tencent RTC Console.
● userSig: A security protection signature used for user log in authentication to confirm the user's identity and prevent malicious attackers from stealing your cloud service usage rights.
Step 5. Make your first call
- using the TUICallKitServer.call API to make a call.
//【3】Make a 1v1 video call
const call = async () => {
  await TUICallKitServer.call({
	userID: calleeUserID,
    type: TUICallType.VIDEO_CALL,
});
};
2. Enter npm run dev to run the project.
Warning:
For local environment, please access under localhost protocol. For public network experience, please access under HTTPS protocol. For details, see Description of Network Access Protocol.
3. Open two browser pages, enter different custom userID click step1. init to login (caller and callee).
4. After both userID init to successfully, click on step2. call to make a call. If you have a call problem, refer to FAQs.
Final
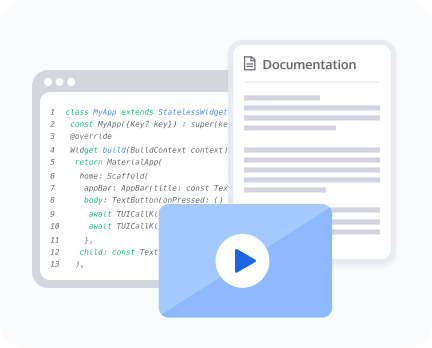
Dive into the Tencent RTC Documentation to gain a deeper understanding of the features and capabilities offered by Tencent RTC SDK. Explore the API reference, sample codes, and best practices.
Configuring Nicknames and Avatars
Configure Resolution and Fill Mode
If you have any requirements or feedback, you can contact: info_rtc@tencent.com. Or Reach out via Telegram or Discord for advice on your implementation.

