


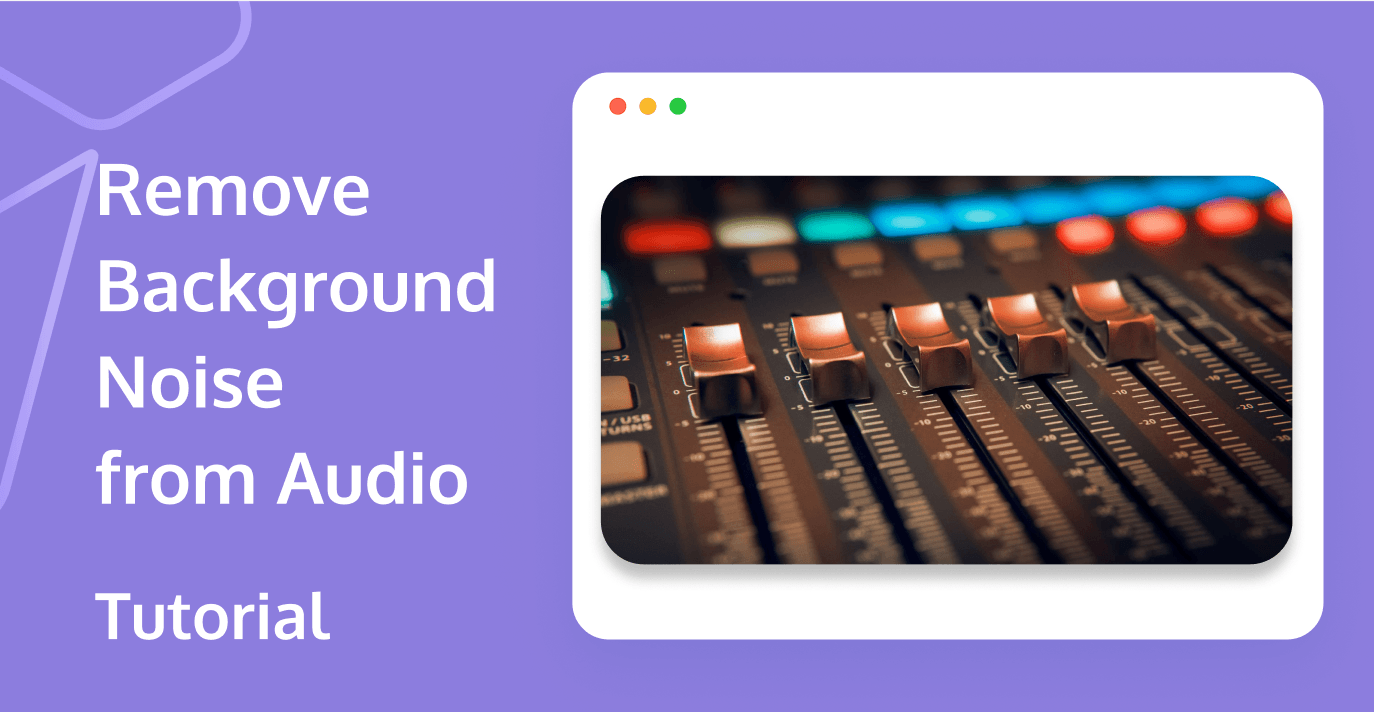
Audio has become a common way to preserve important information. Whether you are making podcasts, recording meetings, creating videos or other, high-quality audio is key. This article will teach you how to remove background noise from audio to ensure every important discussion can be clearly recorded. With these tips, you will be able to get clearer and more professional audio to provide a reliable basis for subsequent decisions and actions.

Why Do You Need to Remove Background Noise from Audio?
Background noise can significantly reduce the recording quality. These unwanted sounds will affect the audience experience and weaken the overall content effect. Here are a few important reasons to remove background noise.
- Improve clarity. Clear audio ensures that your message is conveyed accurately to the audience. When every word is clearly audible, your point of view can be better understood and accepted.
- Show professionalism. High-quality audio reflects your attention to detail and professional attitude. It can effectively enhance your brand image or personal reputation.
- Enhance appeal. Listeners are more likely to be attracted by clear, pleasant audio and are willing to continue to pay attention to your content. High-quality audio helps to increase listener engagement and loyalty.
- Improve accessibility. Clear audio is more easily processed accurately by automatic transcription services, which means that your content can be presented in text form, allowing more people, including those with hearing impairments, to access your wonderful content.
What Causes Background Noise in Audio Recordings?
Understanding the sources of background noise can help you reduce it in the first place. Here are a few common causes of background noise.
- Environmental Sounds. Traffic, wind, animals, and other external noises can intrude on your recordings.
- Mechanical noise. In office and home settings, devices like air conditioners, computer fans, and refrigerators can produce a constant low-frequency hum or intermittent noise.
- Indoor acoustics. Rooms without acoustic treatment can have echo and reverberation issues, especially when they are empty or have hard surfaces
- Recording equipment issues. Low-quality microphones or improper microphone placement can capture too much ambient noise.
- Electrical interference. Poor-quality audio cables, improper wiring, or nearby electronic devices will generate electromagnetic interference.
How to Remove Background Noise from Audio?
Removing background noise from audio can significantly improve the clarity and quality of your recordings. Several online tools, like Audacity and Adobe Audition, offer features to effectively eliminate unwanted noise. Follow this step-by-step guide using such software to clean up your audio recordings efficiently:
Upload the Audio File
Begin by uploading the audio file you wish to edit from your computer or device to the software platform.
Select Noise Reduction Tools
Locate and select the noise reduction or audio enhancement feature within the software. This may sometimes be found under a 'Tools' or 'Effects' menu.
Adjust Noise Reduction Settings
Adjust the noise reduction settings to target the specific types of background noise present in your audio, such as hissing, hum, or wind noise. Many programs offer sliders or presets that help reduce common noises without degrading the quality of the main audio.
Preview the Adjustments
Utilize the preview option to listen to short segments of the audio with the noise reduction settings applied. This helps in fine-tuning the adjustments to ensure the audio quality is preserved while minimizing noise.
Apply the Noise Reduction
Once satisfied with the settings, apply the noise reduction to the entire audio file. The process may take a few seconds to a few minutes, depending on the file size and the complexity of the edits.
Export the Cleaned Audio
Finally, save or export the cleaned audio file in your desired format. Make sure to choose a format that preserves the audio quality while being compatible with your intended use.
Practical Tips to Prevent Background Noise During Recording
Prevention is often more effective than trying to fix problems after they occur. It is much easier to prevent background noise during recording than to remove it later. Here are some proven methods.
- Soundcheck the environment. Before you start recording, have a dress rehearsal. This will help you identify and resolve potential noise issues on time.
- Use headphones to monitor. Real-time monitoring is the best way to detect problems. With headphones on, you can immediately detect any discordant sounds.
- Time your recording. Choose the quietest time of the day to record. This could be early in the morning or late at night, depending on your specific environment.
- Acoustic treatment. Give your recording space a "beauty treatment". Soundproofing, bass traps, and diffusers can effectively control sound reflections and resonances.
- Stay still. When recording, minimize unnecessary movements. Don't touch the microphone, and avoid any actions causing noise.
Conclusion
Removing background noise from audio is an art that requires both skill and patience. This article provides you with a series of practical methods, from prevention to post-processing, covering all aspects of removing background noise. Using these tips, we believe you will soon learn how to remove background noise from audio.
Remember, good audio can make your content more attractive, whether it is a podcast, video or meeting recording. With continuous practice and exploration, you will eventually master the essence of removing background noise and bringing an excellent listening experience to your audience.
FAQ
What is the best free software for removing background noise?
Speaking of free and easy-to-use noise-reduction software, Audacity is the first choice for many people. It is fully functional and easy to use. Apple users can try the built-in GarageBand. If you want a simpler operating interface, Ocenaudio is worth a try.
How do I block background noise?
To record good sound, the environment is important. Find a quiet place, preferably in the morning or evening when there are few people. Using a directional microphone will be more effective, as it only collects the sound you want. If conditions permit, hang a few soundproofing panels, which will have an immediate effect. Don't forget to adjust the microphone position, closer to your mouth, but not too close.
If you have any questions or need assistance online, our support team is always ready to help. Please feel free to Contact us or join us on Telegram or Discord.


