


What Knocket + the AI Customer Support Skill Can Do for You
Imagine scenarios like these:
● You built a personal blog or portfolio site, and sometimes people want to contact you, but you don’t want to publish your phone number.
● You run an independent online store, and customers want to ask about pricing or shipping, but you can’t sit in front of your computer 24/7.
● Your team built an internal tool, and coworkers want to give feedback, but you don’t need a full ticketing system.
● You used AI to spin up a landing page or project website, but once visitors arrive, there’s no way to interact with them.
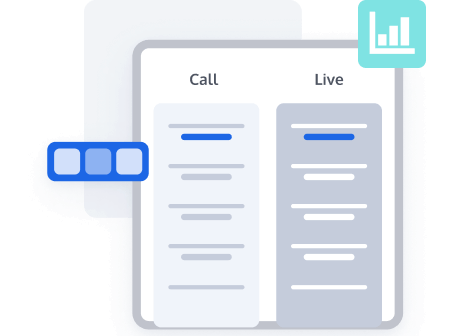
Knocket solves the problem of letting visitors contact you — embed one line of code into your webpage, and a chat bubble appears in the bottom-right corner.
The AI Customer Support Skill solves the problem of who replies when you’re away — AI can automatically receive and answer visitor messages, and important messages can still be pushed to your phone so you can reply personally.
Put them together, and you get a 24/7 personal assistant for your website, helping you watch over your site and greet every visitor.
Use Cases
Scenario | How to Use It |
Personal Assistant | Blog, portfolio, or resume site → visitors click the bubble to chat with you, and AI replies automatically when you’re away. |
Internal Collaboration | Internal team tools → embed Knocket to collect feedback, let AI answer common questions first, and hand complex issues to you. |
Customer Support for an Independent Site | E-commerce / SaaS / service websites → AI answers customer questions automatically, while you review things from your phone. |
Side Project | AI-generated websites → add a chat entry point to make the product feel more human instead of being just a static page. |
1. Install Knocket (Add a Chat Bubble to Your Website)
This step has nothing to do with AI. It simply adds real-time chat to your website. It takes about 5 minutes.
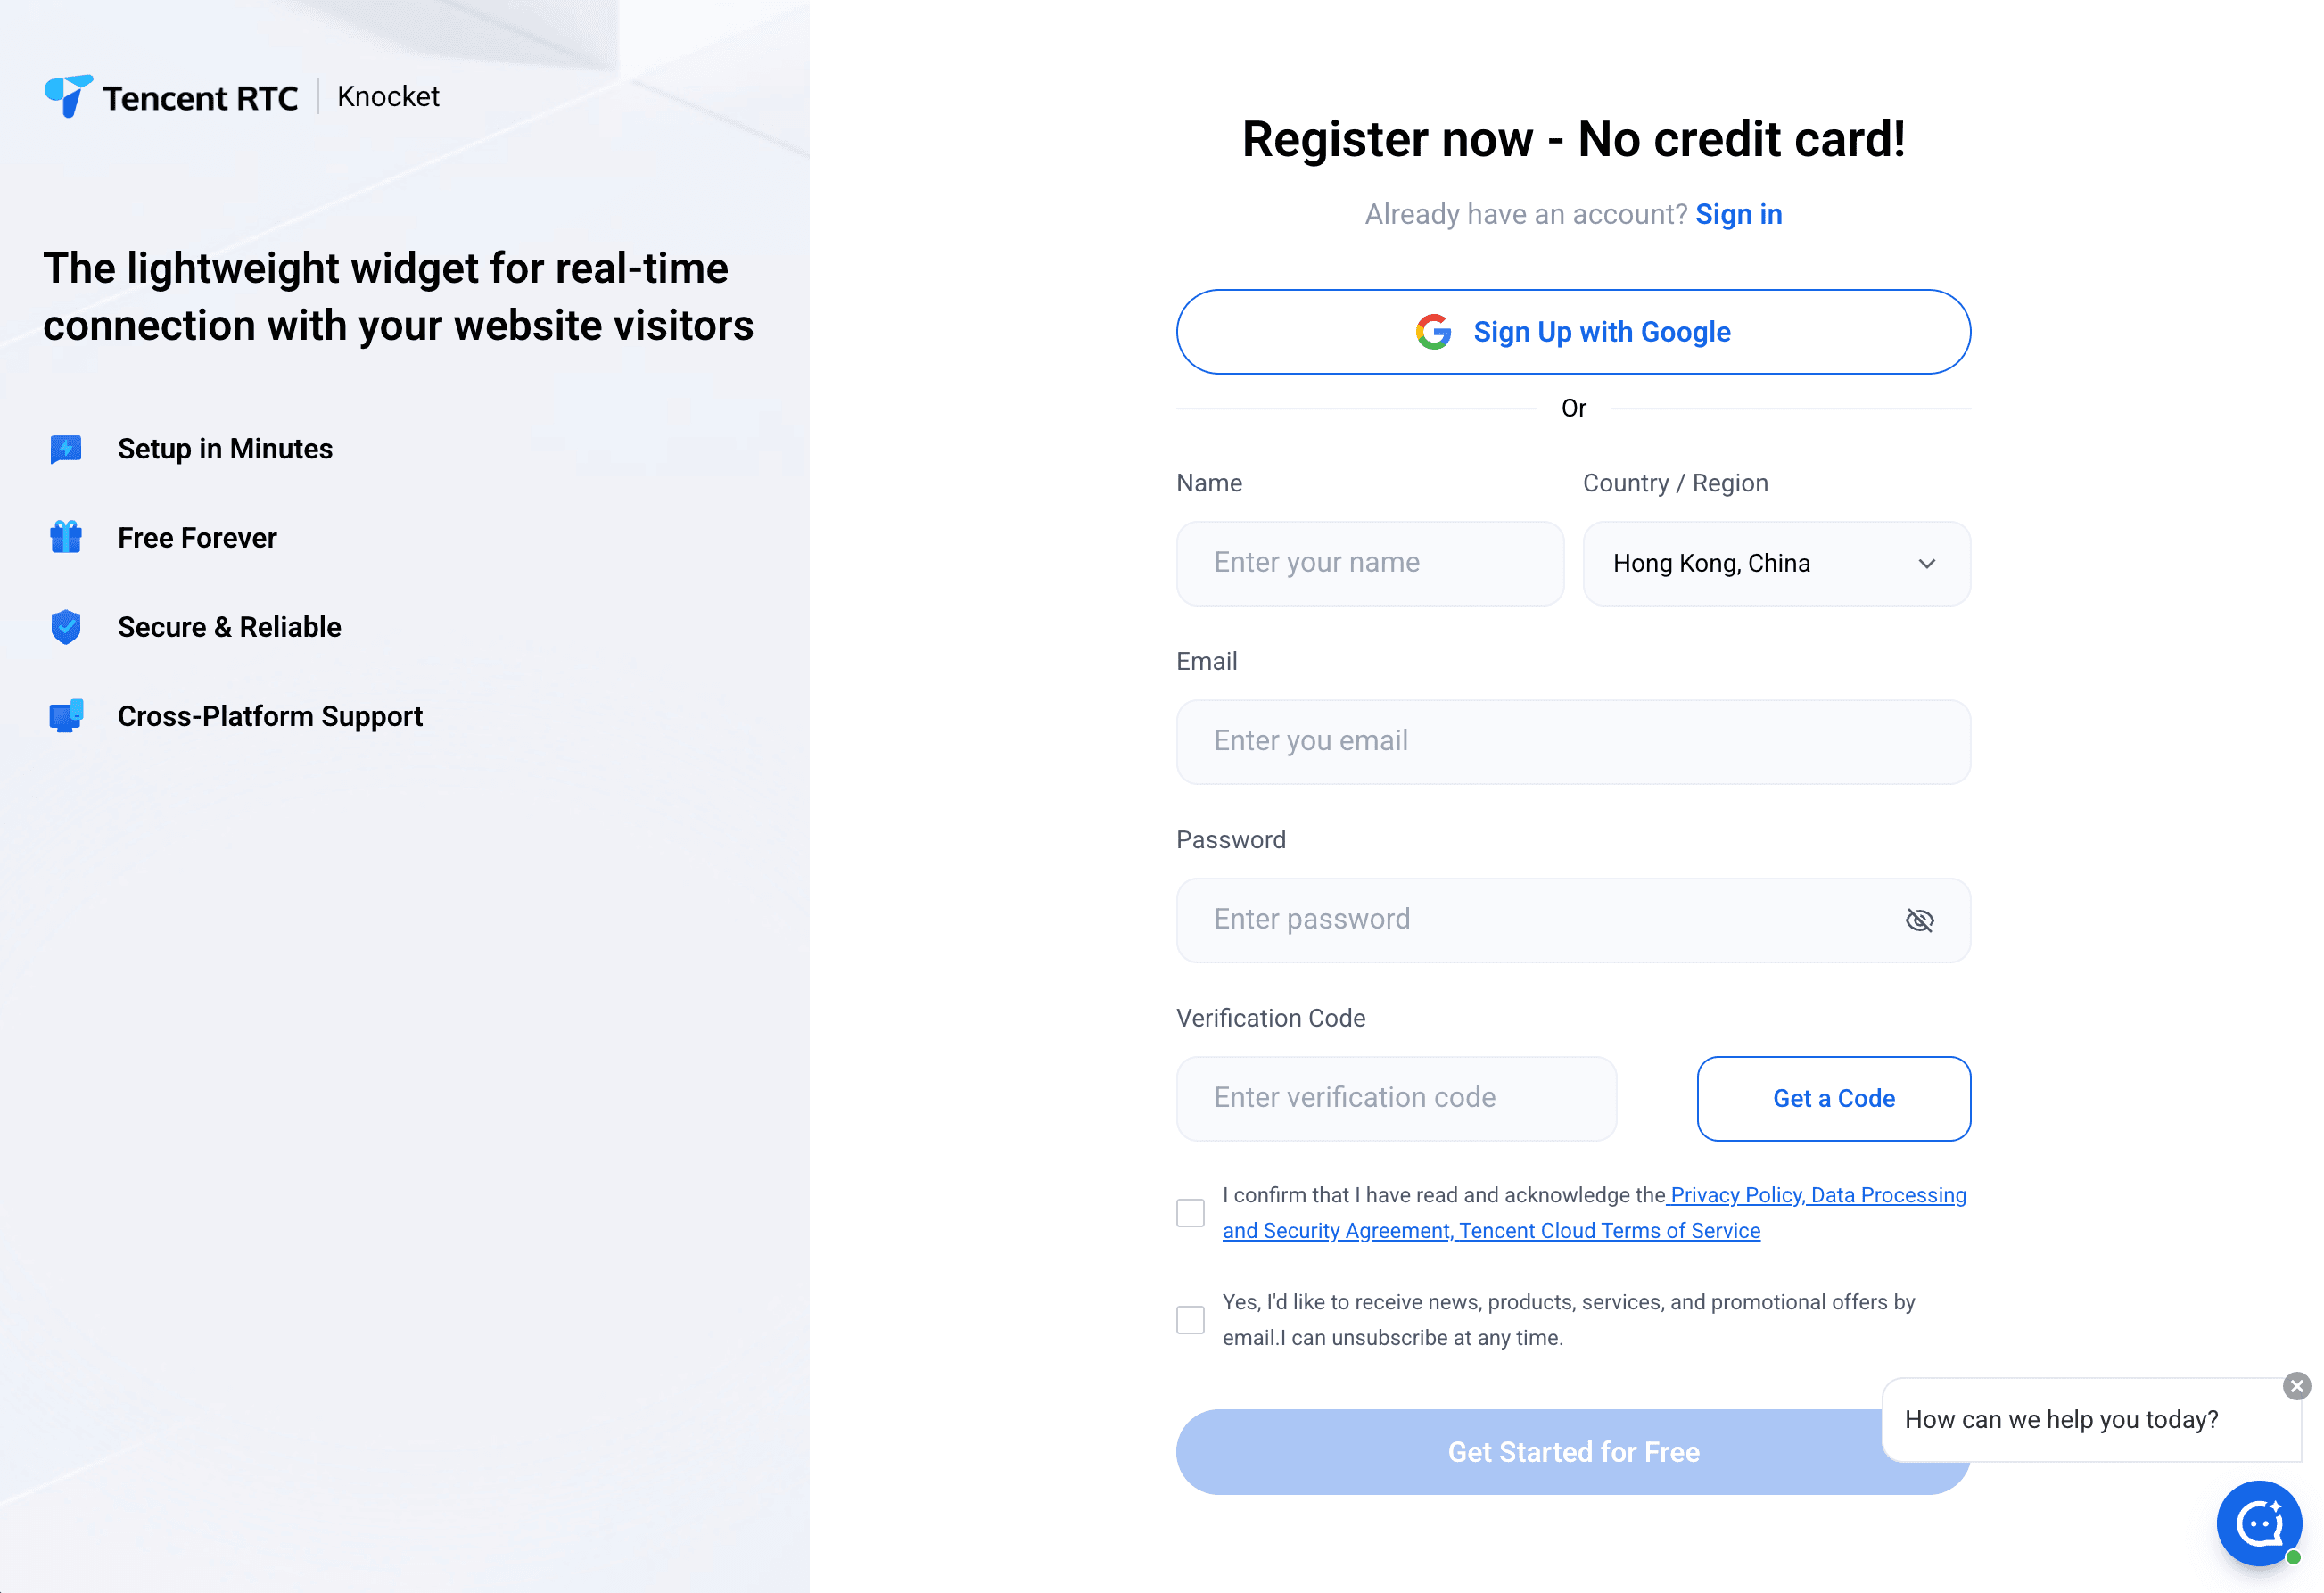
Step 1: Create an Account
● Open the Knocket sign-up page.
● Register an account.
● After logging in, you’ll see the Knocket admin console.
Step 2 (Optional): Customize the Appearance
After logging in, you’ll land on the widget customization page. You can keep everything at the default settings, or customize it yourself:
● Change the color: Match the bubble color to your website theme.
● Change the avatar: Upload your logo or avatar.
● Upload a meeting link: Add a Calendly-style booking link.
● Set a welcome message: The first sentence visitors see when they open the bubble, for example: “Hi! How can I help you?”
Everything is drag-and-drop or point-and-click. No coding required. You can configure more settings later if you want.
Step 3: Get the Embed Code
After you click Next, you’ll see a code snippet like this. Copy this code:
<script src="https://trtc.io/knocket-sdk/sdk.js?identifier=xxxx" async></script>Step 4: Put the Code Into Your Website
Find your website’s HTML file (usually index.html) and paste the code you copied right before the </body> tag.
If that feels complicated, you can tell your coding assistant / agent:
Help me put this line inside the body tag: <script src="https://trtc.io/knocket-sdk/sdk.js?identifier=xxxx" async></script> and integrate a chat widget.
<!DOCTYPE html>
<html>
<head>
    <title>My Website</title>
</head>
<body>

    <!-- Your existing site content -->

    <!-- Paste the Knocket code here -->
    <script src="https://web.sdk.qcloud.com/im/knocket/knocket.umd.js?sdkAppId=YOUR_ID"></script>

</body>
</html>
Step 5: Refresh the Page and Look for the Bubble
Refresh your webpage. You should now see a chat bubble icon in the bottom-right corner.
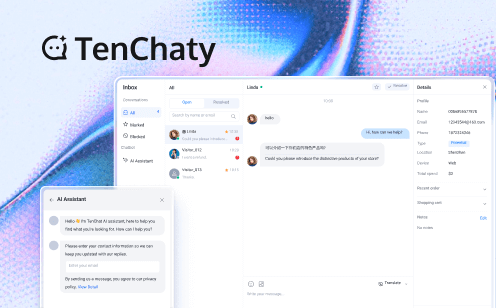
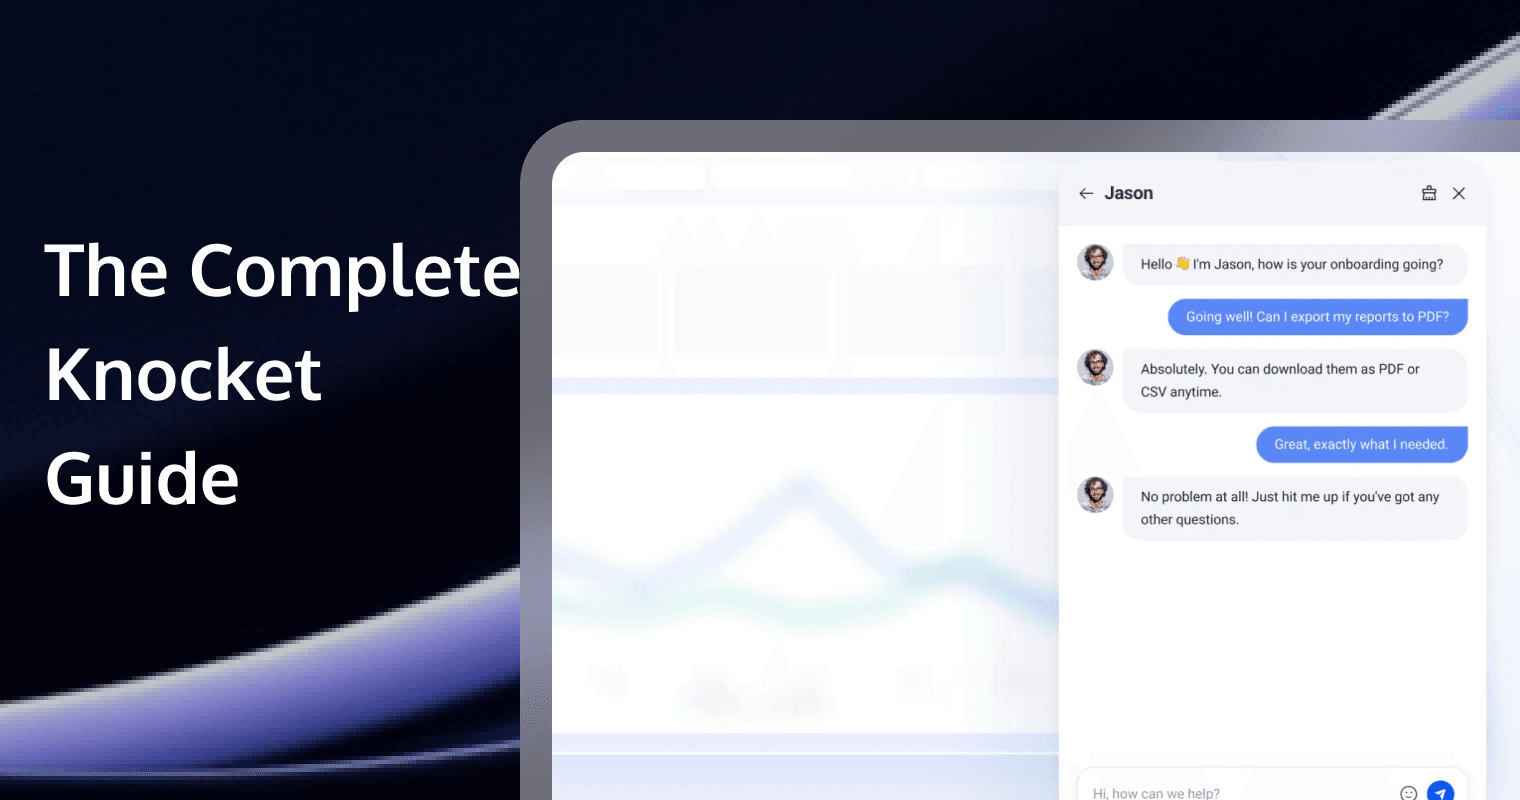
Click it → the chat window pops up → visitors can send messages there → and you can view and reply to them in the Knocket Inbox admin panel.
At this point, your website already has real-time chat!
But here comes the next problem — you can’t stare at the Inbox 24/7 waiting for messages. That’s exactly what the AI customer support part is here to solve.
2. Add AI Customer Support to Knocket
This step uses your coding assistant / agent together with the Skill we provide. Think of a Skill as a plugin for AI — once installed, your AI assistant knows how to help you set up automatic replies.
2.1 What It Can Do
After installing the AI Customer Support Skill, your Knocket workflow becomes:
2.2 How the Notification Channel Works
The AI customer support flow can automatically reply to visitor messages, and uses Telegram as the notification channel:
● How it works: A customer arrives → you get notified first → you reply or let AI reply.
● How AI joins the flow: You get notified first. If you don’t reply within 5 minutes → AI takes over. Good when each customer message matters and you want to personally review replies.
● Do you need to do anything? Optional: reply in Telegram within 5 minutes.
● Extra setup needed: A Telegram Bot (takes about 3 minutes).
2.3 Prerequisites
Before you start, prepare the following:
1. Prepare your AI coding assistant
Any coding assistant will work (referred to below as the “agent”).
2. Prepare Google Chrome
You need to launch Chrome in a special mode (called remote debugging mode) so the AI can operate the Inbox page for you in the background.
Steps:
● Quit Chrome completely (make sure no background Chrome process is still running).
● Open Terminal (on Mac, press Command + Space, type Terminal, then press Enter) and paste the following command:
/Applications/Google\ Chrome.app/Contents/MacOS/Google\ Chrome --remote-debugging-port=9222● Chrome will reopen. In the address bar, visit console and log in to your Knocket account.
● Make sure you can see the conversation list in Inbox.
Tip: After every reboot, you’ll need to launch Chrome this way again. Later, you can set it to start automatically on boot.
3. Prepare an AI API (for generating replies)
The AI customer support flow needs a large language model to generate replies. You’ll need an API.
Provider | Notes |
Anthropic (Claude) | Recommended. High-quality replies. |
OpenAI (GPT) | Also works. |
DeepSeek | Available in China and relatively affordable. |
Any other OpenAI-compatible API | Hunyuan and similar providers also work. |
You need to note down two things:
● API Base URL
● API Key
4. Prepare your Telegram Bot
You’ll need a Telegram Bot for notifications. Setting one up takes about 3 minutes — the agent will guide you through it if you don’t have one yet.
2.4 Install the AI Customer Support Skill
● Download the Skill: GitHub Knocket. If you don’t know how to download it manually, you can just ask your AI coding assistant / agent to download it for you.
● In the chat box of your AI coding assistant / agent, type:
Help me install the knocket-inbox-agent skillOr simply say:
I want to set up automatic replies for Knocket InboxThen it becomes a multiple-choice flow — the agent will guide you step by step.
The agent will ask you:
Question 1: Enter your API information
The agent will ask whether you already have an LLM API. If you do, it will ask for your AI API base URL and key. Just paste them in.
Question 2: Is the Knocket Inbox page already open?
You already prepared this in the prerequisites, so you can choose A / Yes.
Question 3: Do you already have a Telegram Bot?
● Yes → just enter the Token and Chat ID.
● No → the agent will guide you step by step to create one (it really only takes about 3 minutes).
Then it starts running! The agent will complete all technical configuration for you and launch the monitoring script.
2.5 Daily Use
Your Telegram will receive notifications like this:
New message (John Smith):
Hi, I’m interested in your design services, what’s the pricing?You have two choices:
Option 1: Reply directly in Telegram
For example, you reply:
Logo design starts from $3000, branding package upon request.
The customer receives that message, and Telegram tells you Replied.
Option 2: Ignore it
● After 5 minutes, AI generates a reply automatically.
● Telegram tells you AI auto-replied: xxx
It feels like having a private assistant covering your front desk — you get notified first, and if you’re busy, the assistant takes over.
2.6 Customize the AI Reply Style
By default, the AI uses a general customer support tone. You can customize it so it sounds more like you.
Create a config.toml file in the working directory (your agent can generate it for you too) and write:
# Persona — tell the AI who it is
persona = "You are the friendly customer support assistant for XX Studio. Warm, polite, and concise."

# Business context — help the AI understand your business
business_context = "We mainly provide branding design and UI design services, with pricing ranging from RMB 5,000 to 50,000."

# Reply rules — constrain the AI's behavior
reply_rules = """
Reply in Chinese in 1–3 short sentences.
Keep it concise.
For pricing, say “we need to evaluate based on your requirements” instead of giving a fixed number.
If you're not sure, say “I'll help connect you with a teammate.”
"""

# Knowledge base — common Q&A
knowledge_base = """
Q: How long does a design project usually take?
A: A logo usually takes 3–5 business days. A full branding project takes 2–4 weeks.

Q: How many rounds of revisions are included?
A: Unlimited revisions until you're satisfied.

Q: What payment methods do you support?
A: Alipay, WeChat Pay, and bank transfer are all supported. Installment payments are also available
2.7 FAQ
Q: Do I need to pay extra?
Knocket itself is completely free. For the AI customer support part, you only need to pay for your AI API usage.
Q: Do I need a server?
No. The whole setup runs on your own computer (Mac or Linux) using your local Chrome browser.
Q: Will the AI still reply if my computer is off?
● No. The script needs your computer and Chrome to stay on in order to work. If you want 24/7 operation, you can:Keep your Mac open and plugged in
● Use a spare computer dedicated to this workflow
● Or use a cloud-based coding agent environment
Q: Will it affect my normal computer usage?
Not at all. The script runs quietly in the background. No pop-ups, no focus stealing, no interruption. You can keep using your computer normally while it silently watches the Inbox for you.
Q: I don’t know how to code. Can I still use it?
Absolutely. The whole process is basically answering a few setup questions and filling in some information. The AI handles all technical details for you.
Q: What if the AI sends an inappropriate reply?
Before AI replies, you get a notification first and have 5 minutes to reply personally. AI only takes over if you don’t reply. Worst case: log in to Inbox and manually send a correction.
Q: Which operating systems are supported?
Currently macOS and Linux are supported. Windows is not supported yet (because Chrome CDP startup works differently there).
Q: How do I stop the AI customer support flow?
Just tell your agent: “Help me stop customer support monitoring”, or run the following command in Terminal:
ps aux | grep telegram_human | grep -v grep
kill <PID>
2.8 How It Works (Simple Version)
You don’t need to understand the technical details to use it, but if you’re curious:
● Runs entirely in the background — no pop-ups, no focus stealing, no interruption to your work
● No duplicate processing — every message gets a “signature,” so processed messages won’t be handled twice
● Automatic fault tolerance — if the network drops, it reconnects automatically; if the page falls asleep, it refreshes automatically
Start Now
1. Register for Knocket (free)
2. Download the AI Customer Support Skill — you can also give the link to your AI assistant and ask it to download and install it for you
3. Tell your AI: “I want to set up automatic replies for Knocket.”
Questions? Feel free to reach out anytime.