


Live Chat on Website Free -- 5-Minute Setup for WordPress, Shopify, Squarespace & More
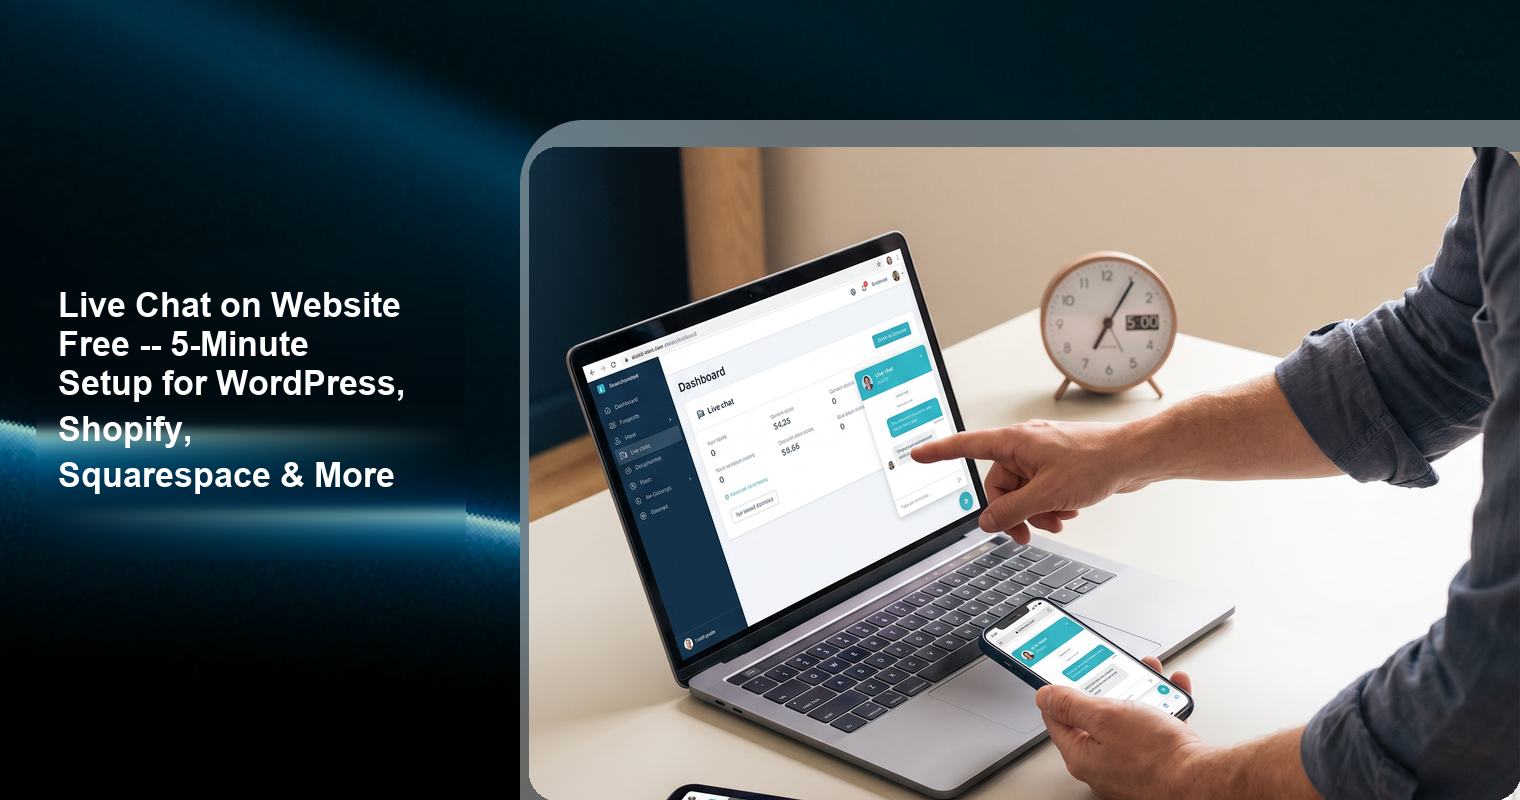
You have decided to add live chat to your website. Good. Now you just need to actually do it. This guide provides platform-specific setup instructions for every major website platform, with screenshots and step-by-step directions.
Every setup in this guide takes 5 minutes or less. No coding required. No credit card required.
Before You Start: Choose Your Chat Widget
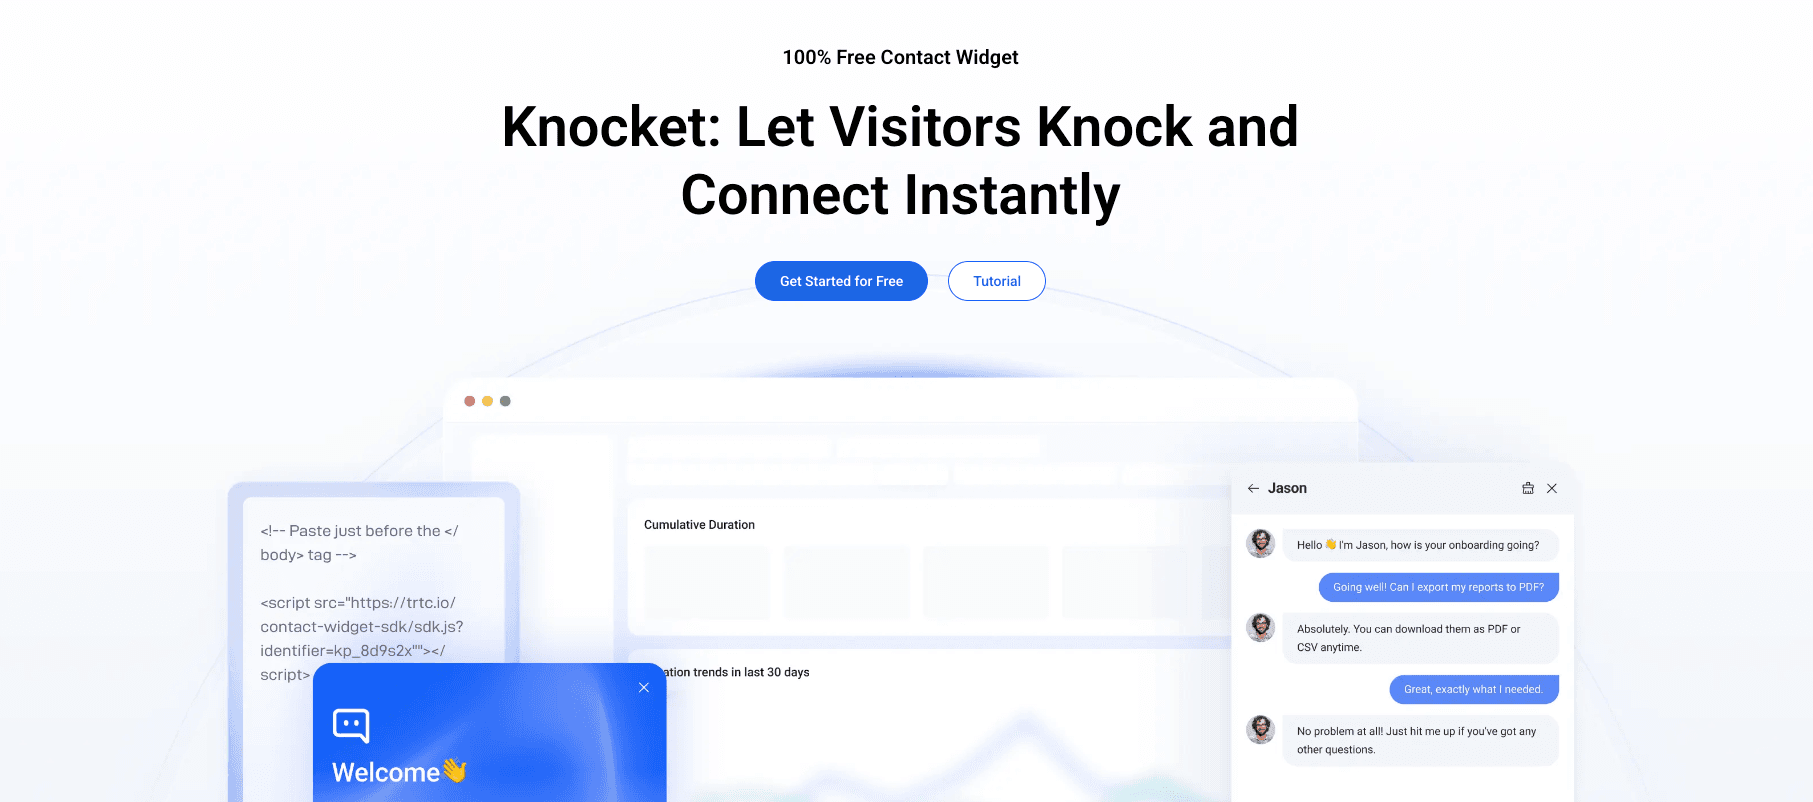
For this guide, we will use Knocket as the example widget because:
● It is 100% free with no branding
● It takes under 5 minutes to set up
● It works on every platform that supports custom JavaScript
● It includes live chat, social links, offline forms, and Calendly scheduling
The installation process is similar for other script-based widgets (Tawk.to, LiveChat, etc.). The only difference is the specific JavaScript code you paste into your website.
Step 1: Sign Up and Get Your Code (2 minutes)
1. Visit Knocket and click “Get Started”
2. Create an account with your email address (no credit card required)
3. In the dashboard, configure your widget settings:
● Business name and logo
● Widget color and position
● Welcome message
● Business hours
● Social links (WhatsApp, Instagram, Telegram, Messenger)
● Calendly integration (optional)
● Offline form settings
4. Copy the installation code from the “Install” section
The installation code is a single line of JavaScript that looks like a <script> tag with your unique widget ID.
Step 2: Install on Your Platform
WordPress (Self-Hosted)
Method 1: Using a Plugin (Recommended for non-technical users)
1. In your WordPress dashboard, go to Plugins → Add New
2. Search for “WPCode” or “Insert Headers and Footers”
3. Install and activate the plugin
4. Go to the plugin settings (usually under Settings → Insert Headers and Footers)
5. Paste the Knocket installation code into the “Footer” section
6. Save changes
Method 2: Editing Your Theme Directly
1. In your WordPress dashboard, go to Appearance → Theme File Editor
2. Find footer.php in the right sidebar
3. Scroll to the bottom of the file
4. Paste the installation code right before </body>
5. Click “Update File”
Method 3: Using a Child Theme (Best for long-term)
If you edit your theme’s footer.php directly, the changes will be lost when you update the theme. To prevent this, create a child theme and edit the child theme’s footer.php instead.
Shopify
1. Log in to your Shopify admin dashboard
2. Go to Online Store → Themes
3. Click the “Actions” dropdown (or the three dots) next to your active theme
4. Select “Edit Code”
5. In the file tree on the left, find Layout/theme.liquid
6. Scroll to the bottom of the file
7. Paste the installation code right before </body>
8. Click “Save”
Important notes for Shopify:
● The chat widget will appear on all pages except the checkout page
● Shopify restricts custom scripts on checkout for security
● Only Shopify Plus stores ($2,000+/month) can add custom scripts to checkout
● If you have a Shopify Plus store, use checkout extensions instead of editing theme files
Squarespace
1. Log in to your Squarespace dashboard
2. Go to Settings → Advanced → Code Injection
3. Paste the installation code into the “Footer” field
4. Click “Save”
Note: Squarespace’s Business plan or higher is required for code injection. The Personal plan does not support custom JavaScript.
Wix
1. Open your site in the Wix Editor
2. Click the “+” (Add) button in the left sidebar
3. Scroll down and click “More” → “Custom Code”
4. Paste the installation code
5. Set the code to load on “All Pages”
6. Set the placement to “Body - End”
7. Click “Apply”
8. Publish your site
Webflow
1. Go to your Webflow project dashboard
2. Click “Project Settings” → “Custom Code”
3. Paste the installation code into the “Footer Code” field
4. Click “Save Changes”
5. Publish your site
GoDaddy Website Builder
1. Log in to your GoDaddy account
2. Open your website in the builder
3. Go to Settings → Custom Code (or Website Add-Ons)
4. Paste the installation code into the footer section
5. Save and publish
Weebly
1. Log in to your Weebly dashboard
2. Go to Settings → SEO
3. Paste the installation code into the “Footer Code” section
4. Save and publish
Google Sites
1. Open your Google Site in the editor
2. Go to Insert → Embed
3. Paste the installation code
4. Click “Insert”
5. Publish your site
Note: Google Sites has limited support for custom JavaScript. The widget may not function perfectly on all Google Sites configurations.
Ghost
1. Log in to your Ghost admin dashboard
2. Go to Settings → Code Injection
3. Paste the installation code into the “Footer” section
4. Click “Save”
Custom HTML Website
1. Open your website’s HTML file(s) in a text editor
2. Find the </body> tag near the bottom of the file
3. Paste the installation code right before </body>
4. Save the file
5. Upload the updated file to your web server
React / Next.js
For React applications, add the script to your root layout:
In Next.js (App Router), add it to app/layout.tsx using the <Script> component from next/script. In Next.js (Pages Router), add it to pages/_app.tsx or pages/_document.tsx.
The chat widget operates as an independent DOM layer and does not interfere with React’s virtual DOM or hydration.
Vue.js
Add the script to your index.html file (for Vue CLI) or app.html file (for Vite-based Vue projects), right before </body>.
Alternatively, load the script dynamically in your root component’s mounted() lifecycle hook.
Angular
Add the script to your index.html file, right before </body>.
Step 3: Verify the Installation (1 minute)
After installing the widget, visit your website and check:
1. The chat bubble appears – It should be visible in the bottom-right corner (or your chosen position)
2. Clicking the bubble opens the chat window – The window should slide open smoothly
3. Your welcome message displays – Check that the proactive message appears
4. Social links are visible – WhatsApp, Instagram, etc. should appear as clickable icons
5. The offline form works – If you are offline, test that the form accepts name, email, and message
6. The widget matches your brand – Colors, logo, and text should be correct
7. The page loads quickly – The widget should not cause a noticeable delay in page load
Step 4: Configure for Your Business (2-3 minutes)
Set Your Business Hours
In the Knocket dashboard, set your business hours accurately. When you are offline, the widget automatically switches to the offline form with social links.
Add Social Links
Add links to your WhatsApp, Instagram, Telegram, and Facebook Messenger. These give visitors alternative ways to reach you when you are not available for live chat.
Connect Calendly (If Applicable)
If you use Calendly for appointment scheduling, connect it to your Knocket widget. Visitors will be able to book meetings directly from the chat interface.
Test the Full Experience
Before going live, test the complete chat flow:
1. Open the chat window and send a test message
2. Verify that you receive the message in your dashboard
3. Reply from the dashboard and verify the response appears in the chat
4. Set your status to “Offline” and test the offline form
5. Click each social link and verify it opens the correct platform
Total Setup Time by Platform
Platform | Estimated Setup Time | Difficulty |
WordPress (plugin) | 3 minutes | Easy |
WordPress (theme edit) | 5 minutes | Moderate |
Shopify | 4 minutes | Easy |
Squarespace | 2 minutes | Easy |
Wix | 3 minutes | Easy |
Webflow | 2 minutes | Easy |
GoDaddy | 3 minutes | Easy |
Weebly | 2 minutes | Easy |
Ghost | 2 minutes | Easy |
Custom HTML | 3 minutes | Moderate |
React / Next.js | 5 minutes | Moderate |
Vue / Angular | 5 minutes | Moderate |
Troubleshooting Common Issues
The chat widget does not appear
● Make sure you pasted the code before </body> (not </head>)
● Check that you published your website after making changes
● Clear your browser cache and reload the page
● Check that no ad blockers or privacy extensions are blocking the script
The widget appears but the chat window does not open
● Check your browser console for JavaScript errors
● Make sure you copied the complete installation code (including both the opening and closing script tags)
● Try a different browser to rule out browser-specific issues
The widget is slow to load
● Knocket’s script is approximately 45KB and should load in under 100ms on a typical connection
● If the widget is slow, check your website’s overall performance using Google PageSpeed Insights
● If other scripts on your page are blocking rendering, consider deferring non-essential scripts
The widget does not appear on the Shopify checkout page
This is expected. Shopify restricts custom scripts on checkout pages for security. Only Shopify Plus stores can add scripts to checkout using checkout extensions.
FAQ
Can I add free live chat to any website?
Yes. If your website platform allows you to add custom JavaScript code (which most do), you can add a free live chat widget. This includes WordPress, Shopify, Squarespace, Wix, Webflow, GoDaddy, Weebly, Ghost, and custom HTML sites.
Do I need to know how to code to add a chat widget?
No. Most website platforms have settings or plugins that let you add custom code without editing HTML directly. The process involves copying a line of code and pasting it into a designated field in your website’s settings.
Can I add a chat widget to my Squarespace site?
Yes, but you need the Business plan or higher. The Personal plan does not support code injection. On the Business plan, go to Settings → Advanced → Code Injection → paste the code in the Footer field.
Why does the chat widget not appear on my Shopify checkout page?
Shopify restricts custom scripts on checkout pages for security reasons. This applies to all third-party scripts, not just chat widgets. Only Shopify Plus stores can add custom scripts to checkout using checkout extensions.
How do I add a chat widget to a React or Next.js application?
Add the chat widget script to your root layout file (such as app/layout.tsx in Next.js or App.tsx in React). The widget operates as an independent DOM layer and does not interfere with React’s rendering or hydration.