Did you know that over 1.3 billion people use Messenger every month? This staggering number highlights just how essential the platform has become for personal and professional communication. If you're looking to streamline your interactions and keep everyone in the loop, learning how to create a group chat in Messenger is a vital skill. Whether you're coordinating with colleagues, planning a family event, or organizing a community project, Messenger makes it easy and efficient. Ready to get started and transform your communication strategy? Read on for a simple guide on setting up your group chat on both PC and mobile, plus some handy management tips to keep your conversations flowing smoothly.

Why Use Messenger Group Chat?
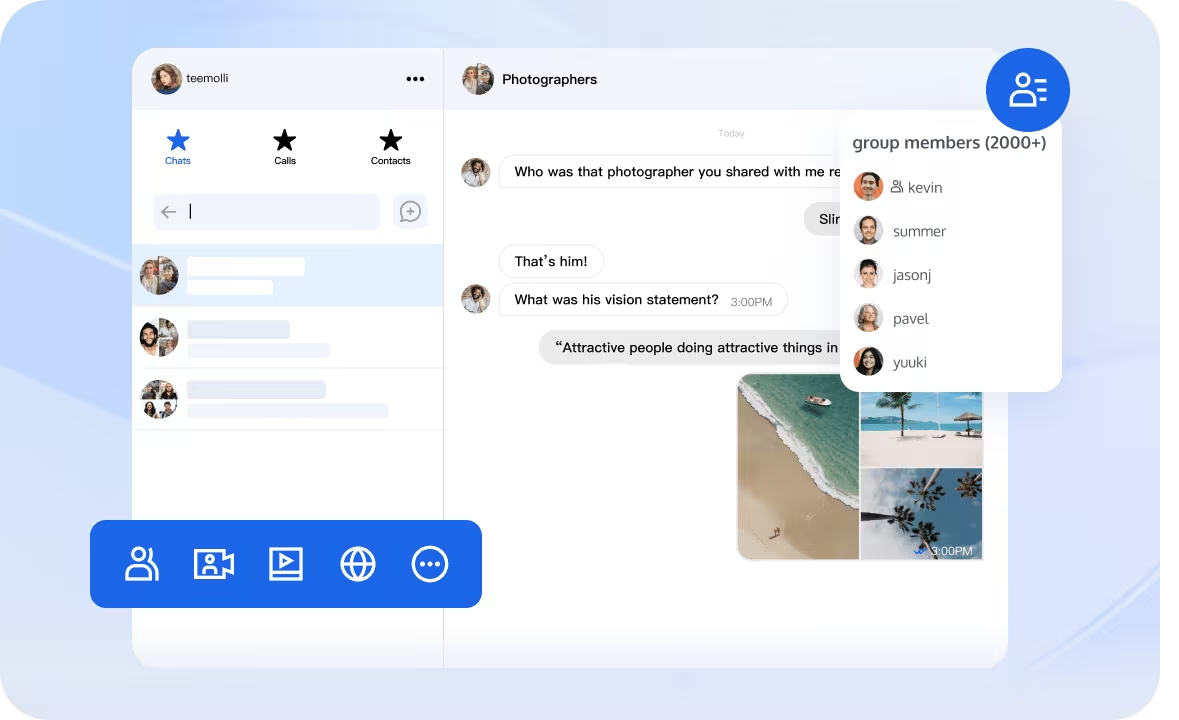
Messenger group chat enhances communication by providing instant messaging and multimedia sharing. It's ideal for group discussions, task coordination, and decision-making. Accessible from various devices with notifications, it ensures important updates are not missed. Organization is improved through topic-specific groups and search functionality, while engagement is boosted with polls, reactions, and mentions. Security is ensured with controlled access and end-to-end encryption. Integration with third-party apps and bots for automation further enhances its functionality, making Messenger group chat a valuable tool for efficient communication and collaboration.
How to Create a Group Chat in Messenger?
Setting up a group chat in Messenger is a straightforward process, no matter you are using a PC or a mobile device. Here's a step-by-step guide to help you get started:
On PC
Step 1 Log into Messenger:
Open your browser and go to messenger.com. Enter your Facebook credentials (email/phone and password) to log in.
Step 2 Start a New Message:
Click on the pencil icon or the "New Message" button on the left sidebar to initiate a new chat.
Step 3 Add Participants:
In the "To" field, start typing the names of the friends you want to include in the group chat. As you type, suggestions will appear in a drop-down list. Click on the names of the friends you want to add to the group.
Step 4 Create the Group:
After adding all participants, type your first message in the message box and press Enter. This will create the group chat.
Step 5 Name the Group (Optional):
To name the group, click on the gear icon or the group name at the top of the chat window. Select "Edit Group Settings," and then enter a name for your group in the provided field. Save your changes to update the group name.
In Mobile
Step 1 Open Messenger App:
Launch the Messenger app on your mobile device. If you haven't installed it yet, download it from the App Store (iOS) or Google Play Store (Android).
Step 2 Start a New Message:
Tap on the pencil icon button, usually located in the top right corner.
Step 3 Select Contacts:
In the "To" field, type the names of the friends you want to add to the group. Tap on their names as they appear in the search results to add them.
Step 4 Create the Group:
Once all the desired participants are added, type your message in the message box and send it to create the group chat.
Step 5 Name the Group (Optional):
To name the group, tap on the group name or the "i" icon in the top right corner, then select "Edit Group Name" to enter a name for your group. Save your changes to update the group name.
Practical Tips to Manage Messenger Group Chat
Managing a Messenger group chat effectively requires a structured approach. Here are some tips to help you maintain an organized and productive chat environment.
1. Establish Clear Guidelines
First, set clear guidelines for the group. Define its purpose and establish rules for participation. Specify what type of content is appropriate, the language to be used, and the importance of maintaining respect for all members. Use pinned messages to highlight these guidelines along with any important announcements or ongoing discussions.
2. Appoint Admins
Next, appoint a few trusted members as admins. Admins play a crucial role in managing the group by moderating conversations, adding or removing members, and enforcing the established rules. This helps maintain order and ensures the group remains focused and civil.
3. Organize Conversations
Then, organize conversations by encouraging members to use specific threads or start new topics for different discussions. This keeps the chat organized and makes it easier for members to follow along. Additionally, utilize hashtags for specific topics or recurring themes to facilitate quick retrieval of related messages.
4. Adjust Group Settings
Following that, adjust group settings to manage membership and message control. Enable settings that require admin approval for new members to ensure that only relevant individuals join the group. Moreover, consider limiting who can post messages, especially in larger groups, to reduce noise and maintain focus.
5. Resolve Conflicts
In case of conflicts, be proactive in moderating disputes. Address issues privately with the involved parties and remind them of the group guidelines. Act as a neutral mediator to resolve conflicts and maintain a positive group environment.
6. Ensure Security and Privacy
Security and privacy are paramount. Remind members not to share sensitive or private information in the group chat. Ensure that only trusted individuals have admin privileges to prevent unauthorized changes or issues.
Conclusion
In conclusion, mastering how to create a group chat in Messenger opens up a world of seamless communication, whether it’s for personal connections, coordinating events, or managing work projects. From your PC to your mobile device, setting up and managing these group chats is intuitive and adaptable to your needs. Embrace these tips to ensure your Messenger group chats remain productive and enjoyable. Keep exploring the functionalities to enhance your chatting experience and stay connected effortlessly.
FAQs
Can I create a group chat without adding all members at once?
Yes, you can create a group chat without adding all members at once. Messenger allows you to start a group chat and then add members gradually as needed.
Can I delete a group chat in Messenger?
Yes, you can delete a group chat in Messenger. As an admin or owner of a group chat, you can delete the chat for all members by ending the chat, which effectively removes it from everyone's chat list. If you're not an admin or the owner, you can only remove the chat from your own inbox. This action doesn't delete the chat for other members; it simply removes it from your view.
How do I organize Messenger group chats?
To organize Messenger group chats, you can rename the group, assign a group photo, and create nicknames for participants. Additionally, you can pin important group chats to the top of your chat list for easy access, and mute notifications for less active groups.
If you have any questions or need assistance online, our support team is always ready to help. Please feel free to Contact us or join us on Telegram or Discord.


