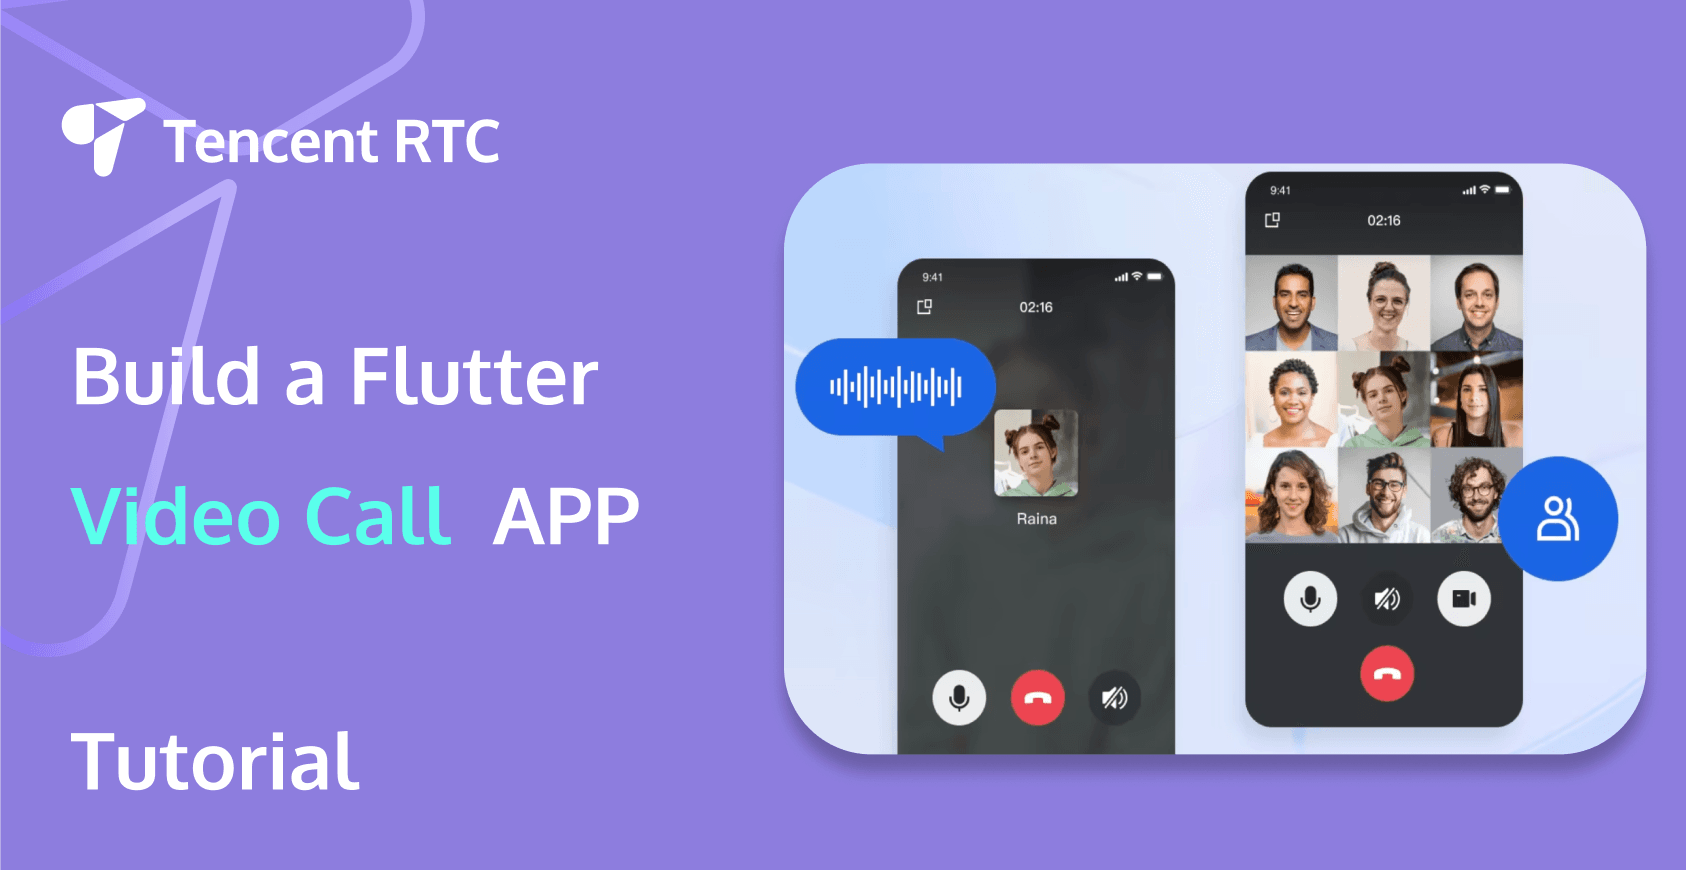
With the rise of remote work, online education, and virtual events, the demand for efficient and reliable video call solutions has skyrocketed. One of the most popular frameworks for building mobile applications, including video call apps, is Flutter. In this comprehensive Flutter video call tutorial, we will provide a step-by-step guide on building your own Flutter video call app and discuss key features to streamline your workflow.

What Is a Flutter Video Call Application?
A Flutter video call application is a mobile or web app developed using the Flutter framework that enables users to make video calls over the Internet. Flutter, developed by Google, is an open-source UI software development kit (SDK) that allows developers to create natively compiled applications for mobile, web, and desktop from a single codebase. The integration of WebRTC (Web Real-Time Communication) technology facilitates real-time communication capabilities in these apps, making it possible for users to connect through video and audio calls seamlessly.
How Flutter Video Call Works?
Flutter video call applications leverage WebRTC technology to establish real-time communication between users. WebRTC is an open-source project that provides web browsers and mobile applications with real-time communication via simple APIs. The process typically involves the following steps:
- Signaling: This is the initial step where users exchange information to establish a connection. It involves setting up the necessary parameters, such as network information and media capabilities, through a signaling server.
- Peer-to-Peer Connection: Once the signaling is complete, a peer-to-peer connection is established between the users using the ICE (Interactive Connectivity Establishment) protocol. This ensures that the data can be transmitted directly between devices.
- Media Stream: The media streams (audio and video) are captured and transmitted over the peer-to-peer connection using the RTP (Real-time Transport Protocol).
- Rendering: The received media streams are then rendered on the user's device, allowing them to see and hear each other in real time.
By utilizing the Flutter video call SDK and WebRTC, developers can create applications that provide high-quality video and audio communication with low latency.
Features of Flutter Video Call
Flutter Video Call offers seamless integration with real-time communication capabilities, ensuring high-quality video and audio connections. Specifically, it includes the following features:
- High-Quality Video and Audio. Ensure clear and uninterrupted communication with high-definition video and crystal-clear audio, providing a superior user experience even in low-bandwidth conditions.
- Cross-Platform Support. Compatible with both iOS and Android, and optionally, web platforms, Flutter Video Call allows developers to build applications that work across multiple devices and operating systems.
- User Authentication. Secure login and authentication mechanisms are in place to protect user data and ensure that only authorized users can access the video call functionalities, enhancing overall security.
- Call Management. Users can easily start, end, and mute/unmute calls with intuitive controls, making it simple to manage call sessions and maintain effective communication without technical difficulties.
- Screen Sharing. Allow users to share their screens during a call.
- Chat Functionality. In-app messaging alongside video calls.
- Push Notifications. Notify users of incoming calls or messages.
- Scalability. Capable of handling a large number of concurrent users.
How to Build a Video Calling App in Flutter?
Building a video calling app in Flutter involves several steps, from setting up the development environment to coding the application. Here is a step-by-step guide.
Environment Preparations
Flutter 3.0 or higher version.
Step 1. Activate the service
Before using the audio and video services provided by Tencent Cloud, you need to go to the console to activate the audio and video services for your application, and obtain SDKAppID, SDKSecretKey. They will be used in Step 5. For specific steps, please refer to activate the Service.
Step 2. Import the component
Execute the following command in the command line to install the tencent_calls_uikit plugin.
flutter pub add tencent_calls_uikitStep 3. Configure the project
1. If you need to compile and run on the Android platform, since the SDK uses Java's reflection feature internally, certain classes in the SDK must be added to the non-aliasing list.
First, configure and enable obfuscation rules in the android/app/build.gradle file of the project:
  android {
   ......
   buildTypes {
       release {
           ......
           minifyEnabled true
           proguardFiles getDefaultProguardFile('proguard-android.txt'), 'proguard-rules.pro'
       }
   }
}
Create a proguard-rules.pro file in the android/app directory of the project, and add the following code in the proguard-rules.pro file:
-keep class com.tencent.** { *; }2. Configure to enable Multidex support in the android/app/build.gradle file of your project.
  android {
   ......
   defaultConfig {
     ......
     multiDexEnabled true
   }
}
Optional If you need to debug on an iOS Simulator and your Mac Computer uses an Intel Chip, you need to add the following code in the ios/Podfile file:
target 'xxxx' do
 ......
end
......
post_install do |installer|
 installer.pods_project.targets.each do |target|
   flutter_additional_ios_build_settings(target)
   target.build_configurations.each do |config|
     config.build_settings['VALID_ARCHS'] = 'arm64 arm64e x86_64'
     config.build_settings['VALID_ARCHS[sdk=iphonesimulator*]'] = 'x86_64'
   end
 end
end
Since TUICallKit uses iOS's audio and video features, you need to grant permissions for the use of the microphone and camera.
Authorization Operation Method: In your iOS project's Info.plist, under the first-level <dict> directory, add the following two items. They correspond to the system's prompt messages when asking for microphone and camera permissions.
<key>NSCameraUsageDescription</key>
<string>CallingApp needs to access your camera to capture video.</string>
<key>NSMicrophoneUsageDescription</key>
<string>CallingApp needs to access your microphone to capture audio.</string>
Step 4: Set up navigatorObservers
1. In the Flutter application framework, add TUICallKit.navigatorObserver to navigatorObservers. For example, using the MaterialApp framework, the code is as follows:
import 'package:tencent_calls_uikit/tencent_calls_uikit.dart';
......
class XXX extends StatelessWidget {
 const XXX({super.key});
@override
 Widget build(BuildContext context) {
   return MaterialApp(
     navigatorObservers: [TUICallKit.navigatorObserver],
     ......
   );
 }
}
Step 5: Log in to the TUICallKit Component
Use the login interface to complete the log-in. For specific usage, refer to the following code:
import 'package:tencent_calls_uikit/tencent_calls_uikit.dart';
import 'package:tencent_calls_uikit/debug/generate_test_user_sig.dart';
......
final String userID    = 'xxxxx'; // Please replace with your UserId
final int    sdkAppID  = 0;       // Please replace with the SDKAppID you got from the console in step 1
final String secretKey = 'xxxx';  // Please replace with the SecretKey you got from the console in step 1
void login() async {
   String userSig  = GenerateTestUserSig.genTestSig(userID, sdkAppID, secretKey);
   TUIResult result = await TUICallKit.instance.login(sdkAppID, userID, userSig);
   if (result.code.isEmpty) {
     print('Login success');
   } else {
     print('Login failed: ${result.code} ${result.message}');
   }
}
Step 6. Make your first phone call
After both the caller and callee have successfully signed in, the caller can initiate an audio or video call by calling the TUICallKit's call method and specifying the call type and the callee's userId. At this point, the callee will receive an incoming call invitation.
TUICallKit.instance.call('Android', TUICallMediaType.audio);import 'package:tencent_calls_uikit/tencent_calls_uikit.dart';
......
void call() {
   TUICallKit.instance.call('Android', TUICallMediaType.audio);
}
For more details and features, please click TencentRTC documentation.
Conclusion
In conclusion, building a Flutter video call application leverages the robust capabilities of Flutter, enabling seamless video communication with a range of features. By following the steps outlined in the tutorial, you can create a video calling app that is not only efficient but also user-friendly. Ready to bring your video calling app idea to life? Start coding with Flutter today and transform your vision into a reality!
If you have any questions or need assistance, our support team is always ready to help. Please feel free to Contact Us or join us in Telegram or Discord.
FAQs
What are some common challenges when building a Flutter video call app?
Common challenges when building a Flutter video call app include ensuring high-quality, low-latency video streams and managing real-time communication efficiently. Developers also encounter difficulties with device compatibility and network connectivity.
Is Flutter bad for web?
Flutter is not inherently bad for web development, but it is primarily optimized for mobile applications. While Flutter for web is improving, there are still some limitations and performance considerations compared to traditional web development frameworks. It is suitable for building PWA (Progressive Web Apps) and single-page applications where a unified codebase for mobile and web is advantageous.


